Introduction
This manual provides detailed instructions for the Satechi USB4 NVMe SSD Pro Enclosure, Model ST-EU4NPM. Please read this manual thoroughly before using the product to ensure proper installation and operation. This enclosure is designed to house an M.2 NVMe SSD, enabling high-speed data transfer via a USB4 connection.

Image: The Satechi USB4 NVMe SSD Pro Enclosure, shown with an M.2 NVMe SSD installed and the included USB-C cable. The enclosure features a sleek design with a clear polycarbonate casing and an aluminum frame.
Package Contents
Verify that all items are present in the package:
- Satechi USB4 NVMe SSD Pro Enclosure
- Clear Case
- Thermal Pad
- USB-C Cable (5.9 inch/15 cm)
- Silicone Pin (for tool-free SSD installation)
- User Manual (this document)
Specifications
| Model Number | ST-EU4NPM |
| Material | Aluminum, Polycarbonate |
| Compatible SSD Sizes | 2280, 2260, 2242, 2230mm M.2 NVMe SSDs |
| Maximum Storage Capacity | Up to 16 TB |
| Interface | USB4 (backward compatible with USB 3.2 Gen2/Gen1, USB 2.0) |
| Data Transfer Rate | Up to 40Gbps (USB4), up to 3840MB/s (PCI-E Gen 4x4) |
| Dimensions (L x W x H) | 4.45 x 2.68 x 0.91 inches (11.3 x 6.8 x 2.3 cm) |
| Weight | 6.5 ounces (183 grams) |
| Supported Operating Systems | macOS, Windows, Linux |

Image: The physical dimensions of the Satechi USB4 NVMe SSD Pro Enclosure, illustrating its compact size.
Setup and Installation
Follow these steps to install your M.2 NVMe SSD into the Satechi enclosure:
- Open the Enclosure: Gently slide the internal tray out of the aluminum casing.
- Prepare for SSD Insertion: Open the enclosure's internal mechanism to reveal the SSD slot.
- Insert the SSD: Carefully insert your M.2 NVMe SSD into the designated slot. Ensure it is fully seated.
- Secure the SSD: Use the provided silicone pin to secure the SSD in place. This is a tool-free process.
- Apply Thermal Pad: Place the thermal pad onto the SSD chip for efficient heat dissipation.
- Close the Enclosure: Close the internal mechanism and slide the tray back into the aluminum casing.
- Attach Clear Case: Align the clear polycarbonate case with the aluminum enclosure.
- Secure Clear Case: Slide the clear case onto the enclosure until it clicks into place.
- Final Assembly: The enclosure is now fully assembled with the SSD installed.
- Connect to Device: Use the provided USB-C cable to connect the enclosure to your computer or compatible device.

Image: Step 1 of SSD installation, showing the internal tray being slid out from the main enclosure body.
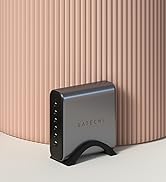
Image: Step 2 of SSD installation, illustrating the enclosure opened to access the M.2 slot.

Image: Step 3 of SSD installation, showing an M.2 NVMe SSD being inserted into the connector.

Image: Step 4 of SSD installation, demonstrating how to secure the M.2 SSD using the silicone pin.

Image: Step 5 of SSD installation, showing the thermal pad being placed on top of the installed SSD.

Image: Step 6 of SSD installation, showing the internal mechanism being closed after SSD installation.

Image: Step 7 of SSD installation, showing the clear polycarbonate case being aligned with the aluminum enclosure.

Image: Step 8 of SSD installation, illustrating the clear case being slid into position on the enclosure.

Image: Step 9 of SSD installation, showing the completed assembly of the enclosure with the SSD inside.

Image: Step 10 of SSD installation, showing the USB-C cable connecting the enclosure to a laptop.
The enclosure supports M.2 NVMe SSDs of sizes 2280, 2260, 2242, and 2230mm. Ensure your SSD is compatible before installation.

Image: A visual representation of the supported M.2 NVMe SSD sizes (2280, 2260, 2242mm) compatible with the enclosure.
Operating Instructions
Once the SSD is installed and the enclosure is connected to your device, it will function as an external storage drive. No additional drivers are required for most operating systems.
Connecting to Your Device
- Connect the included USB-C cable to the enclosure's USB-C port.
- Connect the other end of the USB-C cable to a compatible USB4, Thunderbolt 4, USB 3.2 Gen2, or USB 3.2 Gen1 port on your computer (Mac, Windows, or Linux).
- The enclosure is plug-and-play. Your operating system should detect the new storage device automatically.
- If the SSD is new, it may need to be initialized and formatted through your operating system's disk management utility before use. Refer to your OS documentation for instructions on disk initialization and formatting.
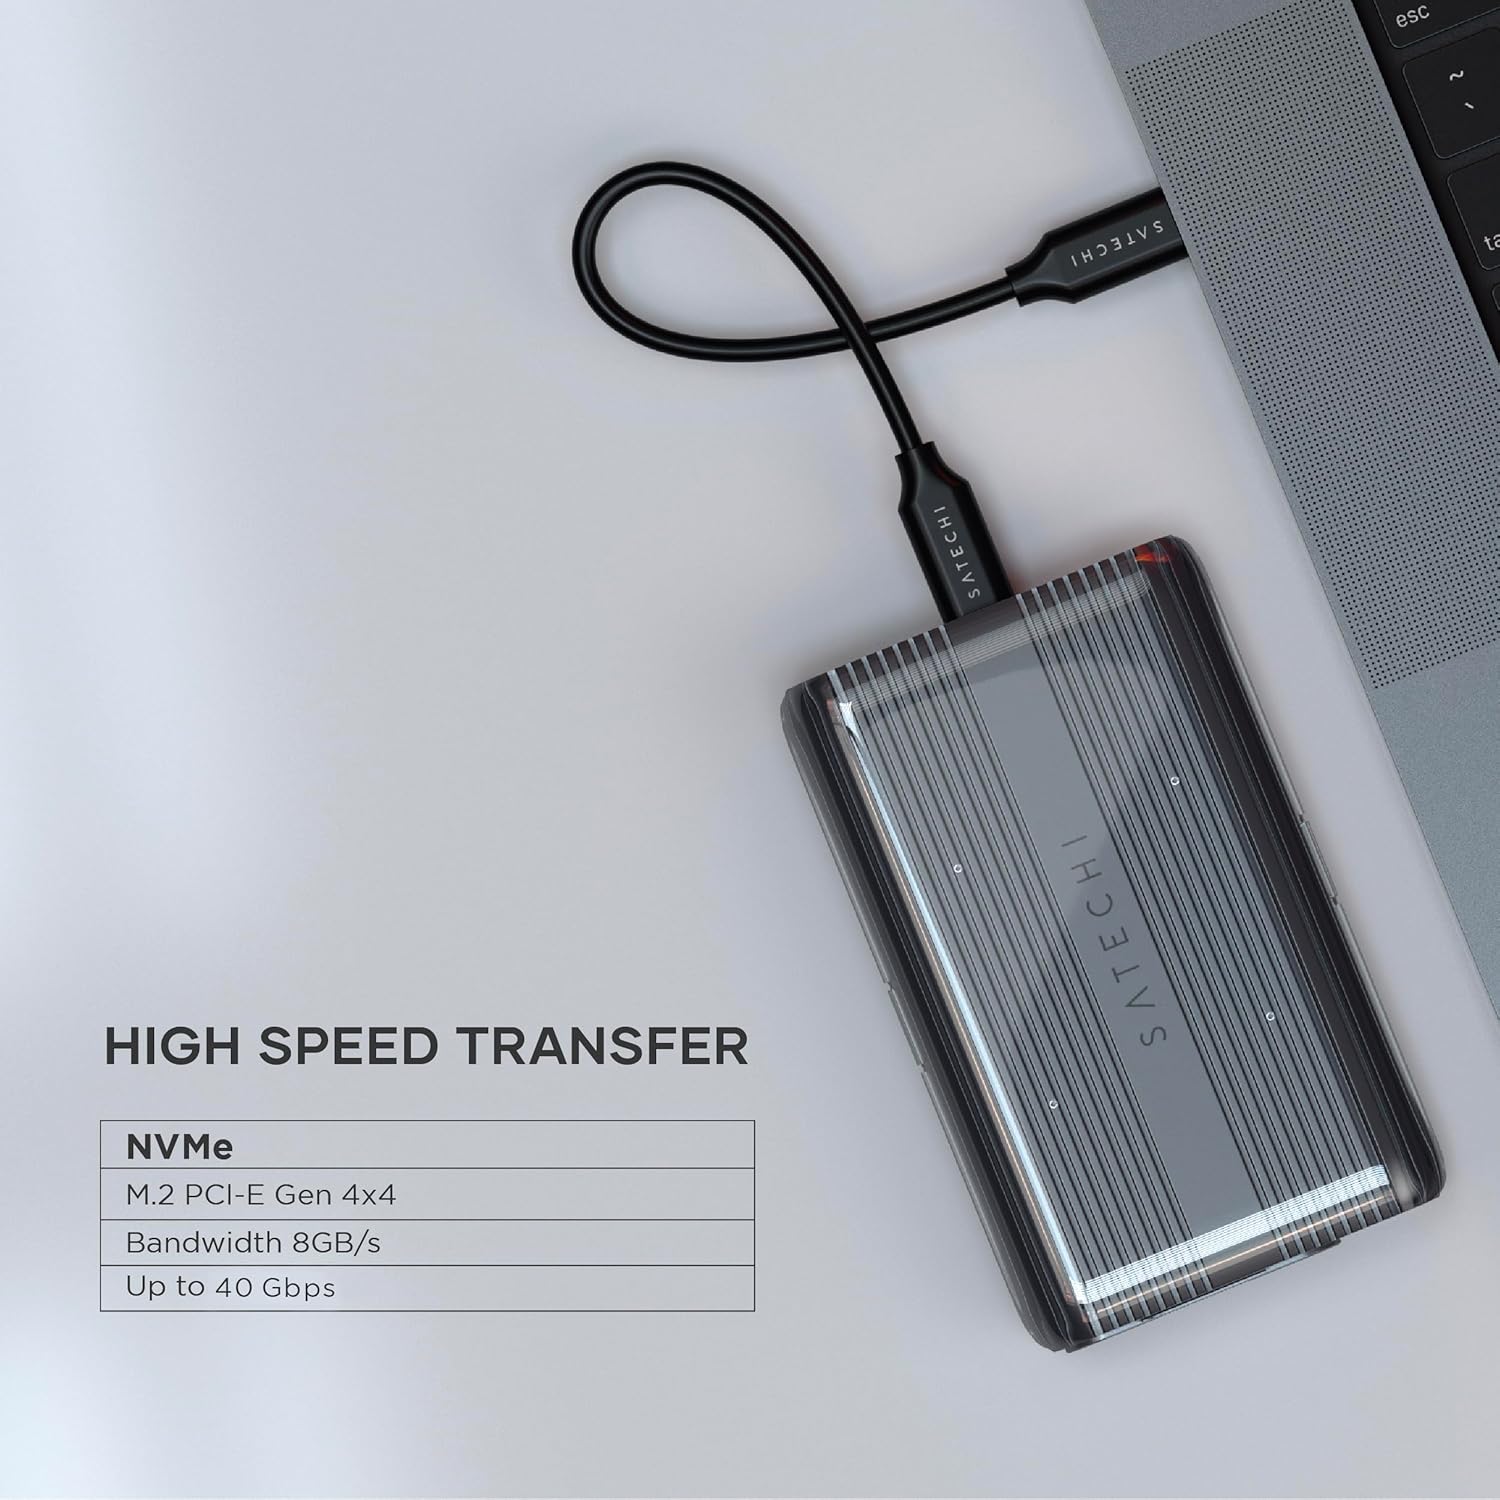
Image: The Satechi USB4 NVMe SSD Pro Enclosure connected to a laptop, demonstrating its use for high-speed data transfer.
Compatibility
The Satechi USB4 NVMe SSD Pro Enclosure is compatible with a wide range of operating systems and devices:
- Operating Systems: macOS, Windows, Linux.
- Devices: Desktops, Laptops (MacBook Pro, MacBook, etc.), Smartphones, iPhones, Televisions, and other devices with compatible USB-C ports.

Image: Icons representing compatibility with Mac, Windows, and Linux operating systems, highlighting the enclosure's broad device support.
Maintenance
To ensure the longevity and optimal performance of your Satechi USB4 NVMe SSD Pro Enclosure, follow these maintenance guidelines:
- Cleaning: Use a soft, dry cloth to clean the exterior of the enclosure. Avoid using liquid cleaners or solvents, as they may damage the finish or internal components.
- Storage: When not in use, store the enclosure in a cool, dry place away from direct sunlight and extreme temperatures.
- Handling: Handle the enclosure with care to prevent drops or impacts, which could damage the internal SSD or the enclosure itself.
- Heat Dissipation: The polycarbonate casing is designed for efficient heat dissipation. Ensure the enclosure is not covered or placed in an area with poor airflow during operation to prevent overheating.
Troubleshooting
If you encounter issues with your Satechi USB4 NVMe SSD Pro Enclosure, refer to the following common problems and solutions:
- Enclosure not detected by computer:
- Ensure the USB-C cable is securely connected to both the enclosure and your computer.
- Try connecting the enclosure to a different USB-C port on your computer.
- Test with a different compatible USB-C to USB-C cable to rule out cable issues.
- Verify that the M.2 NVMe SSD is correctly installed and seated within the enclosure. Refer to the 'Setup and Installation' section.
- Check your computer's Disk Management (Windows) or Disk Utility (macOS) to see if the drive is recognized but uninitialized or unformatted.
- Slow data transfer speeds:
- Ensure your computer's USB-C port supports USB4 or Thunderbolt 4 for maximum speeds. Connecting to a slower USB port (e.g., USB 3.0 or USB 2.0) will result in lower transfer rates.
- Verify that the SSD installed is a high-speed NVMe drive. SATA M.2 SSDs are not compatible and will not provide NVMe speeds.
- Use the included USB4 cable or another certified USB4/Thunderbolt 4 cable. Lower quality or incompatible cables can limit performance.
- Ensure your operating system and drivers are up to date.
- Enclosure feels warm during operation:
- It is normal for the enclosure to become warm during high-speed data transfers, as the aluminum and polycarbonate are designed to dissipate heat from the SSD.
- Ensure the thermal pad is correctly placed on the SSD.
- If the enclosure becomes excessively hot and performance degrades, ensure it is in an area with adequate airflow and not covered.
Warranty and Support
Satechi products are covered by a 2-year limited warranty against defects in materials and workmanship under normal use. For warranty claims or technical support, please visit the official Satechi website or contact their customer support directly.
For additional resources, you may refer to the official User Guide (PDF).