1. Introduction
This manual provides essential instructions for the safe and effective use of your Bedsure Electric Heat Pad, model SM-HP3060-EU/UK. Please read all instructions carefully before use and retain this manual for future reference.

Image 1.1: Bedsure Electric Heat Pad, controller, and elastic band.
2. Important Safety Instructions
WARNING: To reduce the risk of burns, electric shock, fire, and injury, this product must be used in accordance with the following instructions.
- Do not use while sleeping.
- Do not use on an infant or an invalid, or on a person who is insensitive to heat.
- Do not use on areas of insensitive skin.
- Never use the pad directly on bare skin for extended periods; always use over clothing or a thin towel.
- Do not use pins or other metallic means to fasten this product.
- Never pull this pad by the supply cord.
- Do not use if the pad is wet.
- Inspect the pad, cover, and cord before each use. Discard the pad if there are any signs of deterioration, such as cracking, blistering, or fraying of the heating element.
- This appliance is equipped with an overheating protection system (PTC/NTC heating wire) for enhanced safety.
- Ensure the product is certified by CE, UKCA, GS, and RoHS standards.

Image 2.1: Safety certifications and key features of the heat pad.
3. Package Contents
Please check the package for the following items:
- 1 x Bedsure Electric Heat Pad (30 x 60 cm)
- 1 x Controller with power cord
4. Product Features
- Material: Made of soft flannel on the front and ultra-soft mink fabric on the back for comfort.
- Dimensions: 30 x 60 cm size.
- Elastic Band: Includes a 3.5cm wide, 1m long elastic band for securing the pad.
- Heating Technology: Utilizes PTC/NTC heating wire for stable and rapid heating, ensuring overheating protection.
- Temperature Levels: 6 adjustable heat settings.
- Timer Settings: 2 timing options (1 hour, 1.5 hours) with an automatic 1.5-hour shut-off if no time is selected.
- Certifications: CE, UKCA, GS, and RoHS certified for quality and safety.

Image 4.1: Internal structure highlighting PTC/NTC heating wire and fabric layers.
5. Setup
Follow these steps to prepare your heat pad for use:
- Connect the Coupler: Firmly insert the connector from the heat pad into the controller's socket until it clicks into place.
- Plug into Power: Insert the power plug into a standard electrical outlet.
- Position the Pad: Place the heat pad on the desired body area (e.g., back, neck, shoulder, stomach). Use the elastic band to secure it if needed.

Image 5.1: Visual guide for heat pad setup.
6. Operating Instructions
The controller allows you to manage the heat and timer settings.
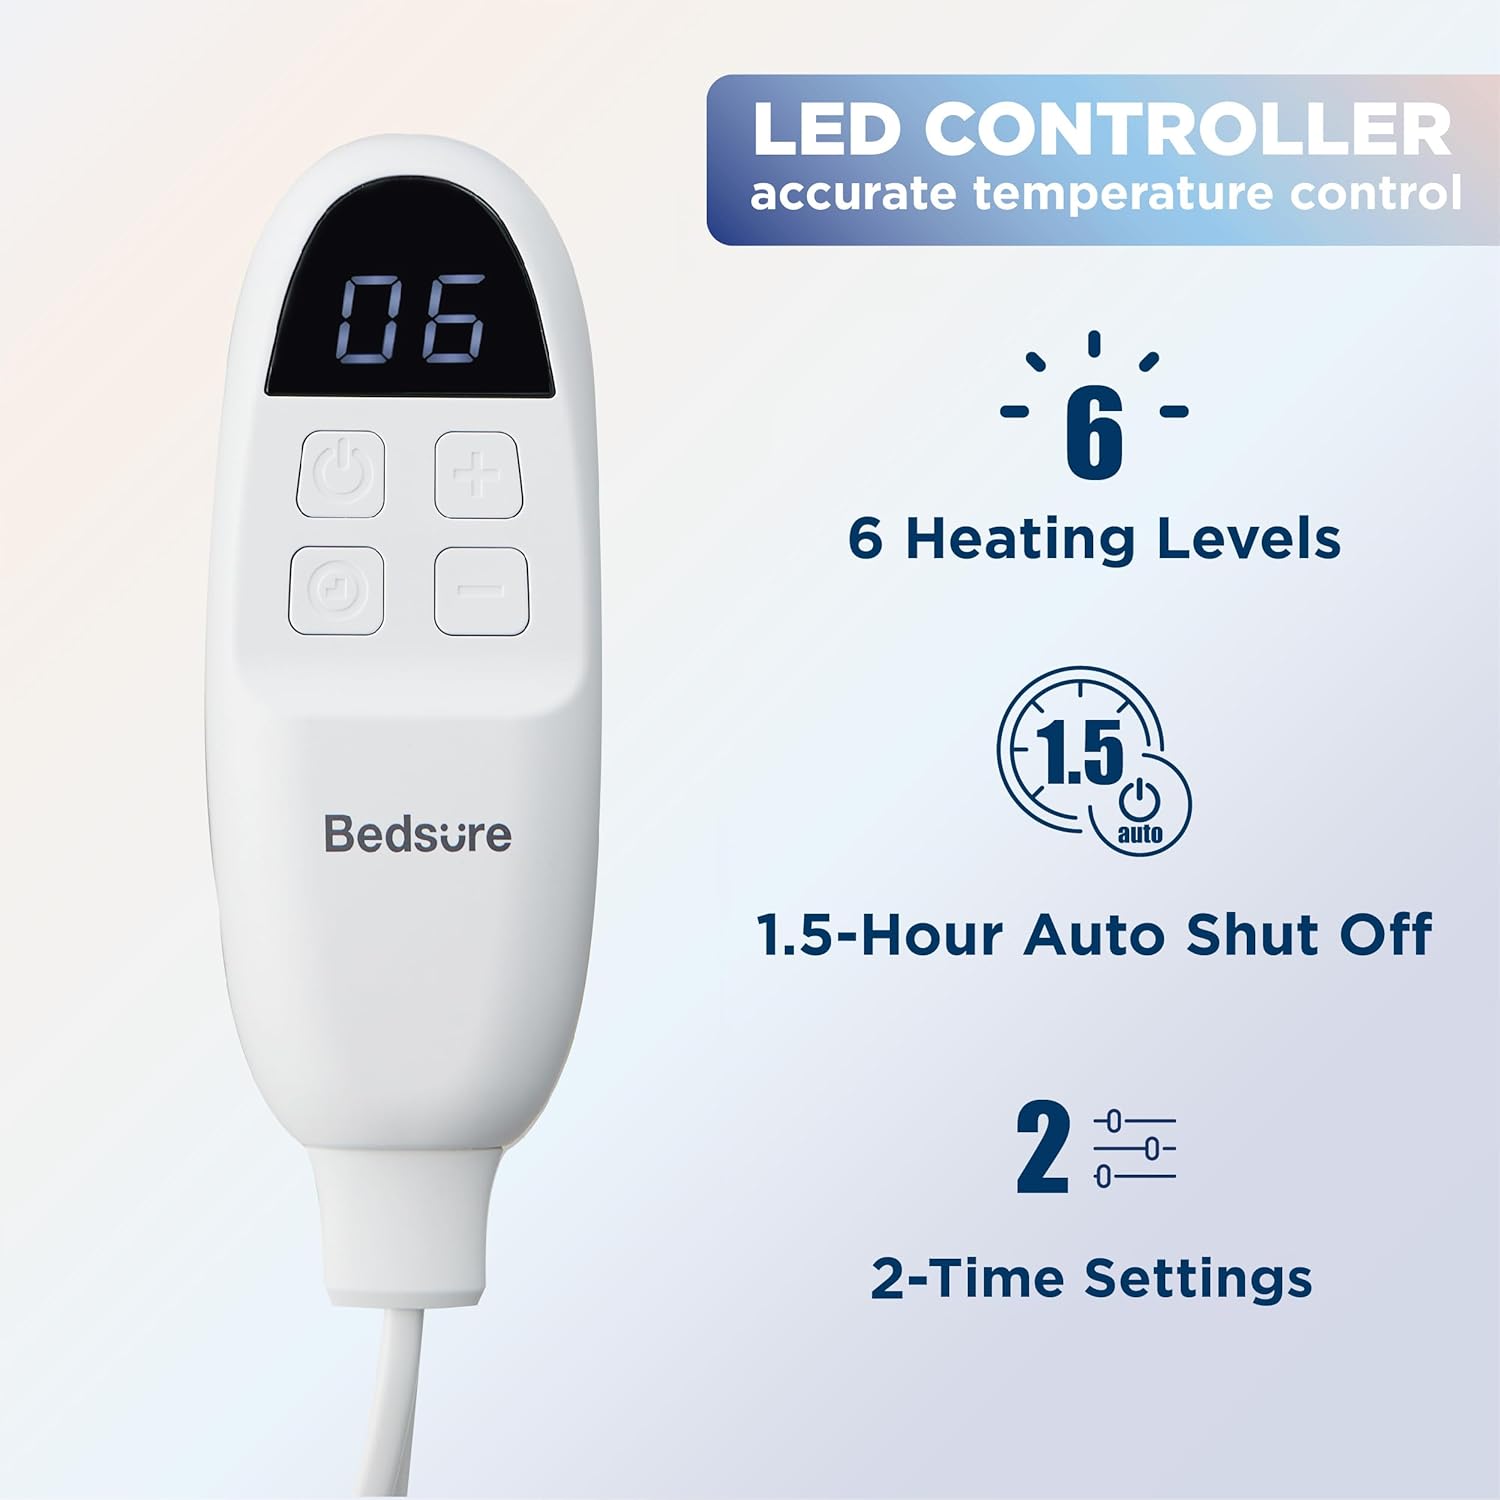
Image 6.1: Bedsure Heat Pad LED Controller.
- Power On/Off: Press the power button (usually indicated by a circle with a vertical line) to turn the heat pad on or off. The LED display will illuminate.
- Adjust Temperature: Use the '+' and '-' buttons to cycle through the 6 heat levels. The current level will be displayed on the LED screen. Start with a lower setting and adjust as needed.
- Set Timer: Press the timer button (often indicated by a clock icon) to select between 1 hour or 1.5 hours. If no timer is set, the pad will automatically shut off after 1.5 hours.
- Usage: The heat pad can be used on various body parts such as the back, neck, shoulders, knees, and abdomen.
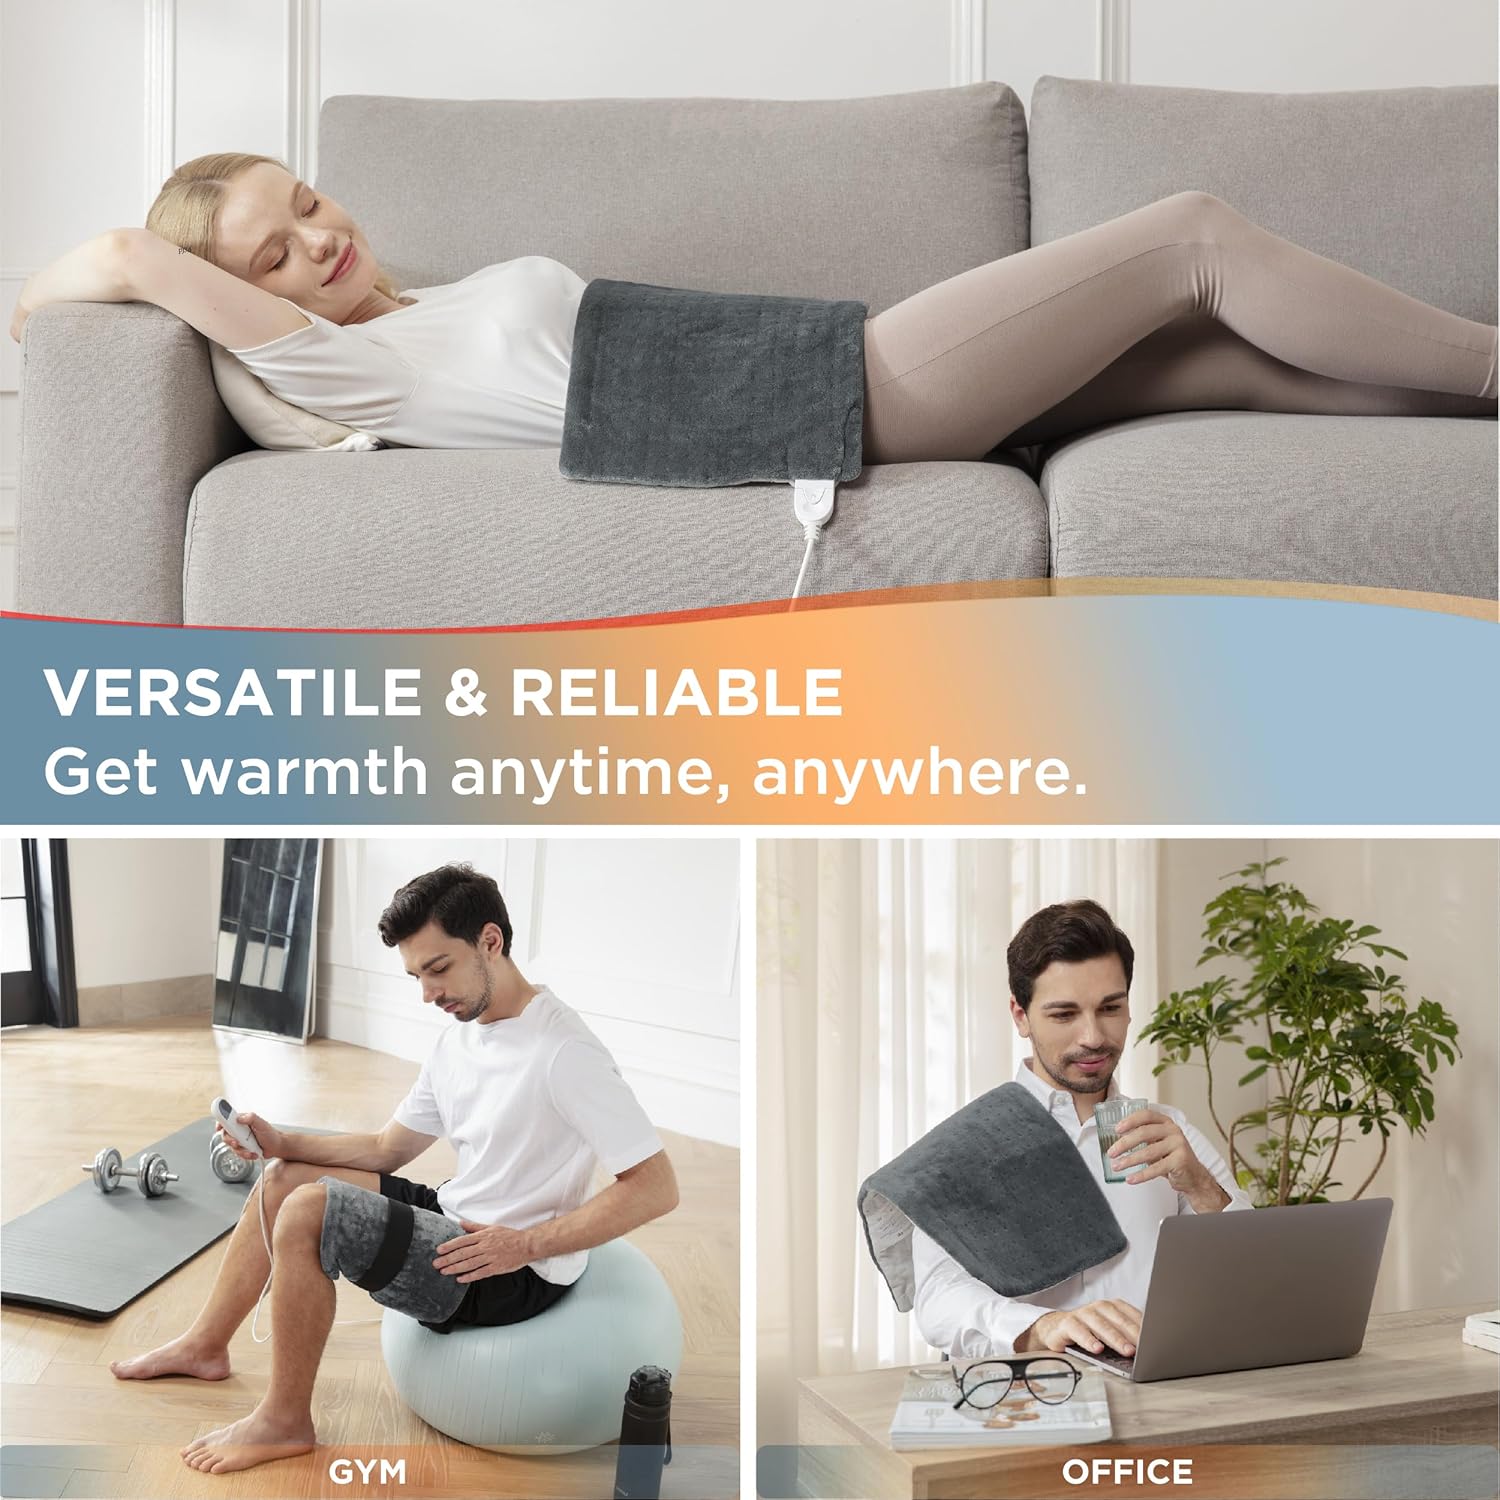
Image 6.2: Versatile usage scenarios for the heat pad.

Image 6.3: Example of heat pad application on the shoulder and other body areas.
7. Maintenance and Cleaning
Proper care ensures the longevity and hygiene of your heat pad.
- Disconnect Power: Always unplug the heat pad from the electrical outlet and disconnect the controller from the pad before cleaning.
- Machine Washable: The fabric heat pad is machine washable. Refer to the care label for specific washing instructions (typically gentle cycle, cold water).
- Drying: Air dry the heat pad completely before reconnecting the controller or plugging it back in. Do not tumble dry.
- Controller Cleaning: Wipe the controller with a damp cloth. Do not immerse the controller in water.
- Storage: When not in use, store the heat pad in a cool, dry place. Avoid folding it tightly or placing heavy objects on it, which could damage the heating elements.
8. Troubleshooting
If you encounter issues with your heat pad, refer to the following common problems and solutions:
- Pad does not heat:
- Ensure the power cord is securely plugged into the outlet.
- Verify the controller is firmly connected to the heat pad.
- Check if the power button on the controller has been pressed.
- Confirm the electrical outlet is functional by testing with another appliance.
- Pad heats unevenly or too slowly:
- Ensure the pad is laid flat and not bunched up during use.
- Allow a few minutes for the pad to reach the selected temperature.
- Increase the heat setting using the '+' button.
- Controller display is off or flashing:
- Unplug the unit from the wall outlet for 5 minutes, then plug it back in. This may reset the system.
- If the issue persists, contact customer support.
- Pad automatically shuts off unexpectedly:
- This may be due to the automatic 1.5-hour shut-off feature or the timer setting.
- The overheating protection system may have activated. Unplug the pad, let it cool down, and then try again.
If these steps do not resolve the issue, please contact Bedsure customer support.
9. Specifications
| Feature | Detail |
|---|---|
| Brand | Bedsure |
| Model Name | SM-HP3060-EU/UK |
| Item Dimensions (L x W) | 60 x 30 Centimeters |
| Item Weight | 660 g |
| Material | Flannel, Mink Fabric |
| Colour | Grey |
| Number of Heat Settings | 6 |
| Special Features | 1.5 Hours Auto Shut Off, 6 Adjustable Heat Settings, Fast Heating, Ultra Soft |
| Included Components | 1 Heating Pad (30 x 60 cm), 1 Controller |
10. Warranty and Support
For warranty information and customer support, please refer to the documentation included with your product or visit the official Bedsure website. Keep your purchase receipt as proof of purchase for any warranty claims.
If you require assistance, please contact Bedsure customer service through their official channels.


