
1. Product Overview
The Nebakne 25.6" Tall Fireproof Wall Safe is designed for secure storage of valuables, documents, and personal items. Its unique design allows for discreet installation between standard 16-inch wall studs, making it an ideal hidden storage solution. The safe features a robust alloy steel construction, fireproof capabilities, and a dual-locking mechanism for enhanced security.
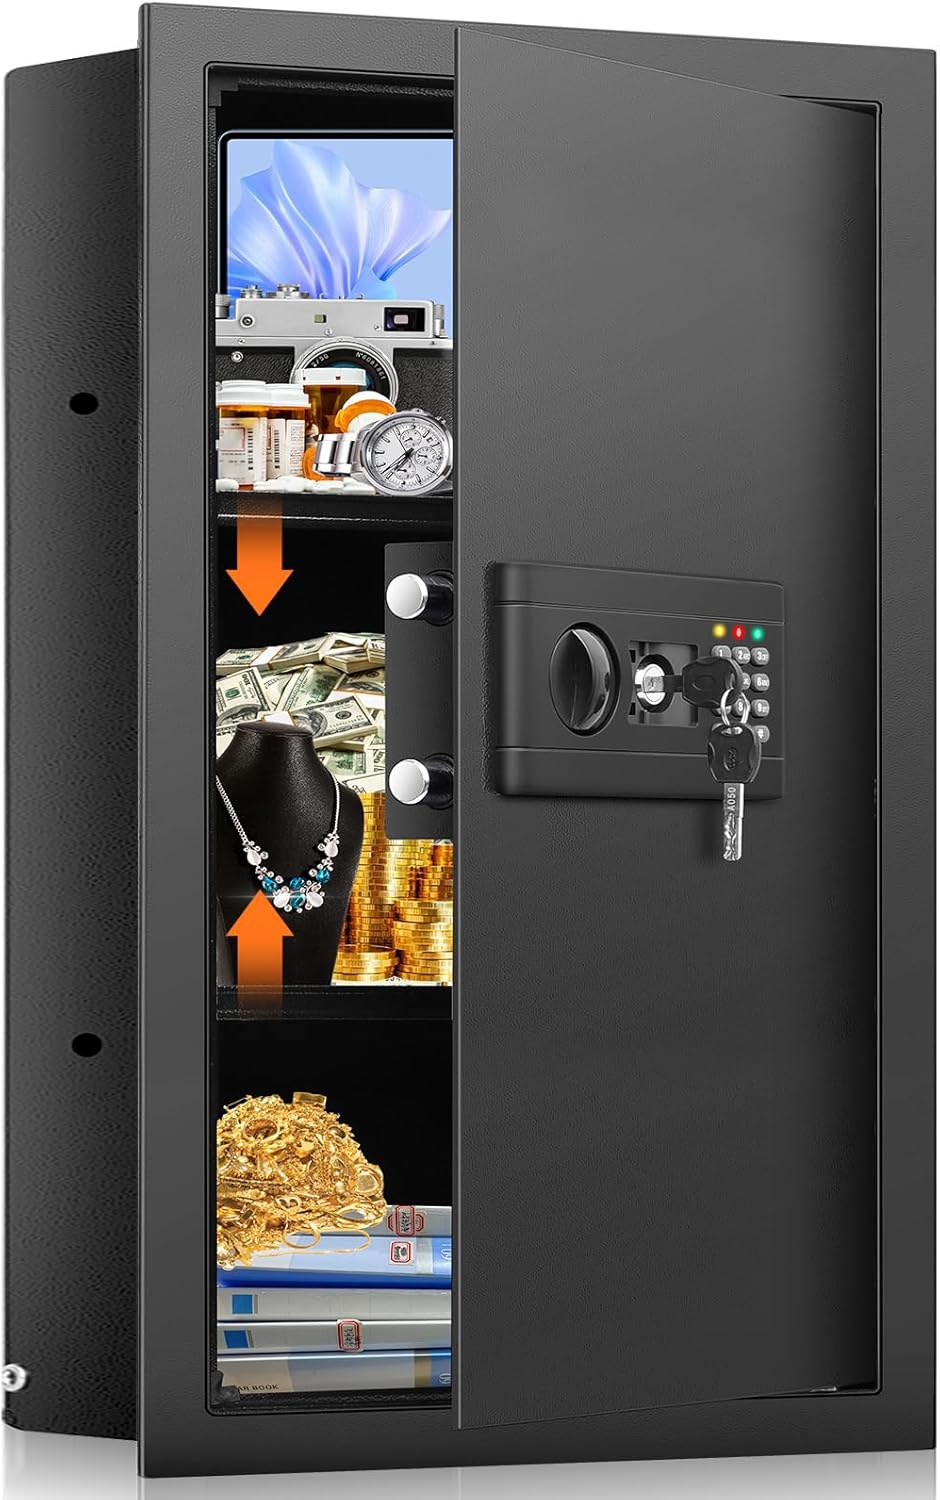
Figure 1: Nebakne 25.6" Tall Fireproof Wall Safe with interior view.
Key Features:
- Fireproof Construction: Provides protection for your valuables against fire damage.
- Space-Saving Design: Specifically designed to fit between 16-inch on-center wall studs for a flush, hidden installation.
- Dual Locking Mechanism: Offers access via an electronic keypad (3-8 digit user/master code) or an emergency key.
- Hidden Compartment: Features a discreet lower compartment for additional security of sensitive items.
- Removable Shelves: Includes two removable interior shelves for organized storage.
- Heavy-Duty Build: Constructed from strong, thick alloy steel with a 4cm thick steel door and 3*2.2cm solid bolts for enhanced anti-theft protection.
- Alarm System: Activates an alarm after three incorrect code entries.
2. Setup and Installation
This wall safe is designed for installation between standard 16-inch on-center wall studs. Professional installation is recommended for optimal security and proper fit.
2.1 Unpacking and Inspection
- Carefully remove the safe from its packaging.
- Inspect the safe for any signs of damage during transit.
- Verify all included components are present: 25.6" Tall Wall Safe, Two Emergency Keys, Mounting Screws, and a User Manual.
- Note: Batteries are required for the electronic lock and are not included. (Requires 4 AA batteries).
2.2 Choosing an Installation Location
Select a location on an interior wall where the safe can be discreetly installed between two vertical wall studs that are 16 inches apart (center to center). The flush-mount design allows for concealment behind framed artwork or furniture.

Figure 2: Concealing the wall safe behind a picture.
2.3 Installation Steps
- Locate two adjacent wall studs that are 16 inches on center. Use a stud finder to ensure accuracy.
- Carefully mark the outline for the safe's opening on the wall, ensuring it aligns perfectly between the studs. Refer to the safe's exterior dimensions: 25.6"(H) x 14.56"(W).
- Cut the opening in the drywall using an appropriate tool. Ensure the cut is precise, as the safe's lip is approximately 3/8 inch.
- Insert the safe into the prepared opening. It should fit snugly between the studs.
- Secure the safe to the wall studs using the provided mounting screws. Ensure the safe is level and flush with the wall surface.
- Install 4 AA batteries into the battery compartment for the electronic lock.
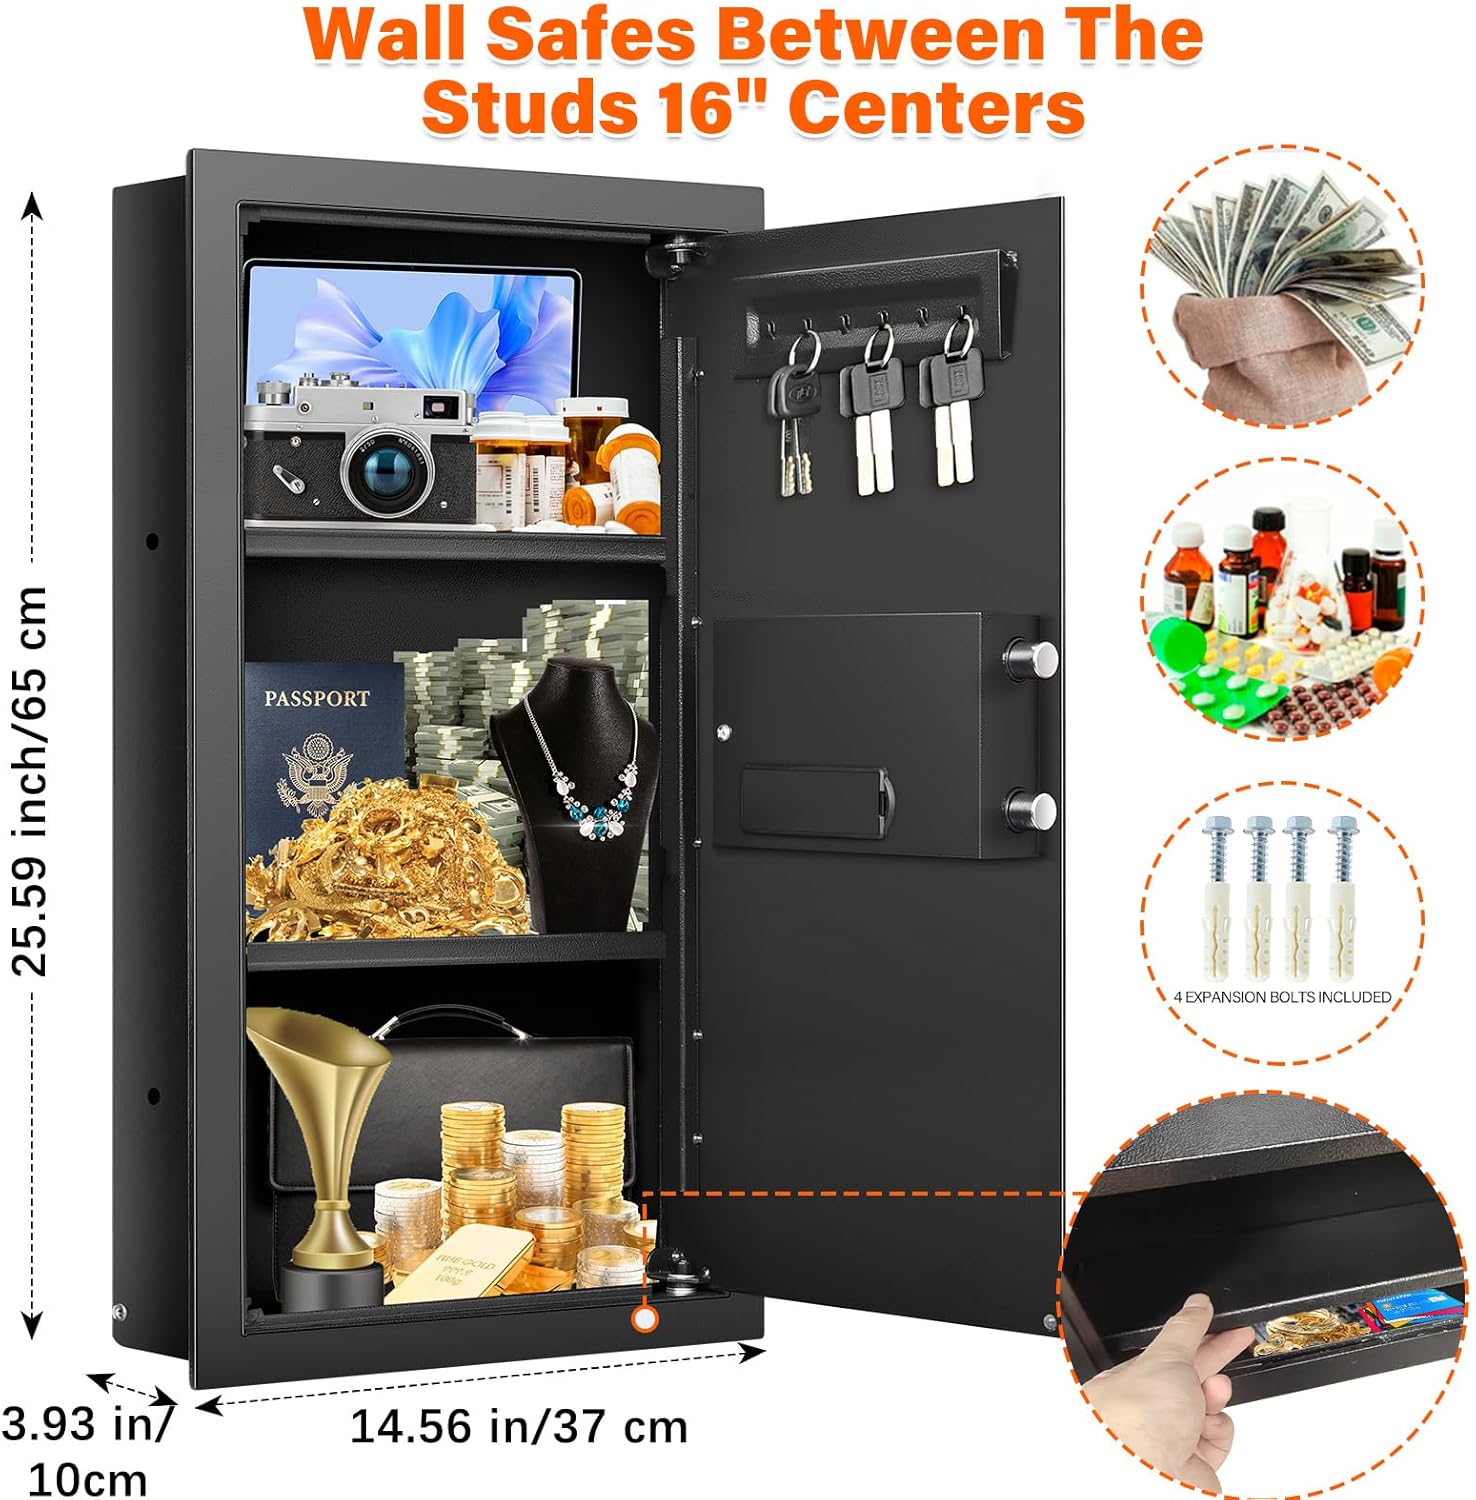
Figure 3: Safe dimensions and fit between wall studs.
3. Operating Instructions
3.1 Opening the Safe
- Using the Electronic Keypad: Enter your 3-8 digit user or master code, then turn the knob to open the door.
- Using the Emergency Key: Insert the emergency key into the keyhole, turn it, and then turn the knob to open the door. This method bypasses the electronic lock.

Figure 4: Electronic keypad and emergency key access.
3.2 Setting/Changing the Code
Refer to the detailed instructions in the included user manual for programming your personal 3-8 digit user and master codes. Ensure you test the new code with the door open before closing it.
3.3 Utilizing Internal Storage
- The safe includes two removable shelves. These can be installed or removed to accommodate items of various sizes.
- A hidden lower compartment provides a secret storage area for additional security.
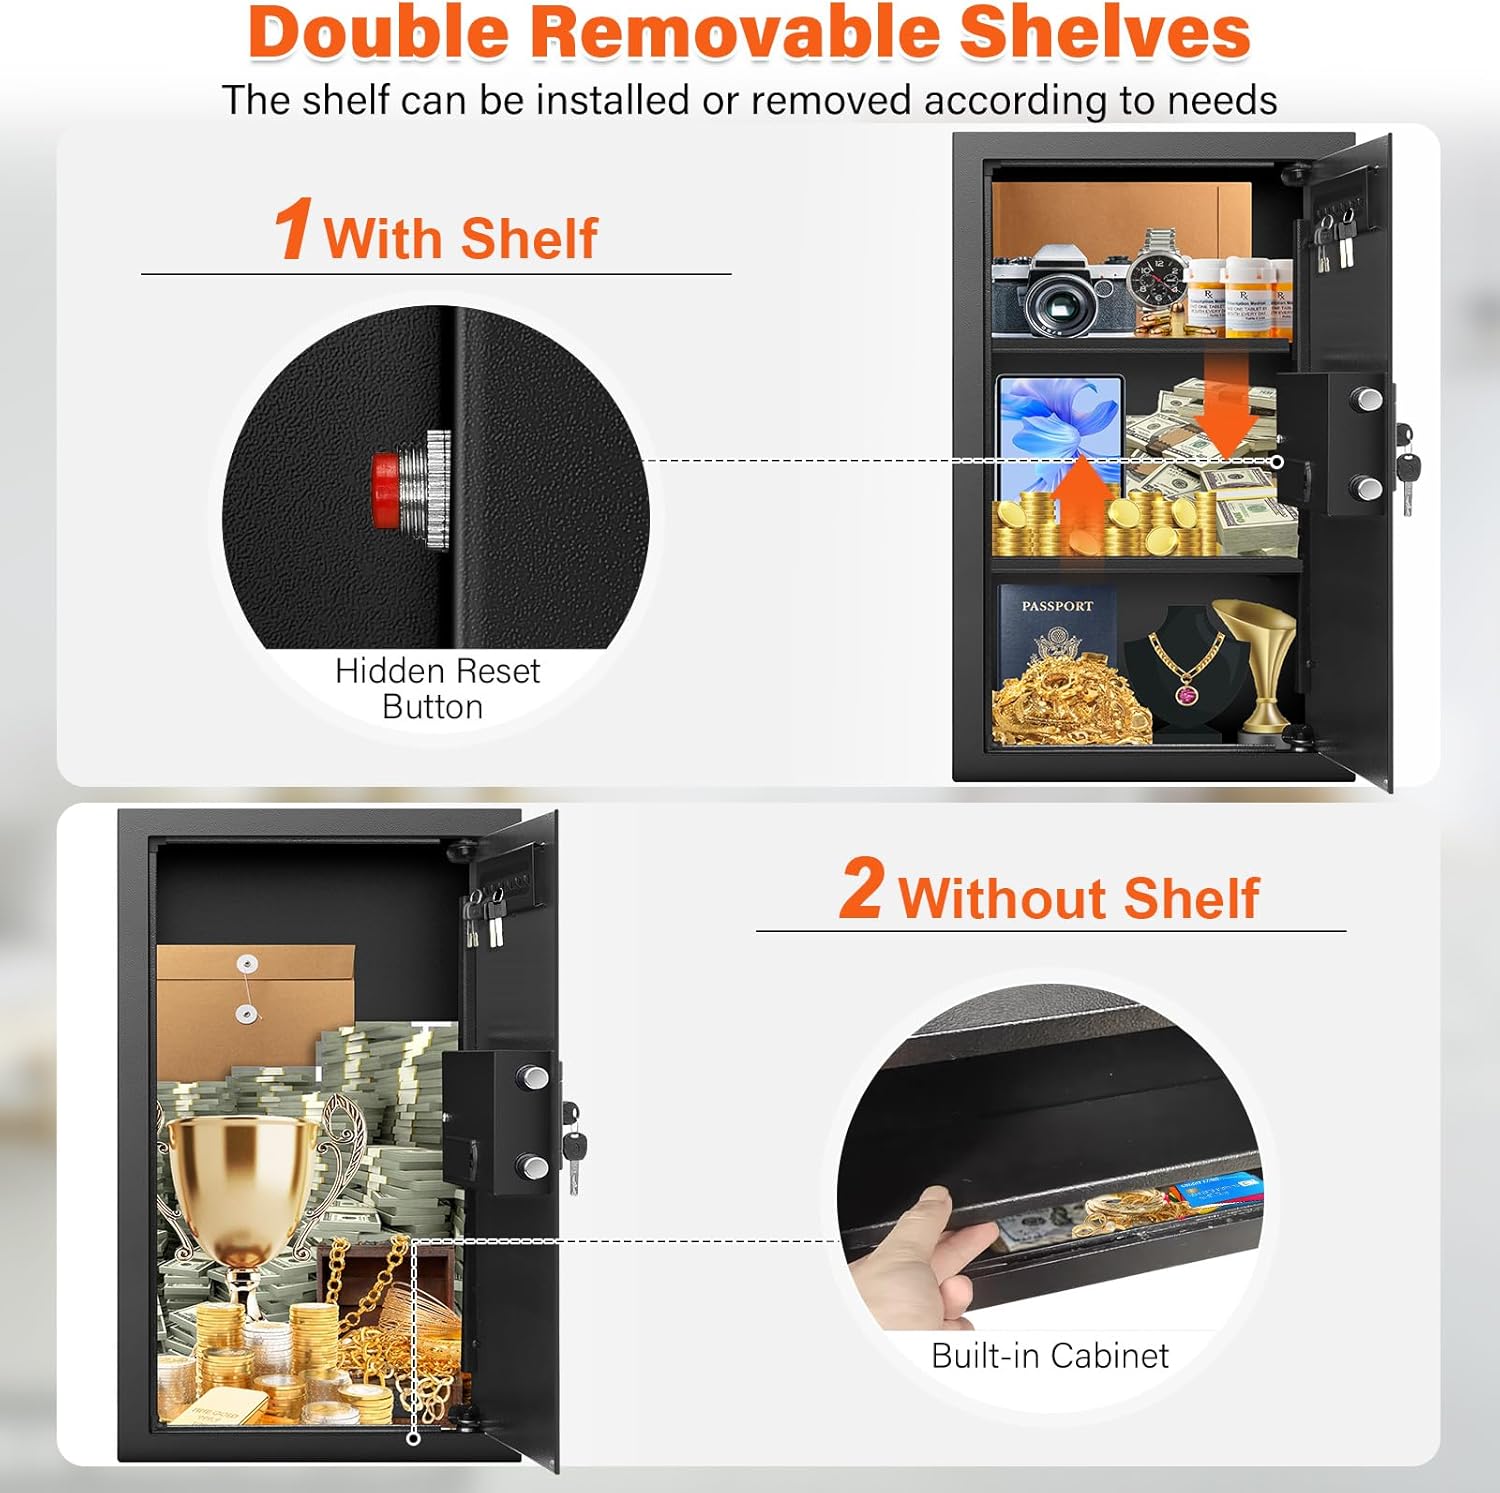
Figure 5: Removable shelves and hidden compartment.
4. Maintenance
- Cleaning: Wipe the exterior and interior surfaces with a soft, damp cloth. Avoid abrasive cleaners or solvents.
- Battery Replacement: Replace the 4 AA batteries when the low battery indicator activates. Always use fresh, high-quality batteries.
- Key Maintenance: Keep emergency keys in a secure location outside the safe. Do not store them inside the safe.
5. Troubleshooting
- Safe Not Opening with Code:
- Ensure batteries are correctly installed and have sufficient power. Replace if necessary.
- Verify you are entering the correct 3-8 digit code.
- If the alarm sounds after 3 incorrect attempts, wait for the alarm to clear before trying again.
- Use the emergency key to open the safe if the electronic lock fails.
- Low Battery Reminder: The safe will provide a low battery reminder. Replace the 4 AA batteries promptly to avoid being locked out.
- Alarm Activation: The alarm system will activate after three consecutive incorrect code entries. This is a security feature. Enter the correct code to deactivate the alarm.
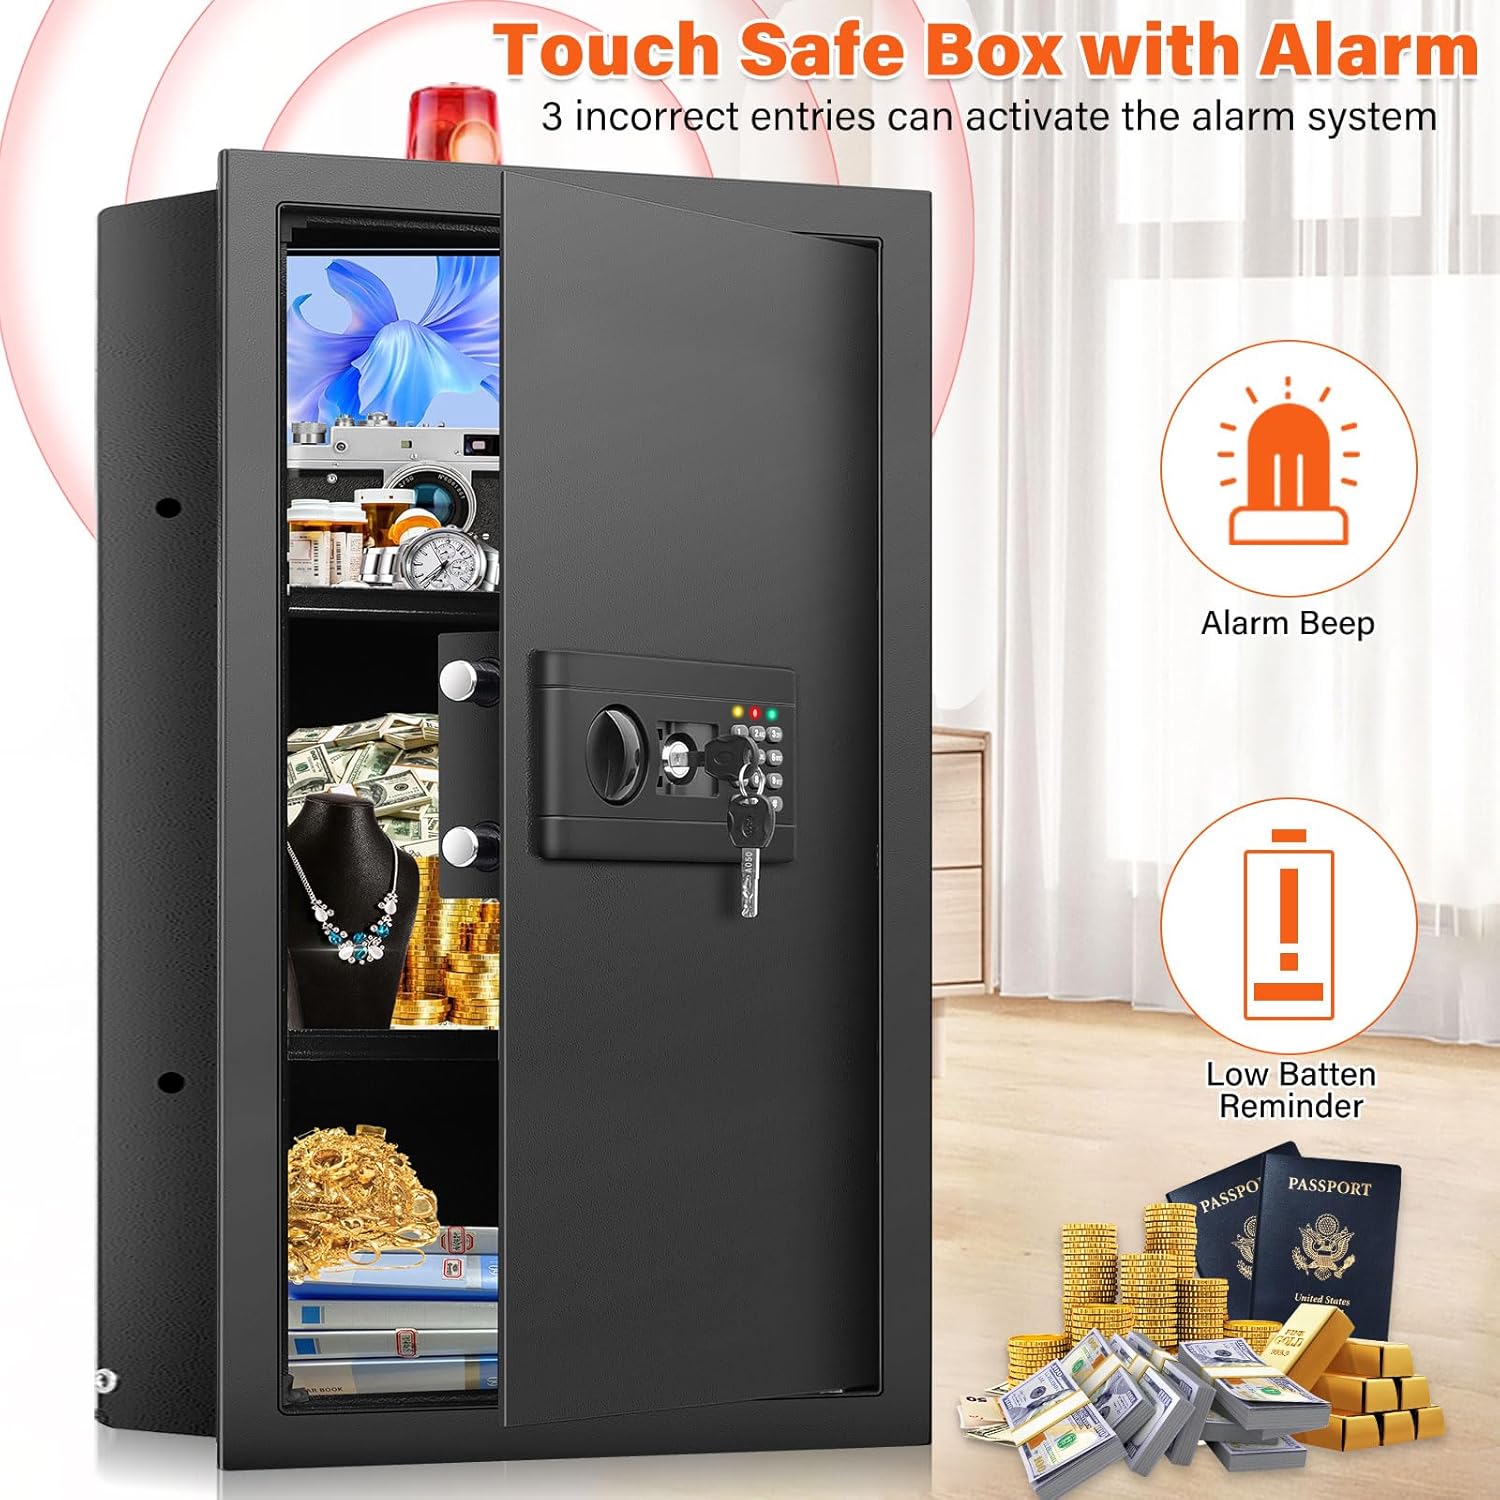
Figure 6: Alarm and low battery indicators.
6. Specifications
| Brand | Nebakne |
| Model Number | 25.6" Tall Wall Safe (65-EF-WALLSAFE) |
| Exterior Dimensions (H x D x W) | 25.6" x 3.93" x 14.56" (65cm x 10cm x 37cm) |
| Material | Alloy Steel |
| Lock Type | Electronic, Key |
| Special Feature | Fireproof |
| Mounting Type | Wall Mount (fits 16" on-center studs) |
| Item Weight | 28.7 Pounds |
| Included Components | Wall Safe, Two Emergency Keys, Mounting Screws, User Manual |
| Batteries Required | Yes (4 AA batteries) |
| Water Resistance Level | Not Water Resistant |
7. Warranty and Support
Nebakne is committed to customer satisfaction. If you have any questions or require assistance with your wall safe, please do not hesitate to contact our customer service team. We provide 24-hour online service to address your concerns.
For more information or to explore other products, visit the official Nebakne Store: Nebakne Store