1. Introduction
This manual provides detailed instructions for the setup, operation, maintenance, and troubleshooting of your Cosmic Byte ARES Wired Controller for PC. Designed for an enhanced gaming experience, this controller features Hall Effect joysticks and triggers, dual vibration, and customizable Turbo functions.
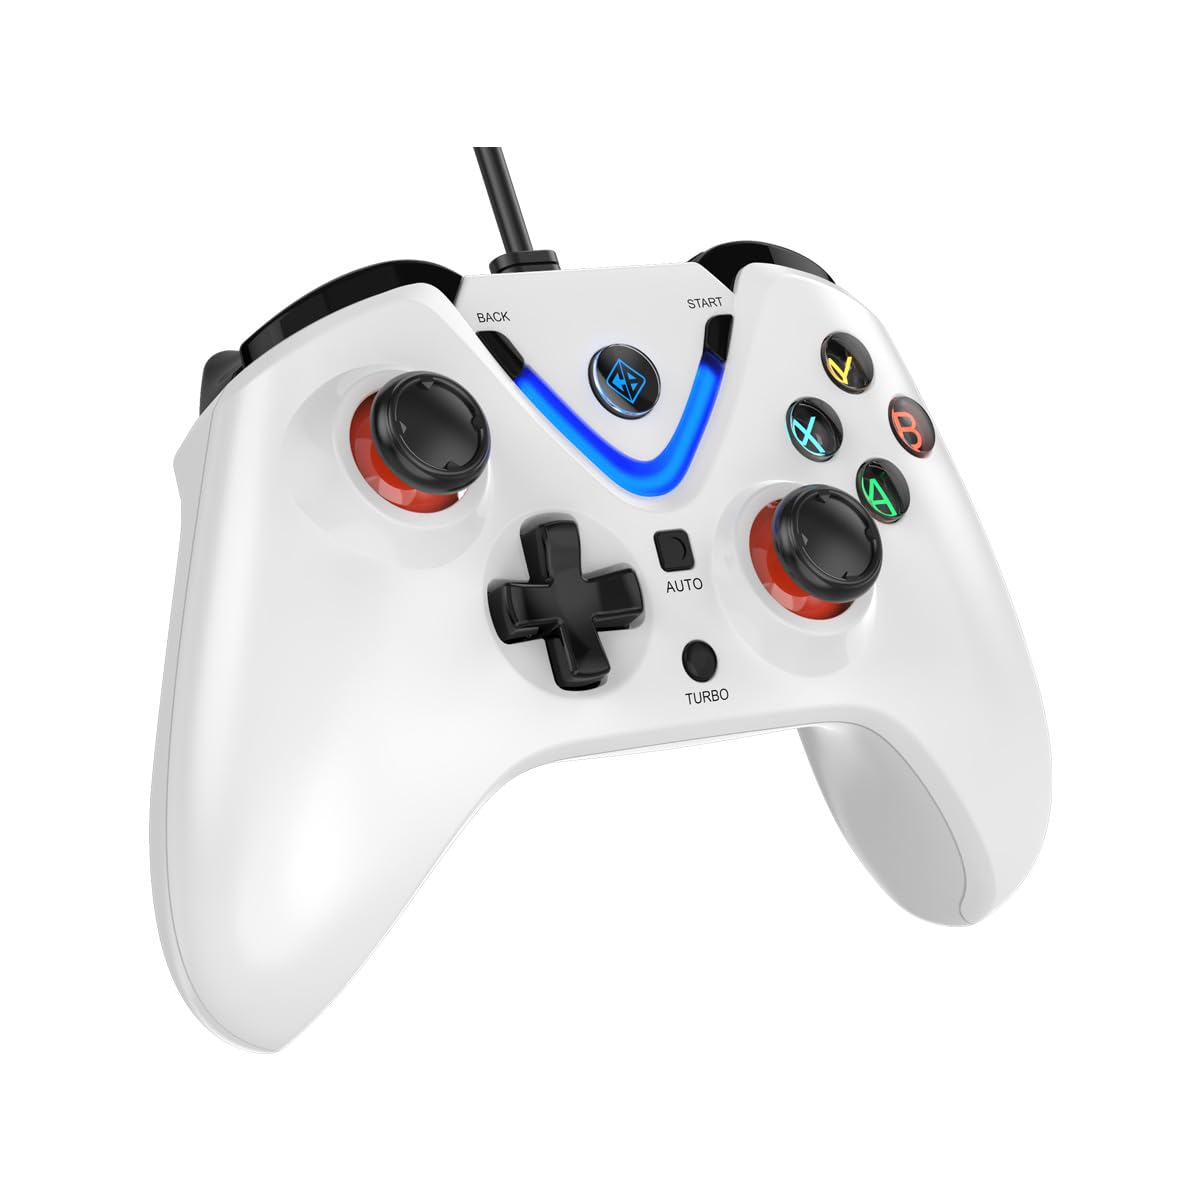
Image 1: The Cosmic Byte ARES Wired Controller in white, showcasing its ergonomic design.
2. Setup Instructions
2.1 Connecting to PC
- Ensure your PC is powered on.
- Locate an available USB port on your computer.
- Plug the USB connector of the Cosmic Byte ARES Wired Controller into the USB port.
- The operating system will automatically detect and install the necessary drivers. This process may take a few moments.
- Once installation is complete, the controller is ready for use.

Image 2: The controller connected via its wired USB connection, ensuring fast response.
3. Operating Instructions
3.1 Basic Controls
The Cosmic Byte ARES controller features standard gamepad layouts, including:
- Left and Right Analog Joysticks: For precise movement and camera control.
- D-Pad: For directional input, often used in menus or for specific game actions.
- Action Buttons (A, B, X, Y): For primary game interactions.
- Shoulder Buttons (L1, R1) and Triggers (L2, R2): For various in-game functions like shooting, aiming, or accelerating.
- Start and Back Buttons: For pausing games, accessing menus, or specific in-game commands.
- Turbo Button: For activating rapid-fire functions.
- Auto Button: For activating automatic rapid-fire functions.
3.2 Hall Effect Joysticks and Triggers
The controller is equipped with Hall Effect joysticks and triggers, which use magnetic sensors instead of physical contacts. This technology provides:
- Enhanced Precision: More accurate and responsive input.
- Increased Durability: Reduces wear and tear, preventing stick drift over time.
- Smooth Operation: Consistent and linear response for triggers, allowing for nuanced control in games.

Image 3: An exploded view illustrating the Hall Effect joystick mechanism and the Hall Effect triggers.
3.3 Dual Vibration Feedback
The controller features dual vibration motors that provide tactile feedback during gameplay, enhancing immersion by simulating in-game events such as impacts, explosions, or engine rumbling.
3.4 Backlit LED Buttons
The action buttons (A, B, X, Y) and the central V-shaped indicator feature LED backlighting, providing visibility in low-light conditions and adding to the controller's aesthetic.

Image 4: The controller with its LED buttons illuminated and visual representation of vibration effects.
3.5 Turbo and Auto Turbo Functions
The Turbo and Auto Turbo functions allow for rapid, repeated input of a button press without continuously pressing the button.
- Activating Turbo: Press and hold the desired action button (e.g., A) and then press the Turbo button. The button will now rapidly repeat its input as long as you hold it down.
- Activating Auto Turbo: Press and hold the desired action button (e.g., A) and then press the Auto button. The button will now rapidly repeat its input automatically without needing to be held down.
- Deactivating Turbo/Auto Turbo: To deactivate, repeat the activation steps for the specific button, or press the Clear button (if available) or disconnect and reconnect the controller.

Image 5: Close-up of the controller showing the Turbo and Auto function buttons.
4. Maintenance
- Cleaning: Use a soft, dry cloth to clean the controller. For stubborn dirt, a slightly damp cloth can be used, ensuring no liquid enters the controller. Avoid harsh chemicals or abrasive cleaners.
- Storage: Store the controller in a cool, dry place away from direct sunlight and extreme temperatures. Avoid placing heavy objects on the controller.
- Cable Care: Do not sharply bend or pull the USB cable. Always grasp the plug when disconnecting from the PC.
5. Troubleshooting
- Controller Not Recognized:
- Ensure the USB cable is securely connected to both the controller and the PC.
- Try plugging the controller into a different USB port.
- Restart your computer.
- Check Device Manager on Windows to see if the controller is listed and if there are any driver issues.
- Buttons/Joysticks Not Responding:
- Verify the controller is recognized by your PC (see above).
- Test the controller in a different game or a controller testing utility to rule out game-specific issues.
- Ensure no other input devices are interfering.
- Vibration Not Working:
- Check in-game settings to ensure vibration feedback is enabled.
- Some games may not support vibration or may have limited vibration effects.
6. Specifications
| Feature | Detail |
|---|---|
| Brand | Cosmic Byte |
| Model Name | Ares |
| Compatible Devices | PC |
| Controller Type | Gamepad |
| Connectivity Technology | USB |
| Product Features | Ergonomic |
| Button Quantity | 16 |
| Hardware Platform | PC |
| Power Source Type | Corded Electric, USB Cable |
| Item Weight | 220 Grams |
| Item Dimensions | 6 x 10 x 4 Centimeters |
| Colour | White |
| Country of Origin | China |

Image 6: A comparison table highlighting features of different ARES controller models.
7. Warranty and Support
7.1 Warranty Information
The Cosmic Byte ARES Wired Controller comes with a 1 Year Warranty Against Manufacturing Defects from the date of purchase. Please retain your proof of purchase for warranty claims.
7.2 Manufacturer Contact Information
For support, service, or warranty inquiries, please contact:
Cosmic BytePrakash Warehousing, S. No.163, Hissa No 1-2-3-4-5A-5B/2/1,
Phursungi, Pune 412308, Maharashtra, India
For further assistance, please visit the official Cosmic Byte website or contact their customer service.


