
GODOX MS300V
Contents
Godox MS300V MS300-V Compact Studio Strobe Flash Light User Manual
Model: MS300V | Brand: GODOX
Introduction
This manual provides detailed instructions for the safe and effective use of your Godox MS300V MS300-V Compact Studio Strobe Flash Light. Please read this manual thoroughly before operation to ensure optimal performance and longevity of the product.
Safety Instructions
- Do not disassemble or modify the unit.
- Keep the unit dry. Do not handle with wet hands or immerse in water.
- Do not operate in the presence of flammable gases or liquids.
- Ensure the power supply matches the unit's requirements.
- Unplug the unit before cleaning or maintenance.
- Avoid direct eye exposure to the flash.
- Remove the lamp cover before use.
- This unit does not have HSS (High-Speed Sync) function.
Product Overview
The Godox MS300V is a compact studio strobe flash designed for various photographic applications, including portrait and still life photography. It features a powerful 300W output, an upgraded LED modeling lamp, and an integrated 2.4G wireless X system for remote control. The Bowens mount ensures compatibility with a wide range of light modifiers.

Figure 1: Godox MS300V Studio Strobe Flash Light with included power cord and lamp cover.
Key Features:
- Upgraded LED Modeling Lamp: 150W power, adjustable from 5% to 100%.
- Wireless Remote Control: Integrated 2.4G X System, compatible with Godox X2, XT16, XPro, X1 triggers. Supports 16 groups and 32 channels.
- Output Stability: Less than 2% tolerance in output power during extended use.
- Anti-Preflash Function: Ensures synchronization with cameras that use a preflash.
- Compact Design: Lightweight (approx. 1.3kg) and portable.
- Bowens Mount: Compatible with a wide range of light modifiers.
- Fast Recycle Time: 0.1-1.8 seconds.
- Easy Control Panel: Large LCD display and intuitive controls.
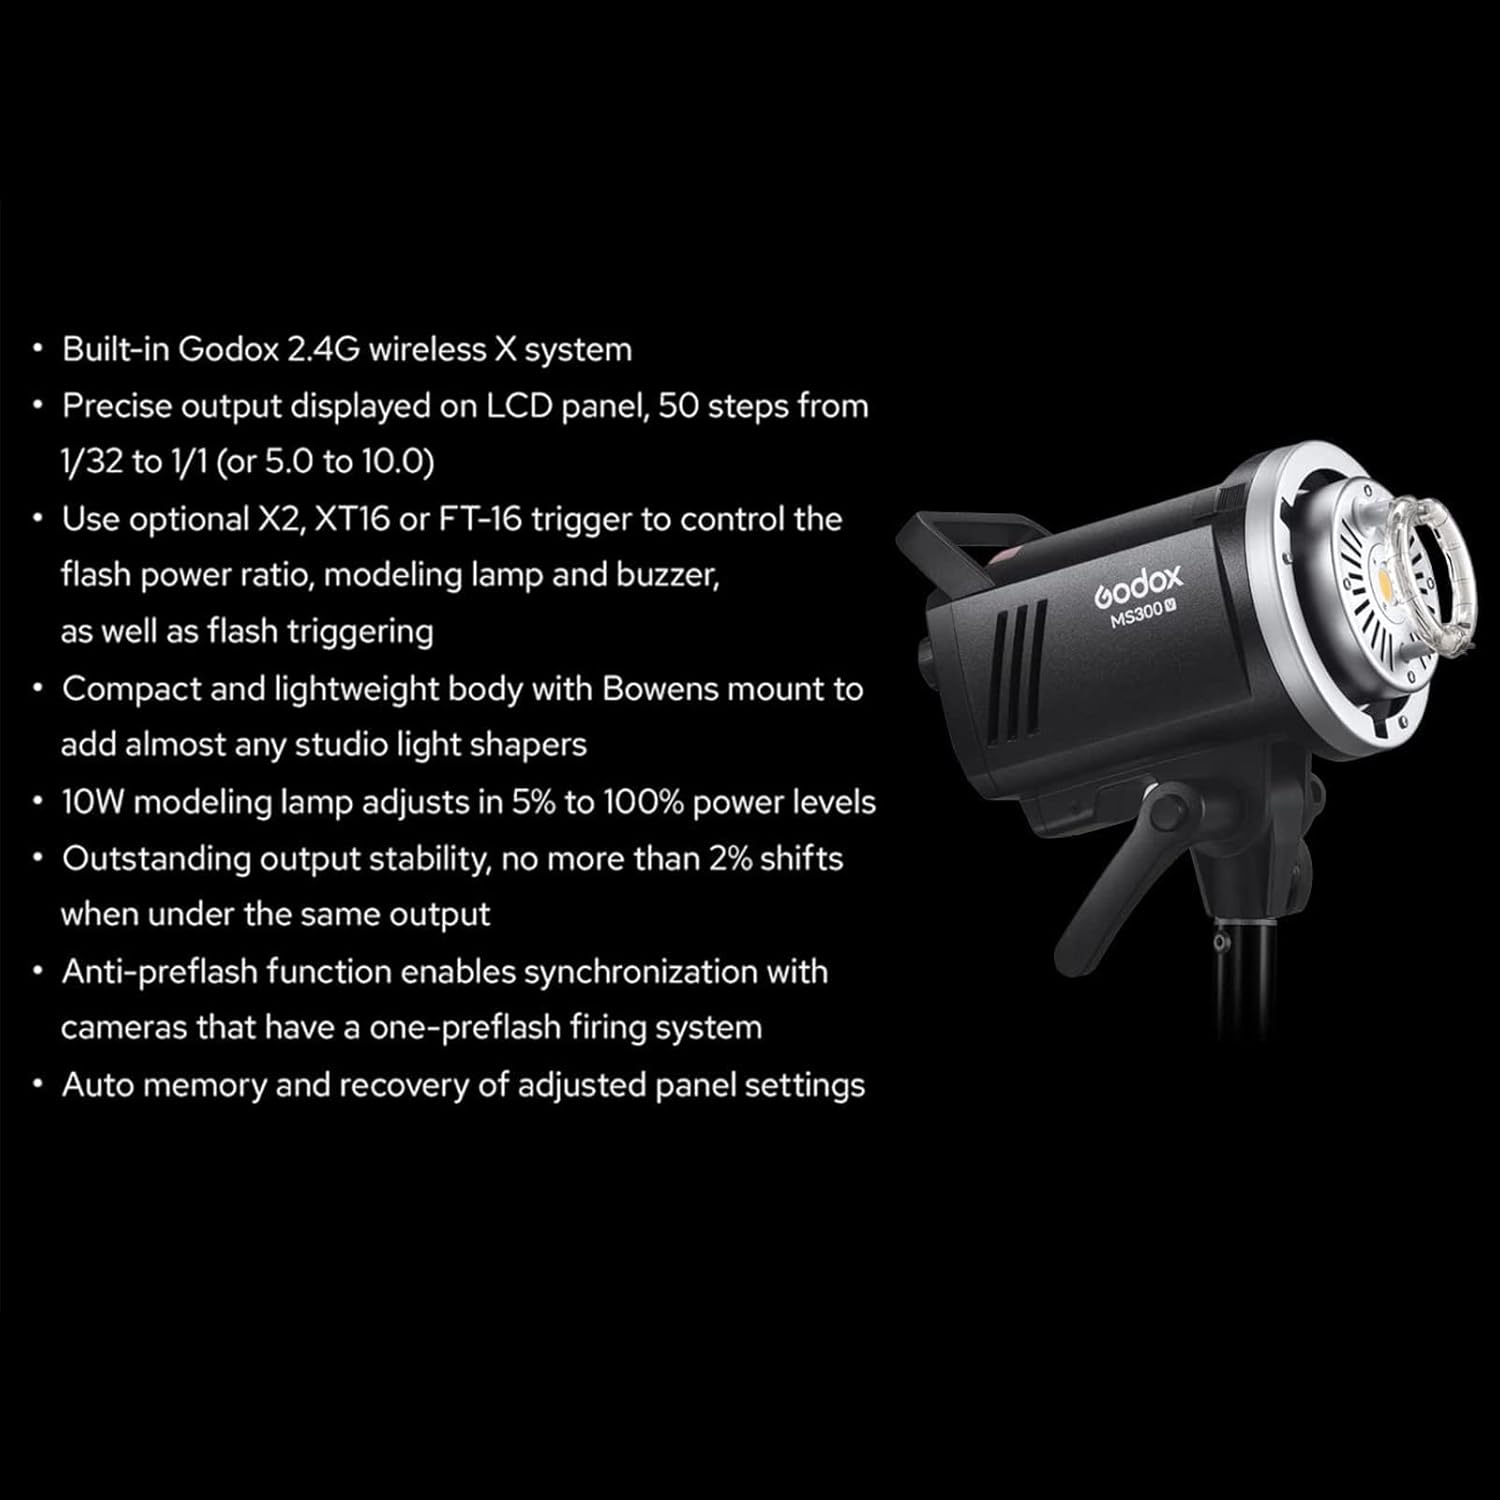
Figure 2: Rear view of the Godox MS300V showing the control panel, power input, and sync port.
Setup
- Mounting the Strobe: Attach the MS300V to a compatible light stand using the mounting bracket. Secure it firmly.
- Attaching Light Modifiers: The MS300V features a Bowens mount. Align your desired light modifier (e.g., softbox, reflector) with the mount and twist to lock it into place.
- Connecting Power: Connect the power cord to the strobe's power input and then to a suitable AC power outlet. Ensure the power switch is in the OFF position before connecting.
- Removing Lamp Cover: Before operating, always remove the protective lamp cover.

Figure 3: Godox MS300V with a standard reflector attached to the Bowens mount.
Operating Instructions
Power On/Off:
Flip the power switch located on the rear panel to turn the unit ON or OFF.
Adjusting Flash Power:
Use the dial on the control panel to adjust the flash power output. The power can be adjusted from 1/32 to 1/1 (or 5.0 to 10.0 in some modes). The current setting will be displayed on the LCD screen.
Modeling Lamp Control:
Press the modeling lamp button to cycle through modeling lamp modes (ON/OFF/Proportional). The LED modeling lamp's brightness can be adjusted from 5% to 100% using the control dial when the lamp is active.

Figure 4: Illustration of the modeling lamp brightness adjustment from 20% to 100%.
Wireless Control (2.4G X System):
The MS300V features a built-in Godox 2.4G wireless X system. To use this function, you will need a compatible Godox X2, XPro, or XT16 trigger (sold separately).
- Setting Group and Channel: Use the GR/CH buttons on the strobe to set the desired group (0-9, A-F) and channel (1-32) to match your wireless trigger.
- Triggering: Once matched, the flash can be triggered and its power/modeling lamp settings adjusted remotely via the trigger.

Figure 5: The Godox MS300V can be controlled wirelessly using a Godox X2T trigger and the Godox Flash App on a smartphone.
Sync Port:
A 3.5mm sync port is available for wired synchronization with cameras or other triggers.
Anti-Preflash Function:
This function allows the strobe to synchronize with cameras that emit a preflash before the main flash. Activate this function if your camera uses a preflash system.
Maintenance
- Cleaning: Use a soft, dry cloth to clean the exterior of the unit. Do not use harsh chemicals or abrasive materials.
- Storage: Store the unit in a cool, dry place away from direct sunlight and moisture.
- Lamp Replacement: The modeling lamp is an LED and generally has a long lifespan. If replacement is needed, consult a qualified technician or Godox support.
Troubleshooting
| Problem | Possible Cause | Solution |
|---|---|---|
| Flash not firing | Power off; Trigger not synced; Sync cable loose; Flash power too low. | Check power switch; Ensure trigger and flash are on the same group/channel; Reconnect sync cable; Increase flash power. |
| Modeling lamp not working | Lamp off; Brightness set to 0%. | Press modeling lamp button to turn on; Increase brightness using the dial. |
| Inconsistent flash output | Unit overheating; Low power setting. | Allow unit to cool down; Ensure sufficient power setting for desired output. |
Specifications
- Model: GD-MS300V
- Power Output: 300W
- Guide Number (GN): 58 (ISO 100, with standard reflector)
- Recycle Time: 0.1-1.8 seconds
- Flash Duration: 1/2000 to 1/800 seconds
- Color Temperature: 5600K ± 200K
- Modeling Lamp: 150W LED, 5%-100% adjustable
- Wireless Control: Godox 2.4G X System (16 groups, 32 channels)
- Mount Type: Bowens
- Dimensions: 13.23 x 7.52 x 9.02 inches (approx. 33.6 x 19.1 x 22.9 cm)
- Weight: 5.5 pounds (approx. 2.5 kg)
- Sync Method: Sync cord, Optical, Test button, Wireless control
What's in the Box
- Godox MS300V Flash Head x1
- Power Cord x1
- Lamp Cover x1

Figure 6: Included items: MSV Flash Head, Power Cord, and Lamp Cover.
Warranty and Support
For warranty information and technical support, please refer to the official Godox website or contact your local distributor. Keep your purchase receipt as proof of purchase.
You can also find additional support and resources on the GODOX Store on Amazon.
Ask a question about this manual
Ask about setup, troubleshooting, compatibility, parts, safety, or missing instructions. Manuals+ will review the question and use this page’s manual context to help answer it.