1. Introduction
This manual provides detailed instructions for the safe and efficient operation of your ViewSonic PA700W projector. Please read this manual thoroughly before using the projector and keep it for future reference. The ViewSonic PA700W is a high-brightness WXGA projector designed for business and education environments, offering vivid images and flexible connectivity.
2. Safety Information
Always observe the following safety precautions to prevent fire, electric shock, or injury:
- Do not block ventilation openings. Ensure adequate space around the projector for proper airflow.
- Do not look directly into the projector lens when the lamp is on, as the bright light can damage your eyes.
- Do not place the projector on an unstable cart, stand, or table.
- Use only the power cord supplied with the projector.
- Do not attempt to service this product yourself. Refer all servicing to qualified service personnel.
- Keep the projector away from water or moisture.
3. What's in the Box
Verify that all items are present in the package:
- ViewSonic PA700W Projector
- Power Cord
- Remote Control (with 2 AAA batteries included)
- HDMI Cable
- VGA Cable
- Quick Start Guide
- User Manual (this document)

Figure 3.1: Contents of the ViewSonic PA700W package. Includes the projector, power cord, remote control, HDMI cable, VGA cable, and quick start guide.
4. Product Overview
4.1 Front and Side View

Figure 4.1: Front view of the ViewSonic PA700W projector, highlighting the main lens and front ventilation grilles.

Figure 4.2: Angled view of the ViewSonic PA700W projector, providing a perspective of the lens, control panel, and side ventilation.
4.2 Dimensions

Figure 4.3: Physical dimensions of the PA700W projector, showing its length, width, and height for placement planning.
4.3 Connectivity Ports
The PA700W offers a variety of input and output ports for flexible connectivity:
- HDMI 1.4: x2 (for digital video and audio)
- VGA (In/Out): x2 (for analog video)
- USB 2.0 Type-A: x1 (for media playback or firmware updates)
- Ethernet LAN (RJ45): x1 (for network control)
- Audio (In/Out): x2 (3.5mm jacks for audio input/output)

Figure 4.4: Rear panel of the projector displaying all available input and output ports for connecting various devices.
4.4 Remote Control
The included remote control allows for convenient operation of the projector from a distance. It requires 2 AAA batteries (included).
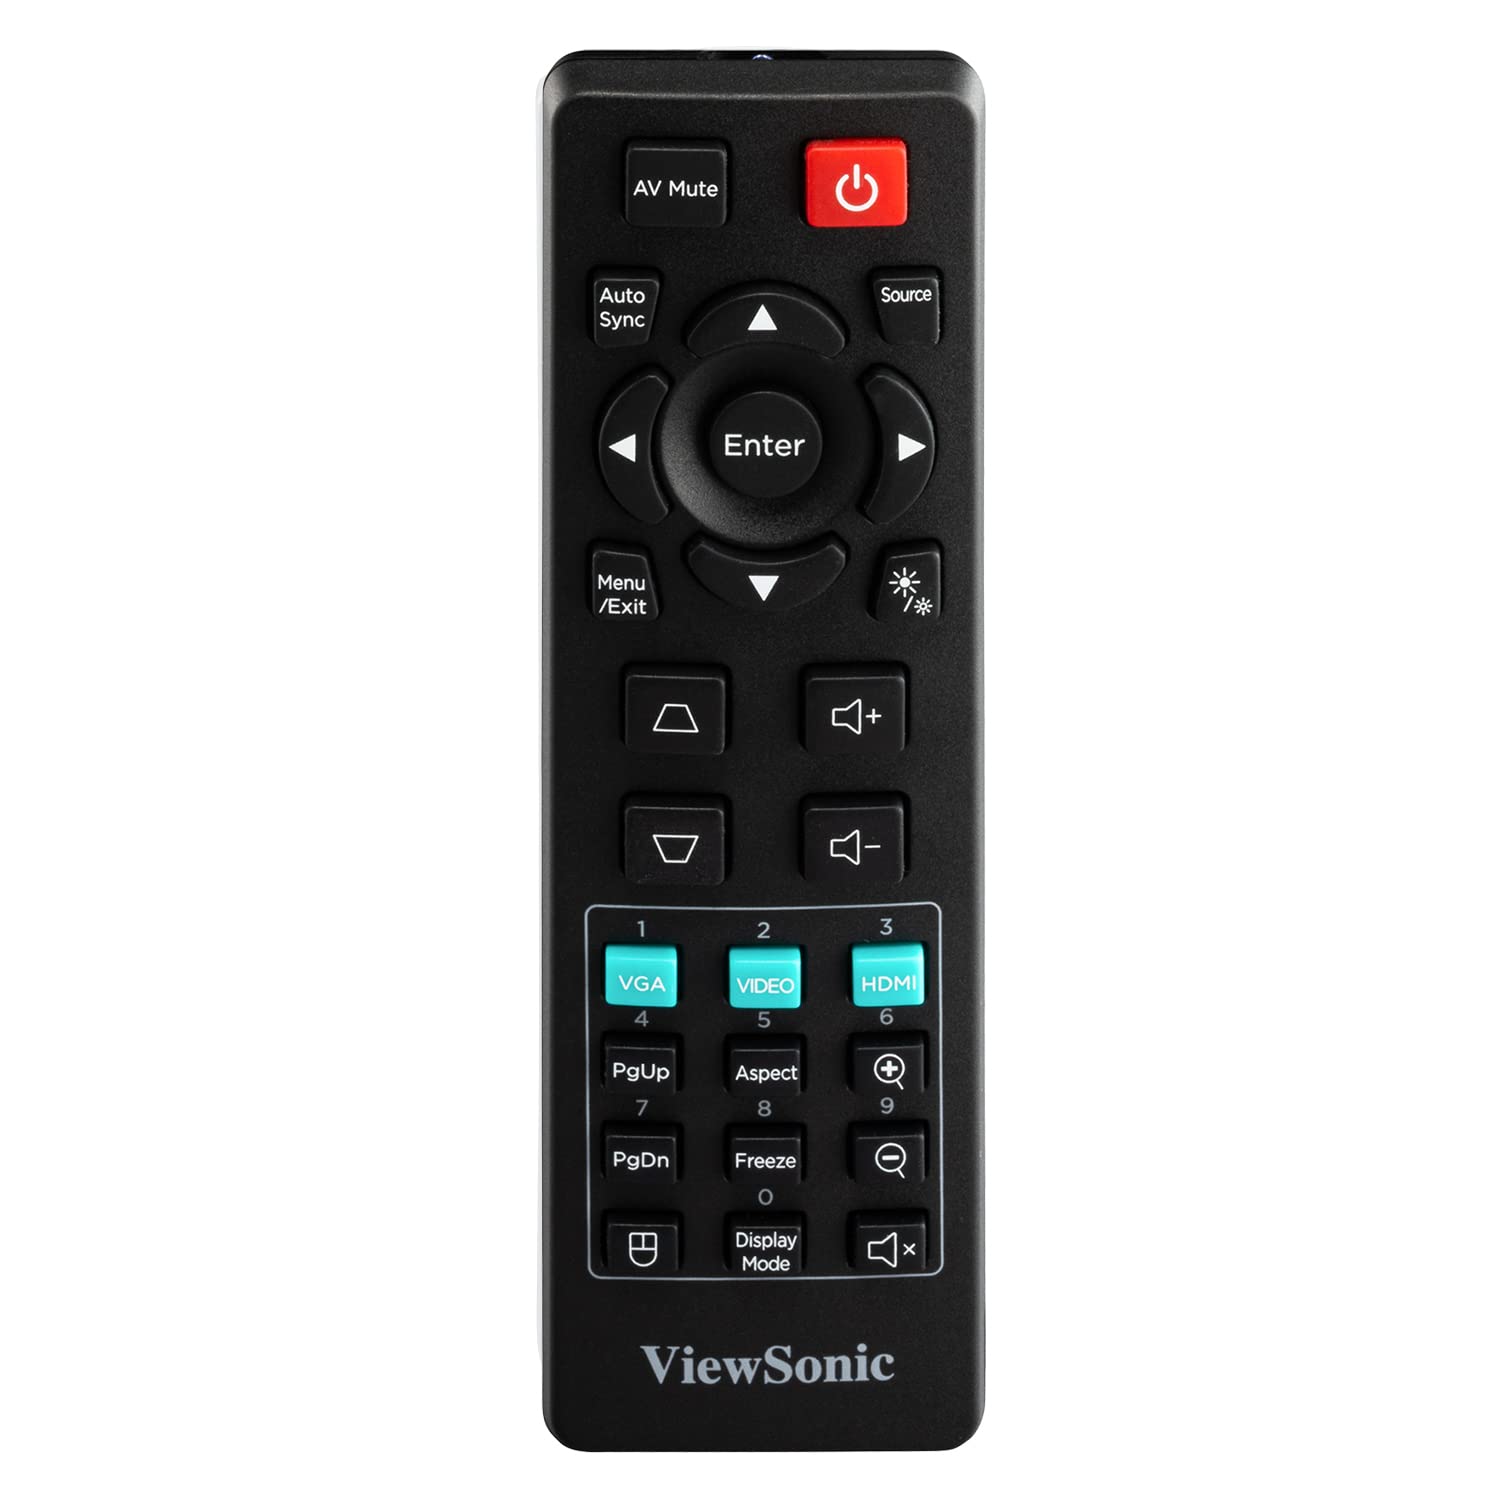
Figure 4.5: The remote control for the PA700W projector, showing its button layout for various functions.
5. Setup
5.1 Placement
Position the projector on a stable, flat surface or mount it securely. Ensure there is adequate ventilation around the unit. The PA700W can project a 100-inch screen from approximately 3.3 meters (10.9 feet) away.

Figure 5.1: Recommended projection distances for different screen sizes, illustrating the flexibility of placement.
5.2 Connecting Power
- Connect the power cord to the projector's power inlet.
- Plug the other end of the power cord into a grounded electrical outlet.
5.3 Connecting Input Devices
Use the appropriate cables to connect your source devices (e.g., laptop, DVD player, gaming console) to the projector's input ports (HDMI, VGA, etc.).
- For digital video and audio, use an HDMI cable to connect your device to an HDMI port on the projector.
- For analog video, use a VGA cable to connect your device to a VGA port. If audio is also needed, connect a 3.5mm audio cable from your device's audio out to the projector's Audio In port.
6. Operating the Projector
6.1 Powering On/Off
- To Power On: Press the Power button on the projector's control panel or the remote control. The power indicator light will turn blue.
- To Power Off: Press the Power button again. A confirmation message may appear; press the button a second time to confirm shutdown. The power indicator light will turn orange.
6.2 Source Selection
After powering on, the projector will automatically detect an active input source. If multiple sources are connected, or if the desired source is not automatically selected:
- Press the Source button on the remote control or projector.
- Use the arrow keys to navigate through the available input sources (HDMI 1, HDMI 2, VGA 1, VGA 2, USB).
- Press Enter to select the desired source.
6.3 Image Adjustment
- Focus: Rotate the focus ring on the projector lens until the image is sharp and clear.
- Zoom: Rotate the zoom ring on the projector lens to adjust the image size.
- Keystone Correction: If the image appears trapezoidal, use the Keystone buttons (up/down arrows) on the remote or projector to correct the image shape. The PA700W supports 40-degree vertical keystone correction.
6.4 Menu Navigation
To access and adjust projector settings:
- Press the Menu/Exit button on the remote or projector.
- Use the arrow keys to navigate through menu options.
- Press Enter to select a sub-menu or confirm a setting.
- Press Menu/Exit again to exit the menu.
Common menu settings include:
- Picture: Brightness, Contrast, Color, Tint, Sharpness, Aspect Ratio, Display Mode.
- Audio: Volume, Mute.
- Setup: Language, Projection Mode, Auto Power Off.
- Advanced: Lamp Settings (SuperEco Mode), Information.

Figure 6.1: The projector's capability to display bright and clear images with WXGA resolution, suitable for various environments.

Figure 6.2: Example of the projector's performance in a bright room, demonstrating its ability to produce crystal clear images even with ambient light.
7. Maintenance
7.1 Cleaning the Projector
- Projector Case: Use a soft, lint-free cloth dampened with a mild detergent solution to wipe the case. Do not use abrasive cleaners or solvents.
- Projector Lens: Use a lens cleaning cloth and lens cleaning solution specifically designed for optical lenses. Avoid touching the lens directly with your fingers.
- Ventilation Openings: Use a soft brush or compressed air to remove dust from the ventilation openings. Ensure the projector is turned off and unplugged before cleaning.
7.2 Lamp Life
The PA700W utilizes a long-life lamp. In SuperEco Mode, the lamp can last for up to 12,000 hours, significantly reducing maintenance and replacement costs. The projector will display a warning message when the lamp is nearing the end of its life.
8. Troubleshooting
| Problem | Possible Cause | Solution |
|---|---|---|
| No image on screen |
|
|
| Image is blurry |
|
|
| Image is trapezoidal |
|
|
| No audio |
|
|
9. Specifications
| Brand | ViewSonic |
| Model | PA700W |
| Display Type | LED |
| Brightness | 4500 ANSI Lumens |
| Native Resolution | WXGA (1280 x 800 Pixels) |
| Aspect Ratio | 16:10 |
| Contrast Ratio | (Not specified in provided data, typical for LED projectors) |
| Lamp Life | Up to 12,000 hours (SuperEco Mode) |
| Keystone Correction | Vertical (40 degrees), Digital Keystone Correction |
| Connectivity | 2x HDMI 1.4, 2x VGA (In/Out), 1x USB 2.0 Type-A, 1x Ethernet (RJ45), 2x 3.5mm Audio (In/Out) |
| Built-in Speaker | Yes |
| Noise Level | 25 dB |
| Power Consumption | 300 Watts |
| Dimensions (LxWxH) | 23.4 x 31 x 11.4 cm (9.2 x 12.2 x 4.5 inches) |
| Weight | 2.72 kg (5.99 lbs) |
| Included Accessories | Power Cord, Remote Control, HDMI Cable, VGA Cable, User Manual |
10. Warranty and Support
10.1 Warranty Information
ViewSonic products are manufactured to the highest standards of quality and performance, and we back them with a comprehensive warranty. For specific warranty terms and conditions applicable to your region and product, please refer to the warranty card included with your product or visit the official ViewSonic website.
10.2 Customer Support
If you encounter any issues or have questions regarding your ViewSonic PA700W projector that are not covered in this manual, please contact ViewSonic customer support. You can find contact information (phone numbers, email, or online chat) on the official ViewSonic website:
Visit ViewSonic Support Website
Please have your product model number (PA700W) and serial number ready when contacting support.