
1. Introduction
This manual provides essential information for the safe and effective use of your YESWELDER 150A Spool Gun, Model YW-SP200-TW. Please read these instructions carefully before operating the equipment to ensure proper setup, operation, and maintenance. Retain this manual for future reference.
2. Safety Information
WARNING: Welding can be dangerous. Always follow safety precautions to prevent injury or death.
- Electric Shock: Can kill. Do not touch live electrical parts. Wear dry insulating gloves and protective clothing.
- Fumes and Gases: Can be hazardous to your health. Keep your head out of the fumes. Use ventilation or exhaust to remove fumes and gases from the breathing zone.
- Arc Rays: Can injure eyes and burn skin. Wear an approved welding helmet with a proper shade filter. Wear appropriate eye protection with side shields when not welding. Wear protective clothing to protect skin.
- Fire and Explosion: Welding sparks can cause fire or explosion. Keep flammable materials away from the welding area. Have a fire extinguisher nearby.
- Burns: Hot metal can cause severe burns. Do not touch hot parts with bare hands.
3. Product Overview
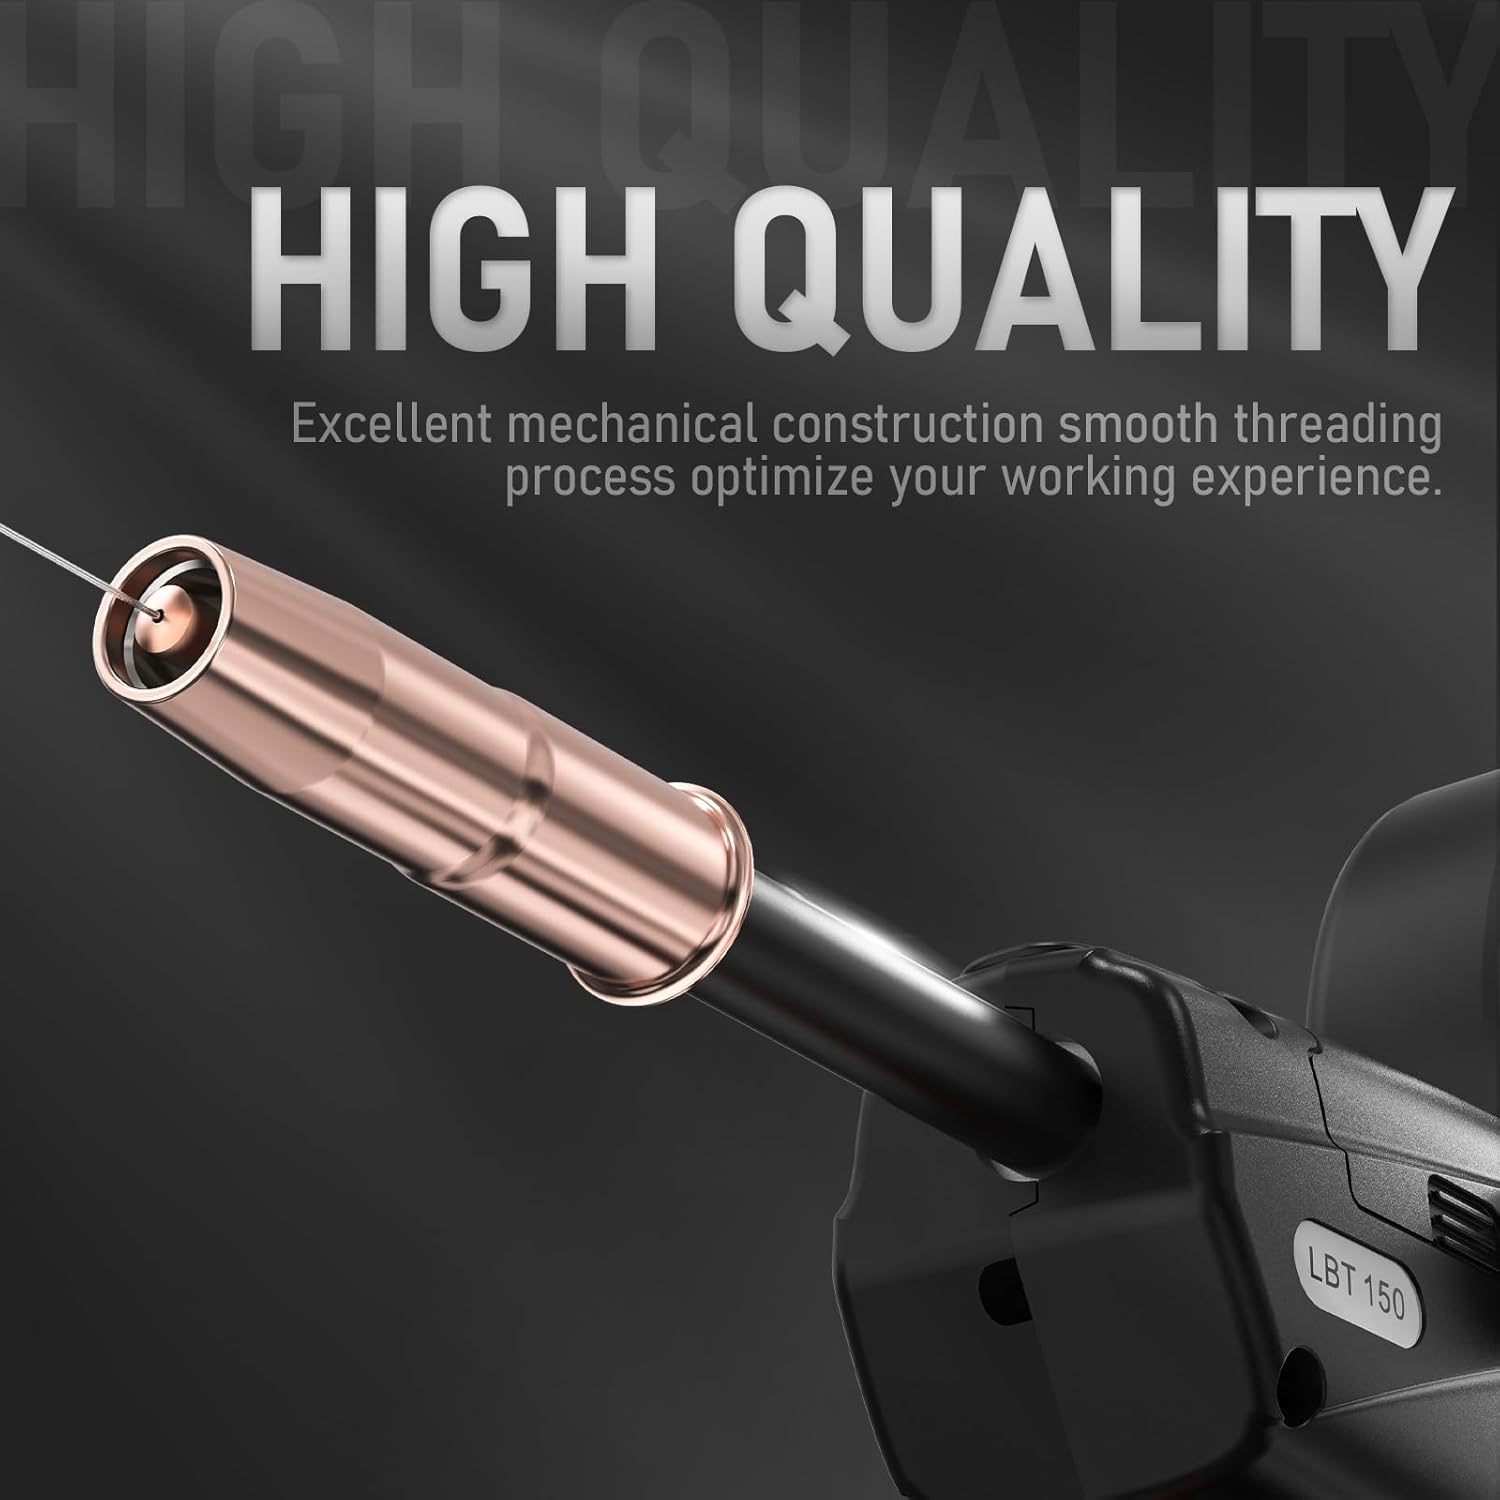
The YESWELDER YW-SP200-TW Spool Gun is designed for efficient MIG welding, particularly with aluminum alloys. It features a 150A capacity and a 10-foot cable with a European connector.
Key Features:
- 150A Capacity: Suitable for various welding tasks.
- 10 FT Cable: Provides ample reach for your projects.
- European Connector: Ensures compatibility with specified YESWELDER MIG welders.
- 2-Pin Control Switch: For precise control during welding operations.
- Clear Plastic Housing: Offers visibility of internal moving parts and wire spool, aiding in smooth wire feeding and timely spool replacement.
- Tweco Accessory Compatibility: The welding torch head is designed to fit standard Tweco accessories.

This spool gun is engineered for consistent wire feeding, which is crucial for quality aluminum welds. The design allows for easy monitoring of the wire spool and feeding mechanism.
4. Setup Instructions
4.1 Compatibility
The YESWELDER YW-SP200-TW Spool Gun is compatible with the following YESWELDER MIG welders:
- YESWELDER MIG-205DS
- YESWELDER MIG-205DS PRO
- YESWELDER MIG-185DS PRO
Ensure your welding machine has a compatible Euro connection and a 2-pin control switch port.

4.2 Wire Installation
This spool gun is designed for 2lb (1kg) 4-inch spools of aluminum welding wire. The recommended wire diameters can be fed with the same drive roll and liner assembly.
- Open Hatch: Locate and open the clear plastic hatch on the spool gun body.
- Install Welding Wire: Place the 2lb (1kg) 4-inch spool of aluminum welding wire onto the spindle. Ensure it is seated correctly.
- Install Wire Feeding Nuts and Close Hatch: Thread the welding wire through the feeding mechanism and secure it with the wire feeding nuts. Close the hatch securely.

4.3 Connecting to Welder
Connect the Euro connector of the spool gun cable to the corresponding port on your compatible YESWELDER MIG machine. Ensure the 2-pin control switch connector is also securely plugged in.
5. Operating Instructions
Once the spool gun is properly connected and loaded with welding wire, you can begin your welding operation. Always refer to your main YESWELDER MIG welder's instruction manual for specific machine settings and safety procedures.
5.1 Pre-Welding Checks
- Ensure all connections are secure.
- Verify the correct wire type and diameter are installed for your application.
- Check that the wire feeds smoothly through the gun by briefly activating the trigger (away from the workpiece).
- Confirm appropriate gas shielding is set up for aluminum welding.
5.2 Welding Process
Hold the spool gun firmly and position the torch at the desired angle to the workpiece. Press the trigger to initiate the arc and wire feed. Maintain a consistent travel speed and arc length for optimal weld quality. The clear housing allows you to monitor the wire spool and feeding for any irregularities.

6. Maintenance
Regular maintenance ensures the longevity and optimal performance of your spool gun.
- Nozzle and Contact Tip: Regularly inspect and clean the nozzle and contact tip. Replace worn or spattered contact tips to ensure good electrical conductivity and wire feeding.
- Wire Liner: Periodically check the wire liner for wear or blockages. A worn liner can cause wire feeding issues. Replace if necessary.
- Drive Rolls: Ensure the drive rolls are clean and free of debris. Adjust tension as needed for smooth wire feeding without crushing the wire.
- Spool Gun Body: Keep the exterior of the spool gun clean. The clear plastic housing allows for visual inspection of the wire spool and feeding mechanism; ensure it remains clear for monitoring.
- Cable and Connections: Inspect the cable for any damage or cuts. Ensure the Euro connector and control switch pins are clean and free of corrosion.
7. Troubleshooting
If you encounter issues with your spool gun, refer to the following common problems and solutions:
| Problem | Possible Cause | Solution |
|---|---|---|
| Inconsistent Wire Feed | Worn or dirty liner, incorrect drive roll tension, wrong drive roll size, wire spool binding. | Inspect and replace liner if worn. Adjust drive roll tension. Ensure correct drive roll for wire diameter. Check wire spool for smooth rotation. |
| No Arc / No Wire Feed | Loose connections, faulty trigger switch, welder not powered on, incorrect welder settings. | Check all cable connections (Euro connector, control switch). Verify welder power and settings. Test trigger switch. |
| Poor Weld Quality | Incorrect welding parameters (voltage/amperage), improper gas flow, contaminated workpiece, worn contact tip. | Adjust welder settings according to material and wire. Check gas supply and flow rate. Clean workpiece. Replace contact tip. |
| Wire Birdnesting | Excessive drive roll tension, restricted wire path (e.g., bent liner), contact tip blockage. | Reduce drive roll tension. Inspect and clear wire path. Replace contact tip if blocked. |
8. Specifications
| Feature | Specification |
|---|---|
| Model Number | YW-SP200-TW |
| Amperage Capacity | 150A |
| Cable Length | 10 FT |
| Connection Type | Euro Connection with 2-Pin Control Switch |
| Compatible Wire Spool Size | 2lb (1kg) 4-inch |
| Power Source | Hand-powered (via welder) |
| Item Weight | 2.54 kg |
| Included Components | 1 Spool Gun |
| Date First Available | May 5, 2023 |
9. Warranty and Support
9.1 Warranty Information
The YESWELDER Spool Gun YW-SP200-TW typically comes with a 1-Year Warranty from the date of purchase. Please retain your proof of purchase for warranty claims. For specific warranty terms and conditions, refer to the warranty card included with your product or visit the official YESWELDER website.
9.2 Customer Support
For technical assistance, troubleshooting, or any questions regarding your YESWELDER Spool Gun, please contact YESWELDER customer support. They offer 24/7 Customer Support to assist you.
You can typically find contact information on the YESWELDER official website or through the retailer where you purchased the product.