GOYOJO 721
GOYOJO 721 Portable Visible Spectrophotometer User Manual
Model: 721
1. Introduction
This manual provides instructions for the operation and maintenance of the GOYOJO 721 Portable Visible Spectrophotometer. This instrument is designed for quantitative and qualitative analysis of substances in the spectral region, suitable for various applications including research, clinical diagnostics, and quality control.
The spectrophotometer offers high photometric accuracy and repeatability, with a stability suitable for extended experiments. Its user-friendly design facilitates straightforward operation.
2. Safety Information
Please read and understand all safety precautions before operating the instrument. Failure to follow these instructions may result in injury or damage to the equipment.
- Ensure the instrument is connected to a grounded power outlet with the correct voltage (110V).
- Do not operate the instrument in environments with excessive humidity, dust, or corrosive gases.
- Avoid spilling liquids onto the instrument. In case of spillage, immediately disconnect power and clean thoroughly.
- Do not attempt to open or repair the instrument yourself. Refer all servicing to qualified personnel.
- Handle cuvettes with care to prevent breakage and contamination.
3. Product Overview
3.1 Components
The GOYOJO 721 Spectrophotometer consists of the main unit and essential accessories. Refer to the images below for visual identification of components and included items.
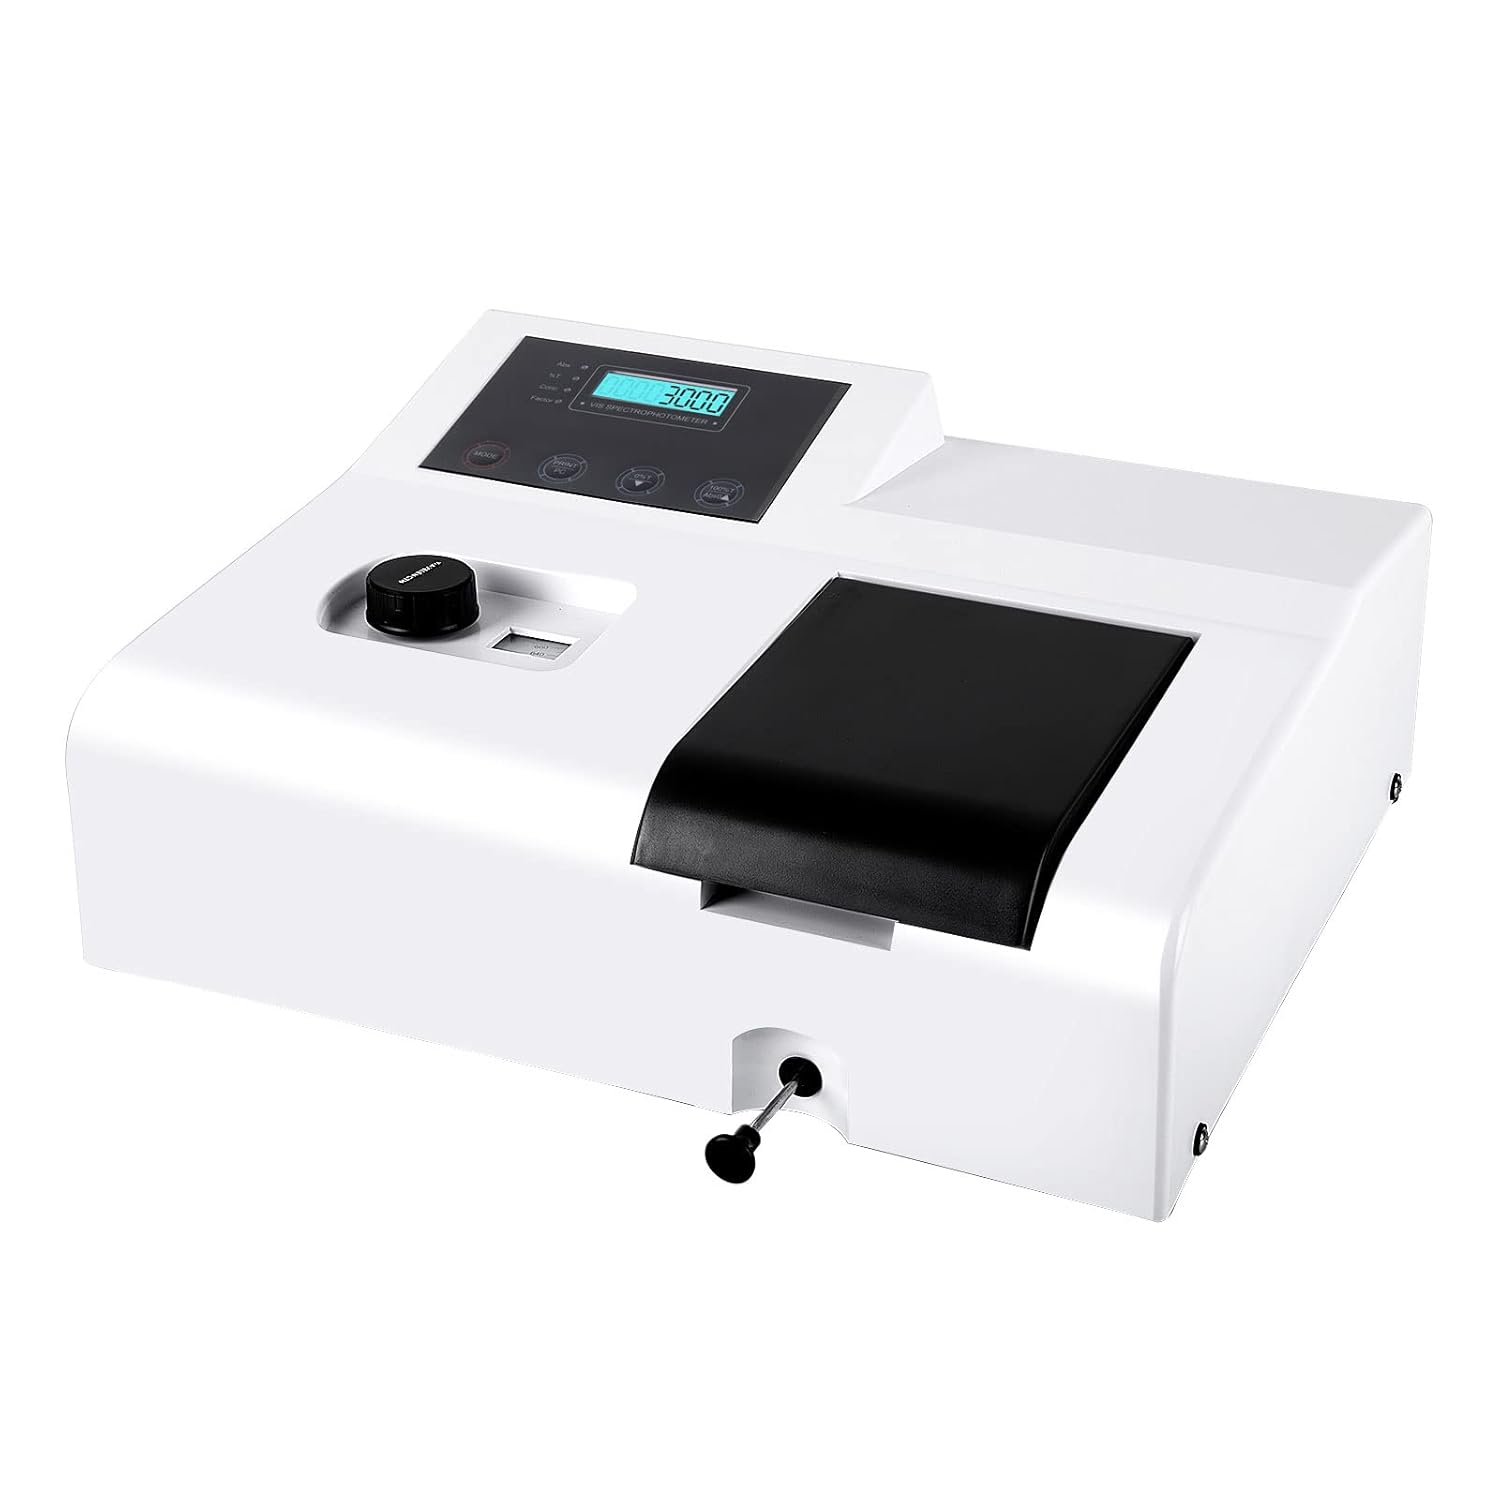
Figure 3.1: Front view of the GOYOJO 721 Portable Visible Spectrophotometer.

Figure 3.2: Detailed view highlighting the three-hole power supply interface, control panel, colorimetric blood frame (cuvette holder), wavelength adjustment knob, and adjustment lever.

Figure 3.3: The spectrophotometer unit along with its standard accessories, including the power cable and a set of glass cuvettes.
3.2 Key Features
- Accurate Measurements: Photometric accuracy of ±1%T and repeatability of 0.5%T.
- Stable Performance: Stability of ±0.004A/h @500nm for consistent results.
- Broad Application Range: Photometric range of 0-200%T and -0.3A~3A, suitable for diverse analytical needs.
- User-Friendly Interface: Simple operation with a clear digital display.
- Durable Construction: Built with quality materials for longevity and portability.
- Wide Cuvette Compatibility: Accommodates 1-5cm universal colorimetric cuvettes.
4. Setup
Follow these steps to set up your spectrophotometer for initial use:
- Unpacking: Carefully remove the spectrophotometer and all accessories from the packaging. Inspect for any signs of damage.
- Placement: Place the instrument on a stable, level surface, away from direct sunlight, strong vibrations, and sources of electromagnetic interference. Ensure adequate ventilation around the unit.
- Power Connection: Connect the provided power cable to the three-hole power supply interface on the rear of the instrument and then to a grounded 110V AC power outlet.
- Power On: Flip the power switch (usually located near the power inlet) to the 'ON' position. The digital display should illuminate.
- Warm-up: Allow the instrument to warm up for at least 15-30 minutes before taking measurements. This stabilizes the light source and electronics, ensuring accurate readings.
5. Operating Instructions
This section outlines the general procedure for performing photometric measurements.
5.1 Wavelength Adjustment

Figure 5.1: The wavelength adjustment knob, used to set the desired measurement wavelength.
- After warm-up, use the wavelength adjustment knob to select the desired wavelength for your analysis. The current wavelength will be displayed on the digital screen.
- Ensure the wavelength is set precisely according to your experimental requirements.
5.2 Cuvette Handling

Figure 5.2: The wide cuvette compartment, designed for easy insertion and removal of 1-5cm cuvettes.

Figure 5.3: Proper technique for inserting a cuvette into the sample compartment.
- Use clean, scratch-free cuvettes appropriate for the selected wavelength range.
- Fill cuvettes with samples or blanks, ensuring no air bubbles are present in the light path.
- Wipe the exterior of the cuvette with a lint-free cloth to remove fingerprints or spills before insertion.
- Insert the cuvette into the sample compartment, ensuring it is correctly oriented and seated.
5.3 Measurement Procedure
- Set Wavelength: Adjust the wavelength knob to the desired wavelength (as per Section 5.1).
- Insert Blank: Place a cuvette containing the blank solution (e.g., solvent) into the sample compartment. Close the lid.
- Zero/100%T Calibration: Press the appropriate button on the control panel to set the blank to 0 Absorbance (0A) or 100% Transmittance (100%T). Consult the specific button labels on your device.
- Insert Sample: Remove the blank cuvette and insert the sample cuvette. Close the lid.
- Read Measurement: The instrument will display the absorbance or transmittance value of the sample. Record the reading.
- Repeat: For multiple samples, repeat steps 4 and 5. Periodically re-check the blank calibration.
6. Maintenance
Regular maintenance ensures the longevity and accuracy of your spectrophotometer.
- Cleaning:
- Wipe the exterior of the instrument with a soft, damp cloth. Do not use abrasive cleaners or solvents.
- Keep the sample compartment clean and free of dust and spills. Use a soft brush or lint-free cloth.
- Cuvettes: Clean cuvettes thoroughly after each use. Store them in a dust-free environment.
- Storage: When not in use for extended periods, power off the instrument, disconnect it from the power supply, and cover it with a dust cover.
- Lamp Replacement: The instrument uses a tungsten lamp. If the lamp fails or its intensity significantly decreases, this procedure should ideally be performed by qualified service personnel to avoid damage to the optical system.
7. Troubleshooting
This section addresses common issues you might encounter and their potential solutions.
| Problem | Possible Cause | Solution |
|---|---|---|
| Instrument does not power on. | No power supply; power cable loose; power switch off. | Check power cable connection; ensure power switch is ON; verify power outlet functionality. |
| Unstable readings. | Insufficient warm-up time; dirty cuvette; air bubbles in sample; instrument not level; external vibrations. | Allow adequate warm-up; clean cuvette; remove air bubbles; ensure instrument is on a stable, level surface; minimize vibrations. |
| Incorrect absorbance/transmittance values. | Improper blank calibration; contaminated cuvette/sample; incorrect wavelength setting; expired lamp. | Re-calibrate with a fresh blank; ensure clean cuvettes and pure samples; verify wavelength setting; consider lamp replacement if issues persist. |
| Display shows error message. | Internal fault; sensor issue. | Power cycle the instrument. If the error persists, contact customer support. |
8. Specifications
The following table details the technical specifications of the GOYOJO 721 Portable Visible Spectrophotometer.
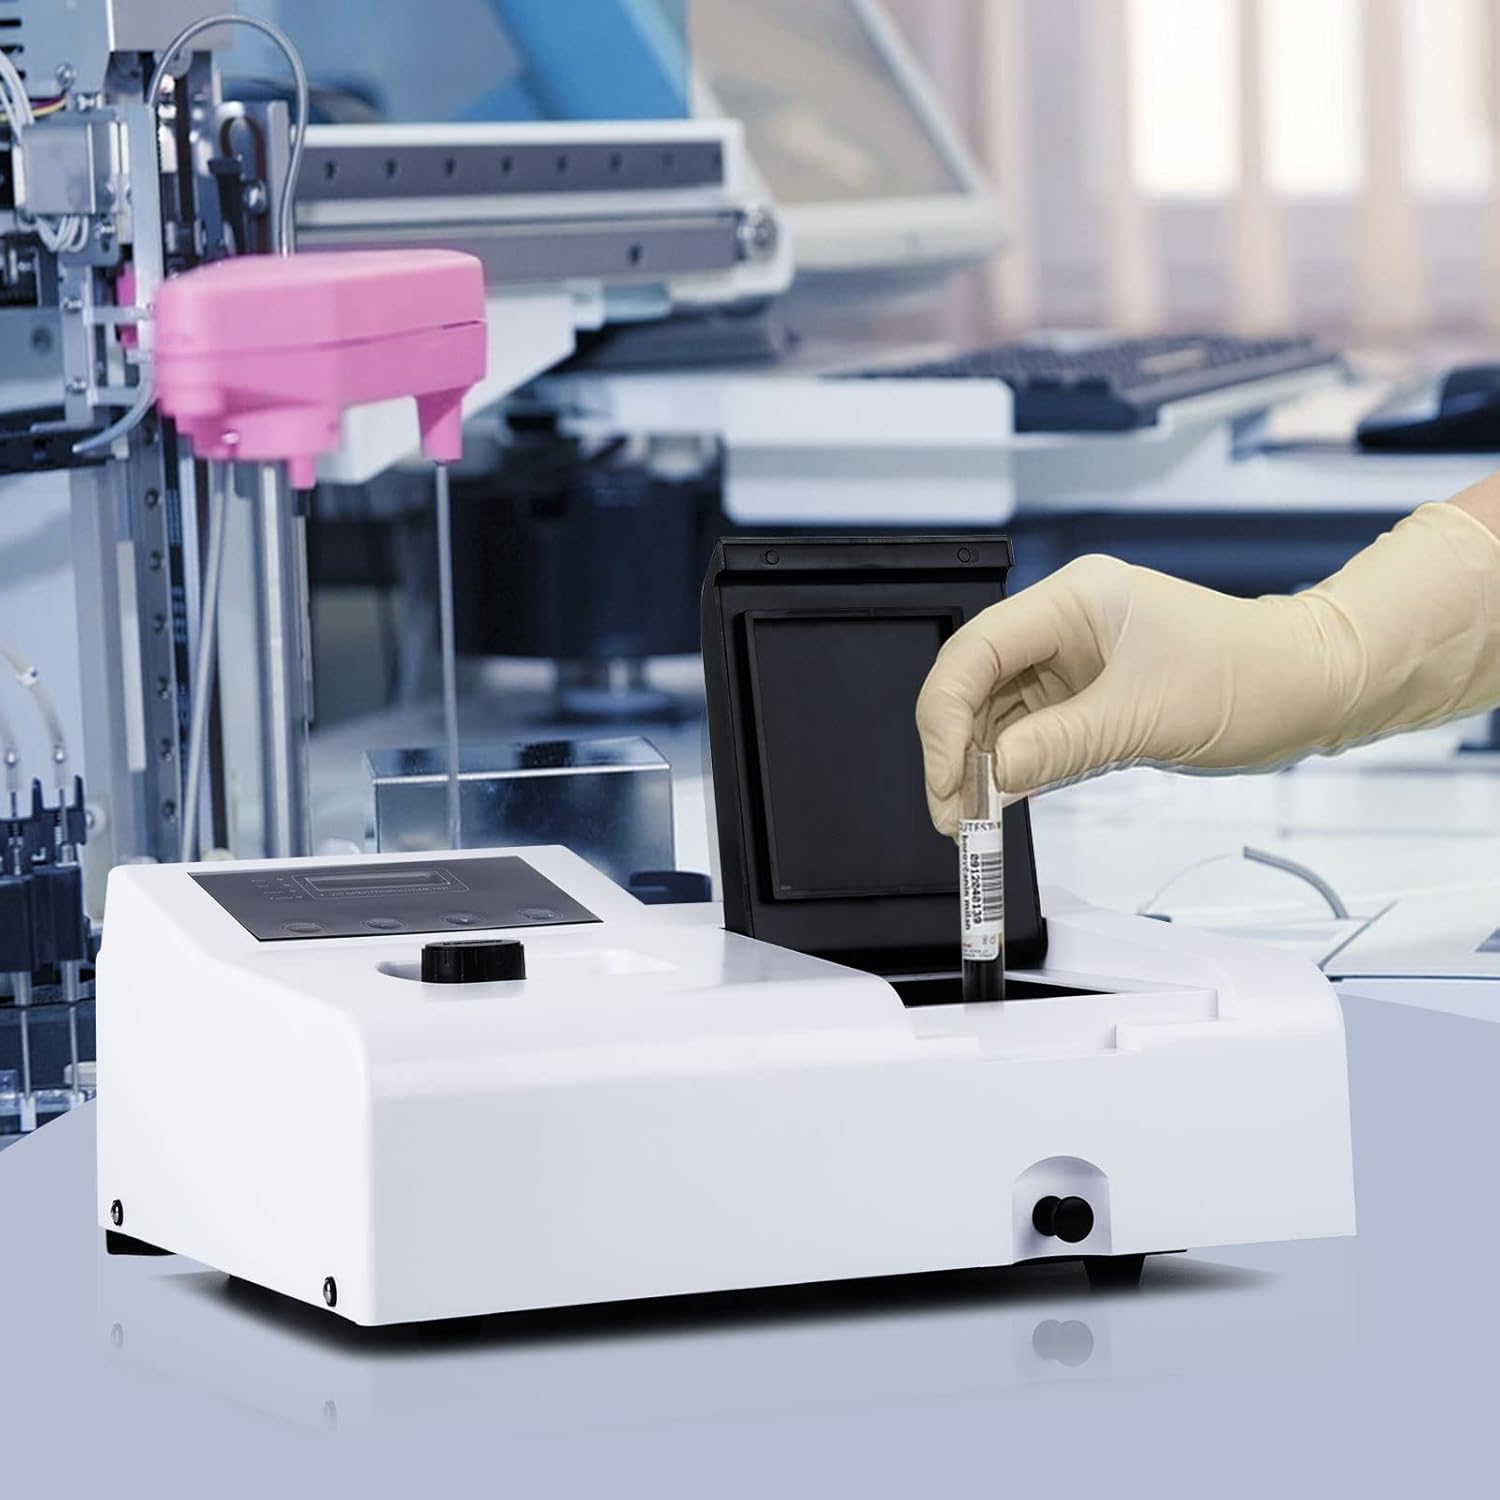
Figure 8.1: Technical specifications of the GOYOJO 721 Spectrophotometer.
| Parameter | Value |
|---|---|
| Model | 721 |
| Photometric Accuracy | ±1%T |
| Photometric Repeatability | 0.5%T |
| Stability | ±0.004A/h @500nm |
| Photometric Range | 0-200%T, -0.3A~3A |
| Spectral Bandwidth | 6nm |
| Light Source | Tungsten Lamp |
| Optical System | Elimination of chromatic aberration (1200 bars / MM grating) |
| Wavelength Repeatability | ±1nm |
| Projection Ratio Accuracy | ≤±1%T |
| Drift | <0.2%T |
| Noise | <0.3%T |
| Power Supply | 110V |
| Dimensions | Approximately 20.08 x 17.8 x 11.97 inches |
| Weight | Approximately 17.15 Pounds |
9. Support and Contact Information
For any questions, concerns, or technical assistance regarding your GOYOJO 721 Spectrophotometer, please contact our support team.
Email: james.m@goyojo.com
Please include your model number (721) and a detailed description of your inquiry when contacting support.
Related Documents - 721
 |
Goyojo GYJ-R Energy Dispersive X-ray Spectrometer - Technical Specifications Detailed technical specifications and features of the Goyojo GYJ-R Energy Dispersive X-ray Spectrometer (EDXRF), including hardware, software, and RoHS analysis capabilities. This document outlines the product's performance indicators, operational conditions, and after-sales service. |
 |
GOYOJO Laboratory Balance Instruction Manual Instruction manual for GOYOJO electronic laboratory balances, detailing specifications, preparation, calibration, operation, and error messages. |
 |
PUNTECH Oscilloscope Current Probe Technical Standards Guide A comprehensive guide to PUNTECH oscilloscope current probes, detailing their technology, applications, and technical specifications for accurate AC/DC current measurement. |
 |
SignaLink USB Product Compatibility Guide Comprehensive guide to find compatible SignaLink USB, Radio Cable, and Jumper Module part numbers for various radio models from manufacturers like Icom, Kenwood, Yaesu, and more. Includes important notes for selecting parts and configuring your SignaLink device. |
 |
Shipboard Antenna Systems: NAVSHIPS 900,121(A) Details Technical manual detailing various shipboard and submarine antenna systems, including components, diagrams, and bill of materials, as part of the NAVSHIPS 900,121(A) series from the Bureau of Ships, Navy Department. |
 |
グライシンガー プロフェッショナル測定機器 カタログ 2023 グライシンガーの2023年プロフェッショナル測定機器カタログ。ポータブル測定器、トランスミッタ、温度計、湿度計、センサーなど幅広い製品ラインナップをご覧ください。産業用、実験用、特殊用途向けの高精度測定機器をご紹介します。 |
Ask a question about this manual
Ask about setup, troubleshooting, compatibility, parts, safety, or missing instructions. Manuals+ will review the question and use this page’s manual context to help answer it.