
1. Important Safety Instructions
Read all safety warnings, instructions, illustrations, and specifications provided with this power tool. Failure to follow all instructions listed below may result in electric shock, fire, and/or serious injury.
- Work Area Safety: Keep the work area clean and well-lit. Cluttered or dark areas invite accidents. Do not operate power tools in explosive atmospheres, such as in the presence of flammable liquids, gases, or dust. Power tools create sparks which may ignite the dust or fumes.
- Electrical Safety: Power tool plugs must match the outlet. Never modify the plug in any way. Do not use any adapter plugs with earthed (grounded) power tools. Unmodified plugs and matching outlets will reduce risk of electric shock.
- Personal Safety: Always wear appropriate personal protective equipment (PPE) including safety glasses, gloves, and a respirator or mask when operating the paint sprayer. Avoid accidental starting. Ensure the switch is in the off-position before connecting to power source, picking up or carrying the tool.
- Tool Use and Care: Do not force the power tool. Use the correct power tool for your application. The correct power tool will do the job better and safer at the rate for which it was designed. Disconnect the plug from the power source before making any adjustments, changing accessories, or storing power tools.
- Material Safety: Always refer to the paint or material manufacturer's safety data sheet (SDS) for specific handling, ventilation, and disposal instructions. Do not spray flammable materials near open flames or ignition sources.
2. Package Contents
Carefully unpack all items and ensure all components are present and undamaged. If any items are missing or damaged, contact VONFORN customer service.
- VONFORN 800W HVLP Electric Paint Sprayer Unit (Motor Base and Spray Gun)
- 6.5 FT Air Hose
- 4 Nozzles (1.0mm, 1.5mm, 2.0mm, 3.0mm)
- Nozzle Adaptor
- Cleaning Kit (Brush, Needle)
- Viscosity Measuring Cup
- Gun Lubricant
- Replacement Seal
- Shoulder Strap
- Instruction Guide (This Manual)

Image: The complete VONFORN 800W HVLP Electric Paint Sprayer kit, showing the main unit, spray gun, air hose, and various accessories including nozzles, cleaning tools, and a viscosity cup.
3. Product Overview and Components
Familiarize yourself with the main parts of your VONFORN paint sprayer for effective and safe operation.
- Motor Base: Contains the 800W motor and turbofan, providing the air pressure for spraying. Features a handle for portability and a hose connection port.
- Spray Gun: The handheld component where paint is held and sprayed. Includes the trigger, nozzle assembly, and paint container.
- Air Hose: Connects the motor base to the spray gun, delivering compressed air.
- Paint Container: Attaches to the spray gun, holding the paint or material to be sprayed.
- Nozzles: Interchangeable tips that control the spray pattern and flow rate. Different sizes are provided for various material viscosities and project types.
- Flow Control Knob: Located on the spray gun, this adjusts the volume of paint sprayed.
- Air Cap: Rotates to change the spray pattern (horizontal, vertical, circular).

Image: An illustrative diagram highlighting key features such as the 800W motor, cleaning connector, dust blowing joint, double-layer insulation, easy cleaning, and flexible flow control.
4. Setup
Follow these steps to prepare your paint sprayer for use.
- Assemble the Spray Gun: Ensure the paint container is securely attached to the spray gun.
- Connect the Air Hose: Firmly connect one end of the 6.5ft air hose to the air outlet on the motor base and the other end to the air inlet on the spray gun. Ensure both connections are tight to prevent air leaks.
- Select and Install Nozzle: Choose the appropriate nozzle size (1.0mm, 1.5mm, 2.0mm, or 3.0mm) based on the viscosity of your material and desired spray pattern. Screw the selected nozzle onto the spray gun until secure.
- Prepare the Material: Most paints and materials require thinning to achieve the correct viscosity for spraying. Use the included viscosity measuring cup to test your material. Fill the cup with the material and time how long it takes for the liquid to flow out. Refer to the paint manufacturer's recommendations for thinning ratios. Generally, thinner materials require smaller nozzles, and thicker materials require larger nozzles.
- Fill the Paint Container: Once the material is thinned to the correct viscosity, carefully pour it into the paint container. Do not overfill. Securely reattach the paint container to the spray gun.
- Position the Motor Base: The split design allows the motor base to be placed on the ground, reducing the weight of the handheld spray gun. Position the motor base in a stable location, ensuring the air hose has sufficient length for your work area. The included shoulder strap can be used for easier portability of the motor base.

Image: A visual guide demonstrating the easy assembly process, the three adjustable spray patterns (circular, horizontal, vertical) with corresponding nozzle sizes, flexible flow control, and the powerful 800W motor.
5. Operating Instructions
Proper operation ensures optimal results and extends the life of your sprayer.
5.1 Adjusting Spray Patterns and Flow
- Spray Patterns: The sprayer offers three adjustable spray patterns: horizontal, vertical, and circular. Rotate the air cap on the front of the spray gun to select the desired pattern.
- Horizontal Pattern: Ideal for spraying wide surfaces, such as walls or fences.
- Vertical Pattern: Suitable for spraying tall or narrow surfaces, like cabinet doors or railings.
- Circular Pattern: Best for small areas, corners, or intricate details.
- Flow Control: The flow control knob on the spray gun allows you to adjust the volume of paint being sprayed. Turn clockwise for more flow (up to 1100 ml/min) and counter-clockwise for less flow (down to 0 ml/min). Always test the spray pattern and flow on a piece of scrap material before applying to your project.

Image: A detailed view illustrating the three spray patterns (horizontal, round, vertical) and the adjustable flow control mechanism, ranging from 0 ml/min to 1100 ml/min.
5.2 Spraying Techniques
- Distance: Maintain a consistent distance of approximately 6-12 inches (15-30 cm) from the surface being sprayed.
- Movement: Use smooth, even strokes, moving your arm rather than just your wrist. Overlap each pass by about 50% to ensure even coverage.
- Coats: Apply multiple thin coats rather than one thick coat to prevent drips and achieve a smoother finish. Allow adequate drying time between coats as recommended by the material manufacturer.
- Dust Blowing Function: Before spraying, you can use the dust blowing joint (included) with the paint sprayer to blow away dust or debris from the surface. This helps achieve a better surface for spraying and a smoother finish.

Image: A user demonstrating the lightweight design of the spray gun, which weighs only 1 lb, reducing arm and wrist fatigue during extended use.

Image: A user utilizing the 6.5ft air hose for long-distance spraying, allowing for greater mobility and reach for various projects like ceilings or large walls.
5.3 Wide Application
The VONFORN paint sprayer is versatile and suitable for a variety of projects, including:
- Furniture (cabinets, chairs, dressers)
- Fences and railings
- Walls and ceilings
- Garden items
- Sheds and shutters
- Doors and bicycles

Image: Demonstrations of the paint sprayer being used on iron furniture and a wooden chair, showcasing its versatility for different materials and objects.

Image: The paint sprayer in action on a wooden fence and an interior wall, illustrating its effectiveness for larger surface areas.
6. Cleaning and Maintenance
Thorough cleaning after each use is crucial to prevent clogging and ensure the longevity of your sprayer.
- Empty Paint Container: Disconnect the paint container and empty any remaining material back into its original can or a suitable disposal container.
- Initial Rinse: Fill the paint container with an appropriate cleaning solution (water for latex/water-based paints, mineral spirits/solvent for oil-based paints). Reattach and spray the cleaning solution through the gun until it runs clear. Do this in a well-ventilated area or outdoors.
- Cleaning Connector Function: The sprayer includes a cleaning connector. After spraying, connect this connector to a faucet. This allows water to flow through the internal pipes of the sprayer, helping to clean residual paint and prevent clogging.
- Disassemble and Clean Components: Disassemble the spray gun components (nozzle, air cap, paint container, suction tube). Use the included cleaning brush and needle to thoroughly clean all parts, removing any dried paint or residue. Pay special attention to the nozzle and air cap holes.
- Wipe Down Unit: Wipe the exterior of the spray gun and motor base with a damp cloth. Do not immerse the motor base in water.
- Lubricate: Apply a small amount of the included gun lubricant to moving parts and seals as needed to maintain smooth operation.
- Storage: Ensure all parts are completely dry before reassembling or storing. Store the sprayer and accessories in a clean, dry place, away from extreme temperatures. The unit features a nozzle storage design, a hook for easy storage, and an orderly hose storage slot.
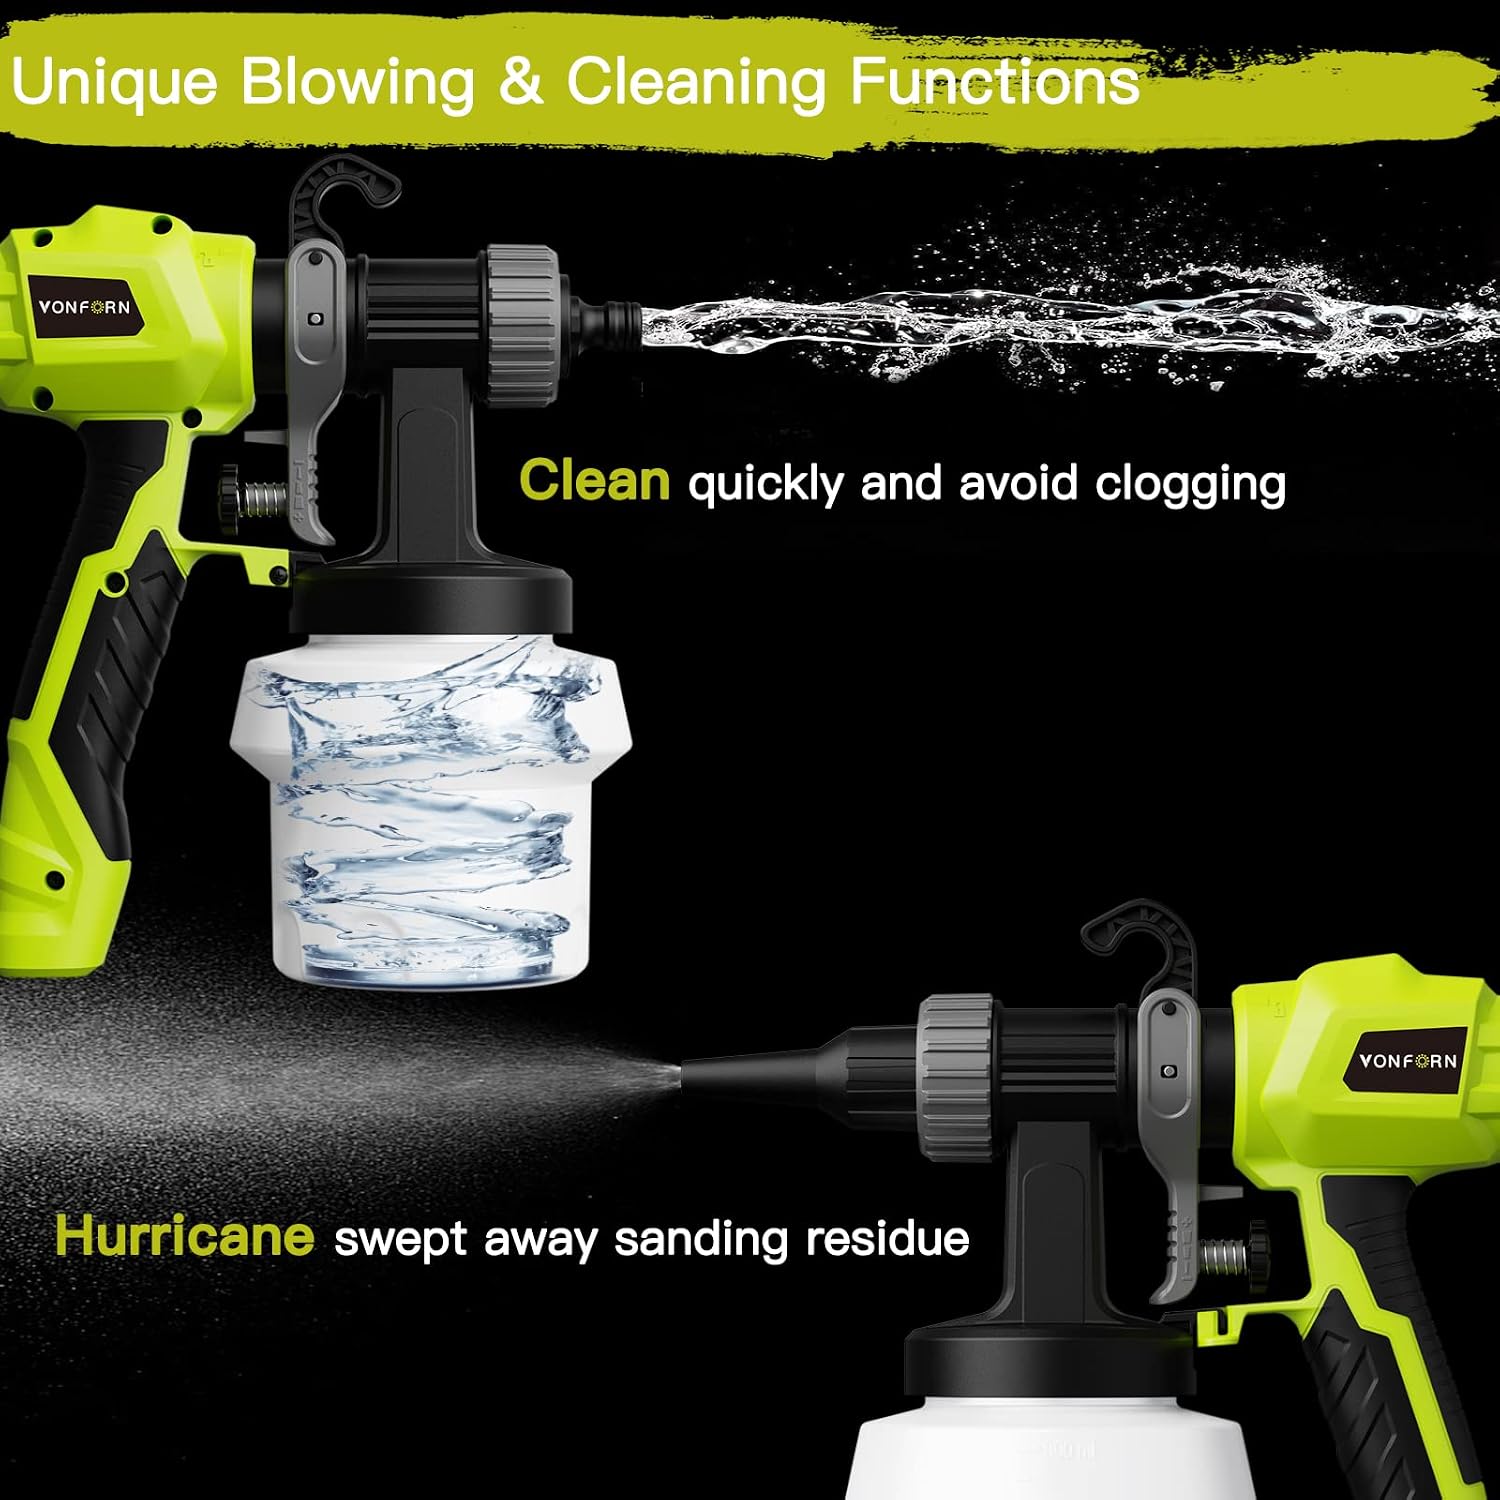
Image: A visual representation of the unique blowing function to clear sanding residue and the cleaning function for quick and effective internal cleaning, preventing clogs.

Image: Features for convenient storage, including integrated nozzle storage, a hook for hanging, a waterproof ON/OFF switch, easy one-step hose installation, and an orderly hose storage slot.
7. Troubleshooting
Refer to this section for common issues and their solutions.
| Problem | Possible Cause | Solution |
|---|---|---|
| No spray or weak spray | Clogged nozzle or air cap; Material too thick; Air hose not properly connected; Low material level. | Clean nozzle and air cap; Thin material to correct viscosity; Ensure air hose connections are secure; Refill paint container. |
| Uneven spray pattern | Partially clogged nozzle/air cap; Incorrect air cap orientation; Inconsistent spraying technique. | Clean nozzle and air cap thoroughly; Ensure air cap is correctly oriented for desired pattern; Practice consistent, even strokes. |
| Paint drips or runs | Material too thin; Too much flow; Spraying too close to surface; Applying too thick a coat. | Adjust material viscosity; Reduce flow with control knob; Maintain proper spraying distance; Apply thinner, multiple coats. |
| Motor not starting | No power supply; Power switch off; Overheating. | Check power connection; Ensure power switch is ON; Allow unit to cool down if overheated. |
8. Specifications
| Brand | VONFORN |
| Model Name | VONFORN Pump Sprayer (VF820) |
| Power Source | AC (800W Motor) |
| Hose Length | 6.5 Feet |
| Nozzle Sizes | 1.0mm, 1.5mm, 2.0mm, 3.0mm |
| Spray Patterns | Horizontal, Vertical, Circular |
| Material | Plastic |
| Item Weight | 5.25 Pounds |
| Product Dimensions | 8.2"W x 13"H |
9. Warranty and Support
The VONFORN 800W HVLP Electric Paint Sprayer is ETL Certified, ensuring product quality and safety. For any questions, technical assistance, or after-sales support, please contact VONFORN customer service. Our team is committed to assisting you within 24 hours.
Please retain your proof of purchase for warranty claims.