1. Introduction
Thank you for choosing the Pureline LED Pool Replacement Bulb. This manual provides essential information for the safe installation, operation, and maintenance of your new pool light. This bulb features 441 LEDs, offering 7 vibrant colors and 9 dynamic light shows to enhance your pool environment. It is designed for energy efficiency and a long lifespan.
2. Safety Information
WARNING: Electrical work should only be performed by a qualified professional. Improper installation can lead to electric shock, injury, or death. Always turn off power at the circuit breaker before attempting any installation or maintenance.
- Ensure the power supply to the pool light fixture is completely disconnected before installation or servicing.
- Verify that the voltage of your pool light fixture matches the bulb's voltage (12V).
- The bulb itself is not waterproof. It must be installed within a properly sealed, waterproof pool light fixture.
- When replacing the pool light, it is recommended to replace the bracket and gasket at the same time to ensure a waterproof seal.
- Do not operate the bulb outside of a submerged, waterproof fixture.
3. Product Specifications
| Feature | Description |
|---|---|
| Model | 12V, 35W |
| LED Count | 441 LEDs |
| Color Options | 7 fixed colors, 9 light shows |
| White Light Output | 2600 lumens |
| Color Light Output | 850 lumens |
| Lifespan | Up to 50,000 hours |
| Base Type | Standard screw-in base |
| Compatibility | Hayward Astrolite SP0580, Hayward DuraLite SP0570, Pentair Amerlite 784 Series (NOT compatible with Swimquip Light Fixtures or Hayward SP0540 Series) |
4. Installation Guide
Follow these steps to safely install your Pureline LED Pool Replacement Bulb:
- Turn off Power: Ensure the power to your pool light fixture is completely off at the circuit breaker.
- Drain Water (if necessary): If your pool light fixture is not designed for underwater bulb replacement, you may need to lower the water level in your pool below the light fixture.
- Remove Old Fixture/Bulb:
- Unscrew the screws on the housing and remove the lid of your existing pool light fixture.
- Carefully pull the fixture out of the niche.
- Unscrew the old bulb from the fixture.
- Inspect and Replace Gasket/Bracket: It is highly recommended to replace the gasket and bracket of your pool light fixture to ensure a proper waterproof seal with the new bulb.
- Install New Bulb:
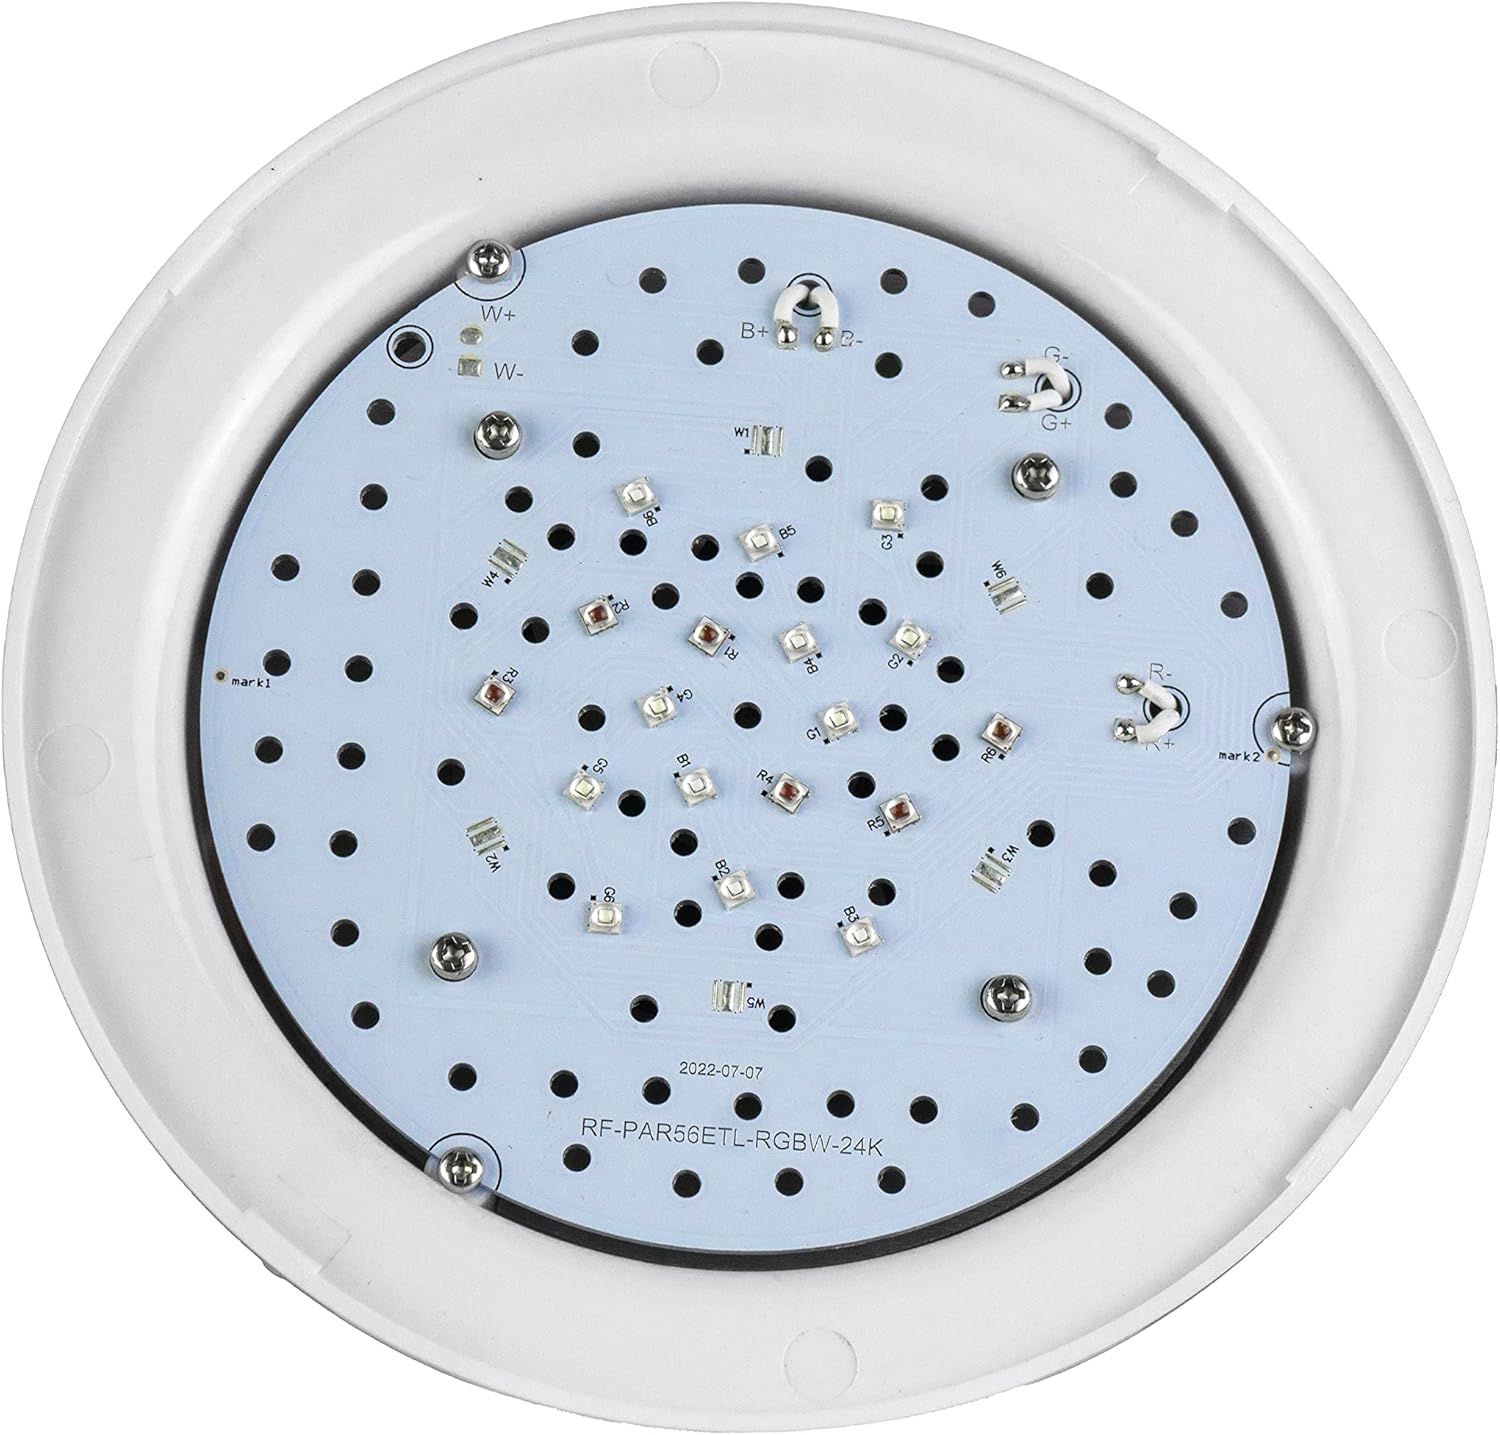
Image: Top view of the Pureline LED pool bulb, highlighting the LED array.
- Carefully screw the Pureline LED Pool Replacement Bulb into the standard screw-in base of your pool light fixture. Do not overtighten.
- Ensure the bulb is seated correctly.
- Reassemble Fixture:

Image: Diagram illustrating the steps for pool light bulb replacement, emphasizing the importance of a waterproof seal.
- Place the fixture back into its niche, ensuring the cord is not pinched.
- Secure the lid of the fixture with the screws, ensuring a tight, waterproof seal.
- Restore Power: Once the fixture is securely installed and sealed, restore power at the circuit breaker.
Installation and Operation Overview:
Video: This video demonstrates the operation of a pool bulb, including color changes and modes, which can be helpful for understanding installation and functionality.
5. Operating Instructions
The Pureline LED Pool Replacement Bulb offers multiple colors and light shows, controlled by cycling the power to the bulb.
- Turning On/Off: Use your existing pool light switch to turn the bulb on or off.
- Changing Colors/Light Shows: To cycle through the 7 fixed colors and 9 light shows, simply turn the light switch off and then back on within a short period (typically 1-2 seconds). Each quick toggle will advance to the next color or show.
- Selecting a Specific Color/Show: Once your desired color or light show is displayed, leave the light on for more than 10 seconds to set it. The bulb will remember this setting for the next time it is turned on.
6. Maintenance
The Pureline LED Pool Replacement Bulb is designed for long-lasting performance with minimal maintenance.
- Cleaning: Periodically inspect the pool light fixture for algae or debris buildup. Turn off power before cleaning. Use a soft brush or cloth to gently clean the lens of the fixture. Do not use abrasive cleaners.
- Seal Integrity: Regularly check the integrity of the fixture's gasket and seals. If any signs of wear, cracking, or leakage are observed, replace the gasket immediately to prevent water intrusion and damage to the bulb.
- Bulb Replacement: With a lifespan of up to 50,000 hours, frequent bulb replacement is not expected. When replacement is eventually needed, follow the installation steps carefully, ensuring power is off and a new waterproof gasket is used.
7. Troubleshooting
| Problem | Possible Cause | Solution |
|---|---|---|
| Light does not turn on. | No power to the fixture, loose connection, faulty bulb. | Check circuit breaker. Ensure bulb is screwed in tightly. Verify wiring connections. If issues persist, consult a qualified electrician. |
| Colors are not changing. | Incorrect power cycling. | Ensure you are turning the light switch off and on quickly (within 1-2 seconds) to cycle through modes. |
| Water inside the light fixture. | Improperly sealed fixture, damaged gasket. | Immediately turn off power. Remove fixture, drain water, inspect and replace gasket and ensure proper sealing upon reinstallation. Consult a professional if unsure. |
8. Warranty & Support
The Pureline LED Pool Replacement Bulb comes with a 2-year warranty from the date of purchase, covering defects in materials and workmanship under normal use. This warranty does not cover damage due to improper installation, misuse, accidents, or unauthorized modifications.
For technical support, warranty claims, or further assistance, please contact Pureline customer service through the retailer where the product was purchased.


