1. Introduction
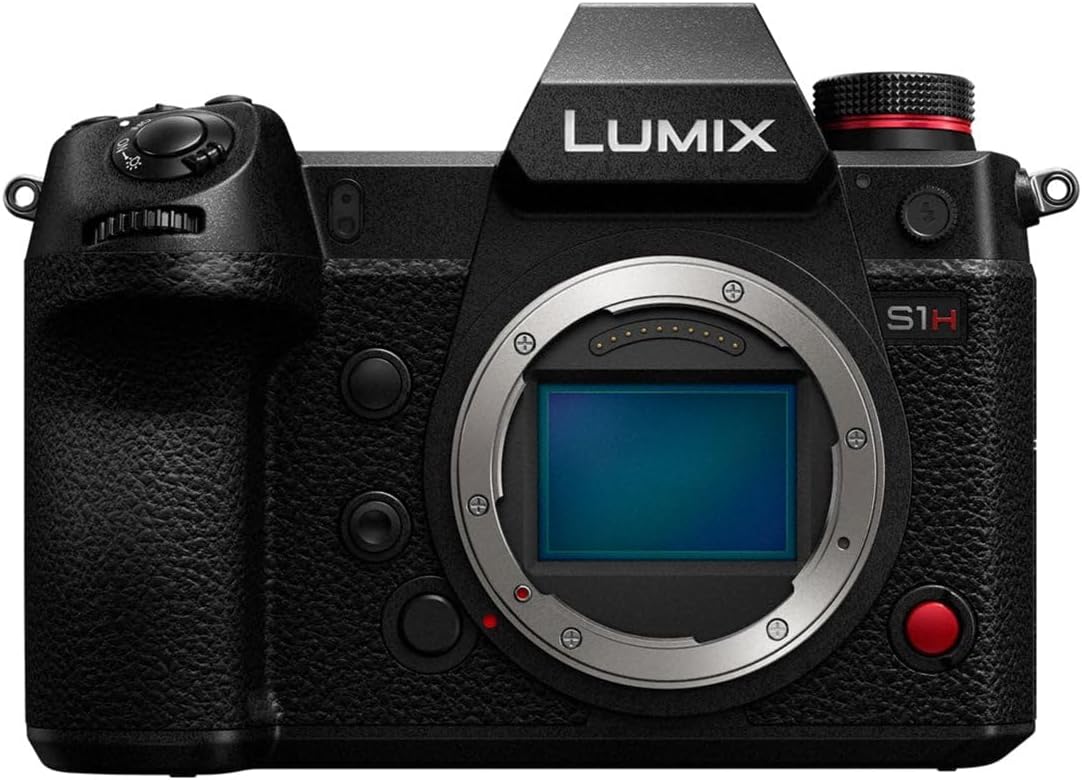
The Panasonic LUMIX S1H is a full-frame mirrorless camera designed for professional film production. It offers extensive recording modes and cinematic image quality, meeting high demands for creators. This camera is built for active filming, compatible with gimbals and drones, and integrates seamlessly into professional workflows. It features a newly developed 24.2-megapixel full-frame image sensor with Dual Native ISO, combined with the Venus Engine for high sensitivity and minimal noise. The LUMIX S1H provides 14+ stops of dynamic range, comparable to cinema cameras, and supports V-Log / V-Gamut for compatibility with "Verica Look" calorimetry. Unique heat dispersion technologies enable unlimited recording time in all modes. It also supports HDR (High Dynamic Range) in HLG (Hybrid Log Gamma), 4:2:2 10-bit internal recording, and HDMI output. Anamorphic 4:3 modes are available, along with practical filmmaking tools like tally lights, a waveform monitor, and a V-Log View Assist function (LUT Viewer). The L-Mount system offers a diverse and future-proof range of interchangeable lenses from Panasonic, Leica Camera, and Sigma.
2. Key Features
- V-Log/V-Gamut: Features a wide 14+ stops of dynamic range, compatible with the Cinema VariCam look, capturing detail from shadows to highlights.
- Rugged Mirrorless Camera Design: Dust, splash, and freeze-resistant construction ensures durability for heavy field use in harsh conditions, enhancing mobility.
- 24MP Full-Frame Sensor: Low light performance with Dual Native ISO.
- Multi-Aspect Ratios and Multi-Formats: Supports 3:2 6K24p, C4K Anamorphic.
- 4:2:2 10-bit Internal plus HDMI Out: Supports post-production color processing.
- Heat Dispersing Fan: Enables non-stop recording without overheating.

3. Setup
- Unpacking: Carefully remove all components from the packaging. Verify that all items listed in the packing list are present.
- Battery Installation:
- Open the battery compartment cover located at the bottom of the camera.
- Insert the supplied battery with the contacts facing the correct direction, as indicated inside the compartment.
- Close the battery compartment cover securely.
- Charge the battery fully before first use using the supplied charger.
- Memory Card Insertion:
- Open the memory card slot cover on the side of the camera.
- Insert a compatible SD card (UHS-II recommended for video recording) into the slot until it clicks into place.
- Close the memory card slot cover.
- Lens Attachment:
- Remove the body cap from the camera and the rear cap from the lens.
- Align the mounting index on the lens with the mounting index on the camera body.
- Attach the lens by rotating it clockwise until it clicks into place.
- Initial Settings: Power on the camera and follow the on-screen prompts to set the language, date, time, and time zone.
4. Operating Instructions
4.1 Power On/Off
- To power on, slide the power switch to the "ON" position.
- To power off, slide the power switch to the "OFF" position.
4.2 Basic Shooting Modes
The LUMIX S1H offers various shooting modes accessible via the mode dial. Rotate the mode dial to select your desired mode:
- Program AE (P): Camera automatically sets aperture and shutter speed for optimal exposure.
- Aperture Priority AE (A): You set the aperture, camera sets shutter speed. Ideal for controlling depth of field.
- Shutter Priority AE (S): You set the shutter speed, camera sets aperture. Ideal for controlling motion blur.
- Manual Exposure (M): You control both aperture and shutter speed.
- Creative Video Mode: Dedicated mode for advanced video recording settings.
4.3 Recording Video
- Set the mode dial to Creative Video Mode or a suitable photo mode if recording short clips.
- Press the dedicated video record button (usually marked with a red dot) to start recording.
- Press the video record button again to stop recording.
- Adjust video settings (resolution, frame rate, V-Log, etc.) via the menu system or dedicated buttons. Refer to the on-screen display for current settings.
4.4 Playback
- Press the Playback button (usually marked with a triangle icon) to enter playback mode.
- Use the control dial or directional pad to navigate through your photos and videos.
- Press the center button or OK button to view a selected item.
- To exit playback mode, press the Playback button again or half-press the shutter button.
5. Maintenance
5.1 Cleaning the Camera Body
- Use a soft, dry cloth to wipe the camera body.
- For stubborn dirt, slightly dampen the cloth with water or a mild camera cleaning solution. Avoid using strong solvents.
- Do not use excessive force or rub vigorously, especially on the LCD screen.
5.2 Cleaning the Lens and Sensor
- Lens: Use a lens blower to remove dust. For smudges, use a lens cleaning solution and a microfiber lens cloth. Wipe gently from the center outwards.
- Sensor: Sensor cleaning should be performed with extreme care. If dust spots appear on images, use the camera's sensor cleaning function first. For persistent dust, consult a professional camera service center or use a specialized sensor cleaning kit following instructions carefully.
5.3 Storage
- Store the camera in a cool, dry place away from direct sunlight and extreme temperatures.
- If storing for an extended period, remove the battery to prevent leakage.
- Use desiccant packs in the storage container to prevent mold and mildew, especially in humid environments.
6. Troubleshooting
| Problem | Possible Cause | Solution |
|---|---|---|
| Camera does not power on. | Battery is depleted or incorrectly inserted. | Charge the battery fully. Reinsert the battery correctly. |
| Cannot record images/videos. | Memory card is full, locked, or not inserted. | Delete unnecessary files or insert a new card. Unlock the memory card. Insert the card correctly. |
| Images are blurry. | Incorrect focus, camera shake, or dirty lens. | Ensure proper focus. Use a faster shutter speed or image stabilization. Clean the lens. |
| Video recording stops unexpectedly. | Memory card speed is too slow or camera overheats. | Use a faster memory card (UHS-II V90 recommended). Allow the camera to cool down. |
7. Specifications
| Brand | Panasonic |
| Model Name | Panasonic Lumix S1H (DC-S1HBODY) |
| Form Factor | Handheld |
| Maximum Webcam Image Resolution | 20 MP (Effective 24.2 MP Full-Frame Sensor) |
| Expanded ISO Minimum | 100 |
| Image Stabilization | Digital (In-body Image Stabilization) |
| Supported File Format | RAW, JPEG, MOV, MP4 |
| Photo Sensor Technology | MOS |
| Aspect Ratio | 4:3 (also supports 3:2, 16:9, 1:1, 65:24, 2:1) |
| Compatible Mountings | Leica L-Mount |
| Product Dimensions | 10 x 10 x 10 inches |
| Item Weight | 5.98 pounds |
| Date First Available | March 8, 2023 |
8. Warranty and Support
For detailed warranty information, please refer to the warranty card included with your product or visit the official Panasonic support website. Panasonic provides customer support for product inquiries, technical assistance, and service requests.
Official Panasonic Support: https://www.panasonic.com/global/consumer/support.html
Please retain your proof of purchase for warranty claims.