
1. Introduction
This manual provides detailed instructions for the safe and efficient operation of your Retevis RT68 and NR10 walkie talkies. Please read this manual thoroughly before using the devices to ensure proper functionality and to prevent damage. These two-way radios are designed for reliable communication in various environments, including construction sites and hotels.
2. Package Contents
Verify that all items listed below are included in your package:
- 6 x Retevis RT68 Walkie Talkies
- 4 x Retevis NR10 Walkie Talkies
- 10 x Li-ion Batteries
- 6 x Soft Ear Hook Earpieces
- 4 x Shoulder Speaker Microphones
- 1 x Six-Way Multi-Unit Charger Station
- 5 x Charger Adapters
- 10 x Belt Clips
- 4 x USB Charging Bases
- 3 x User Manuals (this document)

Image 2.1: Overview of all included components for the Retevis RT68 and NR10 walkie talkie system.
3. Product Features
The Retevis RT68 and NR10 walkie talkies offer a range of features designed for reliable and clear communication:
- 16 Channels: Provides multiple communication options.
- Intelligent Noise Cancelling: Enhances audio clarity in noisy environments.
- VOX Function: Enables hands-free operation.
- Durable Construction: Rugged PC+ABS material for anti-fall and anti-vibration performance.
- Clear Sound Quality: High-quality speakers for loud and clear reception.
- Low Battery Alert: Notifies users when battery power is low.
- FRS Frequency Range: License-free operation.
- Efficient Charging: Six-way multi-unit charger station for simultaneous charging.
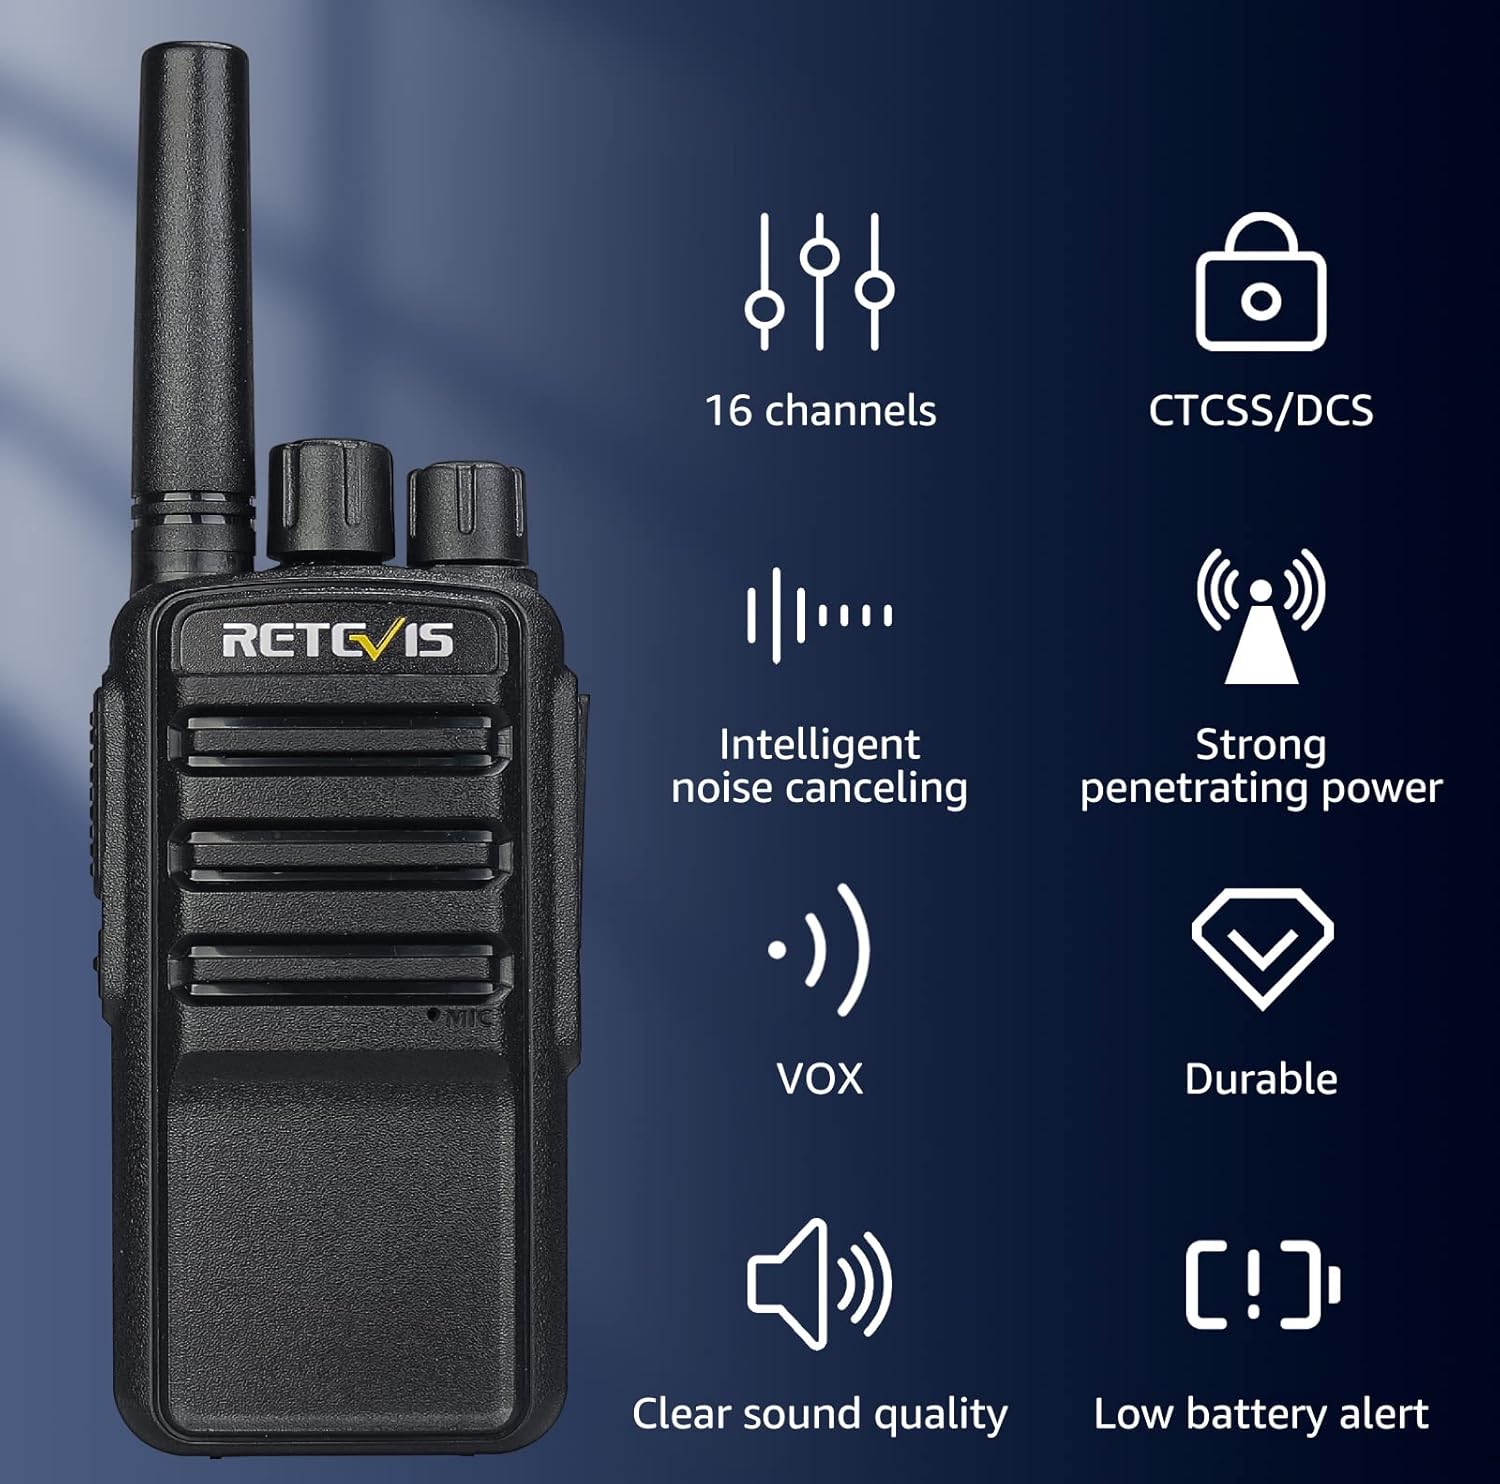
Image 3.1: Visual representation of key features including 16 channels, noise cancelling, and VOX.
3.1. Durability
The radios are constructed with PC+ABS durable material, providing a rugged enclosure that resists falls and vibrations, contributing to a longer service life.

Image 3.2: Close-up of the RT68's rugged shell, highlighting its durable construction.
3.2. Audio Quality and Noise Reduction
Equipped with high-quality speakers, the radios deliver loud and clear sound reception. The intelligent noise cancelling function can be activated with a short press of the side button, ensuring clear communication even in noisy environments.

Image 3.3: Diagram illustrating the high-quality speaker components for clear audio output.

Image 3.4: Visual representation of the intelligent noise reduction technology, showing sound clarity before and after processing.
3.3. Accessories: Earpiece and Shoulder Mic
The included ear hook earpieces are soft and comfortable, designed to fit both left and right ears, providing discreet and clear communication. The heavy-duty shoulder microphones feature sensitive microphones and speakers, a durable PU coil cord, and a rotating clip for secure attachment, enhancing team communication.

Image 3.5: Detailed view of the ear hook earpiece, showing its design and components.

Image 3.6: Illustration of the earhook earpiece providing clear and safe communication.

Image 3.7: The RT68 walkie talkie paired with a shoulder microphone for enhanced communication.
3.4. VOX Function
The Voice Operated Exchange (VOX) function allows for hands-free communication, automatically transmitting when it detects your voice.

Image 3.8: Depiction of the VOX function enabling hands-free operation of the walkie talkie.
4. Setup
4.1. Battery Installation
- Ensure the walkie talkie is powered off.
- Locate the battery compartment on the back of the radio.
- Slide the battery cover down and remove it.
- Insert the Li-ion battery, ensuring the contacts align correctly.
- Replace the battery cover and slide it up until it clicks into place.
4.2. Charging the Batteries
The RT68 and NR10 walkie talkies can be charged using the included six-way multi-unit charger station or individual USB charging bases.
Using the Six-Way Multi-Unit Charger Station:
- Connect the charger station to a power outlet using one of the charger adapters.
- Place up to six walkie talkies (with batteries installed) or individual batteries into the charging slots.
- The indicator light on each slot will show the charging status (typically red for charging, green for fully charged).

Image 4.1: The six-way multi-unit charger station with multiple walkie talkies charging simultaneously.

Image 4.2: Benefits of the multi-unit charger, including space-saving and efficient charging.
Using Individual USB Charging Bases (for NR10):
- Connect the USB charging base to a USB power source (e.g., wall adapter, computer USB port).
- Place the NR10 walkie talkie into the charging base.
- The indicator light will show the charging status.
4.3. Attaching Accessories
Earpiece:
Plug the earpiece connector into the audio jack on the side of the walkie talkie. Adjust the ear hook for a comfortable fit.
Shoulder Microphone:
Plug the shoulder microphone connector into the audio jack. Use the rotating clip to secure the microphone to your clothing.
Belt Clip:
Attach the belt clip to the designated slot on the back of the walkie talkie for convenient carrying.
5. Operating Instructions
5.1. Power On/Off
To power on the walkie talkie, rotate the Power/Volume knob clockwise until you hear a click. To power off, rotate the knob counter-clockwise until it clicks.
5.2. Adjusting Volume
Rotate the Power/Volume knob clockwise to increase the volume and counter-clockwise to decrease it.
5.3. Channel Selection
Rotate the Channel Selector knob (usually located next to the antenna) to choose one of the 16 available channels. Ensure all radios intended for communication are set to the same channel.
5.4. Transmitting and Receiving
- To transmit, press and hold the Push-to-Talk (PTT) button on the side of the radio (or on the shoulder microphone).
- Speak clearly into the microphone, holding the radio approximately 2-5 cm from your mouth.
- Release the PTT button to stop transmitting and return to receive mode.
- When receiving a transmission, the radio will automatically output the audio.
5.5. Activating Noise Cancelling (NR10)
For NR10 models, short press the designated side button to activate the intelligent noise reduction function. This will help clarify audio in loud environments.
5.6. VOX Function
The VOX function allows voice-activated transmission without pressing the PTT button. Refer to the specific radio's programming software or a detailed programming guide for activation and sensitivity adjustment, as this feature may require configuration.
6. Maintenance
6.1. Cleaning
Wipe the radio and accessories with a soft, damp cloth. Do not use harsh chemicals or abrasive cleaners. Ensure all ports are dry before use or charging.
6.2. Battery Care
- Charge batteries fully before first use.
- Avoid overcharging or completely draining the batteries.
- Store batteries in a cool, dry place when not in use.
6.3. Storage
When storing the radios for extended periods, remove the batteries and store them separately. Keep the radios in a dry, dust-free environment away from direct sunlight and extreme temperatures.
7. Troubleshooting
| Problem | Possible Cause | Solution |
|---|---|---|
| No power | Battery not installed correctly or discharged. | Check battery installation. Charge the battery. |
| Cannot transmit or receive | Incorrect channel, out of range, or low battery. | Ensure all radios are on the same channel. Move closer to other radios. Charge battery. |
| Poor audio quality | Volume too low, noise interference, or accessory issue. | Adjust volume. Activate noise cancelling (NR10). Check earpiece/mic connection. |
| Radio beeps continuously | Low battery alert. | Charge the battery immediately. |
8. Specifications
| Feature | Detail |
|---|---|
| Model Numbers | RT68, NR10 |
| Brand | Retevis |
| Color | Black |
| Number of Channels | 16 |
| Special Feature | Portable |
| Frequency Range | FRS |
| Talking Range Maximum | 2 Miles (approximate, depends on terrain) |
| Voltage | 3.7 Volts |
| Water Resistance Level | Not Water Resistant |
| Battery Type | Lithium Ion |
9. Warranty and Support
For warranty information and technical support, please refer to the official Retevis website or contact your authorized dealer. Keep your purchase receipt as proof of purchase for any warranty claims.
Retevis Official Website: www.retevis.com


