
GIGABYTE GB-C301G
Contents
GIGABYTE C301 Glass Mid Tower PC Gaming Case User Manual
Model: GB-C301G | Brand: GIGABYTE
Product Overview
The GIGABYTE C301 GLASS is a mid-tower PC gaming case designed to provide generous airflow and premium aesthetics. It supports a wide range of motherboards, from Mini-ITX to E-ATX, offering flexibility for various build configurations. The case features versatile connectivity options on its front panel, including USB 3.0, USB 3.1 Gen-2 Type-C, and audio ports, alongside an LED switch for controlling the integrated ARGB lighting.

Front-angled view of the GIGABYTE C301 Glass PC case, showcasing its tempered glass side panel and three front ARGB fans.
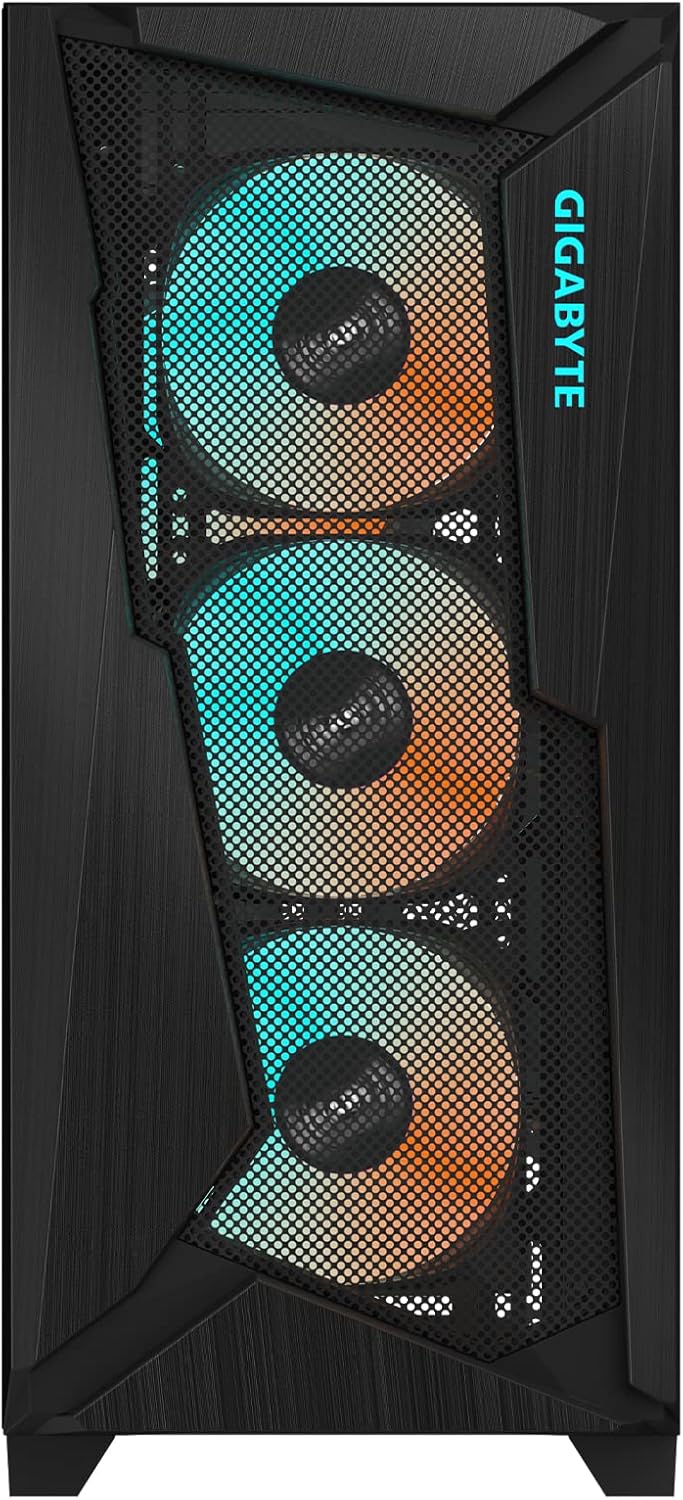
Direct front view of the GIGABYTE C301 Glass PC case, highlighting the mesh front panel and ARGB fan illumination.

Side view of the GIGABYTE C301 Glass PC case, showing the full tempered glass panel.
Setup Guide
Unpacking and Initial Inspection
Carefully remove the GIGABYTE C301 Glass PC case from its packaging. Inspect the case for any signs of damage that may have occurred during shipping. Ensure all accessories, such as screws and cable ties, are present.
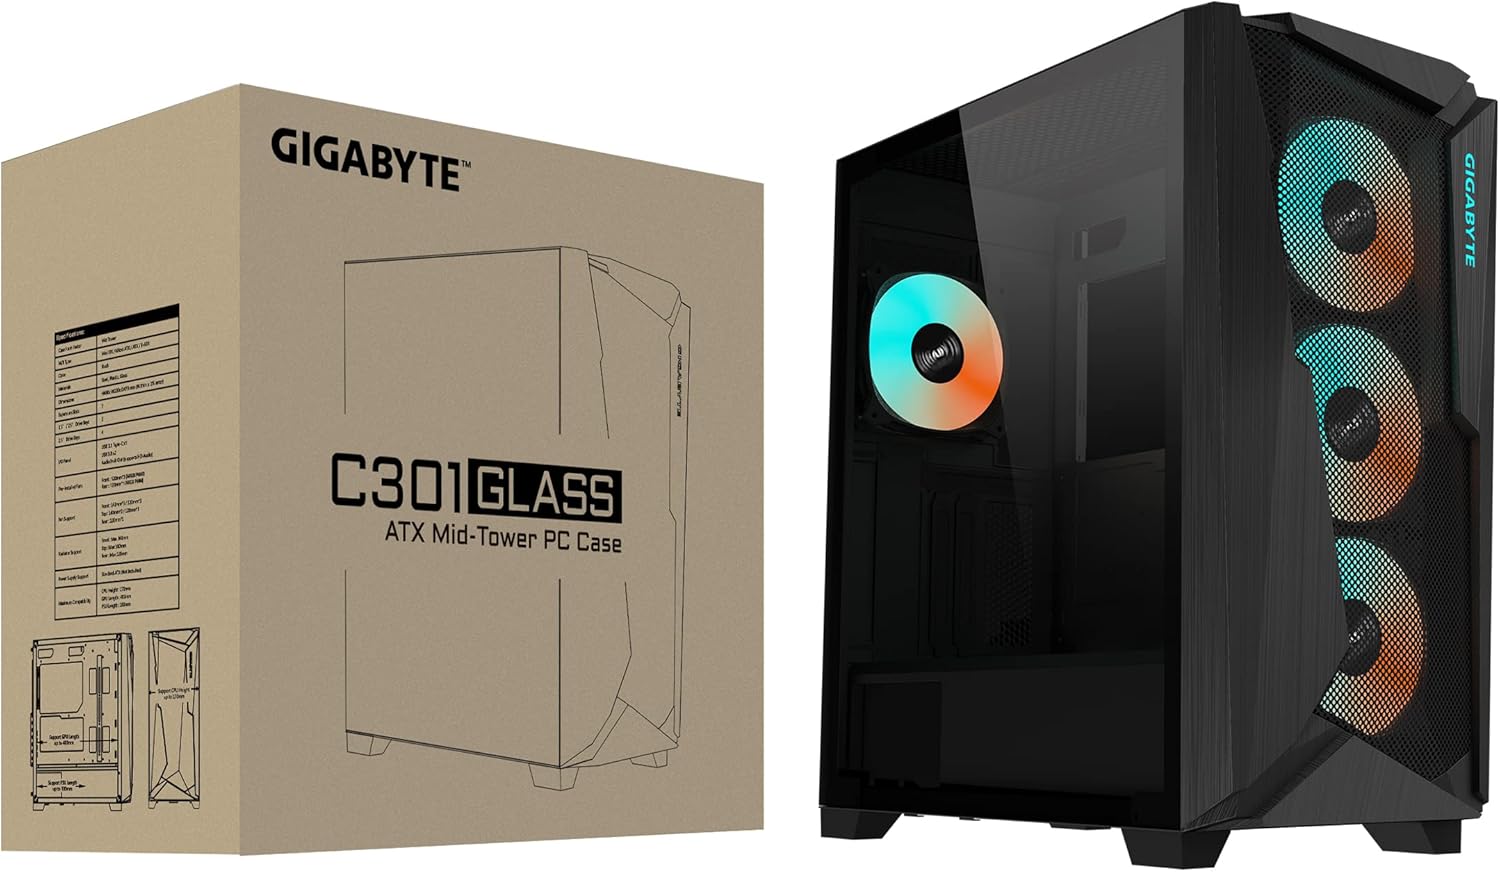
The GIGABYTE C301 Glass PC case shown alongside its retail packaging.
Component Installation
The GIGABYTE C301 GLASS is designed for easy installation of various PC components. Follow the steps below for a smooth build process.
Motherboard Installation
Install your motherboard (Mini-ITX to E-ATX compatible) onto the standoffs inside the case. Secure it with the provided screws.
Power Supply Installation
Mount your power supply unit (PSU) in the designated compartment, typically at the bottom rear of the case. Secure it with screws.
Storage Drive Installation
Utilize the hard-drive trays for installing 3.5-inch or 2.5-inch storage drives. These trays are easily removable for convenient installation.
Graphics Card Installation
Install your graphics card into the appropriate PCIe slot on your motherboard. The case also supports vertical GPU mounting with an optional kit.
Fan and Radiator Installation
The case comes with four pre-installed ARGB fans: three 120mm fans at the front and one 120mm fan at the rear. Additional fans and radiators can be installed as per the specifications.
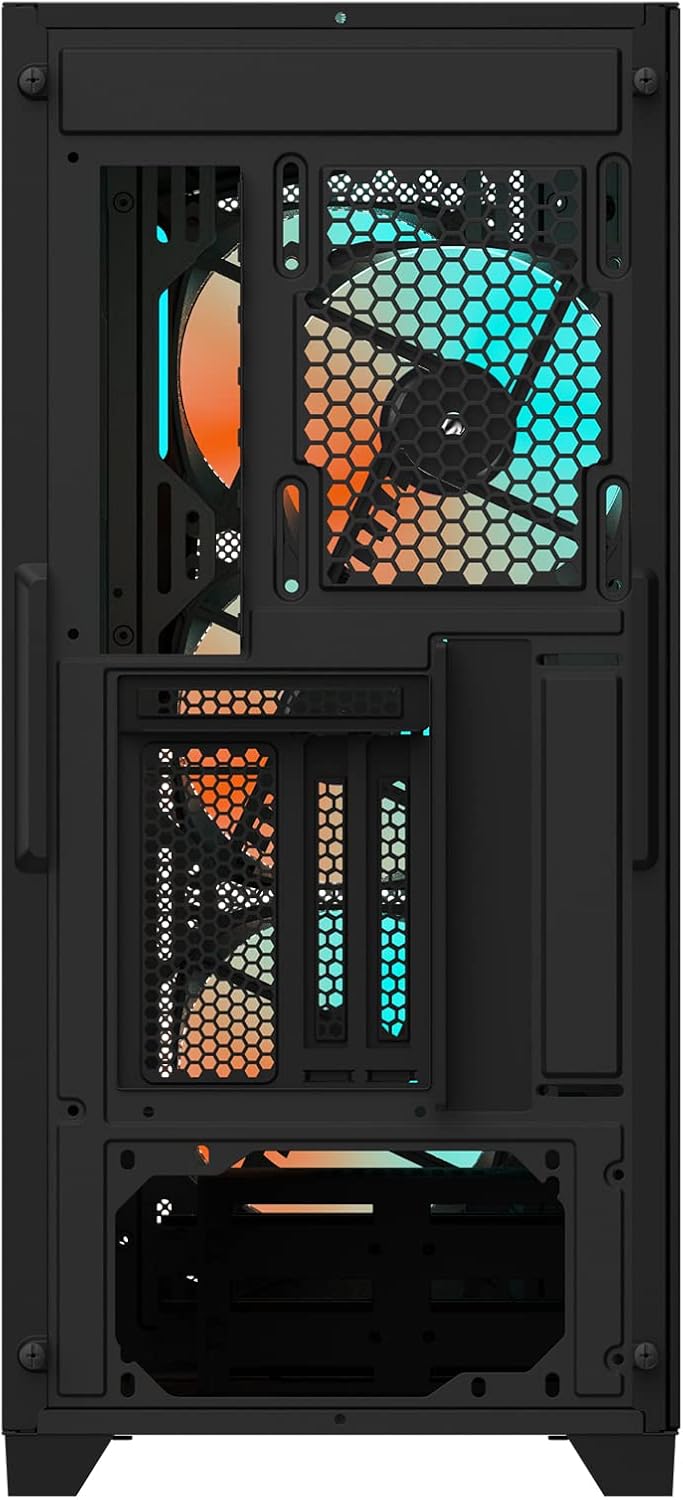
Rear view of the GIGABYTE C301 Glass PC case, showing the exhaust fan and expansion slots.
Operating Instructions
Front Panel I/O Connectivity
The top-mounted front panel I/O provides convenient access to essential ports for your peripherals and audio devices.
- USB 3.1 Gen-2 Type-C: 1x port for high-speed data transfer and modern device connectivity.
- USB 3.0: 2x ports for standard USB device connections.
- LED Switch: Dedicated button to cycle through ARGB lighting modes or turn off the lighting.
- Audio In & Out: Separate 3.5mm jacks for headphones and microphones.
- Power Button: To power on/off your system.
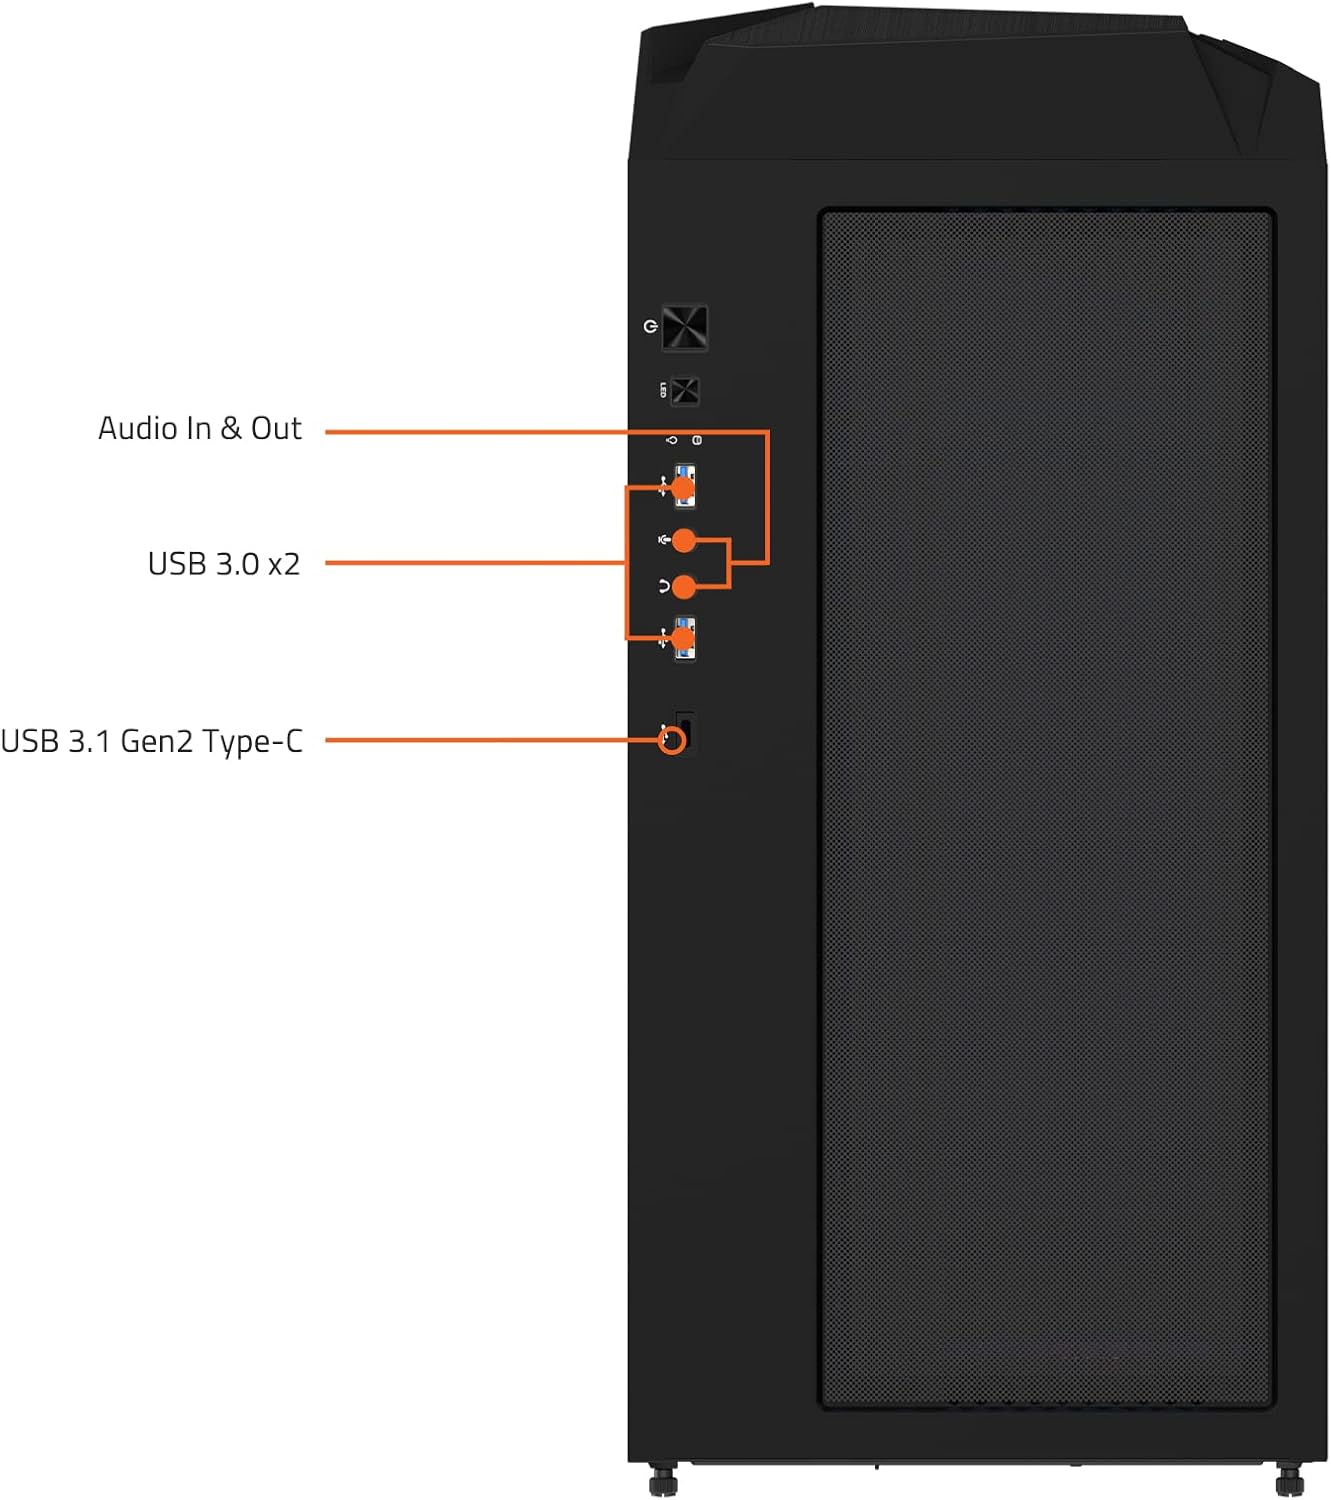
Close-up view of the GIGABYTE C301 Glass front I/O panel, indicating the USB Type-C, USB 3.0, and audio ports.
ARGB Lighting Control
The pre-installed ARGB fans offer customizable lighting effects. You can control these effects using the dedicated LED Switch on the front panel. For advanced synchronization and customization, connect the ARGB hub to a compatible motherboard with ARGB headers and use the motherboard's lighting software.
Demonstration of the GIGABYTE C301 Glass PC case, highlighting its design and ARGB lighting features.
Maintenance
Cleaning
To ensure optimal performance and longevity of your PC components, regular cleaning of the case is recommended. Dust filters on the front mesh and top panel should be cleaned periodically to maintain generous airflow. Use a soft, damp cloth for exterior surfaces and compressed air to remove dust from internal components and fan blades.
Fan Care
Periodically check the pre-installed ARGB fans for dust buildup. While the fans are designed for durability, keeping them clean will prevent noise and maintain efficient cooling.
Troubleshooting
No Power
- Ensure the power supply unit (PSU) is properly connected to the wall outlet and the motherboard (24-pin and CPU 8-pin connectors).
- Verify that the power switch on the PSU itself is in the 'ON' position.
- Check the front panel power button cable connection to the motherboard.
Fans Not Spinning / ARGB Not Lighting Up
- Confirm that all fan headers are correctly connected to the motherboard or the integrated ARGB controller.
- Check the ARGB cable connections from the fans to the controller/motherboard.
- Use the front panel LED switch to cycle through different lighting modes or ensure it hasn't been pressed to turn off the lighting.
Poor Airflow / Overheating
- Clean all dust filters and fan blades regularly to prevent dust buildup.
- Ensure that the fans are oriented correctly for optimal airflow (front fans as intake, rear/top fans as exhaust).
- Check for any internal cable clutter that might obstruct airflow.
Specifications
| Feature | Detail |
|---|---|
| Case Form Factor | Mid Tower |
| Motherboard Support | Mini-ITX, Micro-ATX, ATX, E-ATX |
| Radiator Support (Front) | Max 360mm |
| Radiator Support (Top) | Max 360mm |
| Radiator Support (Rear) | Max 120mm |
| Pre-Installed Fans | Front: 3x 120mm (ARGB), Rear: 1x 120mm (ARGB) |
| Fan Support (Front) | 3x 120mm / 3x 140mm |
| Fan Support (Top) | 3x 120mm / 2x 140mm |
| Fan Support (Rear) | 1x 120mm |
| Front I/O Ports | 1x USB 3.1 Gen-2 Type-C, 2x USB 3.0, LED Switch, Audio In & Out |
| Dimensions (W x D x H) | 220 x 473 x 486 mm / 8.7 x 18.6 x 19.1 inches |
| Item Weight | 19.58 pounds |
| Material | Tempered Glass |
| Color | Black |
| Cooling Method | Air |
| Light Color | RGB |
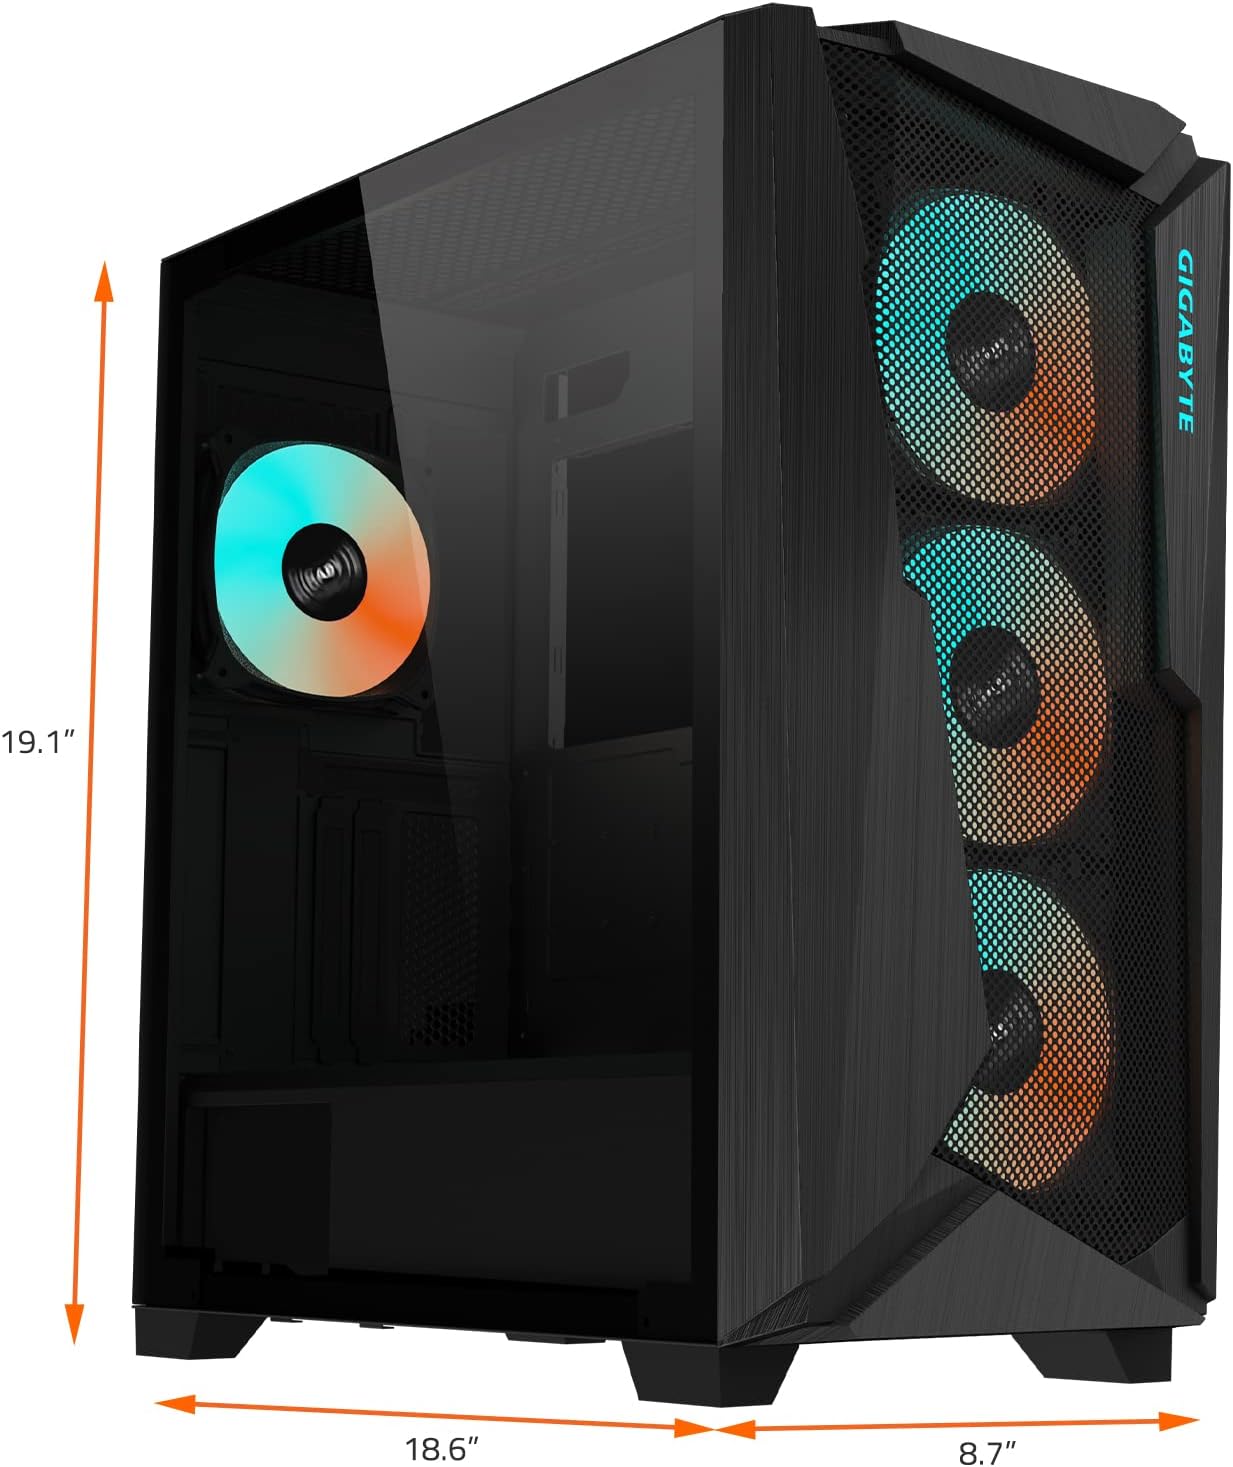
Diagram showing the key dimensions of the GIGABYTE C301 Glass PC case.
Warranty and Support
For detailed warranty information, technical support, and service inquiries regarding your GIGABYTE C301 Glass PC case, please visit the official GIGABYTE website. It is recommended to keep your proof of purchase, such as the sales receipt, as it may be required for warranty claims.
You can find further assistance and resources on the GIGABYTE support pages, including FAQs, driver downloads, and contact information for customer service.
Ask a question about this manual
Ask about setup, troubleshooting, compatibility, parts, safety, or missing instructions. Manuals+ will review the question and use this page’s manual context to help answer it.