1. Introduction
This manual provides detailed instructions for the installation, operation, and maintenance of your GIGABYTE C301 Glass White Mid Tower PC Case. Please read this manual thoroughly before beginning assembly to ensure proper setup and safe usage.
The GIGABYTE C301 Glass White is a mid-tower PC case designed for optimal airflow and aesthetic appeal, featuring tempered glass panels and pre-installed Addressable RGB (ARGB) fans. It supports a wide range of motherboard sizes from Mini-ITX to E-ATX.
2. Safety Information
- Always disconnect the power supply from the wall outlet before installing or removing any components.
- Handle tempered glass panels with care to prevent breakage.
- Avoid exposing the case to moisture or extreme temperatures.
- Ensure all cables are properly routed and secured to prevent interference with fans or other moving parts.
- Keep small components and screws away from children.
3. Package Contents
Verify that all components are present in the package:
- GIGABYTE C301 Glass White Mid Tower PC Case
- Pre-installed 120mm ARGB Fans (3x Front, 1x Rear)
- Accessory Box (screws, cable ties, standoffs, etc.)
- User Manual (this document)
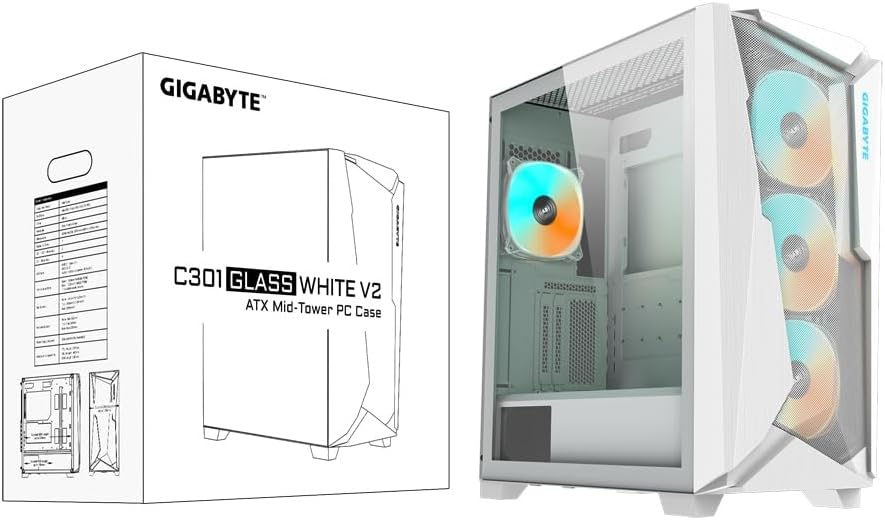
Image: GIGABYTE C301 Glass White PC Case packaging, showing the product box and the case itself.
4. Setup and Installation
4.1 Case Overview
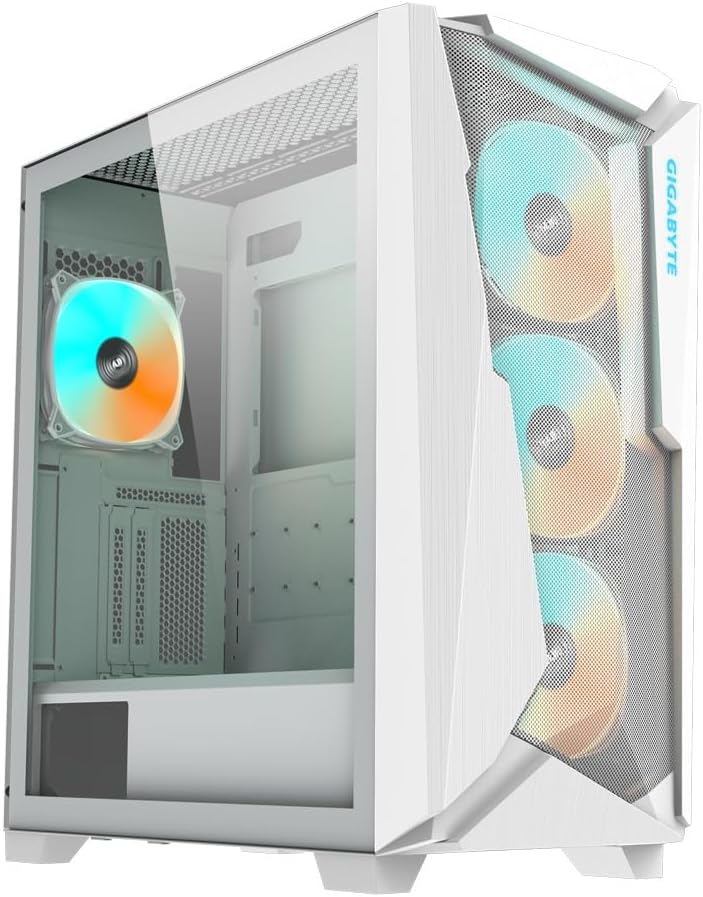
Image: Front-left view of the GIGABYTE C301 Glass White PC Case, showcasing the tempered glass side panel and the mesh front panel with three illuminated ARGB fans.
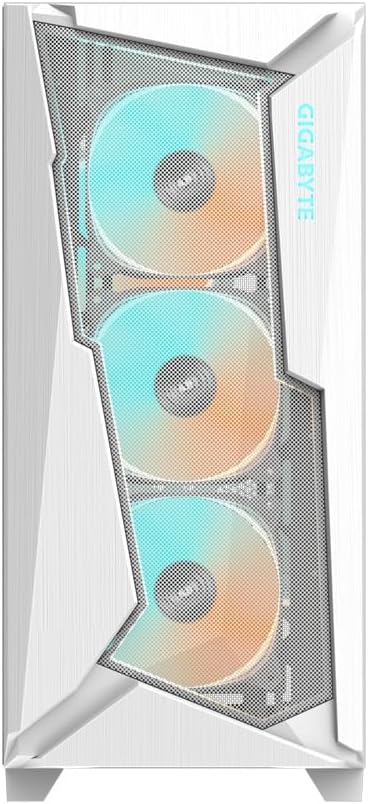
Image: Front view of the GIGABYTE C301 Glass White PC Case, highlighting the mesh design and the three front ARGB fans.

Image: Side view of the GIGABYTE C301 Glass White PC Case, showing the clear tempered glass panel and the internal layout.

Image: Rear view of the GIGABYTE C301 Glass White PC Case, displaying the rear fan mount, expansion slots, and power supply cutout.
4.2 Front I/O Panel
The front I/O panel provides convenient access to essential ports and controls:
- 1x USB 3.1 Gen-2 Type-C Port
- 2x USB 3.0 Ports
- Audio In & Out Jacks
- LED Switch (for ARGB control)
- Power Button

Image: Close-up view of the top-mounted I/O panel on the GIGABYTE C301 Glass White PC Case, showing the USB ports, audio jacks, LED switch, and power button.
4.3 Motherboard Installation
- Remove the side panels.
- Install the necessary standoffs for your motherboard form factor (Mini-ITX, Micro-ATX, ATX, E-ATX).
- Carefully place the motherboard into the case and secure it with screws.
4.4 Power Supply Unit (PSU) Installation
- Mount the PSU to the bracket at the rear of the case.
- Slide the PSU into the dedicated shroud area at the bottom of the case and secure it.
4.5 Storage Drive Installation
The case supports multiple storage drives. Refer to the accessory box for specific mounting hardware.
4.6 ARGB Fan and Lighting Setup
The case includes an integrated ARGB connector hub for managing the pre-installed fans and additional ARGB devices.

Image: Internal view of the GIGABYTE C301 Glass White PC Case, showing the ARGB connector hub mounted on the rear side of the motherboard tray, with multiple 5V 3-pin connectors.
Connect your ARGB devices to the hub. Use the front panel LED switch to cycle through lighting effects or connect the hub to a compatible motherboard for software control.
4.7 Cable Management
Utilize the cable routing cutouts and tie-down points behind the motherboard tray to organize cables. This improves airflow and maintains a clean interior aesthetic.
5. Operating Instructions
5.1 Powering On/Off
Press the power button on the front I/O panel to turn your system on or off.
5.2 ARGB Lighting Control
Use the dedicated LED switch on the front I/O panel to change the lighting modes and colors of the pre-installed ARGB fans. Holding the button down for a few seconds may turn off the lighting.
5.3 Airflow Optimization
The GIGABYTE C301 Glass White features a large mesh front panel and a vented top panel for generous airflow. The pre-installed fans are configured for optimal cooling.

Image: Internal view of the GIGABYTE C301 Glass White PC Case with blue arrows indicating optimized airflow from the front mesh panel through the case and out the rear and top vents.
6. Maintenance
6.1 Cleaning
- Regularly clean dust filters (front, top, bottom) to maintain optimal airflow.
- Use a soft, dry cloth to wipe down exterior surfaces. For tempered glass, use a glass cleaner sparingly on a cloth, not directly on the panel.
- Use compressed air to remove dust from internal components and fans.
6.2 Fan Maintenance
Periodically check fan blades for dust buildup and clean as necessary. Ensure fan cables are securely connected.
7. Troubleshooting
- No Power: Check all power connections, including the PSU to the wall, PSU to motherboard, and front panel power switch cable to the motherboard.
- Fans Not Spinning: Verify fan connections to the motherboard or ARGB hub. Ensure the PSU is providing power.
- ARGB Lights Not Working: Check ARGB connections to the hub or motherboard. Use the front panel LED switch to test different modes. Ensure motherboard ARGB software is correctly configured if applicable.
- USB Ports Not Functioning: Ensure the front panel USB cables are correctly connected to the motherboard headers.
- Audio Jacks Not Functioning: Verify the front panel audio cable is correctly connected to the motherboard's audio header.
8. Specifications
| Feature | Specification |
|---|---|
| Case Form Factor | Mid Tower |
| Motherboard Compatibility | Mini-ITX, Micro-ATX, ATX, E-ATX |
| Dimensions (LxWxH) | 220 (W) x 473 (D) x 486 (H) mm / 8.7 (W) x 18.6 (D) x 19.1 (H) inch |
| Material | Steel, Tempered Glass |
| Front I/O Ports | 1x USB 3.1 Gen-2 Type-C, 2x USB 3.0, Audio In & Out, LED Switch, Power Button |
| Pre-Installed Fans | Front: 3x 120mm ARGB, Rear: 1x 120mm ARGB |
| Fan Support (Front) | 3x 120mm / 3x 140mm |
| Fan Support (Top) | 3x 120mm / 2x 140mm |
| Fan Support (Rear) | 1x 120mm |
| Radiator Support (Front) | Max 360mm |
| Radiator Support (Top) | Max 360mm |
| Radiator Support (Rear) | Max 120mm |
| Power Supply Mounting Type | Bottom Mount |
| Item Weight | 19.65 pounds |
9. Warranty Information
GIGABYTE products are covered by a limited warranty. Please refer to the official GIGABYTE website or your regional distributor for specific warranty terms and conditions applicable to your product. Keep your proof of purchase for warranty claims.
10. Support
For technical support, driver downloads, or further assistance, please visit the official GIGABYTE support website:
You may also contact your local GIGABYTE representative or retailer for service.


