
Keychron Q2P-P1
Keychron Q2 Pro RGB QMK/VIA Bluetooth Wireless Custom Mechanical Keyboard User Manual
Model: Q2P-P1 | Brand: Keychron
1. Introduction
The Keychron Q2 Pro is a highly customizable 65% layout mechanical keyboard designed for enthusiasts and professionals. Crafted from durable 6063 aluminum, it features a programmable knob, hot-swappable switches, and extensive customization options via QMK/VIA. This manual provides detailed instructions for setting up, operating, maintaining, and troubleshooting your Q2 Pro keyboard.

Image 1.1: Keychron Q2 Pro RGB QMK/VIA Bluetooth Wireless Custom Mechanical Keyboard.
2. Setup and Connectivity
2.1 Unboxing and Initial Inspection
Upon receiving your Keychron Q2 Pro, carefully unbox all components. The package should include:
- 1x Fully Assembled Keyboard
- 1x Aluminum Case
- 1x PCB
- 1x PC Plate
- 1x Sound Absorbing Foam
- 1x Case Foam
- 14x Gaskets (10 Installed and 4 in the Box)
- 4 sets x Stabilizers
- 1 set x Keycaps (Double-Shot KSA PBT)
- 1 set x Switches
- 1x Type-C to Type-C Cable
- 1x Type-A to Type-C Adapter
- 1x Switch Puller
- 1x Keycap Puller
- 1x Screwdriver
- 1x Hex Key

Image 2.1: Contents of the Keychron Q2 Pro package.
2.2 Connecting Your Keyboard
The Keychron Q2 Pro supports both wireless Bluetooth 5.1 and wired USB-C connectivity.
2.2.1 Wired Mode
- Locate the USB-C port on the back of the keyboard.
- Connect the provided Type-C to Type-C cable (or Type-A to Type-C using the adapter) from your computer to the keyboard.
- Ensure the toggle switch on the back of the keyboard is set to 'Cable' mode.
- The keyboard will be recognized automatically by your operating system. The polling rate in wired mode is 1000 Hz.
2.2.2 Bluetooth Wireless Mode
- Ensure the toggle switch on the back of the keyboard is set to 'BT' (Bluetooth) mode.
- To enter pairing mode, press and hold Fn1 + 1 (for device 1), Fn1 + 2 (for device 2), or Fn1 + 3 (for device 3) for 4 seconds until the indicator light flashes rapidly.
- On your computer or device, open Bluetooth settings and search for 'Keychron Q2 Pro'.
- Select the keyboard to pair. The indicator light will stop flashing once connected.
- To switch between paired devices, press Fn1 + 1, Fn1 + 2, or Fn1 + 3. The polling rate in wireless mode is 90 Hz.

Image 2.2: Connectivity switches (Windows/macOS, Bluetooth/Cable) on the Keychron Q2 Pro.
2.3 Operating System Compatibility
The Q2 Pro is fully compatible with Mac, Windows, and Linux operating systems. Use the toggle switch on the back of the keyboard to select between 'Win' (Windows/Linux) and 'Mac' modes for optimal key mapping.
3. Operation and Customization
3.1 QMK/VIA Customization
The Keychron Q2 Pro supports QMK firmware and VIA software for advanced key remapping, macro creation, and lighting customization. VIA is a graphical user interface that allows for easy configuration without needing to write code.
- Download the VIA software from the official Keychron website.
- Download the specific JSON keymap file for the Keychron Q2 Pro from the Keychron website.
- Open VIA software and load the JSON keymap file.
- You can now remap any key, create custom macros, shortcuts, or key combinations. Changes are applied in real-time.

Image 3.1: QMK/VIA software interface for keyboard customization.
3.2 Programmable Rotary Knob
The aluminum rotary encoder can be customized to perform various functions, enhancing your workflow. Through VIA, you can assign it to control:
- Volume adjustment
- Screen brightness
- Zoom in/out
- Brush size in creative software
- Scrolling through video clips or photos
- Backlight hue or brightness
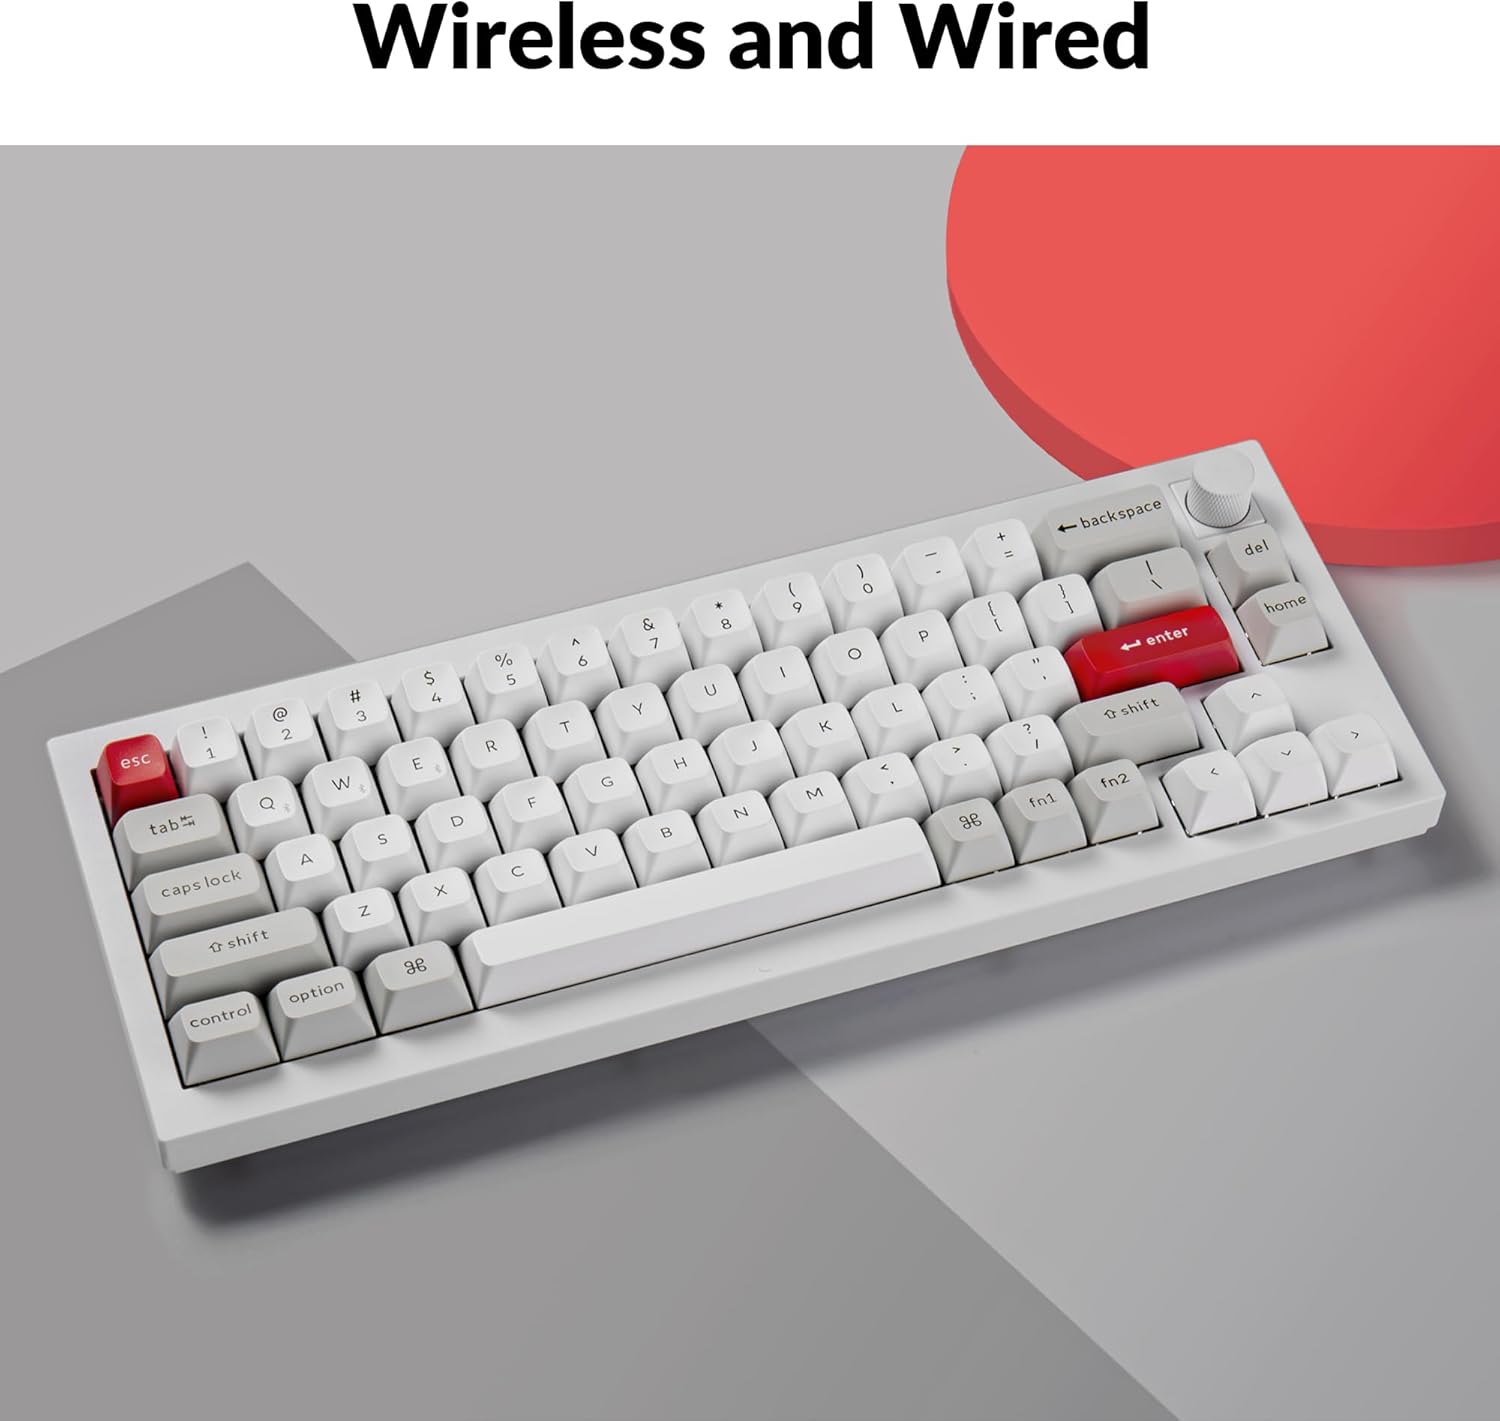
Image 3.2: Close-up of the programmable rotary knob on the Keychron Q2 Pro.
3.3 RGB Backlighting
The Q2 Pro features south-facing RGB LEDs with 22 types of backlight settings. You can fine-tune the RGB hue, saturation, brightness, effect speed, and different modes directly on the keyboard or remap these controls using QMK/VIA.
Image 3.3: South-facing RGB lighting visible on the Keychron Q2 Pro.
4. Maintenance and Care
4.1 Hot-Swappable Switches
The Q2 Pro features hot-swappable switch sockets, allowing you to easily change switches without soldering. This enables customization of typing feel and sound, and simplifies replacement of faulty switches.
- Power off the keyboard or disconnect the USB-C cable.
- Use the provided keycap puller to remove the desired keycap.
- Use the provided switch puller to gently grasp the switch and pull it straight up.
- Align the pins of the new switch with the holes on the PCB and press it firmly until it clicks into place. Ensure pins are not bent.
- Replace the keycap.

Image 4.1: Hot-swappable switches being removed from the Keychron Q2 Pro.
4.2 Disassembly and Assembly
The Q2 Pro is designed for easy disassembly, allowing access to internal components for modification or deeper cleaning. Refer to the exploded view diagram for component identification.

Image 4.2: Exploded view diagram of the Keychron Q2 Pro components.
4.3 Cleaning
- Keycaps: Remove keycaps using the keycap puller. Clean with mild soap and water, then dry thoroughly before reattaching.
- Case: Wipe the aluminum case with a soft, damp cloth. Avoid abrasive cleaners.
- Between Keys: Use compressed air to remove dust and debris from between the switches.
4.4 Double-Gasket Design and PCB Stabilizers
The Q2 Pro features a double-gasket design with silicone pads between the top and bottom cases to reduce sound resonance. It also includes PCB-mounted screw-in stabilizers for improved stability on larger keys. These components are designed for durability and a smoother typing experience.

Image 4.3: Illustration of the double-gasket design and PCB stabilizers.
5. Troubleshooting
5.1 Connectivity Issues
- Keyboard not connecting via Bluetooth: Ensure the keyboard is in 'BT' mode and in pairing mode (Fn1 + 1/2/3 for 4 seconds). Check your device's Bluetooth settings and ensure it's discoverable. Try forgetting the device and re-pairing.
- Keyboard not recognized in wired mode: Ensure the keyboard is in 'Cable' mode. Try a different USB-C port or cable. Restart your computer.
5.2 Key Functionality Issues
- Keys not responding: If a specific key is not working, try hot-swapping the switch with a known working one to determine if the switch or the PCB is the issue. Ensure the switch is fully seated.
- Incorrect key output: Check the operating system toggle switch (Win/Mac) on the back of the keyboard. If using VIA, ensure the correct keymap is loaded and no accidental remappings have occurred.
5.3 RGB Lighting Issues
- RGB not lighting up: Ensure the backlight is enabled. Check brightness settings. If using VIA, verify lighting settings are correctly configured.
5.4 Firmware Reset
If you experience persistent issues, a firmware reset may resolve them. Refer to the official Keychron website for specific instructions on how to reset or reflash the firmware for your Q2 Pro model.
6. Specifications
| Feature | Detail |
|---|---|
| Model Number | Q2P-P1 |
| Layout | 65% (68 keys) |
| Case Material | 6063 Aluminum |
| Keycap Material | Double-Shot KSA PBT |
| Switches | Keychron K Pro (Red, Brown, Banana options) |
| Connectivity | Bluetooth 5.1, USB-C (Wired) |
| Wired Polling Rate | 1000 Hz |
| Wireless Polling Rate | 90 Hz |
| Backlighting | South-Facing RGB (22 types) |
| MCU | ARM Cortex-M4 32-bit STM32L432 chip (128K Flash) |
| Battery | 1 Lithium Polymer battery (included) |
| Item Weight | 4.77 pounds |
| Package Dimensions | 14.21 x 6.89 x 2.83 inches |
| Manufacturer | Keychron |
| Date First Available | March 6, 2023 |

Image 6.1: Keychron K Pro Switch Features table, detailing operating force, pre-travel, travel distance, behavior, pre-lubed status, sound level, and suitability for different switch types.
7. Warranty and Support
For detailed warranty information and technical support, please visit the official Keychron website or contact Keychron customer service directly. Keep your purchase receipt as proof of purchase for warranty claims.
You can find more information and support resources on the Keychron Brand Store on Amazon.
Related documentsQ2P-P1


Ask a question about this manual
Ask about setup, troubleshooting, compatibility, parts, safety, or missing instructions. Manuals+ will review the question and use this page’s manual context to help answer it.