
Introduction
This manual provides essential information for the proper setup, operation, and maintenance of your ISNATCH Digital Indoor Thermometer Hygrometer. This device accurately measures and displays indoor temperature and humidity, offering a clear overview of your indoor climate. It features a magnetic back for easy attachment to metal surfaces and an integrated stand for tabletop placement.
Safety Information
- Keep the device away from extreme temperatures, direct sunlight, and high humidity.
- Do not immerse the device in water or other liquids.
- Do not attempt to disassemble or modify the device. This will void the warranty.
- Keep batteries out of reach of children. Dispose of used batteries according to local regulations.
- Use only the specified battery type.
Package Contents
- 1 x ISNATCH Digital Indoor Thermometer Hygrometer (Model 64.3301.10)
- 1 x Instruction Manual
- (Battery may or may not be included depending on packaging)
Device Overview
The ISNATCH Digital Indoor Thermometer Hygrometer features a clear LCD display, a magnetic back, and a foldable stand for versatile placement.
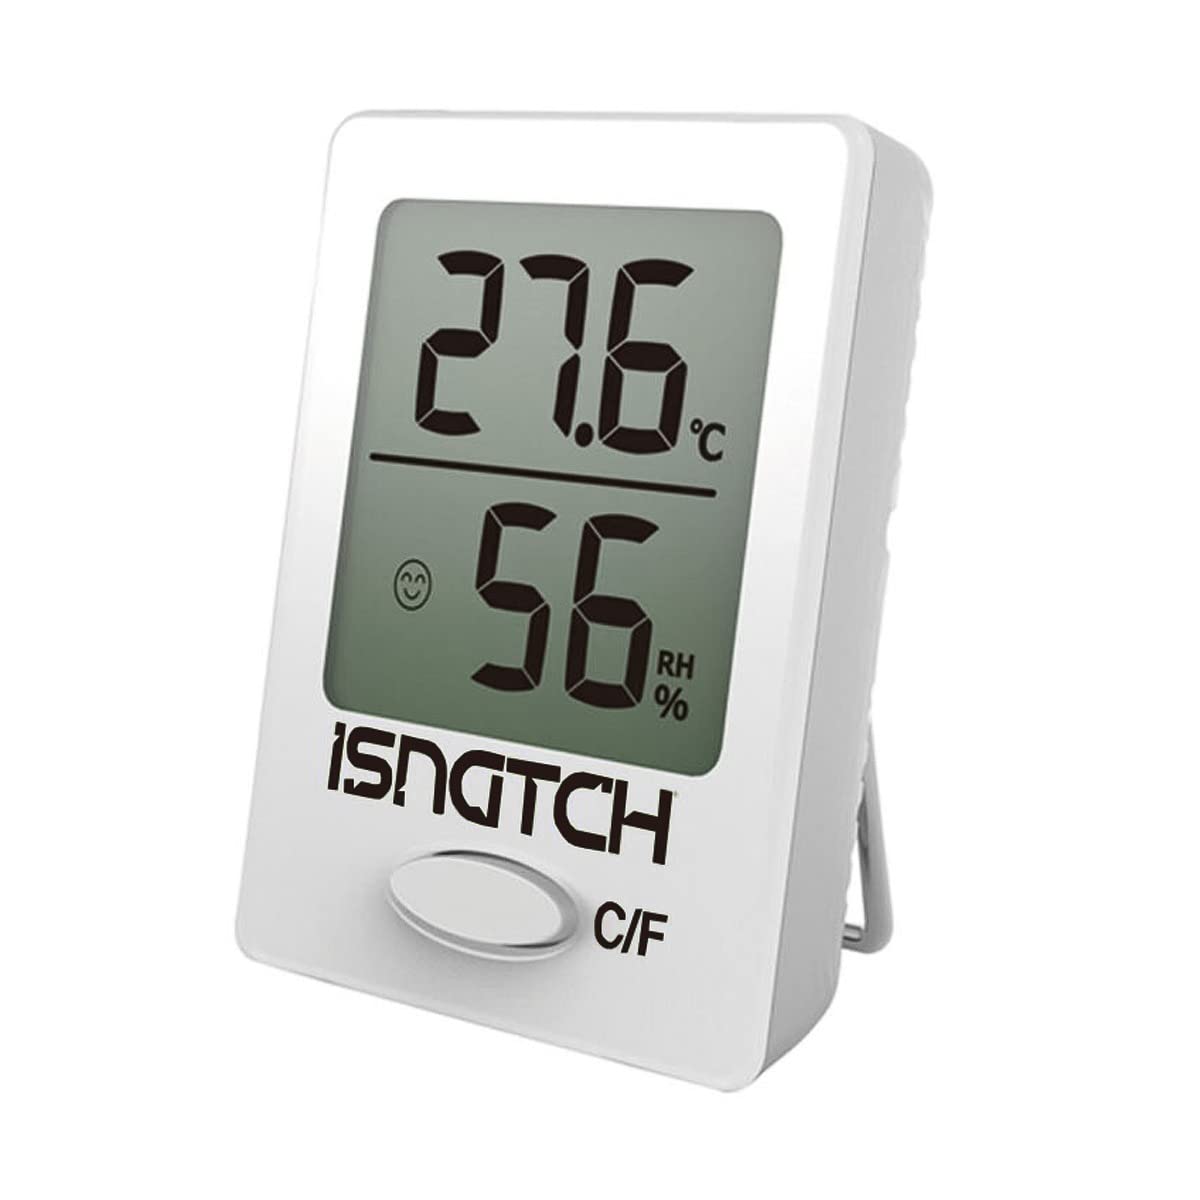
Image: Front view of the ISNATCH Digital Indoor Thermometer Hygrometer. The display shows temperature and humidity readings. The device has a clean, white casing, and its magnetic back and foldable stand allow for flexible placement on various surfaces.
Components:
- LCD Display: Shows current temperature and humidity.
- °C/°F Button: Toggles between Celsius and Fahrenheit temperature units.
- MAX/MIN Button: Displays maximum and minimum recorded temperature and humidity.
- RESET Button: Clears MAX/MIN records.
- Battery Compartment: Located on the back.
- Magnetic Back: For attachment to metal surfaces.
- Foldable Stand: For tabletop placement.
Setup
1. Battery Installation:
- Locate the battery compartment cover on the back of the device.
- Slide the cover open.
- Insert the required battery (e.g., 1 x AAA battery, not always included) according to the polarity markings (+/-).
- Close the battery compartment cover securely.
2. Placement:
- Tabletop: Extend the foldable stand on the back of the device and place it on a flat, stable surface.
- Magnetic Attachment: The device can be attached to any metal surface, such as a refrigerator door, using its integrated magnet.
- Ensure the device is placed in an area where it can accurately measure ambient conditions, away from direct heat sources, vents, or windows that could skew readings.
Operating Instructions
1. Power On:
The device will automatically power on once batteries are installed, displaying current temperature and humidity.
2. Switching Temperature Units (°C/°F):
Press the °C/°F button once to switch between Celsius and Fahrenheit temperature displays.
3. Viewing MAX/MIN Records:
- Press the MAX/MIN button once to display the maximum temperature and humidity recorded since the last reset.
- Press the MAX/MIN button again to display the minimum temperature and humidity recorded.
- Press the MAX/MIN button a third time to return to the current temperature and humidity display.
4. Resetting MAX/MIN Records:
While viewing the MAX or MIN records, press and hold the RESET button for approximately 3 seconds to clear the recorded maximum and minimum values. The device will then start recording new MAX/MIN values from the current readings.
Maintenance
Cleaning:
Wipe the device with a soft, dry cloth. Do not use abrasive cleaners, solvents, or immerse in water.
Battery Replacement:
When the display becomes dim or readings are inconsistent, it is time to replace the battery. Follow the battery installation steps in the Setup section.
Storage:
If storing the device for an extended period, remove the battery to prevent leakage and damage.
Troubleshooting
- No Display:
- Check if the battery is installed correctly with the correct polarity.
- Replace with a new battery.
- Inaccurate Readings:
- Ensure the device is not placed near heat sources, direct sunlight, or in areas with poor air circulation.
- Allow the device to stabilize for at least 30 minutes after initial setup or relocation.
- MAX/MIN Not Resetting:
- Ensure you are pressing and holding the RESET button for the required duration (approx. 3 seconds) while MAX or MIN values are displayed.
Specifications
- Model: 64.3301.10
- Temperature Range: Typically 0°C to 50°C (32°F to 122°F)
- Humidity Range: Typically 10% to 99% RH
- Temperature Accuracy: ±1°C (±1.8°F)
- Humidity Accuracy: ±5% RH
- Power Source: 1 x AAA battery (not included)
- Weight: 1 Kilogram (as per product specifications, note: this might be shipping weight)
- Dimensions: (Specific dimensions not provided, refer to product packaging)
Warranty
This product is covered by a standard manufacturer's warranty against defects in materials and workmanship. The warranty period typically begins from the date of purchase. Please retain your proof of purchase for warranty claims. The warranty does not cover damage caused by misuse, accident, unauthorized modification, or normal wear and tear. For specific warranty terms and conditions, please refer to the documentation provided with your purchase or contact customer support.
Support
For technical assistance, troubleshooting, or further information regarding your ISNATCH Digital Indoor Thermometer Hygrometer, please refer to the contact information provided on the product packaging or the official ISNATCH website. When contacting support, please have your product model number (64.3301.10) and proof of purchase readily available.