1. Introduction
The ATOMSTACK MAKER AC1 Camera is a high-definition 5-megapixel digital camera designed to enhance the precision and efficiency of laser engraving and cutting machines. It integrates seamlessly with LightBurn software, providing advanced functionalities such as accurate positioning, real-time work preview, video recording of the engraving process, and multi-task engraving capabilities. This manual provides detailed instructions for setting up, operating, and maintaining your AC1 Camera to ensure optimal performance.

Figure 1.1: ATOMSTACK MAKER Laser Camera overview, highlighting work preview, precise positioning, video recording, and multitasking.
2. Product Components
The ATOMSTACK MAKER AC1 Camera package includes the following components:

Figure 2.1: Detailed view of the ATOMSTACK MAKER AC1 Camera packing list, including the camera, connector, kraft paper, focusing piece, bracket, soft ruler, and base.
- AC1 Camera Unit
- Mounting Bracket and Base
- USB Cable
- Kraft Paper (for calibration)
- Focusing Piece
- Soft Ruler
3. Setup Instructions
Follow these steps to set up your ATOMSTACK MAKER AC1 Camera:
- Mounting the Camera: Attach the AC1 Camera to the provided mounting bracket. Secure the bracket to your laser engraver's frame. The camera is designed for frame-type machines within a 450x450mm area. Ensure the camera is positioned directly above the engraving area for optimal coverage.
- Connecting to Computer: Connect the camera to your computer using the provided USB cable. The AC1 Camera is driver-free for Windows and macOS systems.
- Software Compatibility: The AC1 Camera is exclusively compatible with LightBurn software. Ensure you have LightBurn installed and updated to the latest version for full functionality.
- Initial Calibration: After connecting, open LightBurn. Navigate to the camera control settings. Perform an initial calibration to align the camera's view with your laser engraver's working area. This step is crucial for accurate positioning. Refer to the LightBurn documentation for detailed calibration procedures.
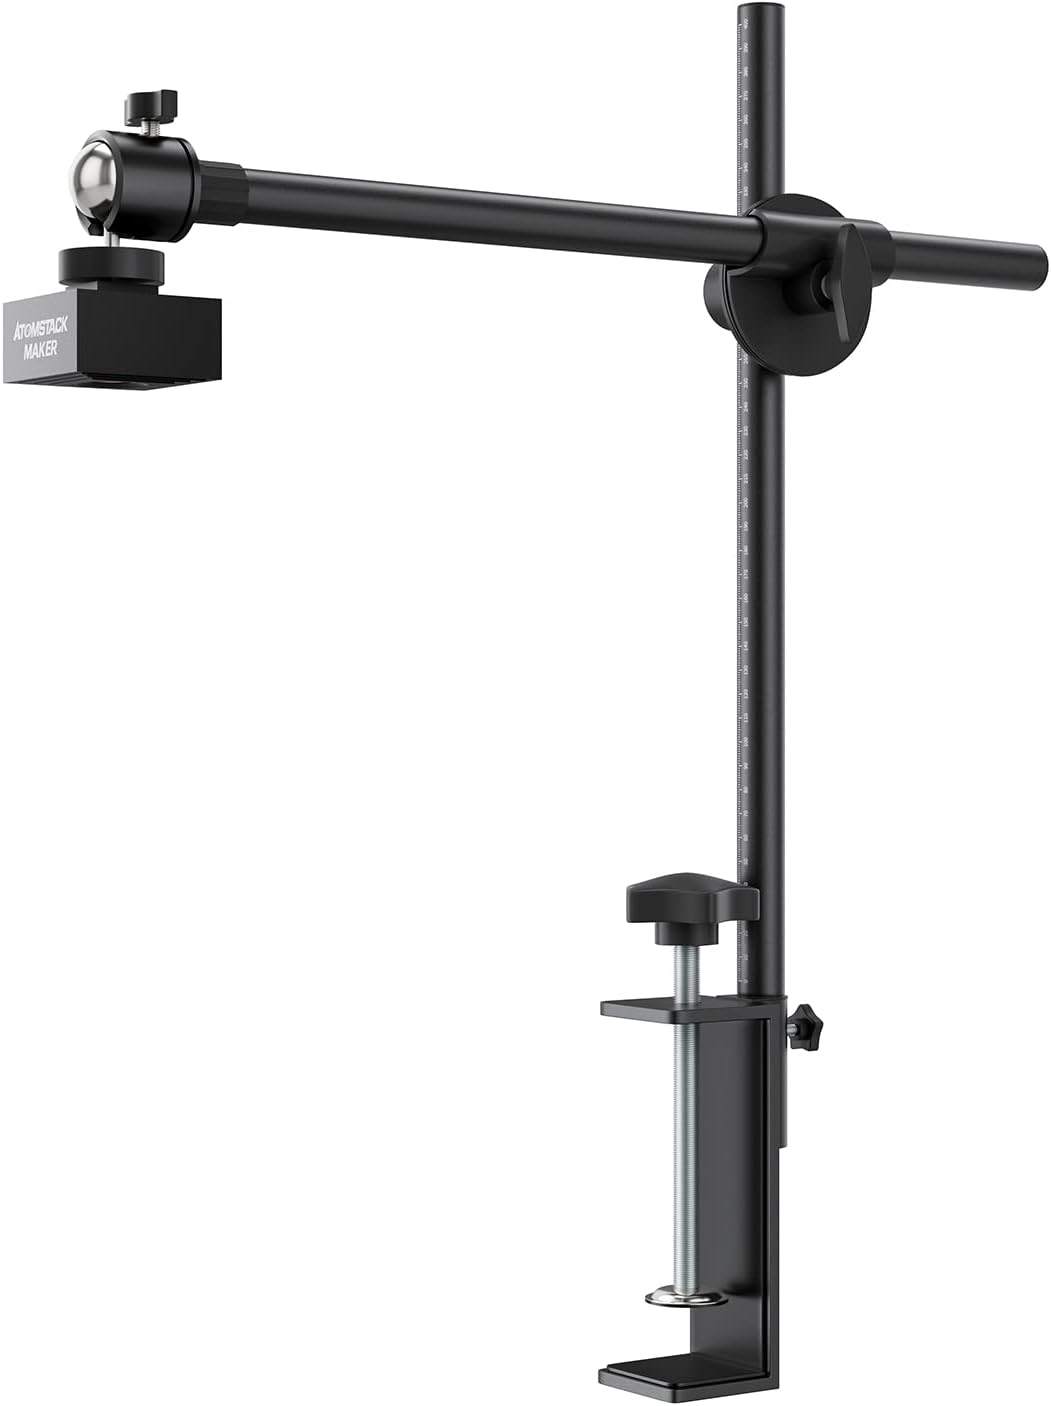
Figure 3.1: The ATOMSTACK MAKER AC1 Camera with its adjustable mounting stand, ready for attachment to a laser engraver.

Figure 3.2: The AC1 Camera installed on a laser engraver, demonstrating its overhead positioning for capturing the work area.
4. Operating Instructions
4.1 Work Preview
The work preview function allows you to see the exact placement of your design on the material within LightBurn. This eliminates the need for manual edge finding and ensures precise alignment, especially for irregularly shaped objects.
- Place your material on the laser bed.
- In LightBurn, use the "Update Overlay" feature in the Camera Control window to refresh the live view from the AC1 Camera.
- Your material will appear in the LightBurn workspace, allowing you to drag and drop your design directly onto the live image for perfect alignment.

Figure 4.1: LightBurn's live preview window displaying the work area as seen by the AC1 Camera, enabling precise design placement.

Figure 4.2: The Work Preview feature allows direct design on consumables, solving positioning issues for shaped patterns.
4.2 Precise Positioning
The AC1 Camera enables automatic and precise positioning of your engraving area with an error of less than 1mm. This feature is particularly useful for repetitive tasks or when working with pre-cut materials.
- After initial calibration, the camera automatically locates the position of the object for work.
- The software reflects the exact position of your material, allowing you to accurately place your design.
- Initiate the engraving process with confidence, knowing your design will be placed precisely.

Figure 4.3: Demonstrating the precise positioning capability of the AC1 Camera, showing how the software accurately maps the material for engraving.

Figure 4.4: The Precise Automatic Positioning feature, showing depth matching with LightBurn software and a positioning error of less than 1mm.
4.3 Multi-Task Engraving
The AC1 Camera simplifies multi-task engraving by allowing you to engrave on different materials or multiple items simultaneously without individual positioning previews. This significantly boosts efficiency.
- Arrange multiple materials or objects on the laser bed.
- Use the camera's live view in LightBurn to position multiple designs over each item.
- Start the engraving process, and the laser will accurately engrave each item based on its mapped position.

Figure 4.5: The multi-task engraving feature, showing various materials placed on the laser bed and their corresponding digital layout in LightBurn.
4.4 Video Recording
The AC1 Camera can function as an external computer camera, allowing you to record the entire engraving process. This is useful for documenting your work, creating time-lapse videos, or reviewing the process for optimization.
- Access the video recording feature through LightBurn or a compatible camera application on your computer.
- Start recording before initiating the laser job.
- The camera will capture the live view of the engraving process.

Figure 4.6: The video recording feature, showing the camera's live feed on a laptop screen during an engraving operation.

Figure 4.7: The AC1 Camera's video recording capability, allowing users to capture the entire work completion process.
Video 4.1: Official product video demonstrating the ATOMSTACK MAKER Laser Engraver AC1 Camera's features, including work preview, precise positioning, multi-tasking, and video recording. This video is provided by the seller.
5. Specifications
The following table outlines the key specifications for the ATOMSTACK MAKER AC1 Camera:
| Feature | Specification |
|---|---|
| Brand | ATOMSTACK MAKER |
| Model | AC1 Camera |
| Pixel | 5MP |
| Resolution | 2592*1944 |
| Sensor | 1/2.5" CMOS Sensor |
| Pixel Size | 2.2µm x 2.2µm |
| FOV (Field of View) | D:92° H:86° V:56° |
| Photography Range | 400*400mm |
| Camera Size | 42*42*29mm |
| Software Compatibility | LightBurn only |
| Driver | Driver-free for Windows/Mac systems |
| Item Weight | 1.36 Kilograms (approx. 2.99 pounds) |
| Product Dimensions | 15.75 x 1.57 x 15.75 inches |
| Operation Mode | Automatic |

Figure 5.1: The AC1 Camera's high adaptability, suitable for frame-type machines within 450mm and compatible with 95% of frame laser engraving machines on the market.
6. Troubleshooting
If you encounter issues with your ATOMSTACK MAKER AC1 Camera, consider the following troubleshooting steps:
- Camera Not Detected:
- Ensure the USB cable is securely connected to both the camera and your computer.
- Try a different USB port on your computer.
- Restart LightBurn and your computer.
- Verify that your operating system recognizes the camera in Device Manager (Windows) or System Information (macOS).
- Poor Image Quality/Distortion:
- Re-run the camera calibration process in LightBurn. Calibration is essential for accurate image overlay.
- Ensure the camera lens is clean and free from dust or smudges.
- Check for adequate lighting in your work area. Uneven lighting can affect image quality.
- Verify the camera's height above the material is within the recommended range for optimal focus and field of view.
- Positioning Errors:
- A positioning error of less than 1mm is expected. If errors are consistently larger, re-calibrate the camera thoroughly.
- Ensure your laser engraver's frame is stable and not subject to vibrations during operation.
- Confirm that the material is flat and securely placed on the laser bed.
- LightBurn Software Issues:
- Ensure your LightBurn software is up to date.
- Consult the LightBurn official documentation or community forums for software-specific issues.
7. Warranty and Support
The ATOMSTACK MAKER AC1 Camera comes with a 1-year warranty from the date of purchase. This warranty covers manufacturing defects and ensures the product meets its specified performance standards.
For technical support, warranty claims, or any inquiries regarding your ATOMSTACK MAKER AC1 Camera, please contact ATOMSTACK MAKER official support channels. You can find more information and contact details on the ATOMSTACK MAKER Store on Amazon.


