1. Introduction
This manual provides essential information for the safe and correct installation, operation, and maintenance of your Ideal Standard i.life A 64cm Rectangular Basin. Please read these instructions carefully before beginning installation or use, and retain them for future reference.
The i.life A basin is designed with contemporary and minimalist aesthetics, featuring curved and fluid lines. It is a top basin equipped with a central faucet hole and an overflow hole, crafted from white ceramic.
2. Safety Information
- Always ensure the water supply is turned off before commencing any installation work.
- Wear appropriate personal protective equipment, such as safety glasses and gloves, during installation.
- If you are unsure about any part of the installation process, consult a qualified plumber or professional installer.
- Ensure all connections are watertight to prevent leaks and water damage.
- Do not use excessive force when tightening fittings, as this may damage the ceramic or plumbing components.
3. Package Contents
Verify that all components are present and undamaged before installation. The package should contain:
- 1 x Ideal Standard i.life A 64cm Rectangular Basin (Model T461901)
Note: Faucet, siphon, and mounting hardware are not included and must be purchased separately. The basin is designed to be compatible with furniture from the i.life A, Tesi, and Connect AIR series, or can be installed with the furniture siphon code R6625AA.
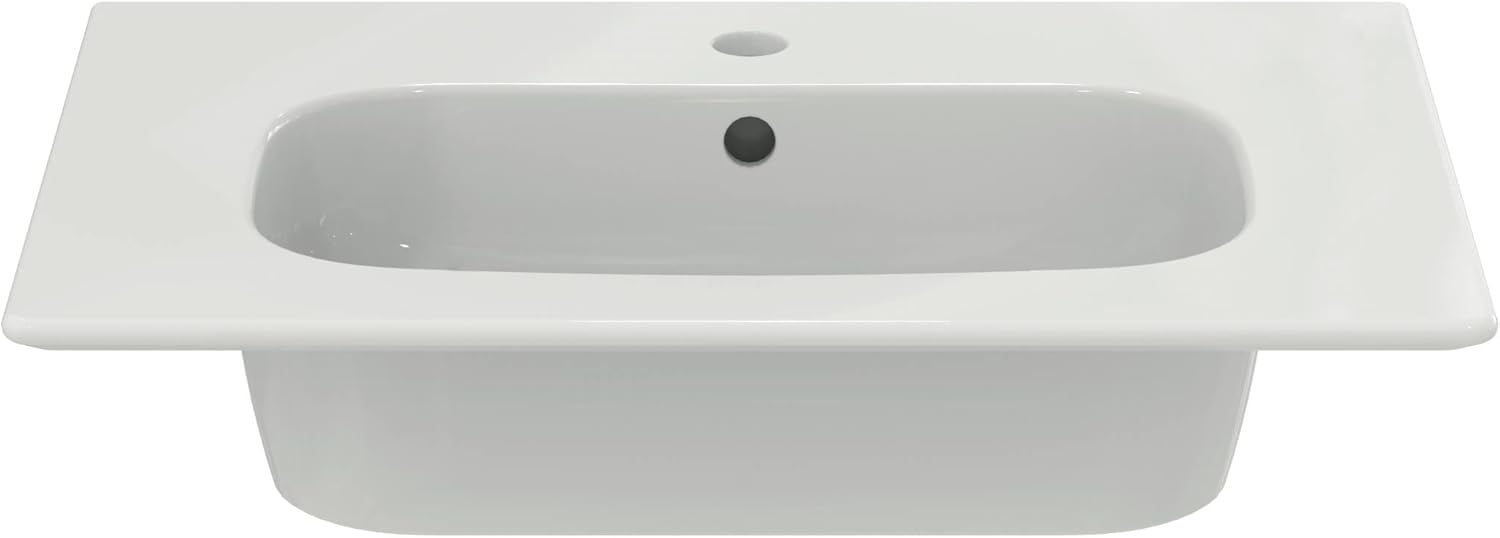
Image 1: Front view of the Ideal Standard i.life A 64cm rectangular basin, showing the central faucet hole and overflow.
4. Setup and Installation
The i.life A basin is designed for drop-in installation, either onto a countertop or integrated with compatible Ideal Standard furniture. Refer to the technical drawing for precise dimensions and clearances.
4.1. Preparation
- Unpack the basin and inspect it for any damage.
- Ensure the installation area is clean, level, and structurally sound to support the weight of the basin and water.
- Turn off the main water supply to the installation area.
4.2. Installation Steps (General)
- Positioning: Carefully place the basin into the prepared cutout on your countertop or furniture unit. Ensure it sits flush and level.
- Fittings: Install the chosen faucet into the central faucet hole according to the faucet manufacturer's instructions. Connect the hot and cold water supply lines.
- Drainage: Install the drain assembly and connect it to the siphon (e.g., Ideal Standard R6625AA siphon) and the main waste pipe. Ensure all connections are sealed properly to prevent leaks.
- Securing: Secure the basin to the countertop or furniture using appropriate mounting clips or silicone sealant as recommended for your specific installation type.
- Sealing: Apply a bead of silicone sealant around the perimeter of the basin where it meets the countertop or wall to create a watertight seal. Allow the sealant to cure completely as per the manufacturer's instructions before use.
- Water Supply: Once all connections are secure and sealed, slowly turn on the main water supply and check for any leaks.

Image 2: Technical drawing showing detailed dimensions and installation points for the basin.

Image 3: Example of the i.life A basin installed, demonstrating its aesthetic integration.
5. Operating Instructions
The Ideal Standard i.life A basin operates like any standard bathroom basin. Simply use the faucet to control the flow and temperature of water. The integrated overflow hole is designed to prevent water from spilling over the basin rim in case the drain is blocked, by diverting excess water into the drain system.
6. Maintenance
Proper care and maintenance will ensure the longevity and appearance of your ceramic basin.
- Cleaning: Clean the ceramic surface regularly with a soft cloth and a mild, non-abrasive cleaner. Rinse thoroughly with water after cleaning.
- Avoid: Do not use abrasive sponges, scouring powders, strong acids, alkalis, or chemical cleaners, as these can damage the ceramic finish.
- Stains: For stubborn stains, a diluted solution of vinegar or lemon juice can be used, followed by thorough rinsing.
- Overflow: Periodically clean the overflow channel to prevent blockages and ensure proper function.
- Leaks: Regularly check plumbing connections for any signs of leaks and address them promptly to prevent water damage.
7. Troubleshooting
Here are some common issues and their potential solutions:
| Problem | Possible Cause | Solution |
|---|---|---|
| Water leaking from connections | Loose fittings, worn seals, improper sealant application. | Tighten connections, replace seals, reapply silicone sealant. If issues persist, consult a plumber. |
| Slow drainage | Drain blockage (hair, soap scum). | Remove and clean the drain stopper. Use a plumbing snake or a chemical drain cleaner (follow product instructions carefully). |
| Basin appears unstable | Improper securing during installation, uneven surface. | Re-check mounting hardware and sealant. Ensure the supporting surface is level. |
8. Specifications
Detailed specifications for the Ideal Standard i.life A 64cm Rectangular Basin:
| Feature | Detail |
|---|---|
| Manufacturer | Ideal Standard |
| Model Number | T461901 |
| Product Dimensions (L x W x H) | 64 x 48 x 13 cm |
| Weight | 14.7 Kilograms |
| Size | 64cm |
| Color | White |
| Style | Modern, simple |
| Finish | Painted |
| Material | Ceramic |
| Shape | Rectangular |
| Installation Method | Drop-in |
| Quantity of Items | 1 |
| Number of Faucet Holes | 1 (central) |
| Included Components | Top basin |
| Country of Origin | Egypt |
| Spare Parts Availability | Information unavailable |
9. Warranty and Support
For information regarding product warranty, please refer to the documentation provided at the time of purchase or visit the official Ideal Standard website. For technical support, spare parts, or any other inquiries, please contact Ideal Standard customer service through their official channels.