
1. Introduction
This manual provides detailed instructions for the installation and maintenance of the TRQ Front Left Inner Fender Liner, Model BDA10458. This component is designed to protect the vehicle's engine bay and suspension from road debris, water, and other elements. Proper installation ensures optimal fitment and longevity.
2. Product Overview and Components
The TRQ Front Left Inner Fender Liner (BDA10458) is a direct replacement component. It is constructed from durable plastic and is black in color.
Included Components:
- 1x TRQ Front Left Inner Fender Liner (Black Plastic)
Note: Mounting hardware is not included and may need to be reused from the original component or purchased separately.

Image 1: Top view of the TRQ Front Left Inner Fender Liner, showing its contoured shape and mounting points.
3. Compatibility
This TRQ Inner Fender Liner (Model BDA10458) is compatible with the following vehicle:
- Make: Subaru
- Model: WRX
- Years: 2015, 2016, 2017, 2018, 2019, 2020, 2021
- Position: Front Driver Side (Left)
Important: Verify fitment for your specific vehicle year and model before proceeding with installation.
4. Safety Information
Always prioritize safety when performing vehicle maintenance or repairs. Follow these guidelines:
- Wear appropriate personal protective equipment (PPE), including safety glasses and gloves.
- Ensure the vehicle is parked on a level surface and the parking brake is engaged.
- If lifting the vehicle, use appropriate jack stands to secure it. Never rely solely on a jack.
- Allow hot engine components to cool before working in the engine bay area.
- Keep children and pets away from the work area.
5. Tools Required
The following tools are typically required for inner fender liner replacement:
- Flathead screwdriver
- Phillips head screwdriver
- Panel clip removal tool (recommended)
- Socket wrench set (with appropriate sockets for fender liner fasteners)
- Vehicle jack and jack stands (if removing the wheel)
6. Installation Instructions
Follow these steps to install the TRQ Front Left Inner Fender Liner:
- Prepare the Vehicle: Park the vehicle on a level surface and engage the parking brake. For easier access, it is recommended to lift the front left side of the vehicle and remove the front left wheel. Secure the vehicle with jack stands.
- Remove Old Fender Liner: Locate and remove all fasteners (clips, screws, bolts) securing the old inner fender liner. A panel clip removal tool can be very helpful for plastic clips. Carefully pull the old liner out of the wheel well.
- Clean the Area: Before installing the new liner, clean any accumulated dirt, debris, or rust from the wheel well area and surrounding body panels.
- Position New Fender Liner: Carefully maneuver the new TRQ inner fender liner into the wheel well. Align the mounting holes on the new liner with the corresponding holes on the vehicle's chassis and body panels.
- Secure the Liner: Begin by loosely installing a few fasteners to hold the liner in place. Once all holes are aligned, fully secure all fasteners. Ensure the liner sits flush against the vehicle's body and there are no gaps.
- Reinstall Wheel (if removed): If the wheel was removed, reinstall it and torque the lug nuts to the manufacturer's specifications. Lower the vehicle safely.
- Final Check: Inspect the installed fender liner to ensure it is securely attached and does not interfere with any steering or suspension components.
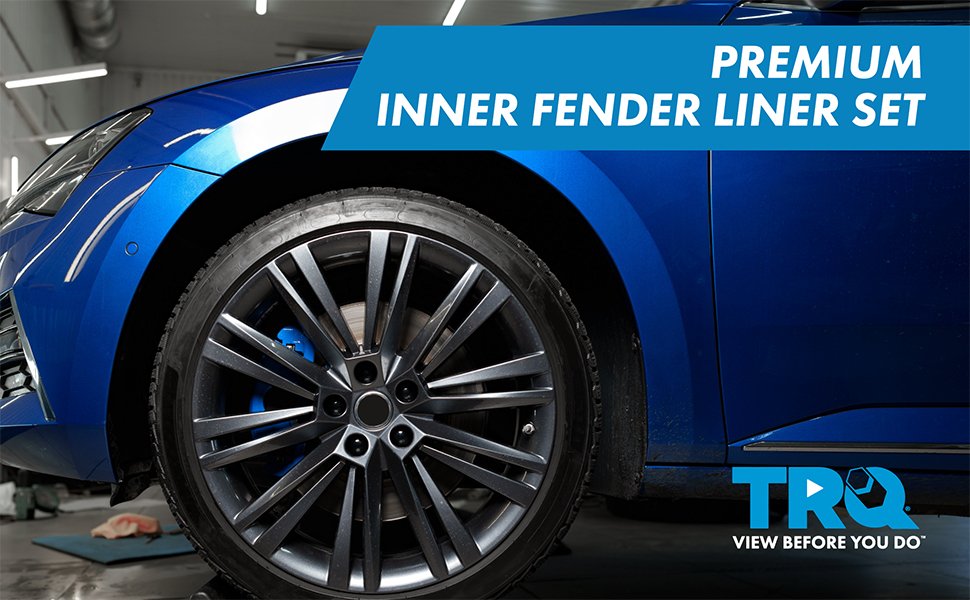
Image 2: Illustration of a mechanic working on a vehicle's wheel well, demonstrating the typical area for fender liner installation.
7. Maintenance
The TRQ Inner Fender Liner requires minimal maintenance. Periodically inspect the liner for any damage, cracks, or loose fasteners, especially after driving on rough terrain or through deep puddles. Clean the liner with soap and water during regular vehicle washing to prevent excessive dirt buildup.
8. Troubleshooting
- Liner does not fit correctly: Double-check the product compatibility with your vehicle's make, model, and year. Ensure all old fasteners and debris have been removed. Some minor manipulation may be required to align all mounting points.
- Liner is loose after installation: Verify that all fasteners are securely tightened. Inspect for any missing clips or screws.
9. Specifications
| Attribute | Detail |
|---|---|
| Brand | TRQ |
| Model Number | BDA10458 |
| Reference Number(s) | 59110VA010, SU1248140 |
| Material | Plastic |
| Color | Black |
| Auto Part Position | Front Left Inner |
| Item Dimensions (L x W x H) | 17 x 26 x 7 inches |
| Item Weight | 4.2 pounds (1.91 Kilograms) |
| UPC | 195591104586 |
10. Warranty Information
TRQ products are covered by a 2-year / 24,000-mile warranty. This warranty covers the cost of the product only and does not extend to any damage, labor, or other inconveniences incurred during installation or use.
11. Support
For additional assistance, installation tips, or to view other TRQ products, please visit the official TRQ website or contact customer support. You may also find helpful installation videos by searching for "TRQ [Your Vehicle Make/Model] Fender Liner Installation" on video platforms.

Image 3: TRQ brand image, emphasizing their commitment to providing installation resources.