
1. Introduction
This manual provides essential information for the proper setup, operation, and maintenance of your MSI G27C4X 27-inch Curved Gaming Monitor. Please read this manual thoroughly before using the product to ensure optimal performance and safety. Keep this manual for future reference.
2. Safety Information
Observe the following safety precautions to prevent damage to the monitor and to ensure your personal safety:
- Power Source: Use only the power adapter supplied with the monitor. Ensure the power outlet is properly grounded.
- Ventilation: Do not block ventilation openings. Allow adequate space around the monitor for proper airflow.
- Liquid Exposure: Keep the monitor away from liquids. Do not expose it to rain or moisture.
- Cleaning: Disconnect the power cable before cleaning. Use a soft, dry cloth. Avoid using liquid or aerosol cleaners.
- Placement: Place the monitor on a stable, flat surface. Avoid placing it in direct sunlight or near heat sources.
- Disassembly: Do not attempt to disassemble or repair the monitor yourself. Refer all servicing to qualified service personnel.
3. Package Contents
Verify that all items listed below are included in your monitor package:
- MSI G27C4X Curved Gaming Monitor
- Monitor Stand (Base and Neck)
- Power Adapter and Power Cable
- HDMI Cable
- DisplayPort Cable
- User Manual and Quick Start Guide
4. Setup
4.1 Physical Assembly
To assemble the monitor stand:
- Carefully remove the monitor from its packaging, keeping the screen protected.
- Attach the stand neck to the monitor panel. Ensure it clicks securely into place or is fastened with screws if provided.
- Attach the stand base to the neck, securing it with the thumb screw or screws provided.
- Place the assembled monitor on a stable, flat surface.
Alternatively, the monitor supports VESA wall mounting (100x100mm) for use with compatible monitor arms or wall mounts. Remove the stand before attaching a VESA mount.
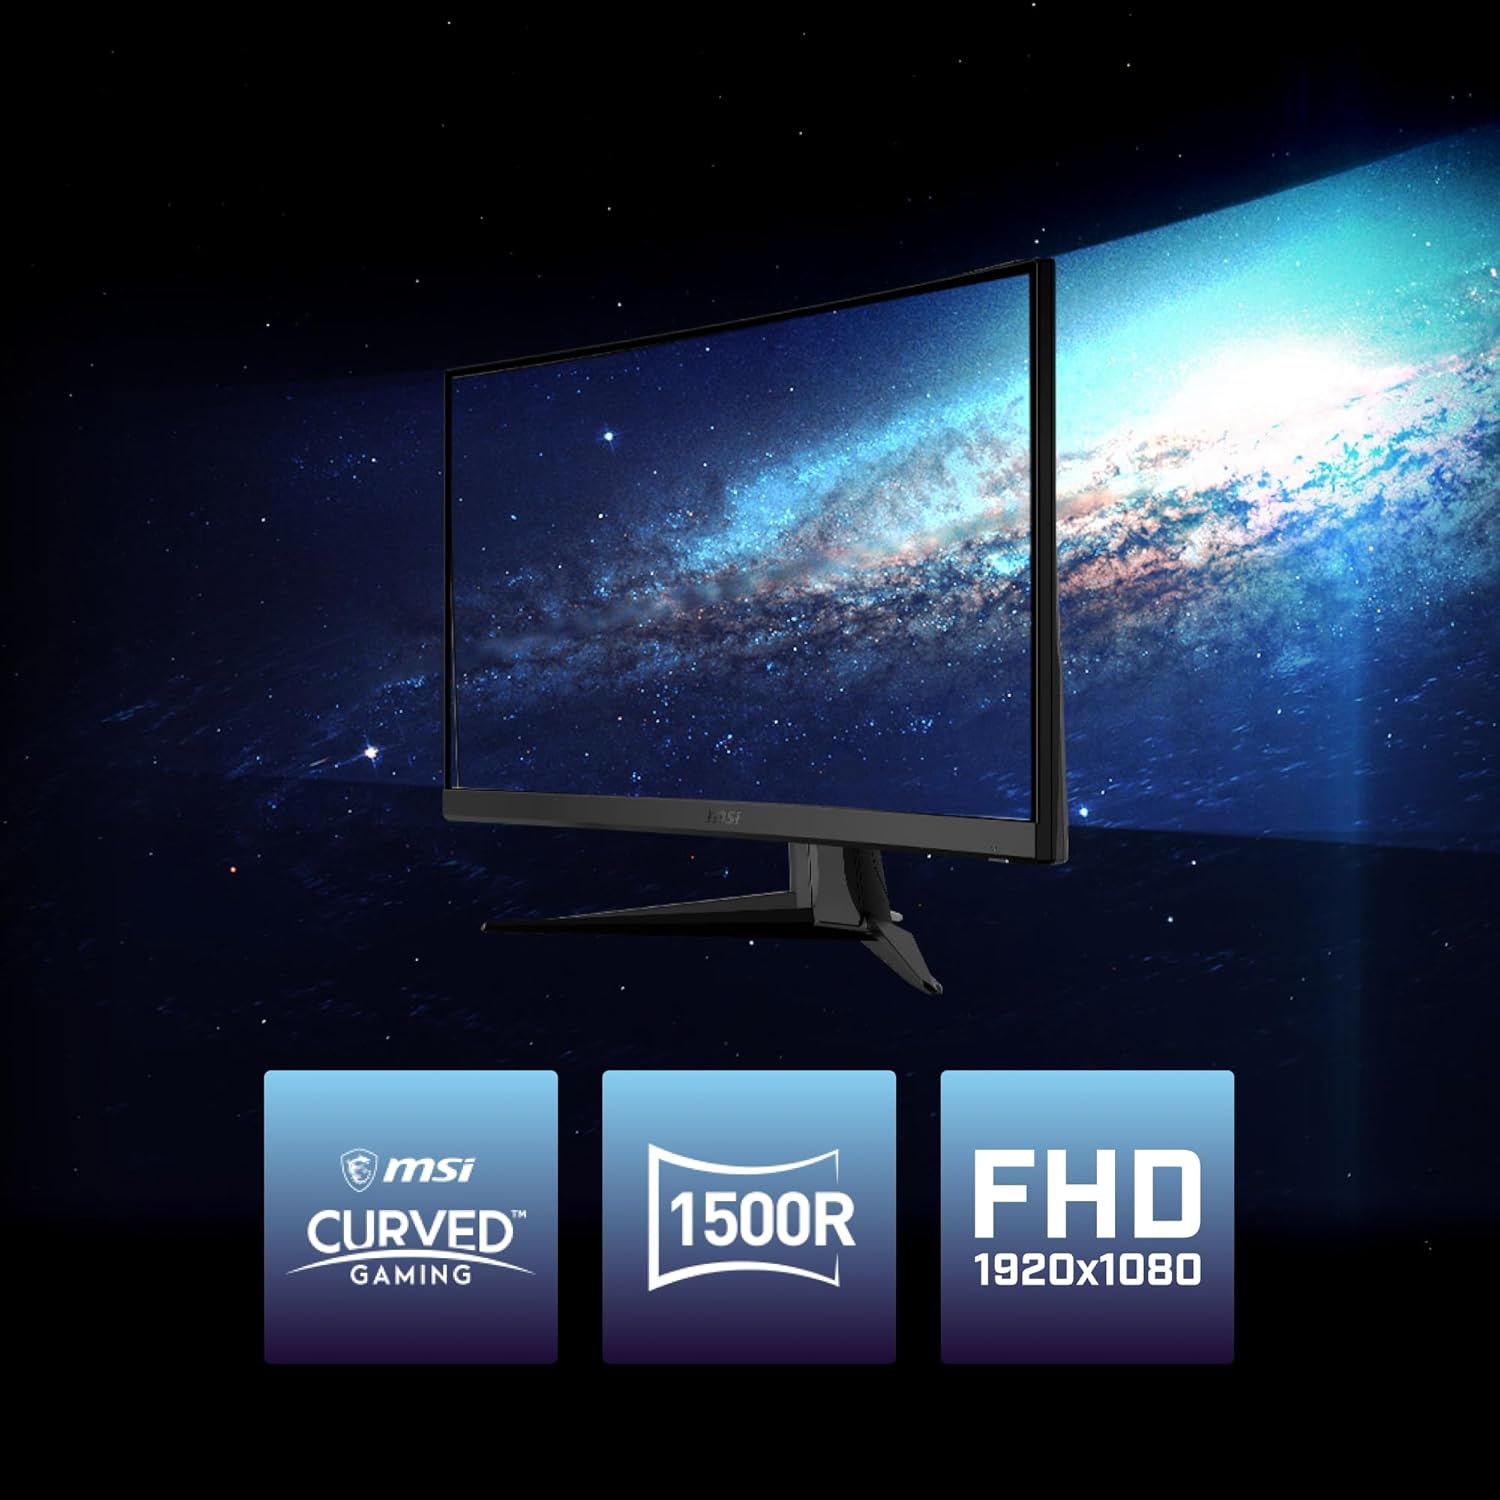
Figure 4.1: MSI G27C4X Monitor with stand assembled, showcasing its curved profile and sleek design.
4.2 Connecting to a PC/Console
The MSI G27C4X monitor features DisplayPort and HDMI inputs. Choose the appropriate cable for your device.
- DisplayPort Connection: Connect one end of the DisplayPort cable to the DisplayPort output on your computer's graphics card and the other end to the DisplayPort input on the monitor. This connection supports the maximum refresh rate of 250Hz.
- HDMI Connection: Connect one end of the HDMI cable to the HDMI output on your computer or console and the other end to an HDMI input on the monitor.
4.3 Power Connection
Connect the power adapter to the monitor's DC power jack, then plug the power cable into a grounded electrical outlet.
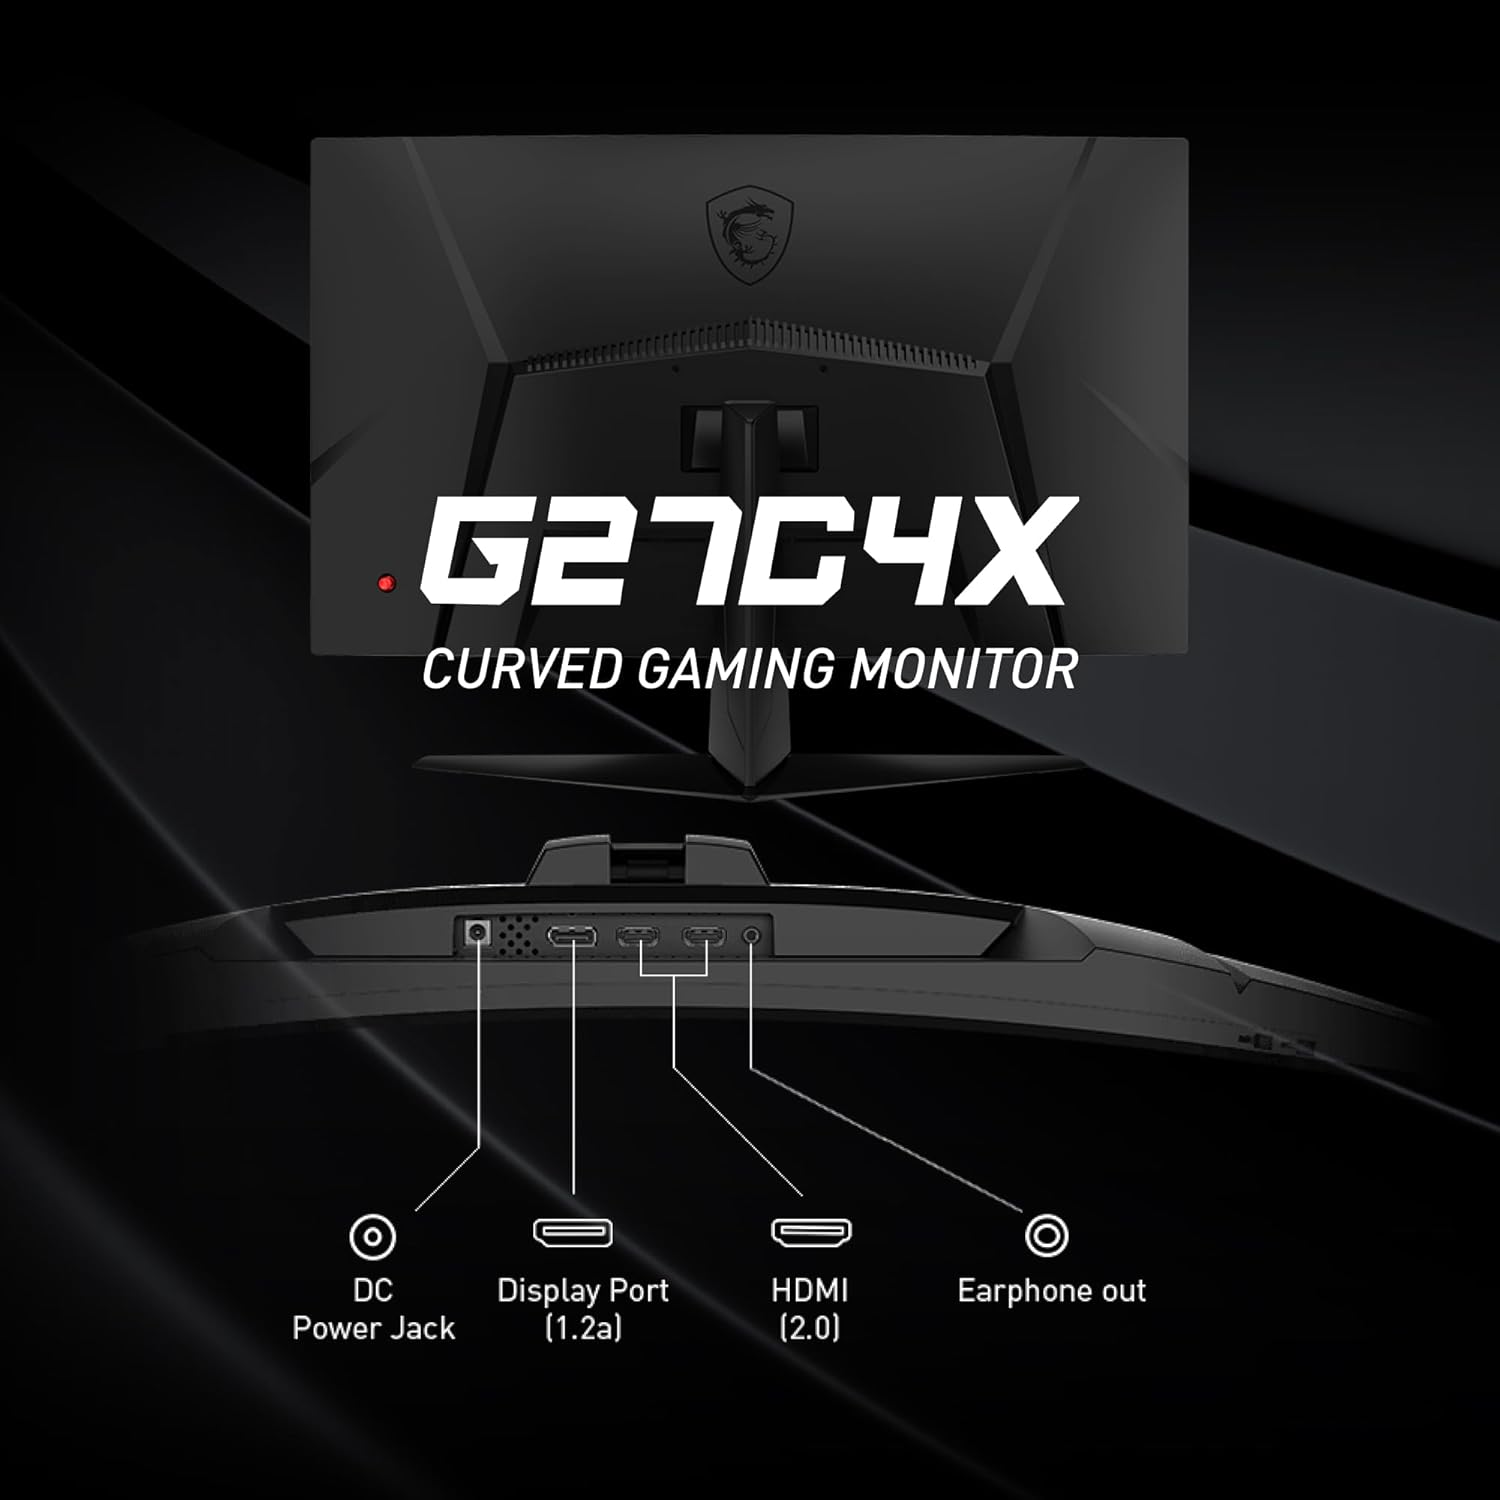
Figure 4.2: Rear view of the MSI G27C4X monitor, highlighting the available input and output ports for connectivity.
5. Operating the Monitor
5.1 Power On/Off
Press the power button, typically located on the back or bottom right of the monitor, to turn the monitor on or off. The power LED indicator will illuminate when the monitor is on.
5.2 OSD (On-Screen Display) Navigation
The monitor's settings are adjusted via the On-Screen Display (OSD) menu, typically controlled by a joystick or buttons located on the back or bottom of the monitor. Use the joystick/buttons to navigate through the menu options and confirm selections.
5.3 Key OSD Settings and Features
- Refresh Rate (250Hz): This monitor supports a high refresh rate of 250Hz, providing smoother motion and reduced input lag, especially beneficial for fast-paced gaming. Ensure your graphics card and connection (DisplayPort recommended) support this refresh rate, and configure it in your operating system's display settings.
- Response Time (1ms): The monitor boasts a 1ms response time, minimizing motion blur and ghosting for clear, crisp visuals during rapid movements.
- FreeSync Premium: This technology synchronizes the monitor's refresh rate with your AMD graphics card's frame rate, eliminating screen tearing and stuttering for a fluid gaming experience. Enable this feature in the OSD and your graphics card's control panel.
- HDR Ready: The monitor supports HDR (High Dynamic Range) content, offering enhanced contrast and a wider color gamut for more vibrant and realistic images. Activate HDR in your operating system's display settings.
- Anti-Flicker Technology: This technology reduces screen flickering, which can cause eye strain and fatigue during prolonged use. It operates automatically to provide a more comfortable viewing experience.
- 1500R Curvature: The 1500R curved screen design provides a more immersive viewing experience by wrapping the image around your field of vision, reducing eye movement and enhancing comfort.
- Input Selection: Use the OSD to manually select the input source (DisplayPort, HDMI 1, HDMI 2) if the monitor does not automatically detect the active signal.
- Color/Picture Adjustments: The OSD offers various settings to fine-tune picture quality, including brightness, contrast, color temperature, sharpness, and gamma. Explore these settings to optimize the display to your preference.
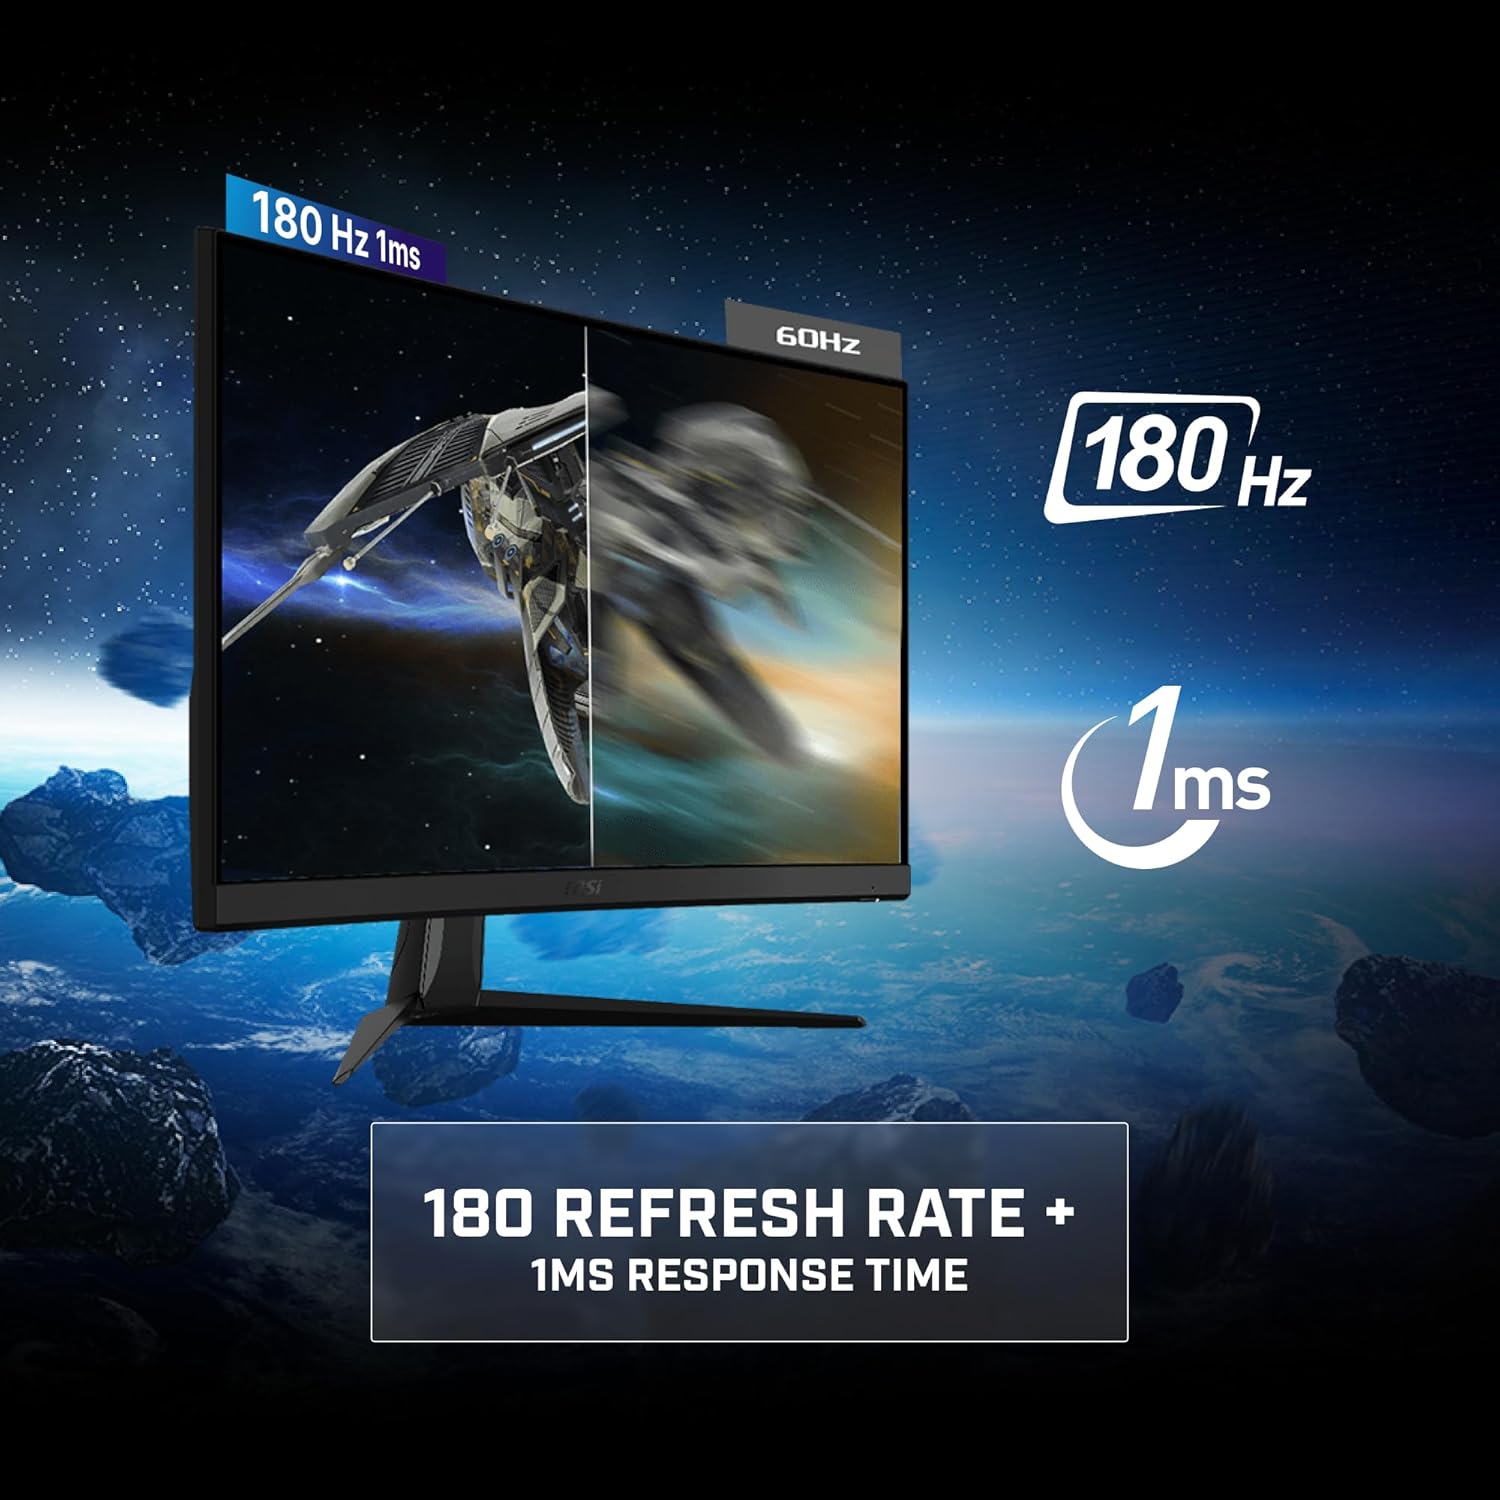
Figure 5.1: Visual representation of the difference between high (180Hz) and standard (60Hz) refresh rates on the MSI G27C4X monitor, emphasizing fluid motion.

Figure 5.2: A visual comparison on the MSI G27C4X monitor illustrating the effect of Adaptive Sync in smoothing out gameplay by preventing screen tearing.
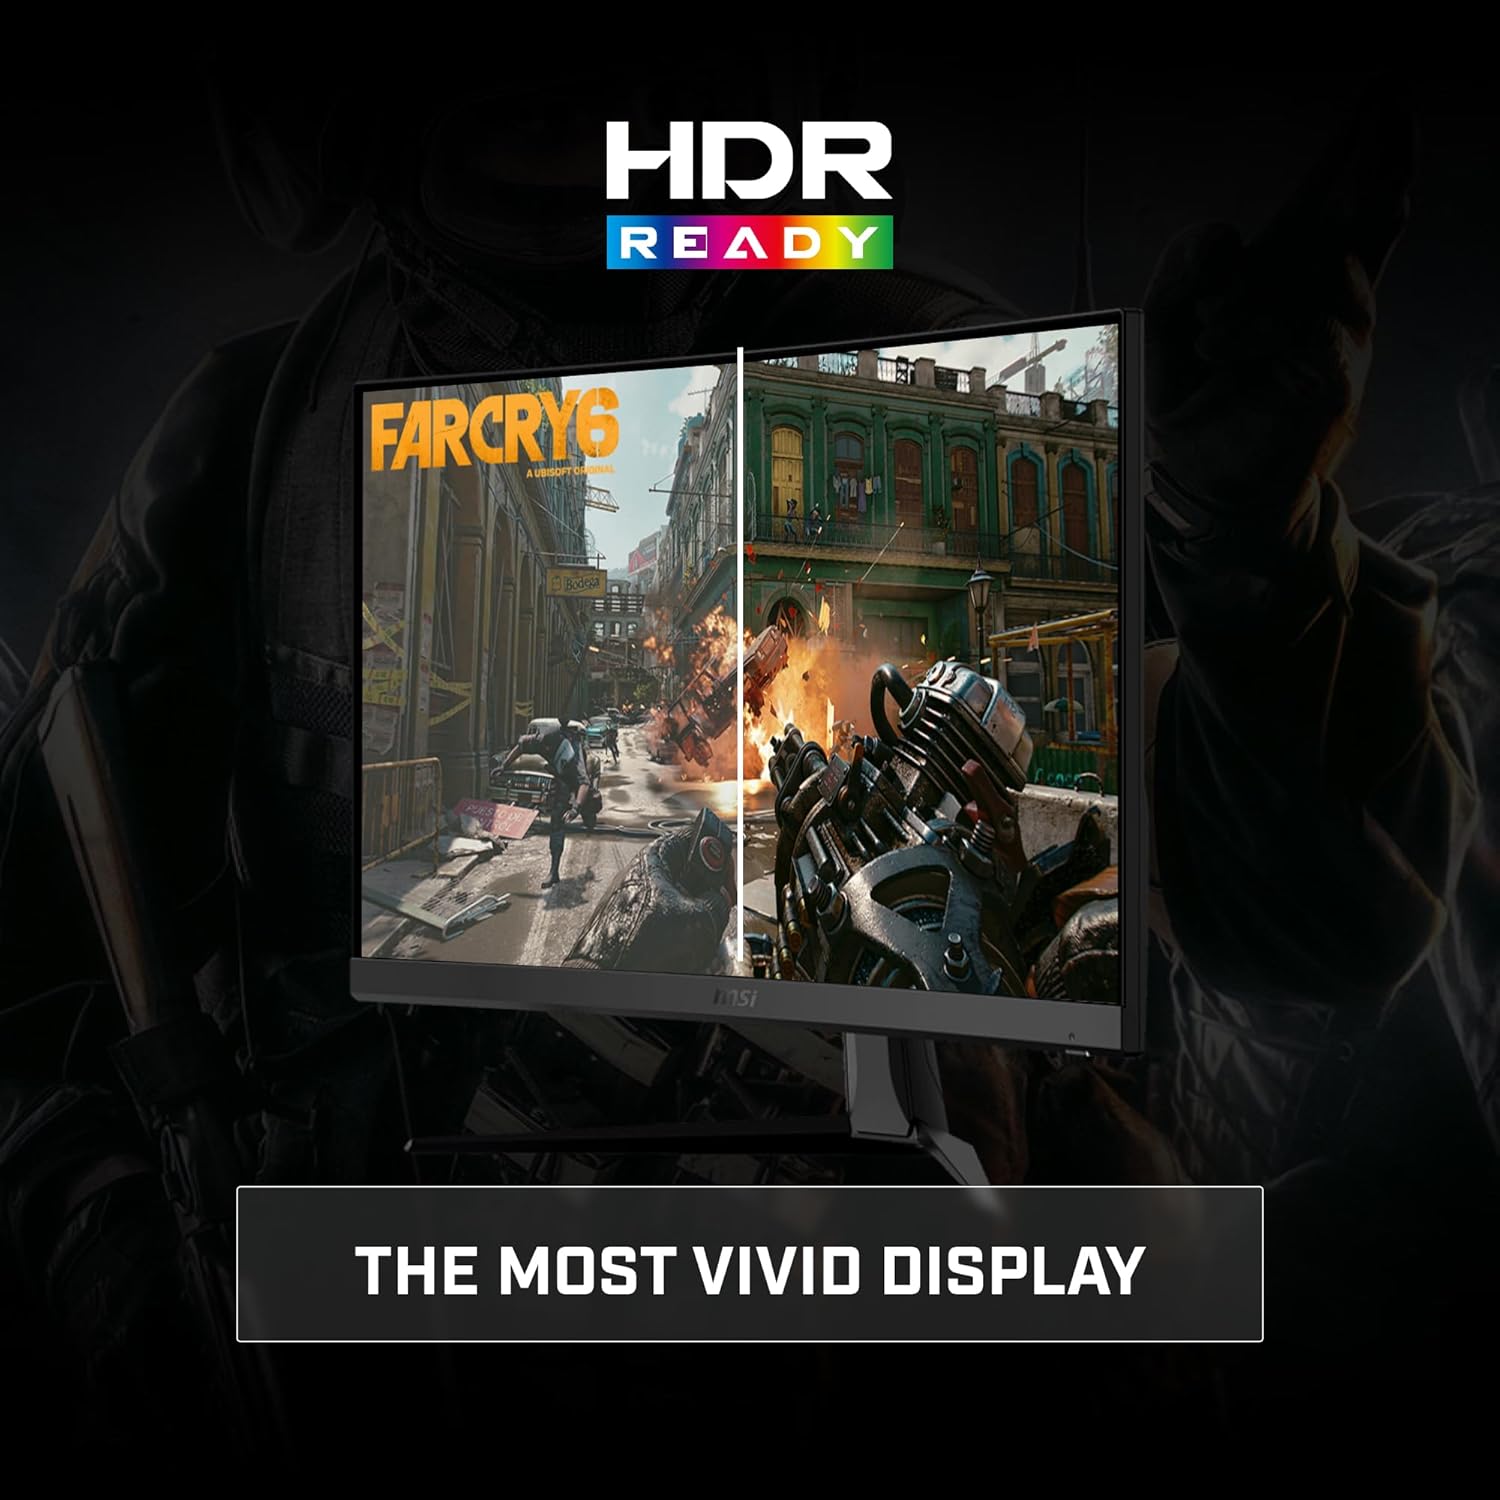
Figure 5.3: The MSI G27C4X monitor showcasing its HDR Ready capability, which provides a more vivid and immersive display experience.

Figure 5.4: A comparison on the MSI G27C4X monitor demonstrating the effectiveness of Anti-Flicker technology in providing a more stable and comfortable viewing experience.
6. Maintenance
Proper maintenance ensures the longevity and optimal performance of your monitor:
- Screen Cleaning: Gently wipe the screen with a soft, lint-free cloth. For stubborn marks, lightly dampen the cloth with water or a specialized screen cleaner (ensure it's alcohol-free and ammonia-free). Do not spray liquid directly onto the screen.
- Casing Cleaning: Use a soft, dry cloth to clean the monitor casing.
- Dust Removal: Use a soft brush or compressed air to remove dust from ventilation openings.
- Storage: If storing the monitor for an extended period, disconnect all cables and store it in a cool, dry place, preferably in its original packaging.
7. Troubleshooting
If you encounter issues with your monitor, refer to the following common problems and solutions:
| Problem | Possible Solution |
|---|---|
| No image on screen | Ensure the power cable is securely connected and the monitor is powered on. Check that the video cable (HDMI/DisplayPort) is firmly connected to both the monitor and your computer/console. Select the correct input source via the OSD menu. |
| Image is blurry or distorted | Check the display resolution settings on your computer and ensure they match the monitor's native resolution (1920x1080). Adjust sharpness settings in the OSD. |
| Screen flickering | Ensure Anti-Flicker technology is active (it usually is by default). Check for external interference from other electronic devices. Update your graphics card drivers. |
| No sound (if using earphone out) | Ensure your audio device is properly connected to the earphone out port. Check the volume settings on your computer and the monitor's OSD. Verify that the audio output is set to the monitor in your computer's sound settings. |
Ask a question about this manualAsk about setup, troubleshooting, compatibility, parts, safety, or missing instructions. Manuals+ will review the question and use this page’s manual context to help answer it. |