1. Introduction
Thank you for choosing the Bulova Atomic Analog Wall Clock Model C5003. This clock is designed for accurate timekeeping, automatically synchronizing with the Atomic Time signal. Its large 24-hour dial ensures easy readability from a distance, making it suitable for various settings. The molded gray case and tempered glass lens provide durability and a clean aesthetic.

Image: Front view of the Bulova Atomic Analog Wall Clock Model C5003, featuring a large, easy-to-read dial with 24-hour markings and a gray frame.
2. Product Features
- Large 24-Hour Dial: Designed for easy readability from a distance.
- Durable Construction: Features a molded gray case and a protective tempered glass lens.
- Atomic Time Synchronization: Quartz movement receives the Atomic Time signal every other hour for precise accuracy.
- Automatic Daylight Saving Time Adjustment: No manual adjustment needed for DST changes.
- Battery Operated: Requires one (1) AA battery (not included).
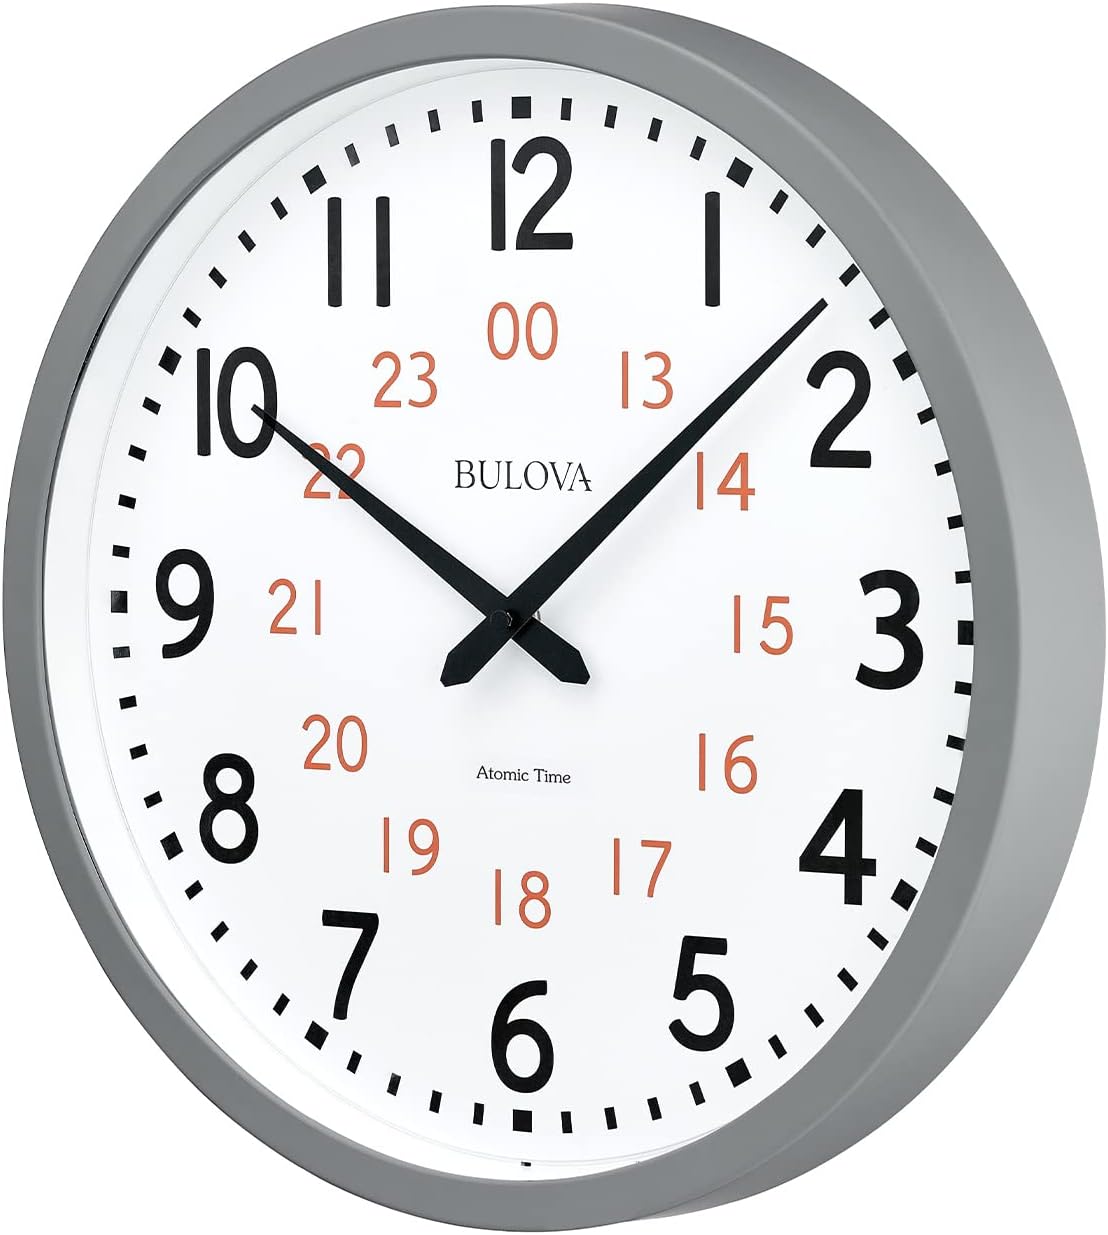
Image: Side view of the Bulova Atomic Analog Wall Clock Model C5003, highlighting its depth and the gray case design.
3. Setup Instructions
3.1. Battery Installation
- Locate the battery compartment on the back of the clock.
- Insert one (1) fresh AA battery, ensuring correct polarity (+/-).
- Once the battery is inserted, the clock hands will begin to move, typically to the 12:00 position, as it prepares to search for the atomic signal.
3.2. Time Zone and Daylight Saving Time (DST) Selection
On the back of the clock, locate the switches for Time Zone and DST. These settings are crucial for proper automatic synchronization.
- Time Zone Switch: Select your local time zone (P for Pacific, M for Mountain, C for Central, E for Eastern).
- DST Switch: Set to 'ON' for automatic Daylight Saving Time adjustment or 'OFF' if your region does not observe DST.
3.3. Atomic Signal Reception
The clock is designed to receive the WWVB Atomic Time signal from Fort Collins, Colorado. For optimal reception:
- Place the clock near a window, ideally facing west, for the strongest signal.
- Avoid placing the clock near large metal objects, electronic devices, or in basements, as these can interfere with signal reception.
- The ideal time for initial setup and signal acquisition is in the evening, as atmospheric conditions are often more favorable.
- It may take a few nights for the clock to successfully receive and synchronize with the atomic signal. Patience is key.
3.4. Manual Search for Atomic Signal
If the clock does not synchronize automatically after a reasonable period (e.g., overnight), you can initiate a manual search:
- Locate the 'WAVE' button on the back of the clock.
- Press and hold the 'WAVE' button for approximately 3 seconds to start a manual signal search. The hands will typically move to 12:00 and then attempt to receive the signal.
3.5. Manual Time Setting (If Atomic Signal is Unavailable)
In areas where the atomic signal cannot be received, you can set the time manually:
- Locate the 'SET' button on the back of the clock.
- Press and hold the 'SET' button for 3+ seconds to activate manual mode.
- Continue holding the 'SET' button to move the minute hand forward. Release and press rapidly to advance minute by minute.
- Stop pressing the 'SET' button when the correct time is displayed.
Video: A product overview showing the Bulova Atomic Time 2 clock, including a demonstration of battery installation and the back panel with settings. This video provides a general visual guide to the clock's features and initial setup.
Video: An instructional video demonstrating the setup and features of a Sharp atomic clock. While not the exact Bulova model, the principles of atomic clock setup, time zone selection, DST, and manual adjustments are generally applicable and useful for understanding the technology.
4. Operating Instructions
Once the Bulova Atomic Analog Wall Clock Model C5003 has successfully received the atomic signal and set itself, no further manual intervention is typically required. The clock will:
- Automatically update its time every other hour to maintain precision.
- Adjust automatically for Daylight Saving Time (if the DST switch is set to 'ON').
This ensures your clock always displays the correct time without the need for manual adjustments.
5. Maintenance
5.1. Battery Replacement
The clock operates on one (1) AA battery. Replace the battery annually or when the clock hands stop moving or begin to lose accuracy. Always use a fresh, high-quality AA alkaline battery.
5.2. Cleaning
To clean the clock, use a soft, dry cloth. Do not use abrasive cleaners or chemicals, as these may damage the finish or the tempered glass lens.
6. Troubleshooting
If your Bulova Atomic Analog Wall Clock is not displaying the correct time or is not synchronizing, consider the following:
- Check Battery: Ensure the battery is fresh and inserted with correct polarity. A weak battery can prevent proper synchronization.
- Clock Placement: Move the clock to a location near a window, away from electronic devices, metal objects, or concrete walls that might block the signal.
- Manual Signal Search: Initiate a manual signal search using the 'WAVE' button (refer to Section 3.4).
- Manual Reset: If the clock is unresponsive, use the 'RESET' button on the back (often a small recessed button requiring a paper clip or pen to press) to restart the clock's internal mechanism. After resetting, the clock will attempt to find the atomic signal again.
- Patience: Signal reception can be affected by atmospheric conditions. It may take several attempts or overnight for the clock to successfully synchronize.
7. Specifications
| Feature | Detail |
|---|---|
| Brand | Bulova |
| Model Number | C5003 |
| Display Type | Analog |
| Special Feature | Atomic Time Synchronization |
| Product Dimensions | 15.5"W x 15.5"H |
| Power Source | Battery Powered (1 AA battery required, not included) |
| Material | Plastic, Tempered Glass |
| Frame Material | Plastic |
| Operation Mode | Atomic |
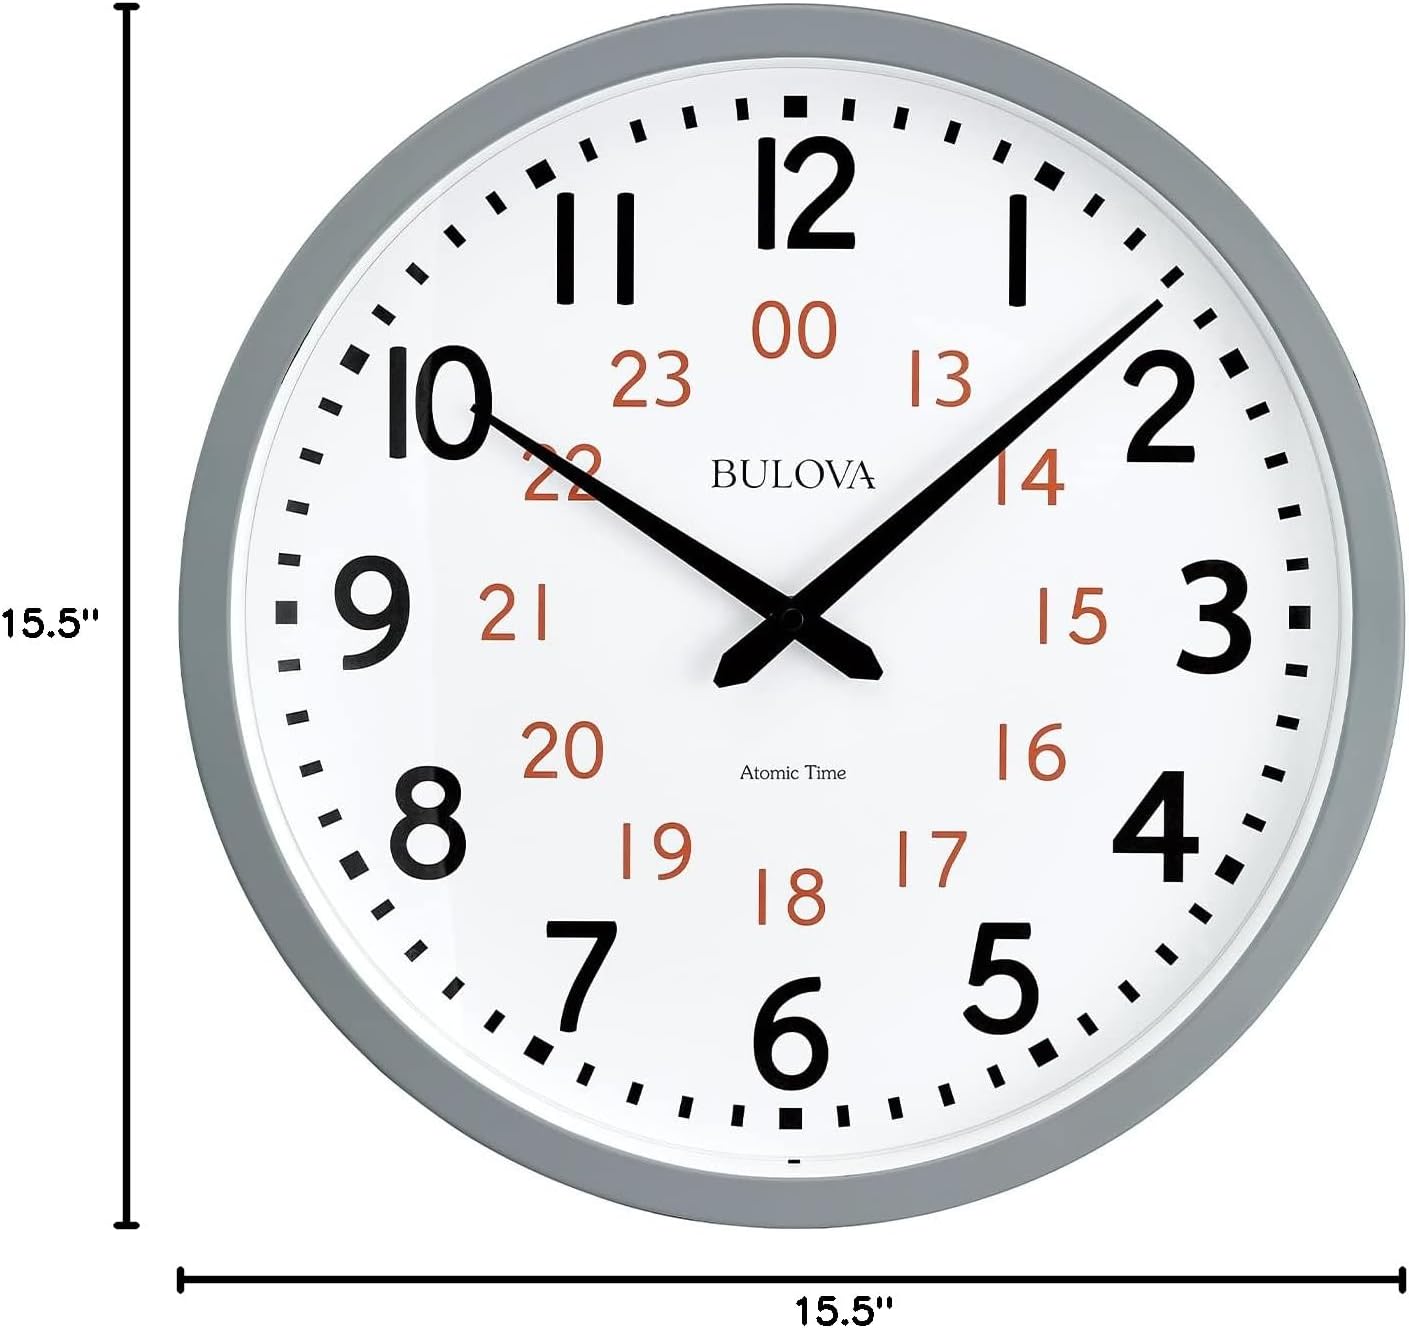
Image: Diagram showing the dimensions of the Bulova Atomic Analog Wall Clock Model C5003, indicating a width and height of 15.5 inches.
8. Warranty and Support
This Bulova product comes with a limited warranty. For specific details regarding warranty coverage, duration, and terms, please refer to the warranty information included with your purchase or visit the official Bulova website.
If you require further assistance, have questions about your clock, or need to troubleshoot an issue not covered in this manual, please contact Bulova customer support. Contact information can typically be found on the product packaging or the official Bulova website.


