
1. Introduction
Thank you for purchasing the LFF LDR113-EU Kitchen Radio. This manual provides essential information for the safe and efficient operation of your device. Please read it thoroughly before use and retain it for future reference.
The LFF LDR113-EU is a versatile kitchen radio featuring DAB+, FM, and Bluetooth connectivity. It includes dual alarms, a sleep timer, and 60 station presets, designed for both tabletop use and under-cabinet mounting.
2. Safety Information
- Power Source: Use only the provided power adapter. Ensure the voltage matches your local power supply.
- Water and Moisture: Do not expose the device to water, rain, or excessive moisture. Avoid placing liquids near the radio.
- Ventilation: Ensure adequate ventilation around the device. Do not block ventilation openings.
- Heat: Keep the device away from heat sources such as radiators, heat registers, stoves, or other heat-producing appliances.
- Cleaning: Disconnect from power before cleaning. Use a soft, dry cloth. Do not use liquid cleaners or aerosol cleaners.
- Servicing: Do not attempt to service this product yourself. Refer all servicing to qualified service personnel.
- Placement: Place the radio on a stable, level surface or mount it securely according to the instructions.
3. Package Contents
Please check that all items are present in the package:
- LFF LDR113-EU Kitchen Radio
- Power Adapter
- Mounting Kit (screws, spacers, mounting template)
- User Manual (this document)
4. Product Overview
Familiarize yourself with the radio's components and controls.

Figure 4.1: Front view of the LFF LDR113-EU Kitchen Radio, showing the LCD display on the left, control buttons in the center, and a large rotary knob on the right. The buttons include power, mode, menu, info, preset, timer/sleep, and navigation arrows. The rotary knob is for volume and selection.

Figure 4.2: Diagram illustrating the key features of the LFF Kitchen Radio, including DAB/DAB+ radio, FM radio, two alarms, sleep timer, Bluetooth connectivity, and 60 station presets.
4.1. Controls and Display
- LCD Color Display: Shows current mode, station information, time, and settings.
- Power Button: Turns the radio on/off.
- Mode Button: Switches between DAB+, FM, and Bluetooth modes.
- Menu/Info Button: Accesses menu options or displays station information.
- Preset Buttons (1-5): Quick access to saved stations.
- Timer/Sleep Button: Sets sleep timer or alarm functions.
- Navigation Buttons (Up/Down/Left/Right): Navigates through menus and station lists.
- Rotary Knob (Volume/Enter): Adjusts volume, scrolls through options, and confirms selections.
5. Setup
5.1. Power Connection
- Connect the power adapter to the DC IN port on the back of the radio.
- Plug the power adapter into a wall outlet.
- The radio will power on or enter standby mode.
5.2. Initial Scan (DAB+ and FM)
Upon first power-on, the radio will typically perform an automatic scan for DAB+ and FM stations. If not, follow these steps:
- Press the Mode button to select DAB+ or FM mode.
- For DAB+, the radio will usually initiate a full scan automatically. If not, navigate to the 'Full Scan' option in the DAB+ menu and press the rotary knob to confirm.
- For FM, navigate to the 'Auto Scan' option in the FM menu and press the rotary knob to confirm.
- The radio will search for available stations and store them.

Figure 5.1: The LFF Kitchen Radio's LCD color screen displaying the main menu with icons for Digital Radio (DAB+), FM Radio, and Bluetooth, indicating available modes.
6. Operating Instructions
6.1. Power On/Off
Press the Power button to turn the radio on or off (standby mode).
6.2. Mode Selection
Press the Mode button repeatedly to cycle through DAB+, FM, and Bluetooth modes.
6.3. DAB+ Radio Operation
- In DAB+ mode, use the Up/Down navigation buttons or the rotary knob to browse available stations.
- Press the rotary knob to select a station.
- Press Menu/Info to view station information (e.g., program type, signal strength).
6.4. FM Radio Operation
- In FM mode, use the Up/Down navigation buttons to tune to stations manually.
- Press and hold the Up/Down buttons for automatic station seeking.
- Press Menu/Info to view station information.
6.5. Bluetooth Connectivity
Connect your smartphone or other Bluetooth-enabled device to the radio.
- Press the Mode button to select Bluetooth mode. The display will show 'Bluetooth Pairing'.
- On your mobile device, enable Bluetooth and search for available devices.
- Select 'LFF LDR113-EU' from the list of devices.
- Once connected, the radio display will show 'Bluetooth Connected'. You can now play audio from your device through the radio.
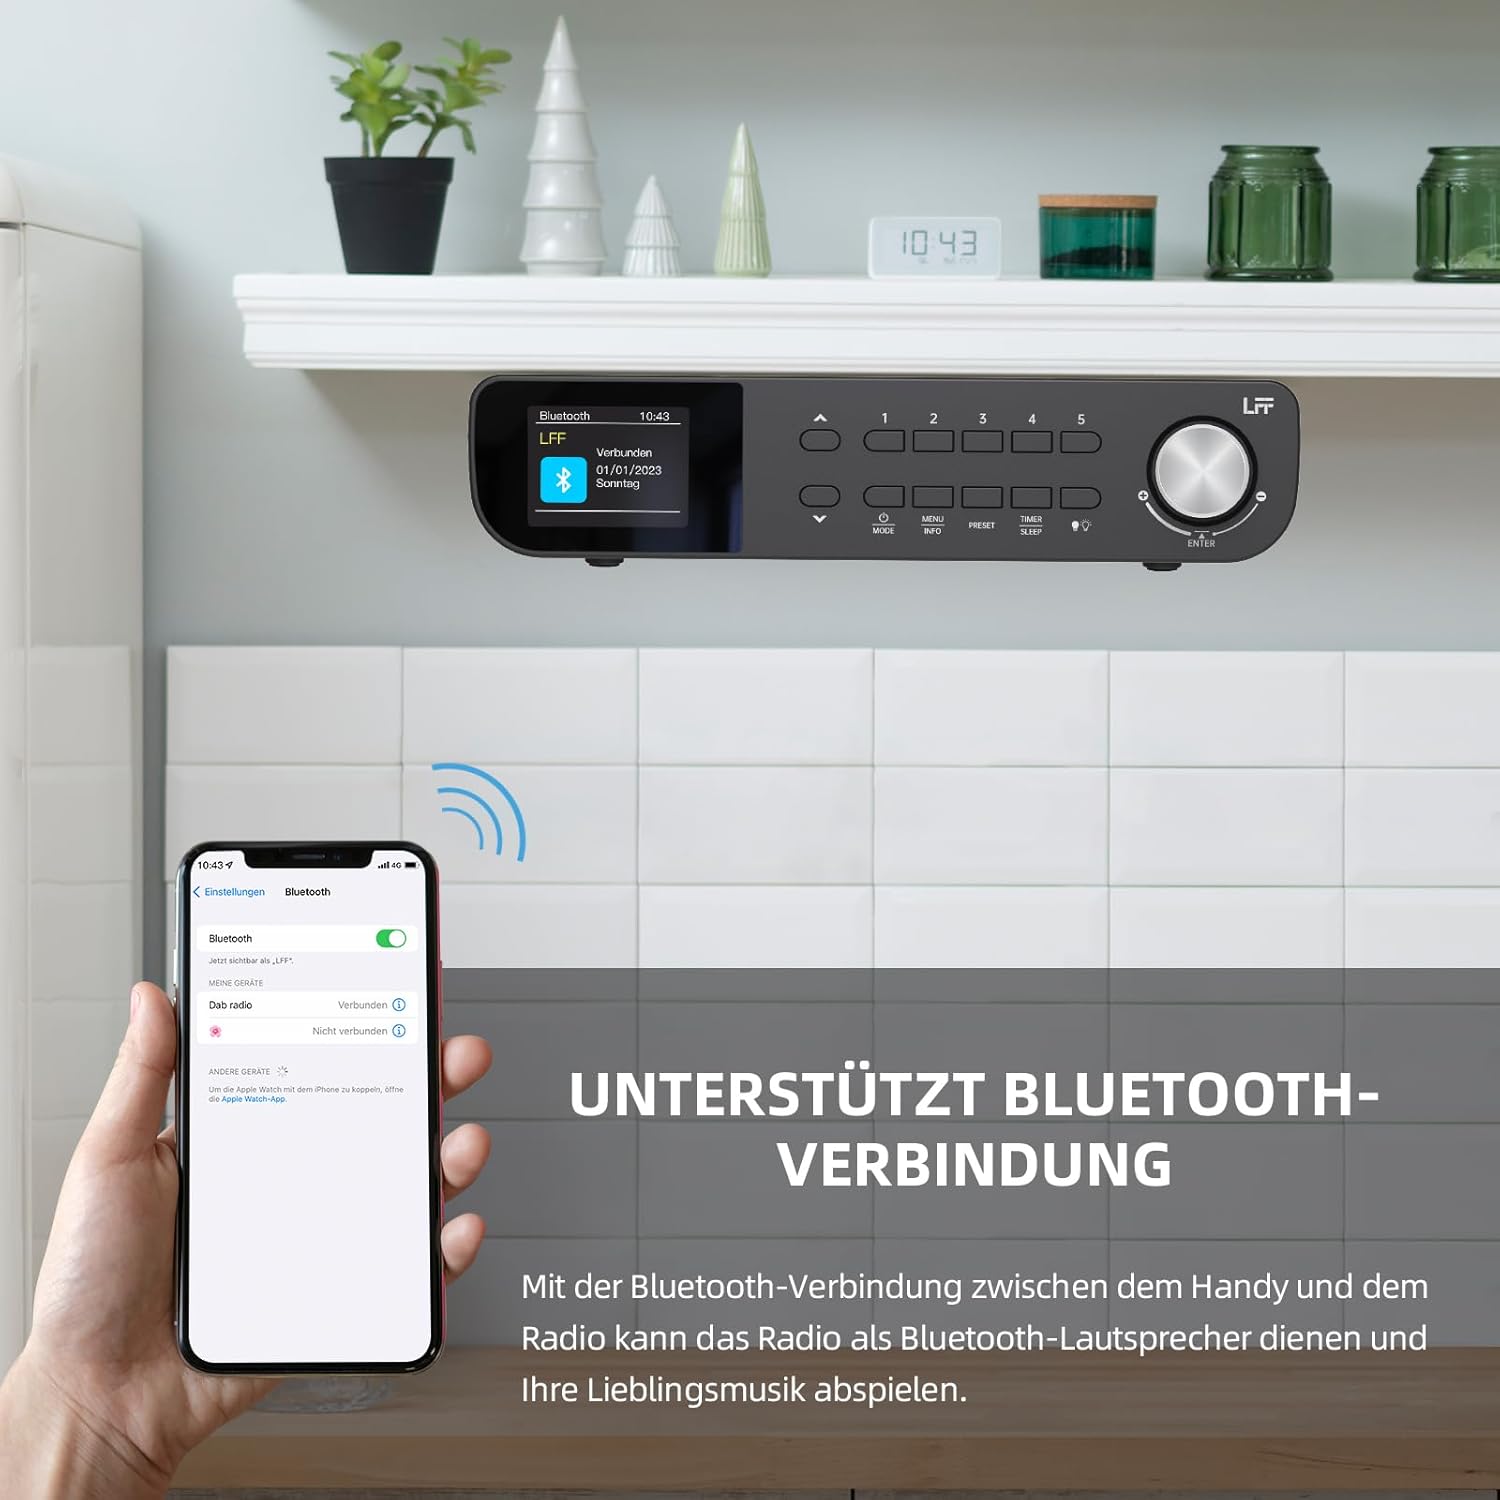
Figure 6.1: The LFF Kitchen Radio displaying a successful Bluetooth connection, with a smartphone screen showing the radio as a connected device.

Figure 6.2: Close-up view of the radio's display indicating 'LFF' and 'Connected' under the Bluetooth menu, confirming a successful pairing.
6.6. Setting Alarms
The radio features two independent alarms.
- Press the Timer/Sleep button repeatedly until 'Alarm 1' or 'Alarm 2' appears.
- Use the navigation buttons and rotary knob to set the alarm time, source (DAB+, FM, or Buzzer), and frequency (daily, weekdays, weekends, once).
- Confirm settings by pressing the rotary knob.

Figure 6.3: Close-up of the radio's display showing the current time and options to activate or deactivate Alarm 1 and Alarm 2.
6.7. Sleep Timer
The sleep timer allows the radio to turn off automatically after a set period.
- Press the Timer/Sleep button repeatedly until 'Sleep Timer' appears.
- Use the navigation buttons or rotary knob to select the desired sleep duration (e.g., 15, 30, 60 minutes).
- Confirm by pressing the rotary knob.

Figure 6.4: Close-up of the radio's display showing the 'Sleep Timer' setting, with an option to set the duration, for example, to 30 minutes.
6.8. Presets
Save up to 60 favorite stations for quick access.
- To Save a Preset: Tune to the desired station. Press and hold one of the Preset (1-5) buttons until 'Preset Saved' appears. For additional presets, use the 'Preset Store' option in the menu.
- To Recall a Preset: Briefly press one of the Preset (1-5) buttons. For other presets, navigate to 'Preset Recall' in the menu.
6.9. LED Light
The radio includes an integrated LED light, useful for illuminating the area below if mounted under a cabinet.
- Press the Light button (if available, or navigate through menu) to turn the LED light on or off.

Figure 6.5: The LFF Kitchen Radio mounted under a kitchen cabinet, with its integrated LED light providing illumination to the countertop below.
6.10. Display Brightness
Adjust the display backlight brightness to suit your environment.
- Access the 'Display' or 'Settings' menu.
- Select 'Brightness' and choose from High, Medium, or Low settings.

Figure 6.6: A visual comparison of the LFF Kitchen Radio's display at three different backlight brightness levels: High, Medium, and Low, demonstrating the adjustable visibility.
7. Mounting Instructions
The LFF LDR113-EU Kitchen Radio offers flexible placement options: tabletop or under-cabinet mounting.
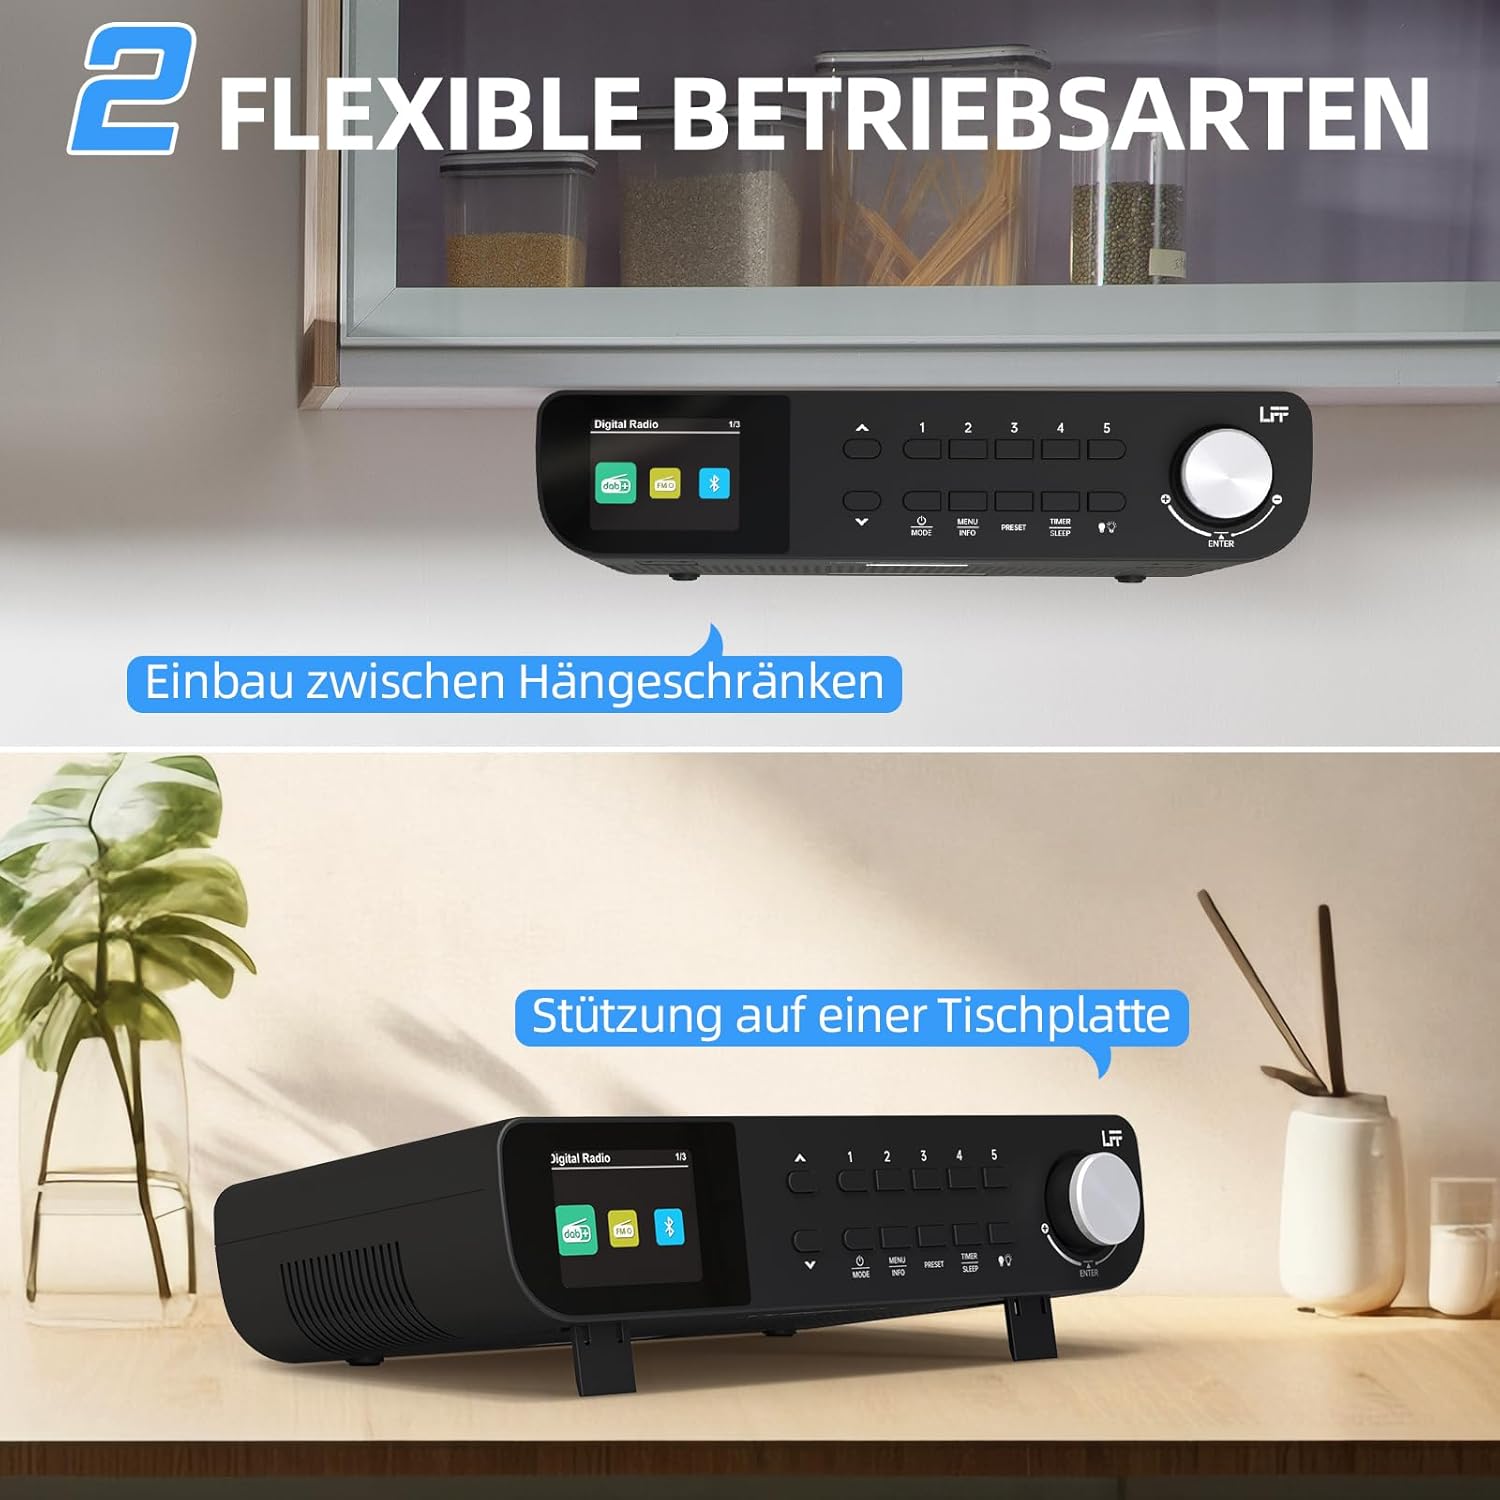
Figure 7.1: The LFF Kitchen Radio displayed in two common installation scenarios: mounted underneath a kitchen cabinet and placed freestanding on a tabletop.
7.1. Tabletop Placement
Simply place the radio on a stable, flat surface. Ensure it is not near the edge to prevent accidental falls.
7.2. Under-Cabinet Mounting
For under-cabinet installation, use the provided mounting kit.
- Prepare the Location: Choose a suitable location under a kitchen cabinet, ensuring there is enough space and access to a power outlet.
- Mark Drill Holes: Use the provided mounting template to mark the drill holes on the underside of the cabinet.
- Drill Pilot Holes: Drill pilot holes at the marked positions.
- Attach Mounting Plate (if applicable): Some models may include a separate mounting plate. Attach this to the cabinet using the screws.
- Secure the Radio: Align the radio with the mounting holes or plate and secure it using the provided screws. Ensure it is firmly attached.
- Connect Power: Plug in the power adapter.

Figure 7.2: Detailed diagram showing the steps for under-cabinet mounting, including measuring distances (e.g., 58mm) and securing the radio with screws.
8. Maintenance
- Cleaning: To clean the radio, disconnect it from the power supply. Use a soft, dry, lint-free cloth. Do not use abrasive cleaners, waxes, or solvents.
- Antenna: Ensure the antenna is extended for optimal reception in DAB+ and FM modes. Handle it gently to avoid damage.
- Storage: If storing the radio for an extended period, disconnect it from power and store it in a cool, dry place.
9. Troubleshooting
| Problem | Possible Cause | Solution |
|---|---|---|
| No power | Power adapter not connected or faulty outlet. | Check power connection. Try a different outlet. |
| Poor DAB+/FM reception | Antenna not extended, weak signal, or interference. | Fully extend the antenna. Reposition the radio. Perform a full scan. |
| Bluetooth not connecting | Radio not in pairing mode, device too far, or already connected to another device. | Ensure radio is in Bluetooth mode. Move device closer. Disconnect from other devices. |
| No sound | Volume too low, mute activated, or incorrect mode. | Increase volume. Check if mute is active. Ensure correct mode (DAB+, FM, Bluetooth). |
| Display not working | Brightness too low or device malfunction. | Adjust display brightness. If problem persists, contact support. |
10. Specifications

Figure 10.1: Diagram showing the dimensions of the LFF Kitchen Radio: 250mm length, 146mm width, and 55mm height.
| Feature | Detail |
|---|---|
| Brand | LFF |
| Model Number | LDR113-EU |
| Color | Black |
| Connectivity | Bluetooth |
| Tuning Technology | DAB Plus, FM |
| Power Source | Electric Cable |
| Frequency | 108 MHz (FM max) |
| Dimensions (L x W x H) | 250mm x 146mm x 55mm |
| Presets | 60 |
| Display | LCD Color Screen |
| Special Features | Dual Alarms, Sleep Timer, Under-cabinet mounting option, LED Light |
11. Warranty and Support
This product comes with a standard manufacturer's warranty. Please refer to the warranty card included in your package for specific terms and conditions. For technical support, troubleshooting assistance, or warranty claims, please contact your retailer or the LFF customer service department.