
1. Introduction
This manual provides detailed instructions for the installation, operation, and maintenance of your PASYRTM Android 13 5GWIFI Car Radio Stereo. This unit is designed for Jeep Patriot (2010-2016) and Jeep Compass (2010-2016) models, offering an upgraded 10.1-inch QLED touchscreen with advanced features like Wireless CarPlay, Android Auto, DSP, GPS, and a backup camera.
Please read this manual thoroughly before installation and use to ensure proper functionality and safety.
2. Product Overview
The PASYRTM Car Radio Stereo features a 10.1-inch QLED touchscreen with 1280x720 resolution, running on Android 13 with a 4G processor, 4GB RAM, and 32GB ROM. It integrates seamlessly with your vehicle's existing systems, including steering wheel controls via the included Canbus.

Image: The PASYRTM Car Radio Stereo seamlessly integrated into a Jeep Compass dashboard, displaying its user interface with various application icons.

Image: An overview highlighting key features of the car stereo, such as Carplay, Android Auto, WiFi, DSP, Bluetooth, Steering Wheel Control (SWC), GPS, and HD Resolution.
3. Setup and Installation
The unit comes with all necessary cables for a straightforward installation, requiring no cutting of original vehicle wires. A Canbus is included to support original steering wheel controls and other vehicle functions.
3.1 Included Components
- 1x Car Head unit with Frame
- 1x RCA Cable
- 1x Power Cable
- 1x Car Microphone
- 1x GPS Antenna
- 1x Frame Removal Tool
- 1x Rear View 1080P Camera
- 2x USB Cables
- 1x Reversing Control Cable
- 1x Canbus
- 1x Radio Antenna
- 1x Rear Camera Input Cable

Image: All components included with the car stereo, laid out for inspection.
3.2 Installation Steps
- Remove the Original Radio: Carefully remove the existing car radio and dashboard trim using the provided frame removal tool. Refer to your vehicle's specific instructions for trim removal.
- Connect Wiring Harnesses: Connect the new power cable, RCA cables, and other necessary harnesses to the car stereo. Ensure all connections are secure.
- Install GPS Antenna: Mount the GPS antenna in a location with a clear view of the sky, typically on the dashboard or under the windshield.
- Connect USB Cables: Route the USB cables to a convenient location, such as the glove compartment or center console, for connecting external devices.
- Install Backup Camera (Optional): If installing the included backup camera, route the camera cable from the rear of the vehicle to the head unit. Connect the camera's power wire to the car's reversing light positive and the ground wire to the car's reversing light negative. Connect the video signal cable to the head unit's 'Reverse In' port.
- Test Connections: Before fully reassembling the dashboard, turn on the vehicle and test all functions of the new car stereo, including audio, touchscreen, GPS, Bluetooth, and the backup camera.
- Reassemble Dashboard: Once all functions are verified, carefully reassemble the dashboard trim and secure the new head unit in place.

Image: A visual comparison showing the original car dashboard setup and the upgraded appearance after installing the new car stereo.
Video: This video demonstrates the general installation process for the car stereo. It covers removing the old unit, connecting the new wiring, and securing the new head unit.
3.3 Backup Camera Wiring
Proper connection of the backup camera is crucial for its functionality. The camera requires power from the vehicle's reverse light circuit and a video signal connection to the head unit.
- Connect the camera's red power wire to the positive wire of your car's reverse light.
- Connect the camera's black ground wire to the negative wire of your car's reverse light or a suitable chassis ground.
- Connect the yellow RCA video cable from the camera to the 'Reverse In' port on the car stereo.
- Ensure the trigger wire (usually a thin red wire integrated with the RCA cable) is connected to the reverse light positive and also to the 'Reverse Control' wire on the head unit's wiring harness. This signals the head unit to switch to the camera view when reverse gear is engaged.

Image: A wiring diagram showing how to connect the backup camera to the car stereo and the vehicle's reverse light circuit.
Video: This video provides a visual guide on how to connect the rear view camera to the car stereo system.
4. Operating Instructions
4.1 Touchscreen Display
The unit features a 10.1-inch QLED touchscreen with a resolution of 1280x720 pixels, providing clear and vibrant visuals. The capacitive touch interface ensures smooth and responsive interaction.

Image: A visual representation comparing different screen resolutions, emphasizing the superior clarity of the 1280x720P QLED display.
4.2 Wireless CarPlay & Android Auto
Connect your smartphone wirelessly via Bluetooth 5.0 to access CarPlay or Android Auto. This allows for seamless integration of your phone's features, including navigation, calls, messages, and music, directly on the car stereo display. Use voice commands (Siri/Hey Google) or the touchscreen for control.

Image: A split-screen display demonstrating the interfaces for both Wireless CarPlay and Android Auto on the car stereo.
Video: This video showcases the CarPlay functionality on the car stereo for Jeep Compass and Patriot models.
4.3 Digital Sound Processor (DSP) & Equalizer (EQ)
The integrated DSP and 42-band equalization system allow for precise audio tuning. This feature compensates for the acoustic characteristics of your vehicle, providing enhanced sound quality and a customizable listening experience. Adjust bass, treble, and other audio parameters to your preference.

Image: The DSP and EQ settings interface on the car stereo, illustrating the range of audio adjustments available.
4.4 FM RDS Radio
Tune into your favorite FM radio stations. The RDS (Radio Data System) functionality provides real-time information such as station name, song title, traffic updates, and news, where available.

Image: The FM radio interface displayed on the car stereo, indicating available frequencies and station information.
4.5 Steering Wheel Control (SWC)
The included Canbus ensures compatibility with your vehicle's original steering wheel controls. This allows you to manage audio playback, volume, and other functions without taking your hands off the steering wheel, enhancing driving safety and convenience.

Image: A visual guide illustrating how to operate the car stereo using the vehicle's steering wheel controls.
4.6 GPS Navigation
The built-in GPS functionality provides accurate and reliable navigation. Utilize pre-installed maps or download your preferred navigation apps from the Google Play Store (requires internet connection) to guide you to your destination.
4.7 AHD Backup Rear View Camera
The included 1080P AHD rear camera offers enhanced visibility when reversing. It features a 170-degree ultra-wide angle lens and a waterproof design, providing a clear and comprehensive view of the area behind your vehicle for safer parking and maneuvering.
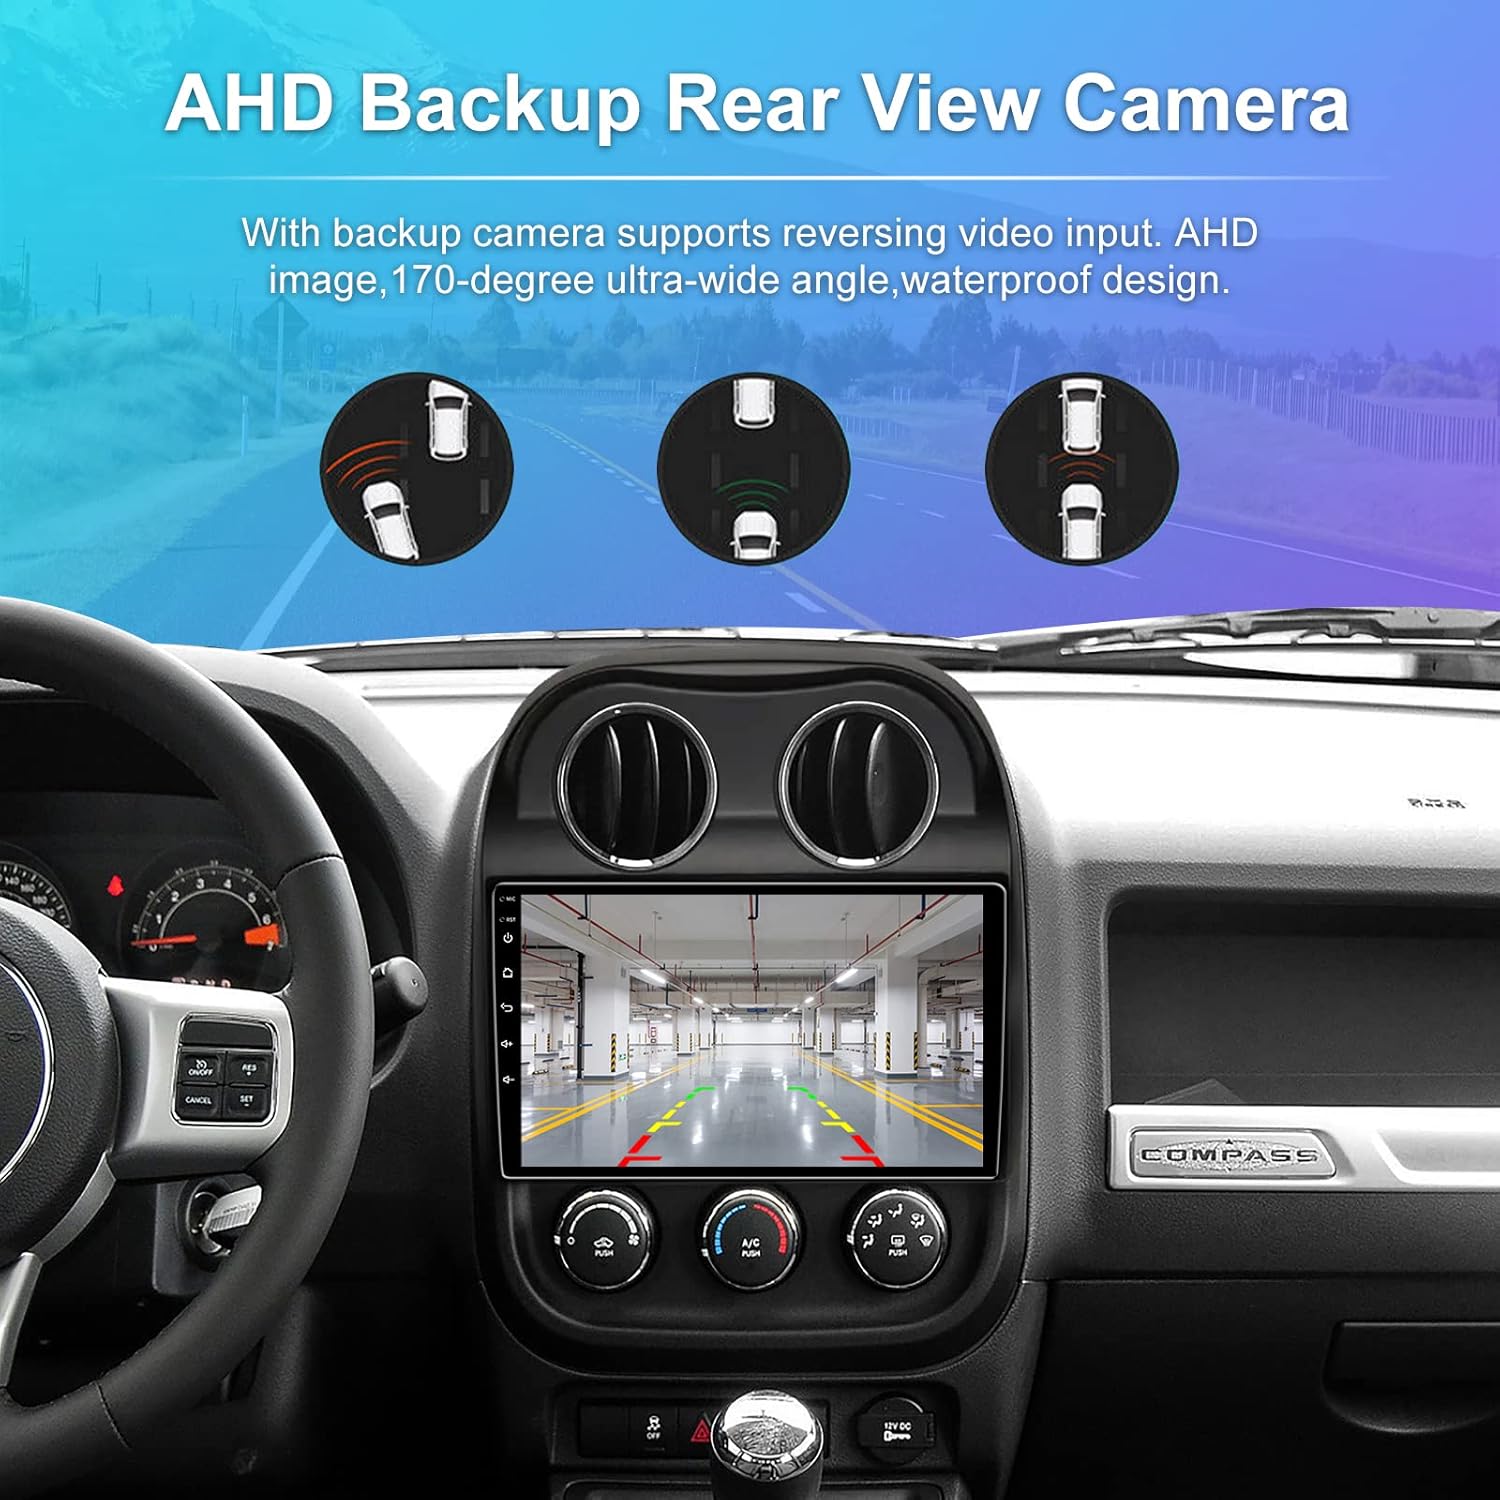
Image: The wide-angle view provided by the AHD backup camera, displayed on the car stereo screen, showing parking guidelines.
4.8 Mirror Link
The Mirror Link function allows you to cast your smartphone's screen directly onto the car stereo display. This feature provides a convenient way to view content from your phone on the larger screen.

Image: The Mirror Link feature in action, displaying a smartphone's content mirrored onto the car stereo screen.
5. Maintenance
To ensure the longevity and optimal performance of your car stereo, follow these maintenance guidelines:
- Screen Cleaning: Use a soft, lint-free cloth to gently wipe the touchscreen. For stubborn smudges, slightly dampen the cloth with water or a screen-safe cleaner. Avoid harsh chemicals or abrasive materials.
- Software Updates: Periodically check for available software updates through the system settings. Keeping the software updated can improve performance and add new features.
- Environmental Conditions: Avoid exposing the unit to extreme temperatures, direct sunlight for prolonged periods, or excessive moisture.
- Cable Connections: Ensure all cables remain securely connected. Loose connections can lead to intermittent issues.
6. Troubleshooting
If you encounter any issues with your car stereo, refer to the following common troubleshooting steps:
- No Power: Check all power connections. Ensure the ignition is on and the car battery has sufficient charge. Verify fuses are intact.
- No Sound: Check speaker connections. Ensure the volume is not muted or set too low. Verify audio settings in the DSP/EQ menu.
- Touchscreen Unresponsive: Try restarting the unit. If the issue persists, a factory reset might be necessary (note: this will erase all user data).
- CarPlay/Android Auto Connection Issues: Ensure Bluetooth is enabled on both the stereo and your phone. Try forgetting the device on both ends and re-pairing. Check for any software updates for your phone or the stereo.
- GPS Not Working: Ensure the GPS antenna is properly connected and has a clear view of the sky. Check GPS settings in the system menu.
- Backup Camera Not Displaying: Verify the camera's power and video connections. Ensure the reverse trigger wire is correctly connected to the head unit and the vehicle's reverse light circuit.
- Steering Wheel Controls Not Working: Confirm the Canbus is correctly installed and connected. Check the steering wheel control settings in the stereo's menu to ensure they are configured properly.
For persistent issues, please contact customer support.
7. Specifications
| Feature | Specification |
|---|---|
| Brand | PASYRTM |
| Model | B0BWWVQNRP |
| Operating System | Android 13 |
| Screen Size | 10.1 Inches |
| Screen Resolution | 1280 x 720 (QLED) |
| Memory Storage Capacity | 32 GB |
| RAM | 4 GB |
| Connectivity Technology | Bluetooth, USB, Wi-Fi (5G) |
| Special Features | Wireless CarPlay, Wireless Android Auto, DSP (48EQ), Steering Wheel Control Support, GPS, AHD Rear Camera Support |
| Audio Output Mode | Stereo, Surround |
| Compatible Vehicle Type | Jeep Compass (2010-2016), Jeep Patriot (2010-2016) |
| Item Weight | 1.87 Kilograms |
8. Warranty and Support
This product comes with a 2-year warranty. For any technical assistance, installation queries, or troubleshooting not covered in this manual, our engineers provide 24-hour after-sale service. You can leave a message to us for support.