Introduction
This manual provides comprehensive instructions for the setup, operation, and maintenance of your Acctim Invicta Digital Alarm Clock. Please read this manual thoroughly before using the device to ensure proper function and longevity.
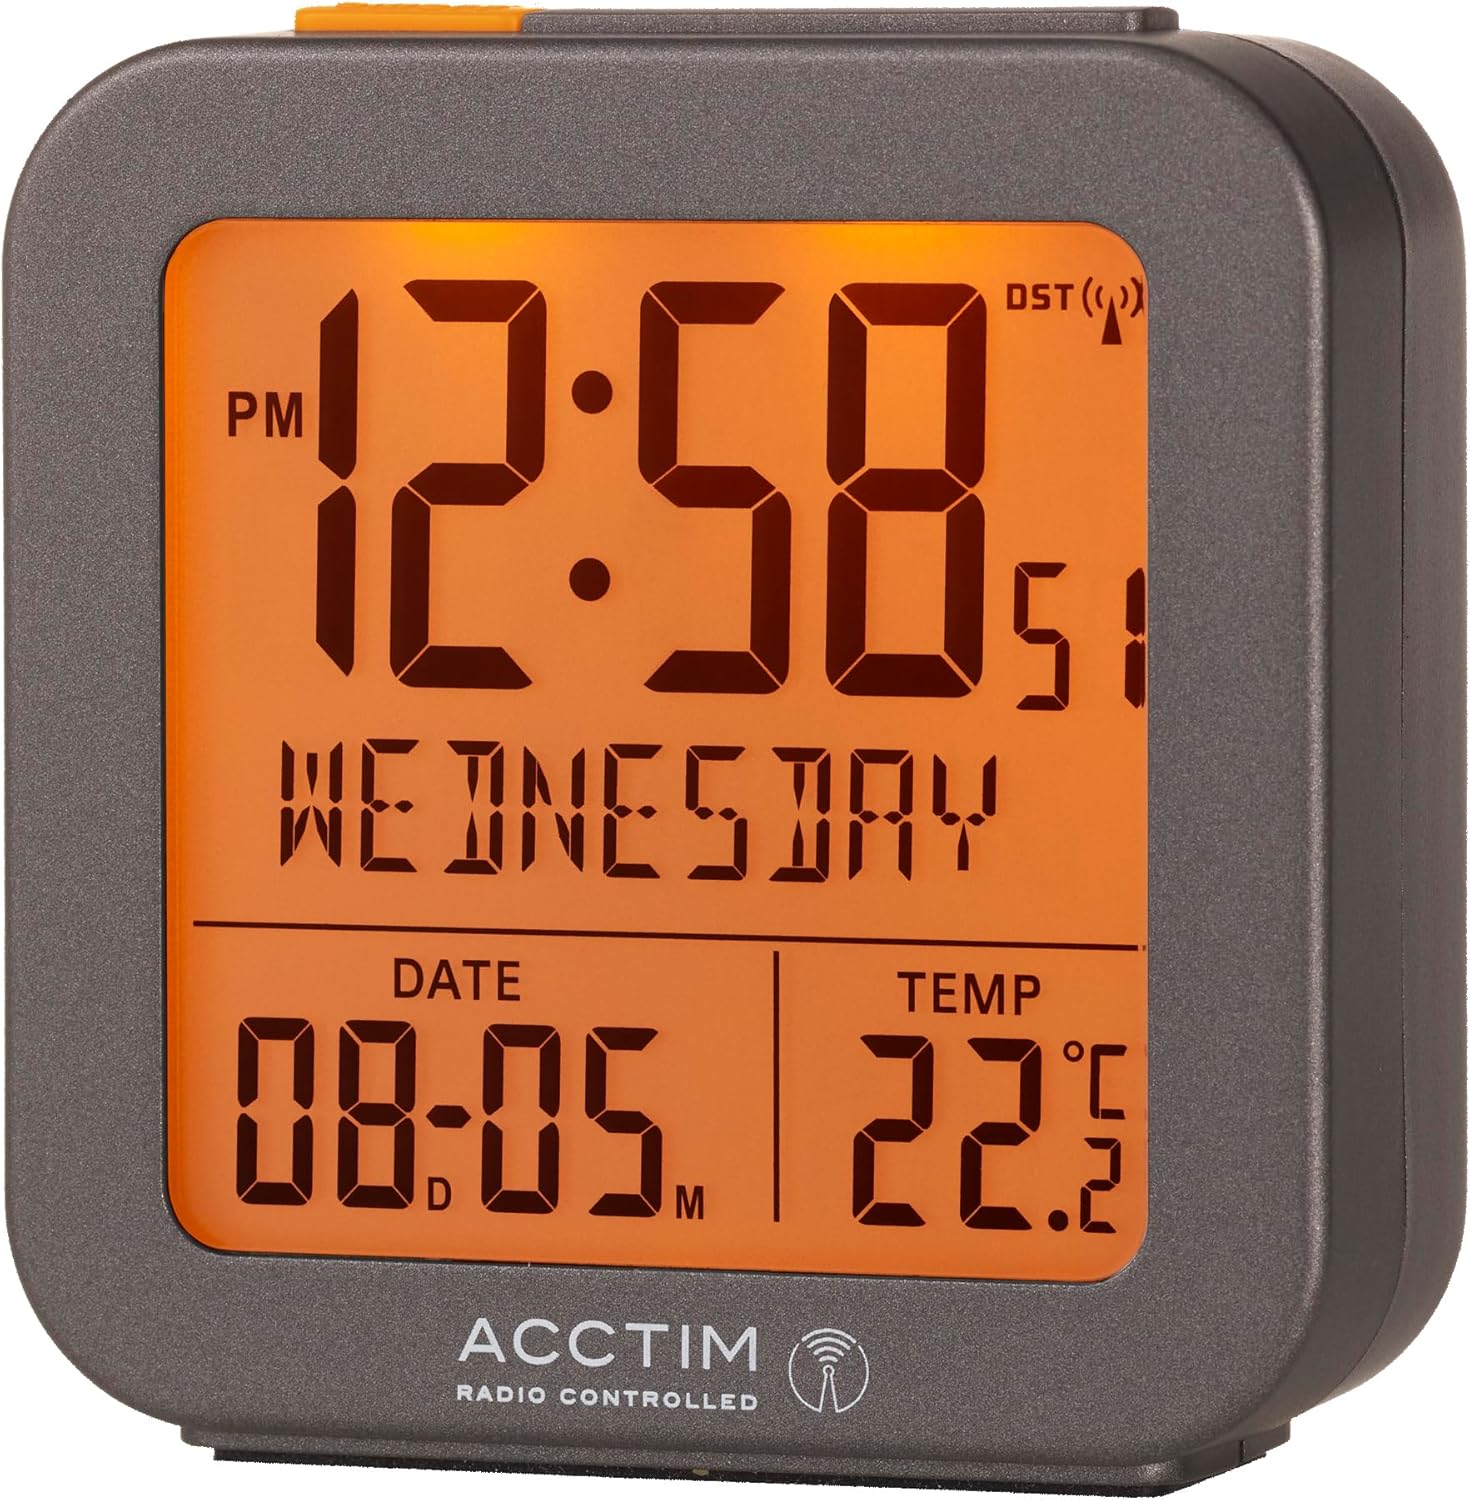
Figure 1: Front view of the Acctim Invicta Digital Alarm Clock with its illuminated display.
Safety Information
- Do not expose the clock to extreme temperatures, direct sunlight, or high humidity.
- Avoid dropping the clock or subjecting it to strong impacts.
- Use only the specified battery type (2x AAA batteries). Ensure correct polarity when inserting batteries.
- Remove batteries if the clock will not be used for an extended period to prevent leakage.
- Keep batteries out of reach of children.
- Do not mix old and new batteries, or different types of batteries.
Package Contents
- Acctim Invicta Digital Alarm Clock (Model: 71937)
- User Manual (this document)
Note: 2x AAA batteries are required for operation and are not included in the package.
Product Features
- Multifunction Digital Display
- Radio Controlled with Automatic Setup for precise timekeeping
- Crescendo Alarm for a gentle wake-up
- Snooze Function
- LCD Display showing Time, Date, Day, and Indoor Temperature
- Compact and portable design
Setup
1. Battery Installation
- Locate the battery compartment on the back of the clock.
- Open the battery compartment cover.
- Insert 2x AAA batteries, ensuring the correct polarity (+ and -) as indicated inside the compartment.
- Close the battery compartment cover securely.

Figure 2: Rear view of the clock, highlighting the battery compartment and control buttons.
2. Initial Time Synchronization (Radio Controlled)
Upon battery installation, the clock will automatically begin searching for the radio controlled time signal (DCF77 for UK/Europe). This process may take several minutes to a few hours, depending on your location and signal strength. During this time, the radio controlled signal icon (a small antenna symbol) will flash on the display.
- Place the clock near a window for optimal signal reception.
- Avoid placing it near electronic devices that may cause interference.
- Once the signal is successfully received, the time and date will automatically set, and the radio controlled signal icon will become solid.
If the signal is not received within 24 hours, you may need to manually set the time (see "Manual Time Setting" in the Operating Instructions section).
Operating Instructions
Button Functions Overview
Refer to Figure 2 for the location of the buttons on the back of the clock:
- ALARM Button (Clock icon): Used to enter alarm setting mode and activate/deactivate the alarm.
- MINUS (-) Button: Used to decrease values during setting, or to toggle display modes.
- PLUS (+) Button: Used to increase values during setting, or to toggle display modes.
- TIME Button (Circle with arrow): Used to enter time/date setting mode.
- SNOOZE/LIGHT Bar (Top of clock): Press to activate backlight or snooze a sounding alarm.
1. Manual Time and Date Setting
While the clock is radio controlled, manual setting may be necessary if the signal is consistently weak or unavailable.
- Press and hold the TIME button for approximately 3 seconds until the hour digits begin to flash.
- Use the PLUS (+) or MINUS (-) buttons to adjust the hour.
- Press the TIME button again to confirm the hour and move to the minute setting.
- Repeat the process for minutes, year, month, and day.
- Press the TIME button one last time to exit setting mode.
2. Setting the Alarm
- Press and hold the ALARM button for approximately 3 seconds until the alarm hour digits begin to flash.
- Use the PLUS (+) or MINUS (-) buttons to adjust the alarm hour.
- Press the ALARM button again to confirm the alarm hour and move to the alarm minute setting.
- Use the PLUS (+) or MINUS (-) buttons to adjust the alarm minute.
- Press the ALARM button one last time to exit alarm setting mode.
3. Activating/Deactivating the Alarm
From the normal time display, press the ALARM button once briefly to toggle the alarm on or off. An alarm icon (bell symbol) will appear on the display when the alarm is active.
4. Crescendo Alarm and Snooze Function
- Crescendo Alarm: When the alarm sounds, it will start softly and gradually increase in volume to gently wake you.
- Snooze: When the alarm is sounding, press the large SNOOZE/LIGHT bar on top of the clock. The alarm will pause for approximately 5 minutes and then sound again. You can repeat the snooze function multiple times.
- Stopping the Alarm: To stop the alarm completely, press any button on the back of the clock (ALARM, PLUS, MINUS, TIME). The alarm will reset for the next day.
5. Backlight/Illumination
Press the large SNOOZE/LIGHT bar on top of the clock to briefly illuminate the display for easy viewing in low light conditions.
6. Temperature Display
The clock continuously displays the indoor temperature. The unit of temperature (Celsius or Fahrenheit) can typically be toggled by pressing the PLUS (+) or MINUS (-) button briefly when not in setting mode, or by a dedicated switch on the back (refer to Figure 2 for any such switch, though none is explicitly visible in the provided image, this is a common feature).
Maintenance
- Clean the clock with a soft, dry cloth. Do not use abrasive cleaners or solvents.
- Avoid exposing the clock to water or other liquids.
- Replace batteries promptly when the display becomes dim or the clock stops functioning correctly.
Troubleshooting
| Problem | Possible Cause / Solution |
|---|---|
| Clock display is blank or dim. | Batteries are dead or inserted incorrectly. Replace batteries, ensuring correct polarity. |
| Time is incorrect or not setting automatically. | Weak radio controlled signal. Move the clock closer to a window or to a different location away from electronic interference. Allow several hours for signal acquisition. If issues persist, manually set the time. |
| Alarm does not sound. | Alarm is not activated. Ensure the alarm icon (bell symbol) is visible on the display. Check if the alarm time is set correctly. |
| Snooze function not working. | Ensure you are pressing the large SNOOZE/LIGHT bar on top of the clock when the alarm is sounding. |
| Temperature reading seems inaccurate. | Ensure the clock is not placed in direct sunlight, near heat sources, or in drafts, which can affect temperature readings. |
Specifications
| Feature | Detail |
|---|---|
| Model Number | 71937 |
| Brand | Acctim |
| Colour | Grey |
| Product Dimensions | 6.5 x 3.81 x 7.5 cm (W x D x H) |
| Item Weight | 110 g |
| Material | Plastic |
| Display Type | Digital LCD |
| Power Source | 2x AAA Batteries (not included) |
| Special Features | Snooze, Illuminated Display, Temperature Display, Alarm, Calendar Display, Radio Controlled |

Figure 3: Dimensions of the Acctim Invicta Digital Alarm Clock.
Warranty and Support
For warranty information and customer support, please refer to the official Acctim website or contact your retailer. Keep your purchase receipt as proof of purchase for any warranty claims.
For further assistance, you may visit the Acctim Store online: Acctim Store on Amazon UK


