1. Introduction
Thank you for choosing the Lehmann Universal 3-in-1 Kitchen Robot. This versatile appliance is designed to simplify your cooking tasks with its powerful mixing, meat grinding, and blending functions. Please read this manual thoroughly before first use to ensure safe and optimal operation.
This manual provides detailed instructions for assembly, operation, maintenance, and troubleshooting. Keep it in a safe place for future reference.
2. Important Safety Instructions
WARNING: Failure to follow these safety instructions may result in electric shock, fire, or serious injury.
- Read all instructions before using the appliance.
- Do not immerse the motor unit in water or other liquids.
- Always unplug the appliance from the power outlet before cleaning, assembling, or disassembling parts.
- Keep hands and utensils away from moving parts during operation to prevent injury.
- Ensure all attachments are securely locked in place before operating.
- Do not operate the appliance with a damaged cord or plug, or after the appliance malfunctions or has been dropped or damaged in any manner.
- Close supervision is necessary when any appliance is used by or near children.
- Avoid contact with moving parts.
- Do not use outdoors.
- Do not let the cord hang over the edge of a table or counter or touch hot surfaces.
- Do not use attachments not recommended or sold by the manufacturer.
- Never feed food by hand when using the meat grinder. Always use the food pusher provided.
- Be careful when handling sharp blades, especially during assembly, disassembly, and cleaning.
- The appliance is equipped with overheating protection. If it stops during operation, unplug it and let it cool down for at least 30 minutes before restarting.
3. Package Contents
Carefully unpack all components and check against the list below. Retain packaging for future transport or storage.
- Main Motor Unit
- 5-Liter Stainless Steel Mixing Bowl
- Dough Hook (for heavy dough)
- Beater (for medium batters)
- Whisk (for light mixtures and whipping)
- Splash Guard with Filling Spout
- Meat Grinder Attachment
- Meat Grinder Tray
- Meat Grinder Blades and Discs (fine, medium, coarse)
- Sausage Stuffer Attachments
- Food Pusher for Meat Grinder
- 1.5-Liter Blender Jar with Lid
- User Manual
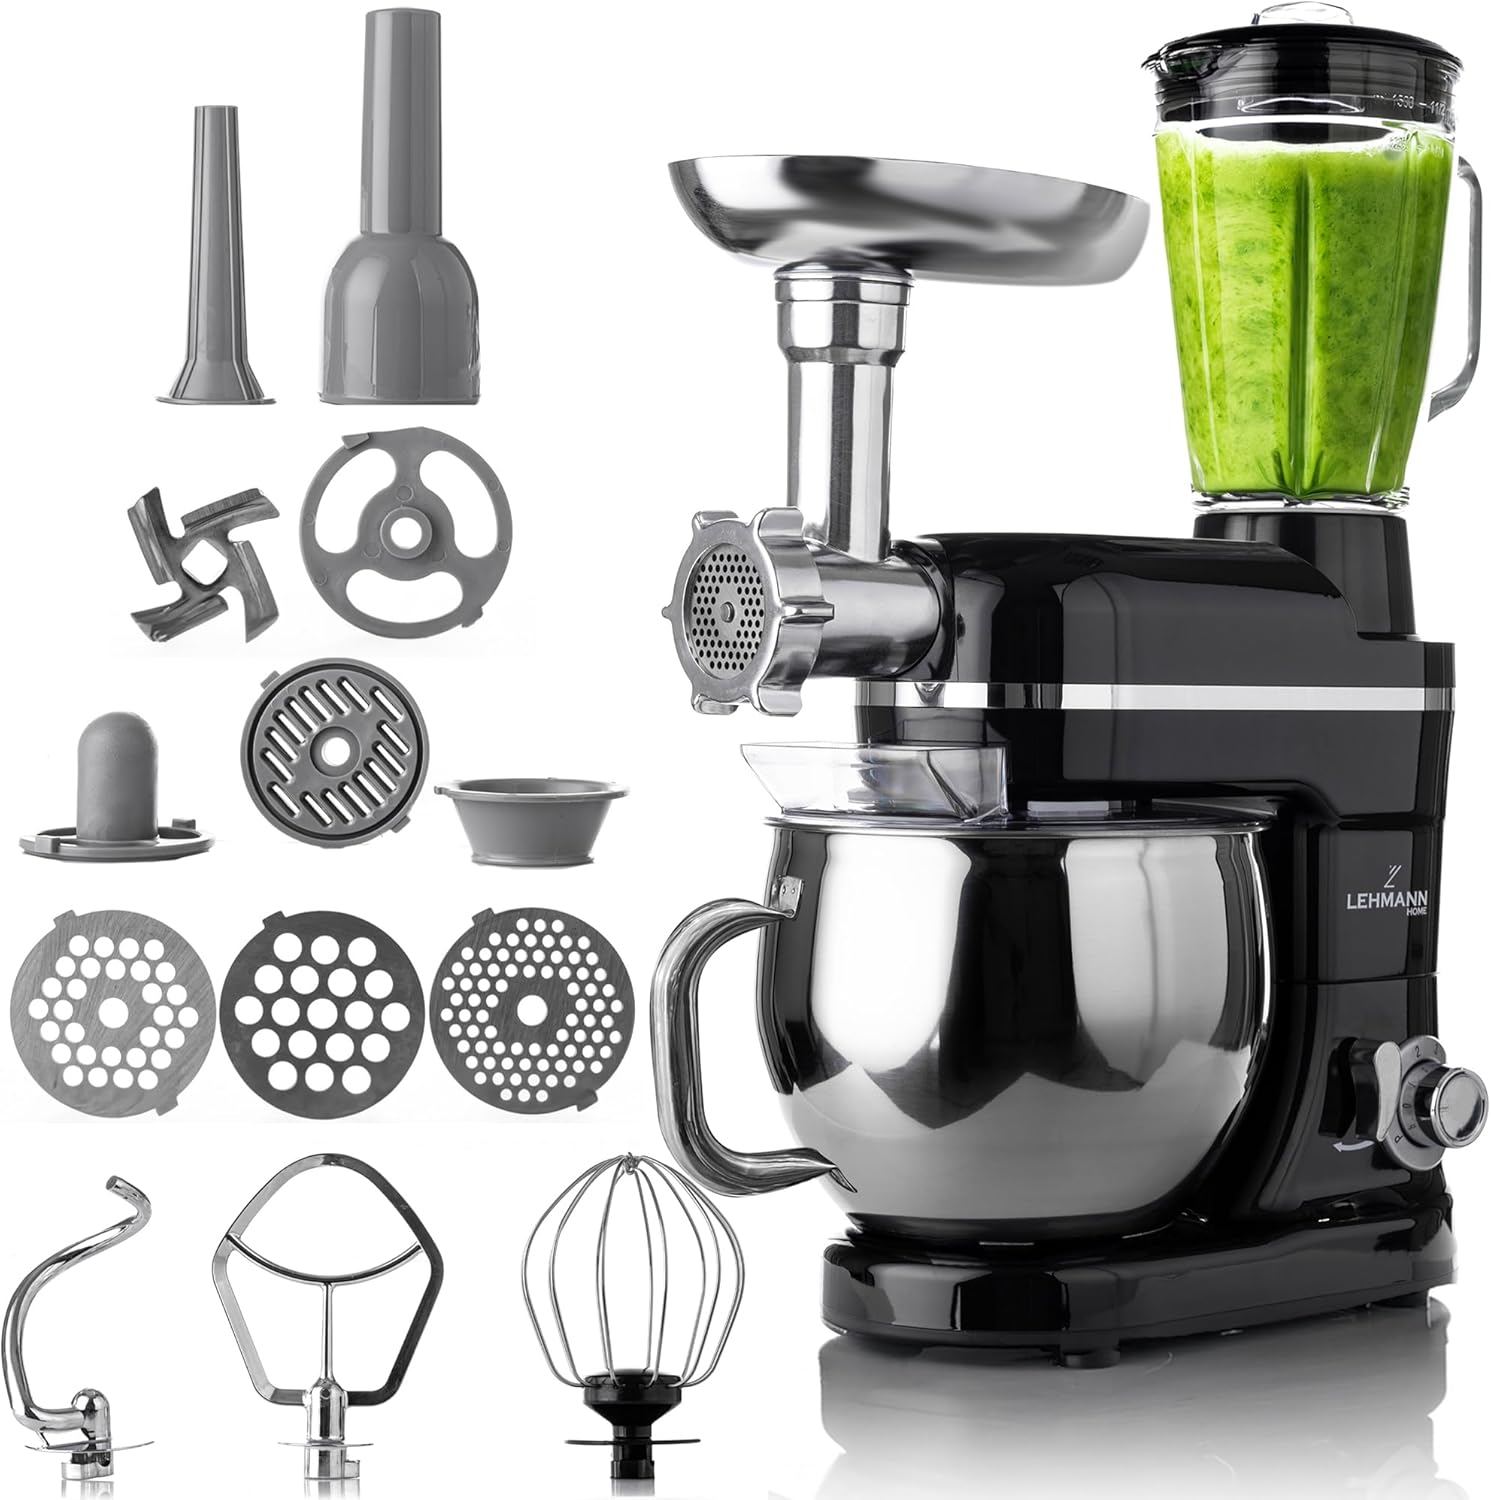
Image: The Lehmann Universal 3-in-1 Kitchen Robot main unit with all included accessories: mixing bowl, dough hook, beater, whisk, splash guard, meat grinder attachment with various discs and sausage stuffers, and blender jar.
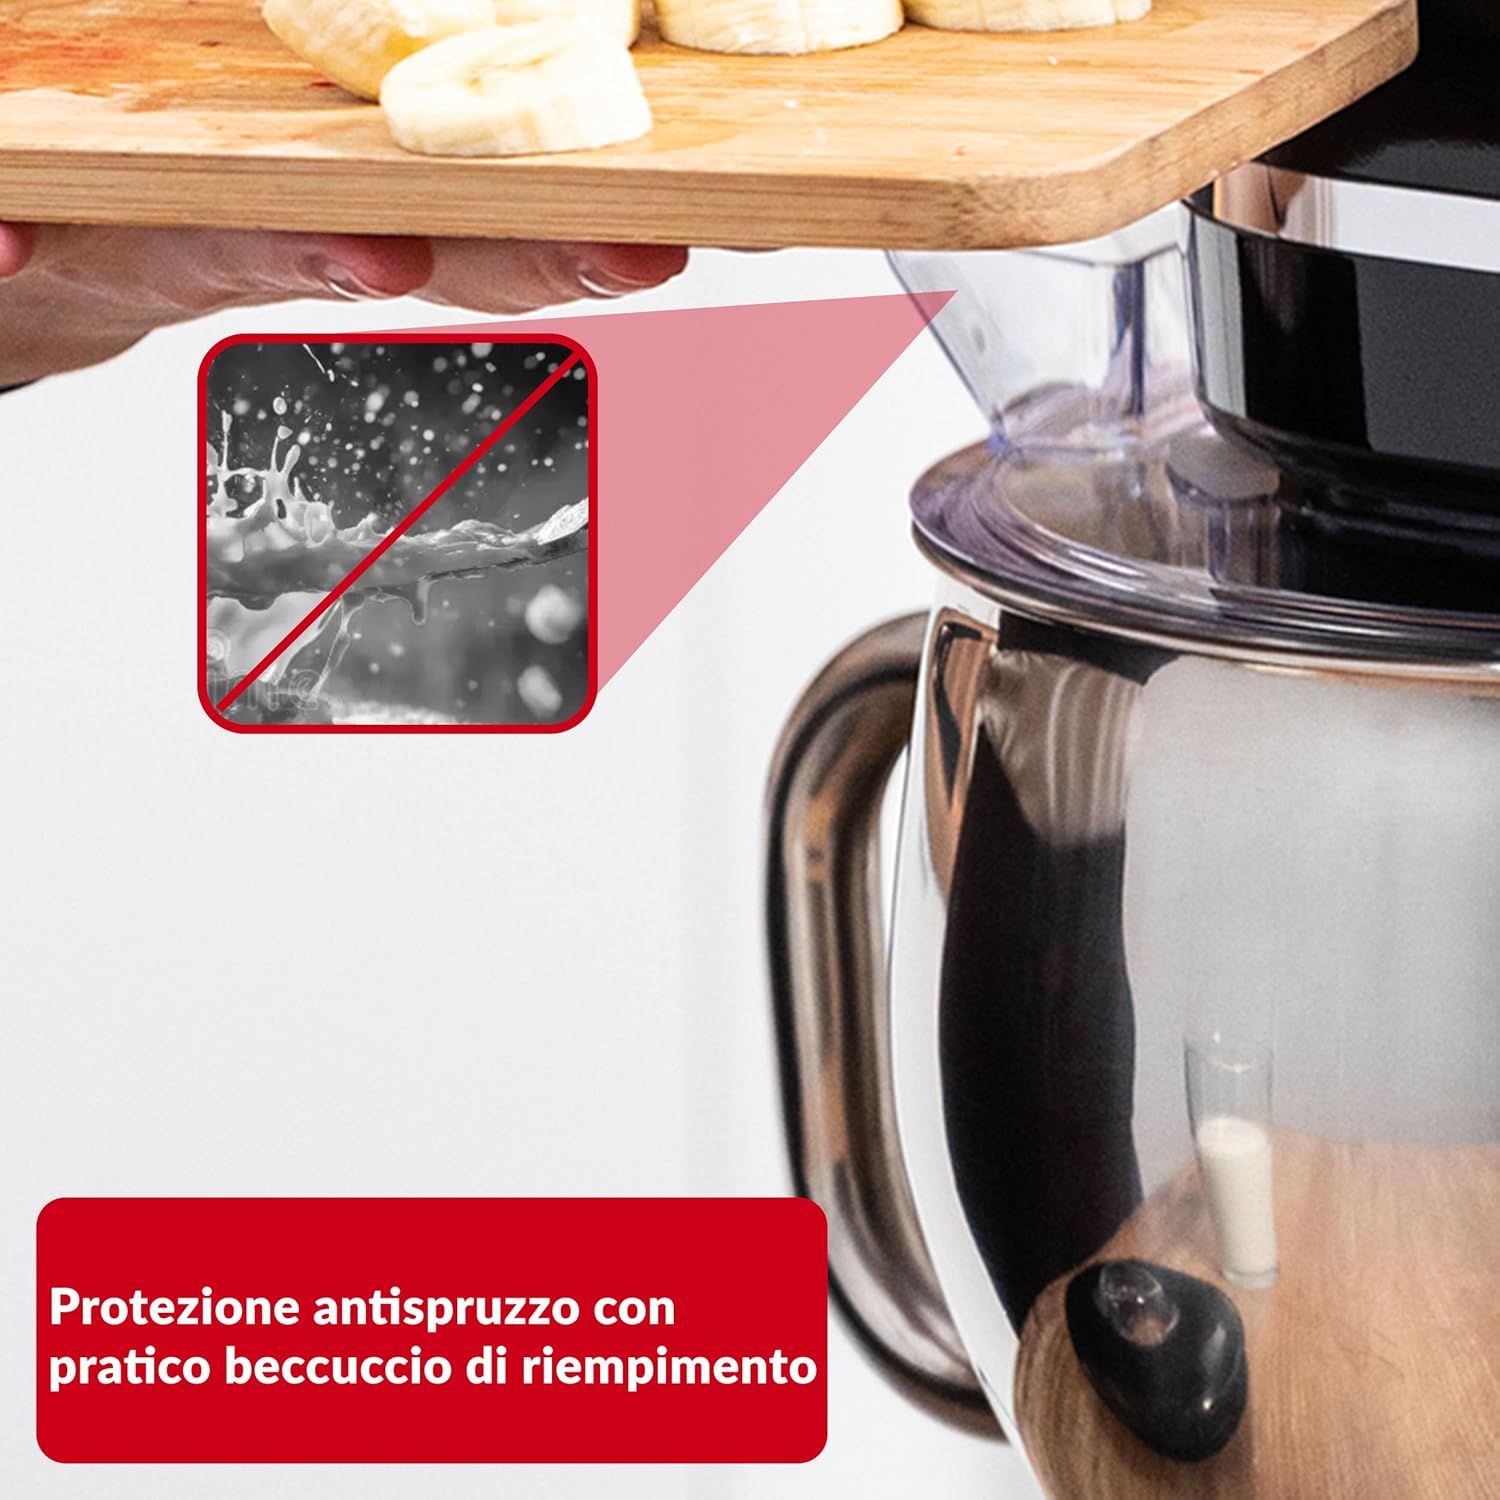
Image: A close-up view of the three primary mixing attachments: the flat beater for liquid dough, the dough hook for solid dough, and the wire whisk for whipping egg whites.
4. Setup and Assembly
Before first use, clean all parts that will come into contact with food. Ensure the appliance is unplugged during assembly.
4.1 Assembling the Stand Mixer
- Place the main motor unit on a stable, flat, and dry surface.
- Lift the motor head by pressing the release button (usually located on the side or back of the unit).
- Place the 5-liter stainless steel mixing bowl onto the base, twisting it clockwise until it locks securely.
- Select the appropriate attachment (dough hook, beater, or whisk) for your recipe. Insert the attachment into the shaft and twist to secure it.
- Lower the motor head until it clicks into place.
- Attach the splash guard over the mixing bowl if desired.

Image: The main unit with the motor head tilted upwards, illustrating the process of attaching or detaching the mixing accessories and bowl.
4.2 Assembling the Meat Grinder
- Ensure the main unit is unplugged.
- Remove the front cover from the accessory port on the main unit.
- Insert the meat grinder attachment into the port, aligning the notches, and twist to lock it securely.
- Assemble the meat grinder components: feed screw, blade, desired grinding disc, and locking ring. Tighten the locking ring firmly.
- Place the meat tray on top of the grinder.
4.3 Assembling the Blender
- Ensure the main unit is unplugged.
- Place the blender jar onto the designated port on top of the main unit, twisting it clockwise until it locks.
- Ensure the blender lid is securely in place before operation.
5. Operating Instructions
Always ensure the appliance is properly assembled and plugged into a suitable power outlet before operation.
5.1 Using the Stand Mixer
- Add ingredients to the mixing bowl. Do not overfill.
- Select the desired speed using the 6-level speed control knob. Start with a low speed and gradually increase as needed.
- For quick bursts of power, use the Pulse (P) function.
- Refer to the table below for recommended speeds for different tasks:
Speed Setting Attachment Application 1-2 Dough Hook Heavy dough (bread, pizza) 2-4 Beater Medium batters (cakes, cookies), mashed potatoes 5-6 Whisk Light mixtures (creams, egg whites), whipping P (Pulse) All Short bursts for quick mixing or blending - When finished, turn the speed control to '0' and unplug the appliance.

Image: A detailed view of the appliance's control panel, highlighting the 6-speed rotary knob and the pulse function for precise speed adjustment.
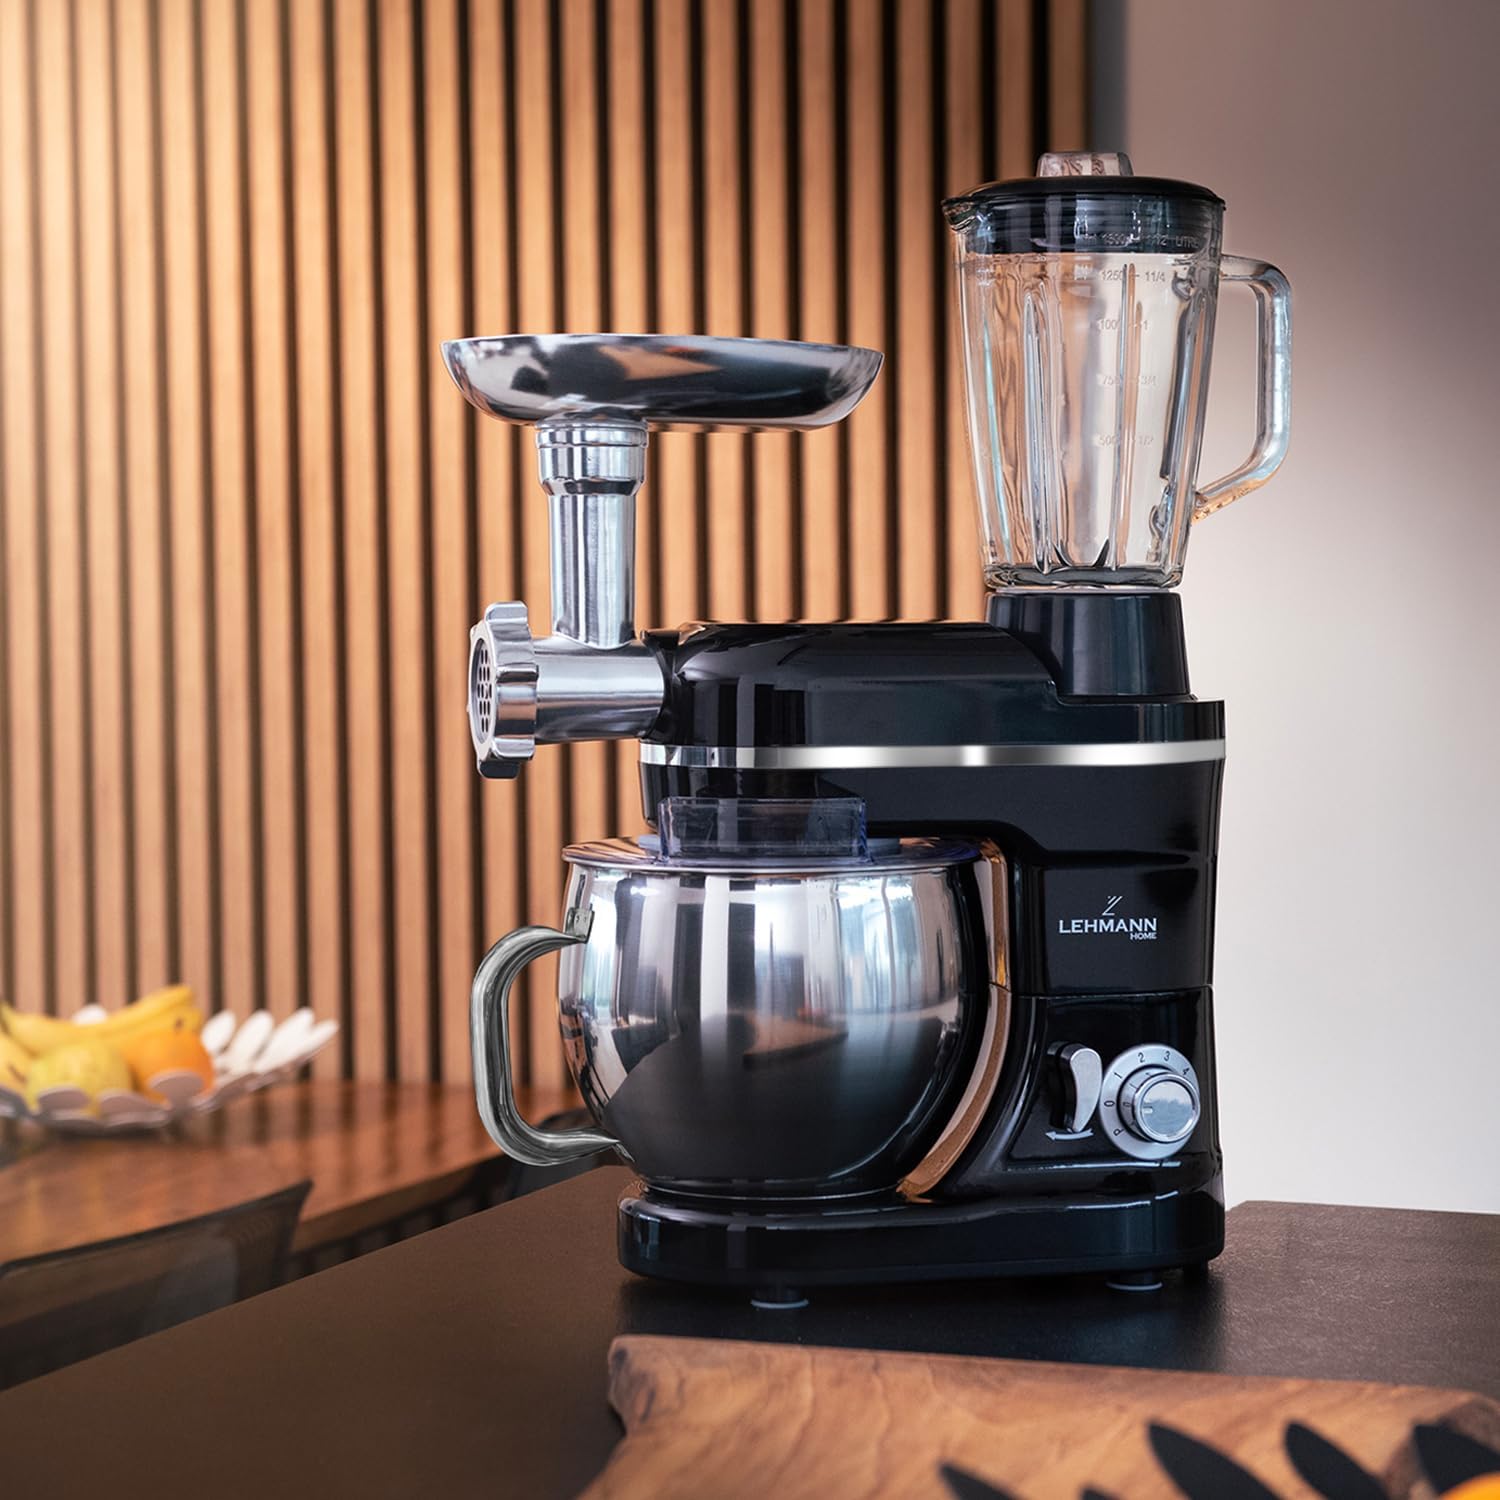
Image: The Lehmann Kitchen Robot in operation, demonstrating the effectiveness of the splash guard in containing ingredients within the mixing bowl.
5.2 Using the Meat Grinder
- Cut meat into small pieces (approx. 2-3 cm) that fit into the feed tube. Remove bones, gristle, and excessive fat.
- Place a bowl under the output of the grinder to collect the minced meat.
- Turn the speed control to a medium setting (e.g., 3-4).
- Feed the meat into the hopper using the food pusher. Never use your fingers or other utensils.
- After grinding, turn the speed control to '0' and unplug.
5.3 Using the Blender
- Add ingredients to the blender jar. Do not exceed the maximum fill line.
- Secure the lid firmly.
- Select a desired speed (e.g., 4-6 for blending, 'P' for crushing ice).
- Operate until desired consistency is achieved.
- When finished, turn the speed control to '0' and unplug.

Image: A visual representation of the three main functions of the Lehmann Kitchen Robot: mixing dough in the bowl, grinding meat with the attachment, and blending liquids in the blender jar.
6. Cleaning and Maintenance
Regular cleaning ensures the longevity and hygienic operation of your appliance. Always unplug the unit before cleaning.
- Motor Unit: Wipe the main motor unit with a damp cloth. Never immerse it in water or other liquids.
- Mixing Bowl & Attachments: The stainless steel mixing bowl, dough hook, beater, and whisk are generally dishwasher safe, but hand washing is recommended to preserve their finish. Wash with warm, soapy water and rinse thoroughly.
- Meat Grinder Parts: Disassemble the meat grinder immediately after use. Wash all metal parts (feed screw, blade, discs, locking ring) with warm, soapy water. Dry thoroughly to prevent rust. The plastic food pusher and tray can be washed similarly.
- Blender Jar: Disassemble the blender jar and wash the blades, jar, and lid with warm, soapy water. Be extremely careful when handling the sharp blades.
- Storage: Ensure all parts are completely dry before storing. Store the appliance and its accessories in a clean, dry place.
7. Troubleshooting
If you encounter issues with your Lehmann Kitchen Robot, refer to the table below for common problems and solutions.
| Problem | Possible Cause | Solution |
|---|---|---|
| Appliance does not start. | Not plugged in; power outage; motor head not locked; overheating protection activated. | Check power connection; check circuit breaker; ensure motor head is fully lowered and locked; unplug and let cool for 30 minutes. |
| Motor stops during operation. | Overload; overheating protection activated. | Reduce load (e.g., less dough); unplug and let cool for 30 minutes. |
| Attachments not mixing properly. | Attachment not correctly installed; wrong attachment for task. | Ensure attachment is securely twisted onto the shaft; use the correct attachment for the consistency of your ingredients. |
| Meat grinder jams. | Too large pieces of meat; bones/gristle; attachment not assembled correctly. | Cut meat into smaller pieces; ensure meat is free of bones/gristle; disassemble and reassemble grinder correctly. |
| Blender leaks. | Lid not secured; jar not locked onto base. | Ensure lid is tightly closed; twist blender jar clockwise until securely locked. |
8. Product Specifications
| Feature | Detail |
|---|---|
| Brand | LEHMANN |
| Model | LHOPM-1305A |
| Color | Black |
| Product Dimensions | 24.9 x 52.9 x 38.1 cm |
| Weight | 7 kg |
| Mixing Bowl Capacity | 5 Liters (Stainless Steel) |
| Blender Capacity | 1.5 Liters |
| Number of Speeds | 6 + Pulse Function |
| Special Features | Planetary Mixing System, Precise Speed Control, Functional Extras, Multi-purpose Device |
| Automatic Shut-off | No (Overheating protection included) |
9. Warranty and Support
LEHMANN products are manufactured to high-quality standards. In the unlikely event of a defect in materials or workmanship, your product is covered by a standard manufacturer's warranty.
- Warranty Period: Please refer to your purchase documentation or the official LEHMANN website for specific warranty terms applicable to your region.
- Claiming Warranty: To make a warranty claim, please contact the retailer from whom you purchased the product or visit the official LEHMANN support page. You will typically need your proof of purchase.
- Customer Support: For technical assistance, spare parts, or general inquiries, please visit the LEHMANN Brand Store on Amazon or consult the contact information provided in your product packaging.
Note: The warranty does not cover damage caused by misuse, neglect, unauthorized modifications, or normal wear and tear.


