
1. Introduction
Thank you for choosing the SHARP 9 kg Fully Automatic Top Load Washing Machine, model ES-T90N-BK. This appliance is designed for efficient and convenient laundry care. This manual provides essential information for safe installation, proper operation, effective maintenance, and troubleshooting common issues. Please read it thoroughly before using your washing machine to ensure optimal performance and longevity.

Image 1.1: Front view of the SHARP 9 kg Fully Automatic Top Load Washing Machine.
2. Important Safety Information
Always follow basic safety precautions when using electrical appliances to reduce the risk of fire, electric shock, and injury to persons.
- Read all instructions before using the appliance.
- Do not operate any appliance with a damaged cord or plug, or after the appliance malfunctions or has been dropped or damaged in any manner.
- Keep the area around the washing machine clear of flammable materials.
- Ensure the appliance is properly grounded.
- Do not allow children to play on or in the appliance.
- Unplug the appliance from the power supply before cleaning or performing any maintenance.
3. Setup and Installation
3.1 Unpacking
Carefully remove all packaging materials. The box includes: 1 Washing machine unit, 1 User Manual, 1 Warranty Card, Fill Hose, and Drain Hose.
3.2 Placement
This is a freestanding appliance. Place the washing machine on a firm, level surface. Ensure there is adequate space around the unit for ventilation and access.
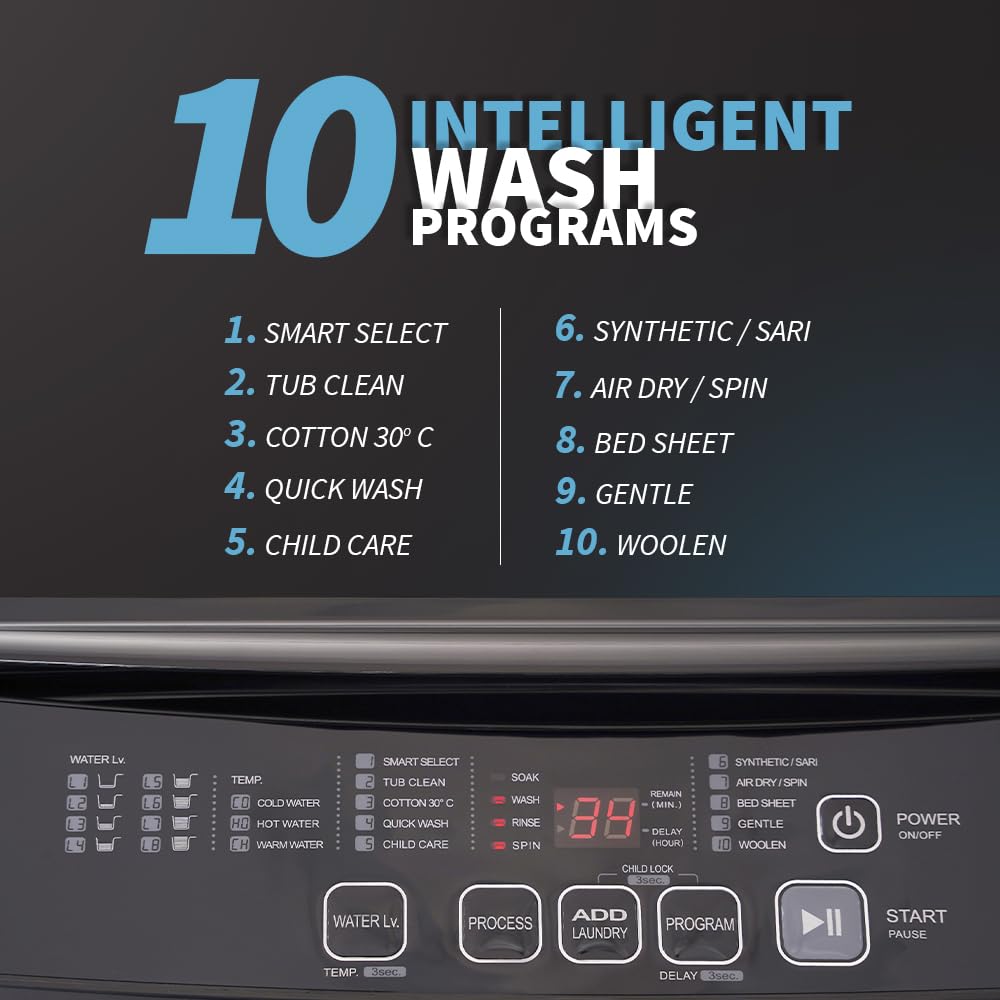
Image 3.1: Washing machine dimensions (950mm H x 542mm D x 552mm W) and energy efficiency guide.
3.3 Leveling
The washing machine is equipped with adjustable leveling legs. Use a spirit level to ensure the machine is perfectly level to prevent excessive vibration and noise during operation. Adjust the legs by turning them clockwise or counter-clockwise.
3.4 Water Connection
Connect the provided fill hoses to the hot and cold water inlets at the back of the machine and to your household water supply. Ensure connections are tight to prevent leaks. The machine features a dual inlet for both hot and cold water.

Image 3.2: Rear view showing hot and cold water inlet connections.
Attach the drain hose to the designated outlet on the machine and route it to a suitable drain. Ensure the drain hose is not kinked or blocked.
4. Operating Instructions
4.1 Control Panel Overview
The washing machine features a touch panel with a digital display for easy program selection and monitoring.

Image 4.1: Close-up of the touch control panel and digital display.
4.2 Loading Laundry
Open the soft-closing lid and load clothes into the drum. Do not overload the machine beyond its 9 kg capacity. Distribute laundry evenly.


Image 4.2: The soft-closing lid and the 'Add Laundry' feature in action.
4.3 Selecting a Wash Program
The machine offers 10 wash programs. Use the touch controls to select the appropriate program for your laundry type:
- Smart Select: Automatic program for mixed loads.
- Tub Clean: For cleaning the washing machine drum.
- Cotton 30°C: For cotton items at a specific temperature.
- Quick Wash: For lightly soiled items requiring a fast cycle.
- Child Care: Gentle wash for baby clothes.
- Synthetic/Saree: For synthetic fabrics and delicate sarees.
- Air Dry/Spin: For drying clothes using air circulation and spinning.
- Bed Sheet: Optimized for washing bed linens.
- Gentle: For delicate garments.
- Woollen: Specific program for wool items.


Image 4.3: Visual representation of the 10 wash programs and the One Touch Start button.
4.4 Additional Features
- Add Laundry: Pause the cycle to add forgotten items.
- Hot & Cold Wash: Utilize both hot and cold water inlets for optimized washing temperatures.
- Waterfall Wash: Provides an even water spray from the side during the wash cycle for enhanced cleaning.
- Child Lock: Prevents accidental changes to settings during operation.
- Delay Start: Set a timer for the wash cycle to begin at a later time.
- Time Remaining Display: Shows the estimated time left for the current cycle.
- 8 Water Level Options: Allows for precise water usage based on load size.

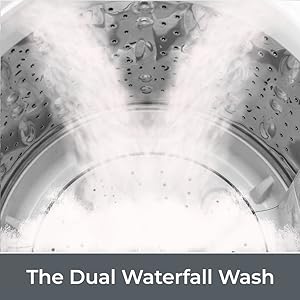
Image 4.4: Illustrations of the Hot & Cold Wash and Waterfall Wash features.
4.5 Starting a Wash Cycle
- Load laundry and add detergent.
- Close the lid.
- Select your desired wash program.
- Press the 'Start/Pause' button to begin the cycle.
5. Maintenance and Care
5.1 Cleaning the Drum
Regularly use the 'Tub Clean' program to maintain hygiene and prevent odor buildup in the stainless steel drum. This program helps remove detergent residue and grime.
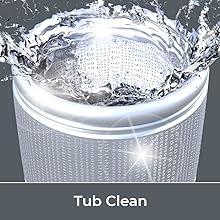
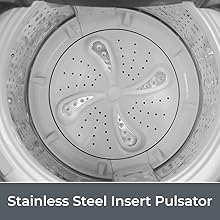
Image 5.1: The 'Tub Clean' function and the Stainless Steel Pulsator for durability and hygiene.
5.2 Exterior Cleaning
Wipe the exterior of the machine with a soft, damp cloth. Avoid abrasive cleaners or solvents that could damage the glossy finish.
5.3 Protective Rat Mesh
The machine is equipped with a protective rat mesh. Periodically inspect and clean this mesh to ensure it remains free of debris and continues to provide protection.
6. Troubleshooting
Before contacting customer service, refer to the following common issues and solutions:
| Problem | Possible Cause | Solution |
|---|---|---|
| Machine does not start | No power, lid not closed, 'Start/Pause' not pressed. | Check power connection, ensure lid is fully closed, press 'Start/Pause'. |
| No water filling or slow filling | Water supply off, inlet hose kinked/blocked, low water pressure. | Check water taps, straighten hoses, ensure adequate water pressure. If an error code appears due to slow water flow, open and close the lid to resume. |
| Excessive vibration/noise | Machine not level, load unbalanced, transit bolts not removed. | Adjust leveling legs, redistribute laundry, ensure transit bolts are removed (if applicable for initial setup). |
| Water not draining | Drain hose kinked/blocked, drain pump filter clogged. | Check and clear drain hose, clean drain pump filter (refer to specific instructions in the full manual for filter location). |
7. Specifications
| Feature | Detail |
|---|---|
| Brand | SHARP |
| Model Name | ES-T90N-BK |
| Capacity | 9 kg |
| Product Dimensions (D x W x H) | 62D x 60.5W x 100H Centimeters |
| Item Weight | 41.5 Kilograms |
| Operation Mode | Fully Automatic Top Load |
| Max Rotational Speed | 700 RPM |
| Voltage | 230 Volts (AC) |
| Number of Standard Cycles | 10 |
| Drum Material | Stainless Steel |
| Pulsator Material | Stainless Steel |
| Energy Rating | 5 Star |
| Special Features | Adjustable Leveling Legs, Child Lock, Drum Clean, Time Remaining Display, Toughened Glass Lid, Hot & Cold Water Dual Inlet, Soft Close, Add Laundry, Waterfall Wash |
8. Warranty and Support
8.1 Warranty Information
This SHARP washing machine comes with a 2 Years Comprehensive Warranty on the unit and a Total 10 Years Warranty on the Motor from the date of purchase. Please retain your purchase receipt and warranty card for future reference. The warranty covers manufacturing defects under normal use conditions.
8.2 Customer Support
For any service, support, or warranty claims, please contact SHARP customer service:
- Toll-Free: 1800-419-4322
- E-Mail: support@sharp-oa.com
- Manufacturer Address: Sharp Business Systems (India) Private Limited, Plot No. 51, First Floor, Okhla Industrial Estate, Phase-III, New Delhi- 110020