
1. Introduction
Thank you for choosing the IKEA 365+ Pressure Cooker. This manual provides essential information for the safe and effective use, maintenance, and troubleshooting of your new appliance. Please read it thoroughly before first use and keep it for future reference.

Image 1.1: The IKEA 365+ Pressure Cooker, showcasing its stainless steel body and black handles.
2. Key Features
- Versatile Compatibility: Works efficiently on all types of hobs, including induction cooktops.
- Safety and Ease of Use: The pressure regulator maintains preset pressure and alerts you if pressure rises too high.
- Time and Energy Saving: Reduces cooking time by up to 50%.
- Multiple Safety Mechanisms: Features a pressure regulator, safety vent, and safety valve to release steam in three different ways if pressure becomes excessive.
- Durable Construction: Made from high-quality stainless steel for longevity and easy cleaning.
- Nutrient Preservation: Pressure cooking helps retain flavors and vitamins in food.
- Ergonomic Design: Equipped with two handles for comfortable and secure lifting.
- Dual Cooking Settings: The pressure regulator offers two settings for different cooking speeds, suitable for tough meats or delicate vegetables.
- Convenient Steam Release: A dedicated setting allows for easy pressure reduction and safe opening of the cooker once food is ready.

Image 2.1: The pressure cooker placed on an induction hob, ready for use.
3. Safety Information
Always follow these safety guidelines to prevent injury or damage to the appliance:
- Do not fill the pressure cooker beyond the MAX fill line.
- Ensure the lid is properly closed and locked before applying heat.
- Never force the lid open while the cooker is pressurized. Wait until all pressure has been released.
- Do not immerse the lid in water for cooling unless specified for quick pressure release.
- Keep hands and face away from the steam vent during operation and pressure release.
- Regularly inspect the gasket, valves, and safety mechanisms for wear or damage. Replace parts if necessary.
- Use oven mitts or heat-resistant gloves when handling the hot pressure cooker.
4. Setup
4.1. Unpacking and Initial Cleaning
- Carefully remove all packaging materials and protective films from the pressure cooker and its components.
- Wash the pot, lid, and all removable parts (gasket, valves) with warm soapy water.
- Rinse thoroughly and dry completely before first use.
4.2. Assembling the Lid
Ensure the sealing gasket is correctly seated around the inner rim of the lid. The pressure regulator and safety valve should be clean and free of obstructions.

Image 4.1: Interior view of the pressure cooker showing the MAX and 1/2 fill lines.
5. Operating Instructions
5.1. Filling the Cooker
- Add food and the required amount of liquid to the pot.
- Do not fill above the MAX line (typically 2/3 full for most foods, 1/2 full for foods that expand like rice or beans).
- Ensure there is always a minimum amount of liquid (e.g., 1 cup) to generate steam.
5.2. Closing the Lid
- Align the lid with the pot according to the markings.
- Rotate the lid handle until it locks securely into place. You should hear a click or feel it engage.
- Ensure the steam release valve is in the closed or pressure cooking position.

Image 5.1: Hands demonstrating the proper way to lock the pressure cooker lid.
5.3. Cooking
- Place the pressure cooker on your chosen heat source (gas, electric, induction).
- Set the heat to high.
- Observe the pressure indicator. Once pressure builds, the indicator will rise.
- Adjust the pressure regulator to your desired cooking setting (e.g., low or high pressure, as indicated by the dial).
- Once the desired pressure is reached (indicated by the regulator or a visual marker), reduce the heat to the lowest setting that maintains pressure.
- Begin timing your recipe from this point.
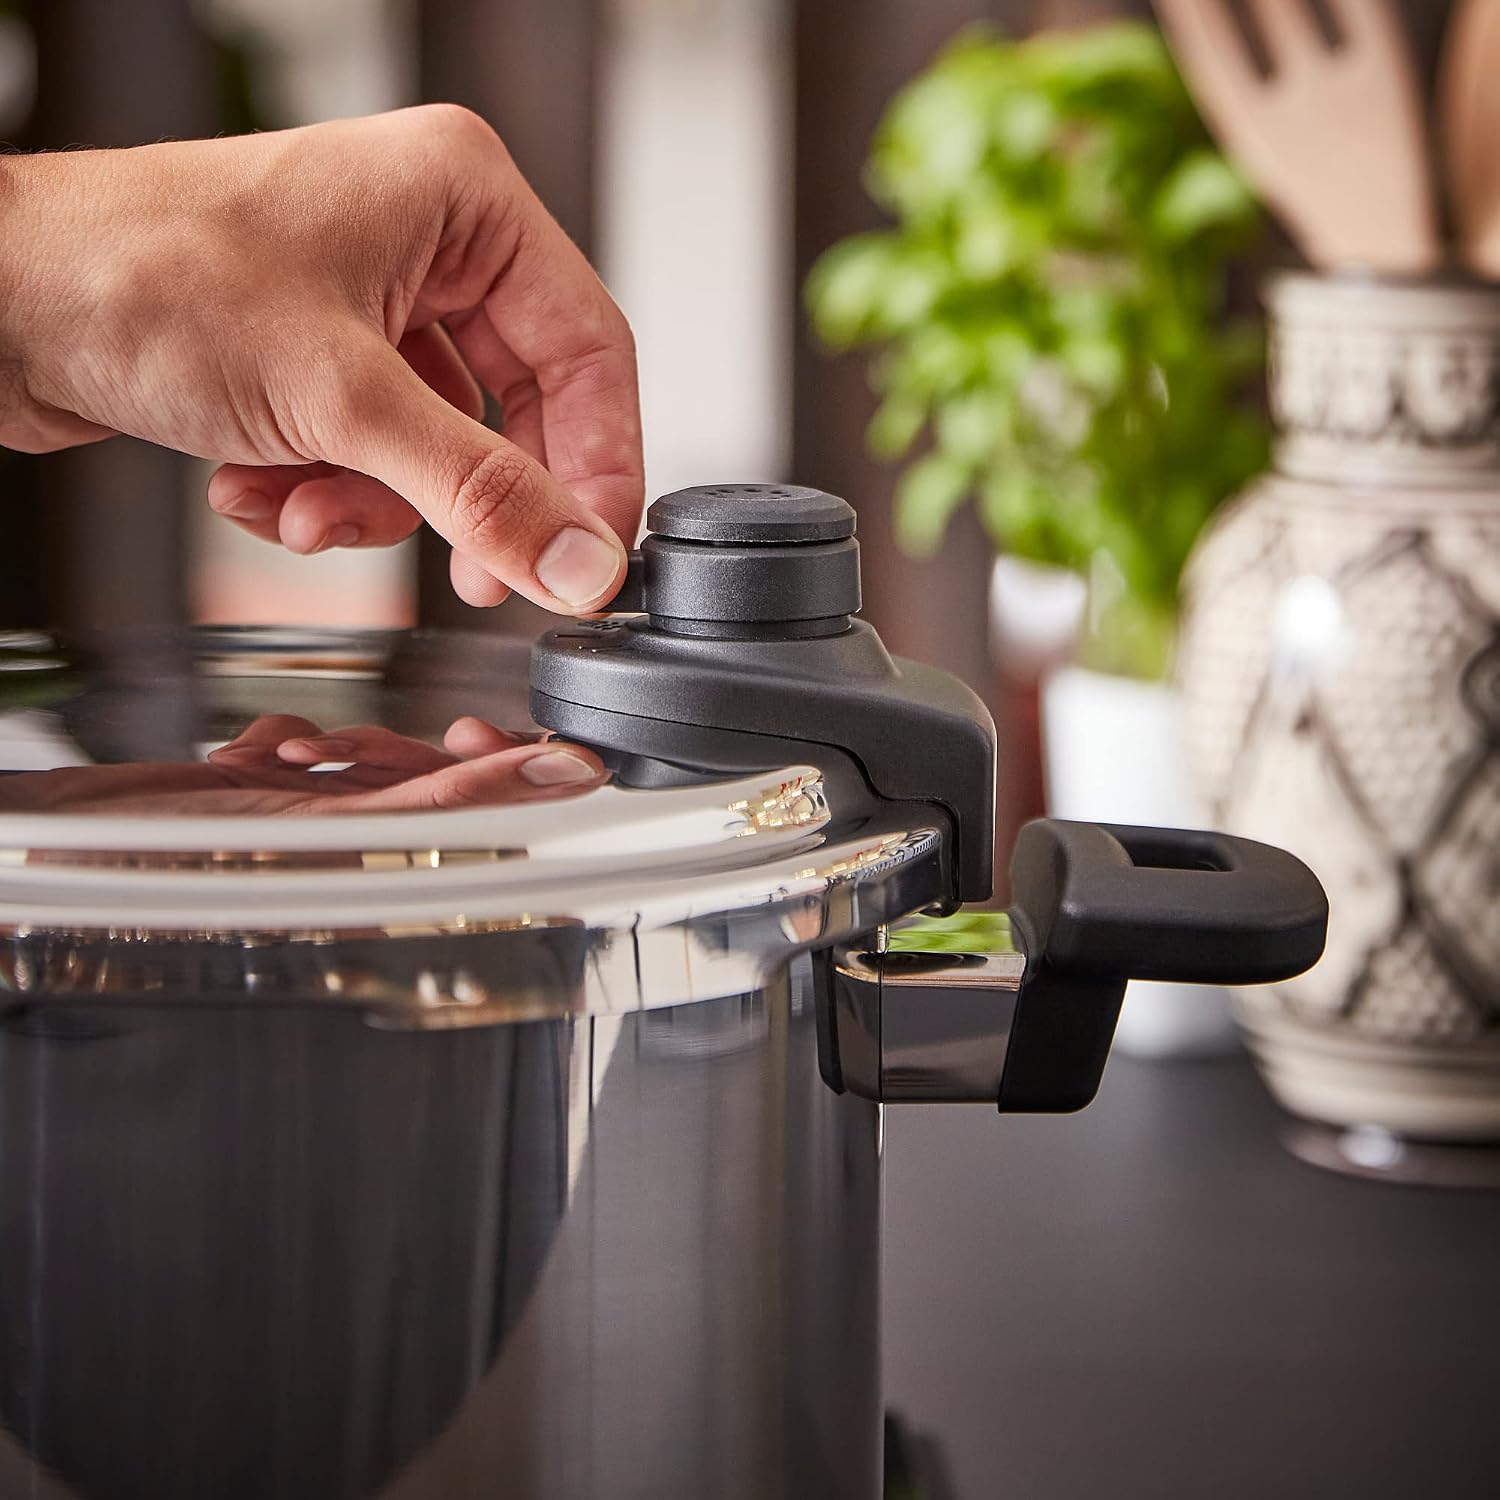
Image 5.2: A hand adjusting the pressure regulator dial on the lid of the pressure cooker.
5.4. Releasing Pressure
There are several methods to release pressure:
- Natural Release: Remove the cooker from heat and allow pressure to dissipate naturally. This is ideal for foods that benefit from continued cooking, like stews or roasts.
- Quick Release: Carefully move the steam release valve to the 'vent' or 'release' position. Steam will rapidly escape. Use caution to avoid burns from hot steam. This method is suitable for delicate foods like vegetables.
- Cold Water Release (for specific models/situations): Only if your manual explicitly states, you may run cold water over the rim of the lid (not the valve) to cool the cooker rapidly.
Do not attempt to open the lid until the pressure indicator has dropped completely and no steam is escaping.

Image 5.3: Steam rising from the pressure cooker as the lid is carefully lifted after pressure release.
5.5. Opening the Lid
Once pressure is fully released, unlock the lid by rotating the handle in the opposite direction of closing. Lift the lid away from you to allow any remaining steam to escape safely.

Image 5.4: A person serving a meal directly from the pressure cooker using a ladle.
6. Maintenance and Cleaning
6.1. Daily Cleaning
- After each use, wash the pot and lid with warm soapy water.
- For stubborn food residue, soak the pot before cleaning.
- Do not use abrasive cleaners or steel wool, as they can damage the stainless steel finish.
6.2. Deep Cleaning
- Regularly remove the sealing gasket from the lid and wash it separately. Ensure it is completely dry before reinserting.
- Check the pressure regulator and safety valve for any food particles or blockages. Clean them according to the specific instructions in your product's detailed manual.
- If the gasket appears cracked, stiff, or discolored, replace it to ensure proper sealing and safety.
6.3. Storage
Store the pressure cooker with the lid inverted or slightly ajar to allow air circulation and prevent odors or moisture buildup inside the pot.

Image 6.1: The pressure cooker pot on a stovetop with its lid removed and placed beside it, ready for cleaning or storage.
7. Troubleshooting
| Problem | Possible Cause | Solution |
|---|---|---|
| Pressure not building | Lid not sealed properly; insufficient liquid; gasket worn; valve blocked. | Ensure lid is locked; add more liquid; inspect/replace gasket; clean valves. |
| Steam leaking from lid | Gasket improperly seated or damaged; lid not closed correctly. | Reposition gasket; replace if damaged; re-lock lid firmly. |
| Lid stuck after cooking | Pressure not fully released. | Ensure pressure indicator has dropped completely. If still stuck, cool under cold water (if applicable) or wait longer. |
| Food overcooked/undercooked | Incorrect cooking time or pressure setting. | Adjust cooking time and pressure setting for future use based on recipe and food type. |
8. Specifications
- Brand: IKEA
- Model Number: IK.204.636.50
- Capacity: 6 Liters
- Material: Stainless Steel
- Voltage: 220 Volt (for heating element, if applicable, otherwise general compatibility)
- Manufacturer: IKEA
- First Available Date: January 31, 2023
9. Warranty and Support
For specific warranty information, return policies, or technical support, please refer to the documentation included with your purchase or visit the official IKEA website. Keep your proof of purchase for warranty claims.


