
1. Introduction
This manual provides instructions for the assembly, usage, and maintenance of your Ikea STÄLL Shoe Cabinet. Please read these instructions carefully before assembly and use to ensure safe and proper operation.
Safety Warning:
- To prevent the risk of tipping, the cabinet must be placed on a flat, stable surface and securely fastened to the wall.
- Do not place heavy items on top of the cabinet.
- Ensure shoes are properly ventilated by avoiding overfilling compartments and cleaning regularly.

Image 1.1: The Ikea STÄLL shoe cabinet positioned in a hallway, demonstrating its slim profile against a wall.
2. Specifications
| Brand | Ikea |
| Model Number | IK.501.780.91 |
| Colour | White |
| Material | Wood |
| Product Dimensions (Width x Depth x Height) | 79 cm x 29 cm x 148 cm |
| Number of Compartments | 3 (double rows per compartment) |
| Mounting Type | Floor Mount (with wall attachment recommended) |
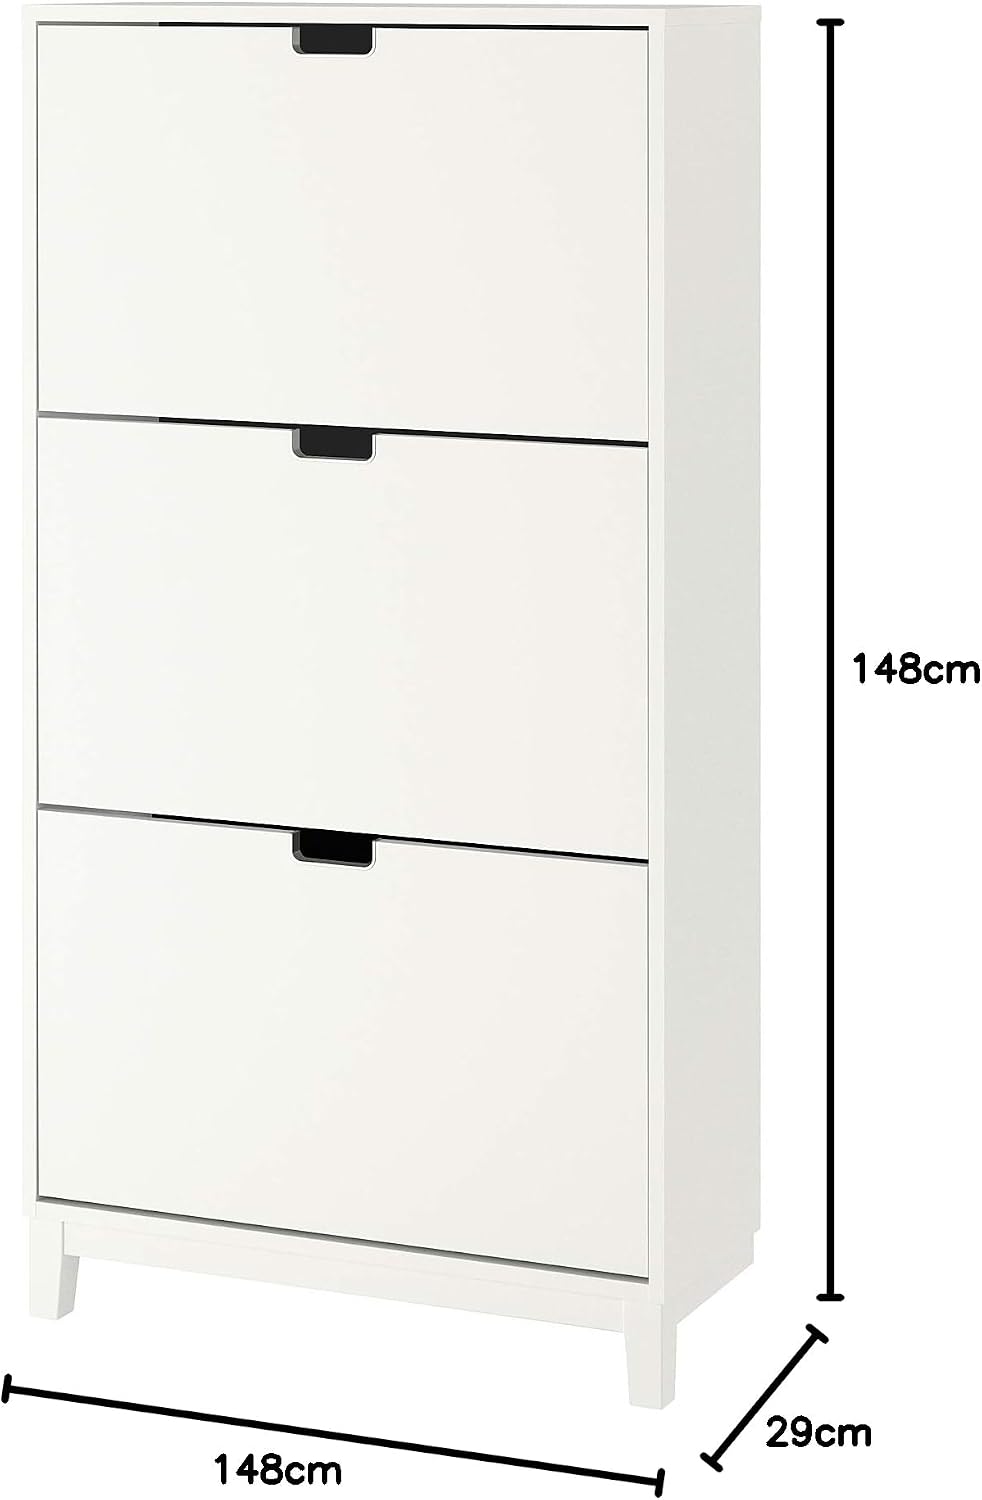
Image 2.1: An illustration indicating the height, width, and depth of the shoe cabinet.
3. Setup and Assembly
The Ikea STÄLL shoe cabinet requires assembly. Please follow the detailed instructions provided in the separate assembly guide included with your product packaging. Ensure all components are present before beginning assembly.
3.1 Wall Attachment
For safety, it is crucial to secure the shoe cabinet to a wall. Use the appropriate hardware for your wall type (not always included) to prevent tipping. The cabinet is designed with legs only at the front, allowing it to stand close to the wall above skirting boards.

Image 3.1: Detail of the cabinet's front legs and its design to sit flush against a wall, accommodating skirting boards.
4. Operation and Usage
The STÄLL shoe cabinet features three compartments, each designed with double rows to maximize storage capacity for your shoes.
4.1 Storing Shoes
- Grasp the integrated handle on the front of a compartment.
- Pull the compartment door outwards and downwards to open.
- Place shoes into the double rows within the compartment. The design allows for ventilation.
- Gently push the compartment door upwards and inwards until it closes securely.

Image 4.1: A compartment of the shoe cabinet shown open, revealing the double-row storage for shoes.
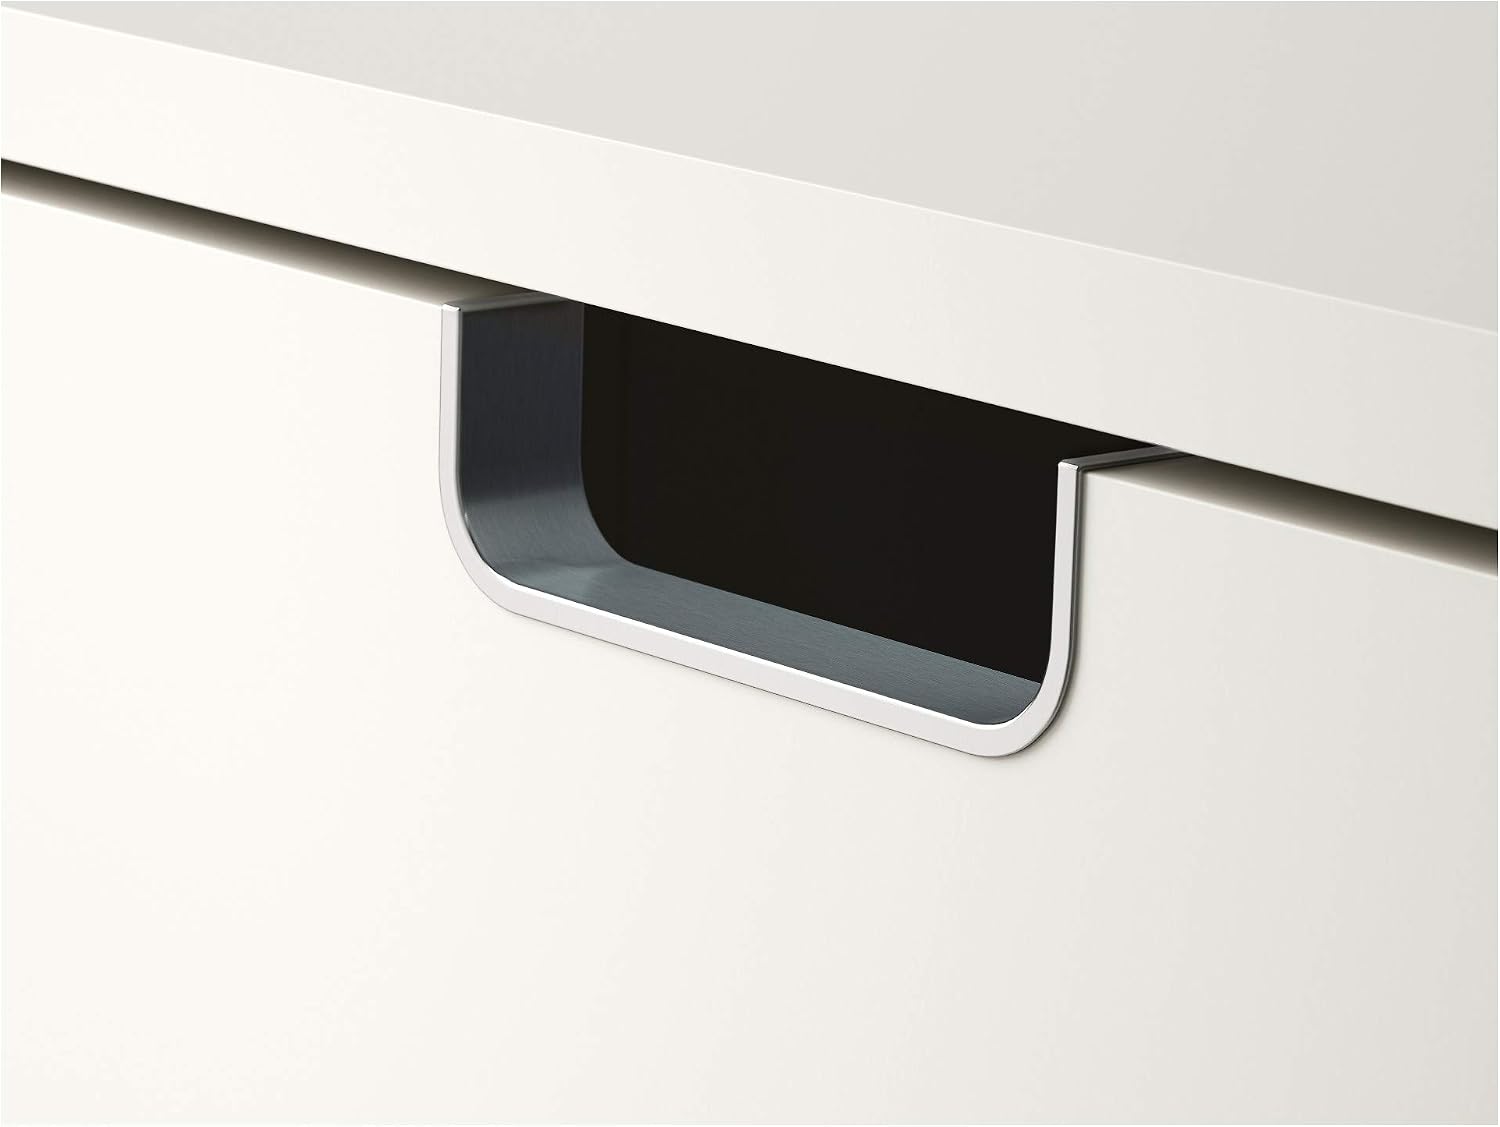
Image 4.2: A close-up view of the integrated handle design on a compartment door.
5. Maintenance and Care
Regular maintenance will help keep your STÄLL shoe cabinet in optimal condition.
5.1 Cleaning
- Wipe clean with a damp cloth.
- Use a mild cleaner if necessary.
- Wipe dry with a clean cloth.
- Avoid abrasive cleaners or harsh chemicals, as these can damage the finish.
5.2 Ventilation
To ensure proper ventilation for your shoes and to maintain the cabinet's condition, avoid overfilling the compartments. Periodically remove shoes and allow the compartments to air out.
6. Troubleshooting
6.1 Cabinet Tipping
If the cabinet feels unstable or shows signs of tipping, ensure it is securely fastened to the wall using appropriate hardware. Verify that it is placed on a flat, level surface.
6.2 Compartments Not Closing Properly
Check for any obstructions within the compartment or along the closing mechanism. Ensure shoes are not overfilling the compartment, preventing it from closing completely.
7. Warranty and Support
For information regarding warranty coverage, please refer to the documentation provided at the time of purchase or visit the official Ikea website. For further assistance or spare parts, please contact Ikea customer service directly.
Official Ikea Website: www.ikea.com