1. Introduction
This manual provides essential information for the safe and effective operation, maintenance, and care of your STANLEY FATMAX SBD710D2K 20V Cordless Brushless Drill Driver. Please read this manual thoroughly before using the tool and retain it for future reference. Understanding and following these instructions will ensure optimal performance and extend the life of your tool.

Image 1.1: Overview of the STANLEY FATMAX SBD710D2K Cordless Brushless Drill Driver, highlighting its key specifications such as voltage, no-load speed, chuck capacity, weight, max torque, and drilling capacities for steel and wood.
2. Safety Instructions
Always observe basic safety precautions to reduce the risk of fire, electric shock, and personal injury. Keep this manual for future reference.
2.1 General Power Tool Safety Warnings
- Work Area Safety: Keep the work area clean and well-lit. Cluttered or dark areas invite accidents. Do not operate power tools in explosive atmospheres, such as in the presence of flammable liquids, gases, or dust.
- Electrical Safety: Avoid body contact with earthed or grounded surfaces such as pipes, radiators, ranges, and refrigerators. There is an increased risk of electric shock if your body is earthed or grounded.
- Personal Safety: Always wear eye protection. Use personal protective equipment such as dust masks, non-skid safety shoes, hard hats, or hearing protection when appropriate. Dress properly; avoid loose clothing or jewelry.
- Tool Use and Care: Do not force the power tool. Use the correct power tool for your application. Do not use the power tool if the switch does not turn it on and off. Disconnect the plug from the power source and/or the battery pack from the power tool before making any adjustments, changing accessories, or storing power tools.
2.2 Battery Tool Use and Care
- Recharge only with the charger specified by the manufacturer. A charger that is suitable for one type of battery pack may create a risk of fire when used with another battery pack.
- Use power tools only with specifically designated battery packs. Use of any other battery packs may create a risk of injury and fire.
- When battery pack is not in use, keep it away from other metal objects, like paper clips, coins, keys, nails, screws or other small metal objects, that can make a connection from one terminal to another. Shorting the battery terminals together may cause burns or a fire.
- Under abusive conditions, liquid may be ejected from the battery; avoid contact. If contact accidentally occurs, flush with water. If liquid contacts eyes, additionally seek medical help. Liquid ejected from the battery may cause irritation or burns.
3. Package Contents
Verify that all items listed below are present in your package. If any parts are missing or damaged, contact your retailer or STANLEY customer service immediately.
- 1 x STANLEY FATMAX SBD710D2K Cordless Brushless Drill Driver
- 2 x 20V 2.0 Ah Lithium-Ion Batteries
- 1 x 2A Battery Charger
- 1 x Kit Box for storage and transport
- 1 x Instruction Manual (this document)

Image 3.1: The STANLEY FATMAX SBD710D2K kit box, showing the drill driver, two batteries, and the charger neatly organized inside.
4. Product Features and Components
Familiarize yourself with the various parts of your drill driver before operation.

Image 4.1: A detailed diagram of the drill driver, pointing out key components such as the Keyless Chuck, Torque Adjust Collar, Dual Range Gear Selector, LED Work Light, Trigger Switch, Forward/Reverse Button, and Battery.
- Keyless Chuck: Allows for quick and easy bit changes without a chuck key.
- Torque Adjust Collar: Used to select the desired torque setting for screwdriving or drilling.
- Dual Range Gear Selector: Switches between two speed ranges for different applications.
- LED Work Light: Illuminates the work area for improved visibility.
- Trigger Switch: Activates the tool and controls variable speed.
- Forward/Reverse Button: Changes the direction of rotation.
- Battery: Provides cordless power to the tool.
- Battery Release Button: Used to detach the battery from the tool.

Image 4.2: Close-up view of the keyless chuck, which allows for hand-tightening without a chuck key, and the torque adjustment collar for setting specific torque ranges.
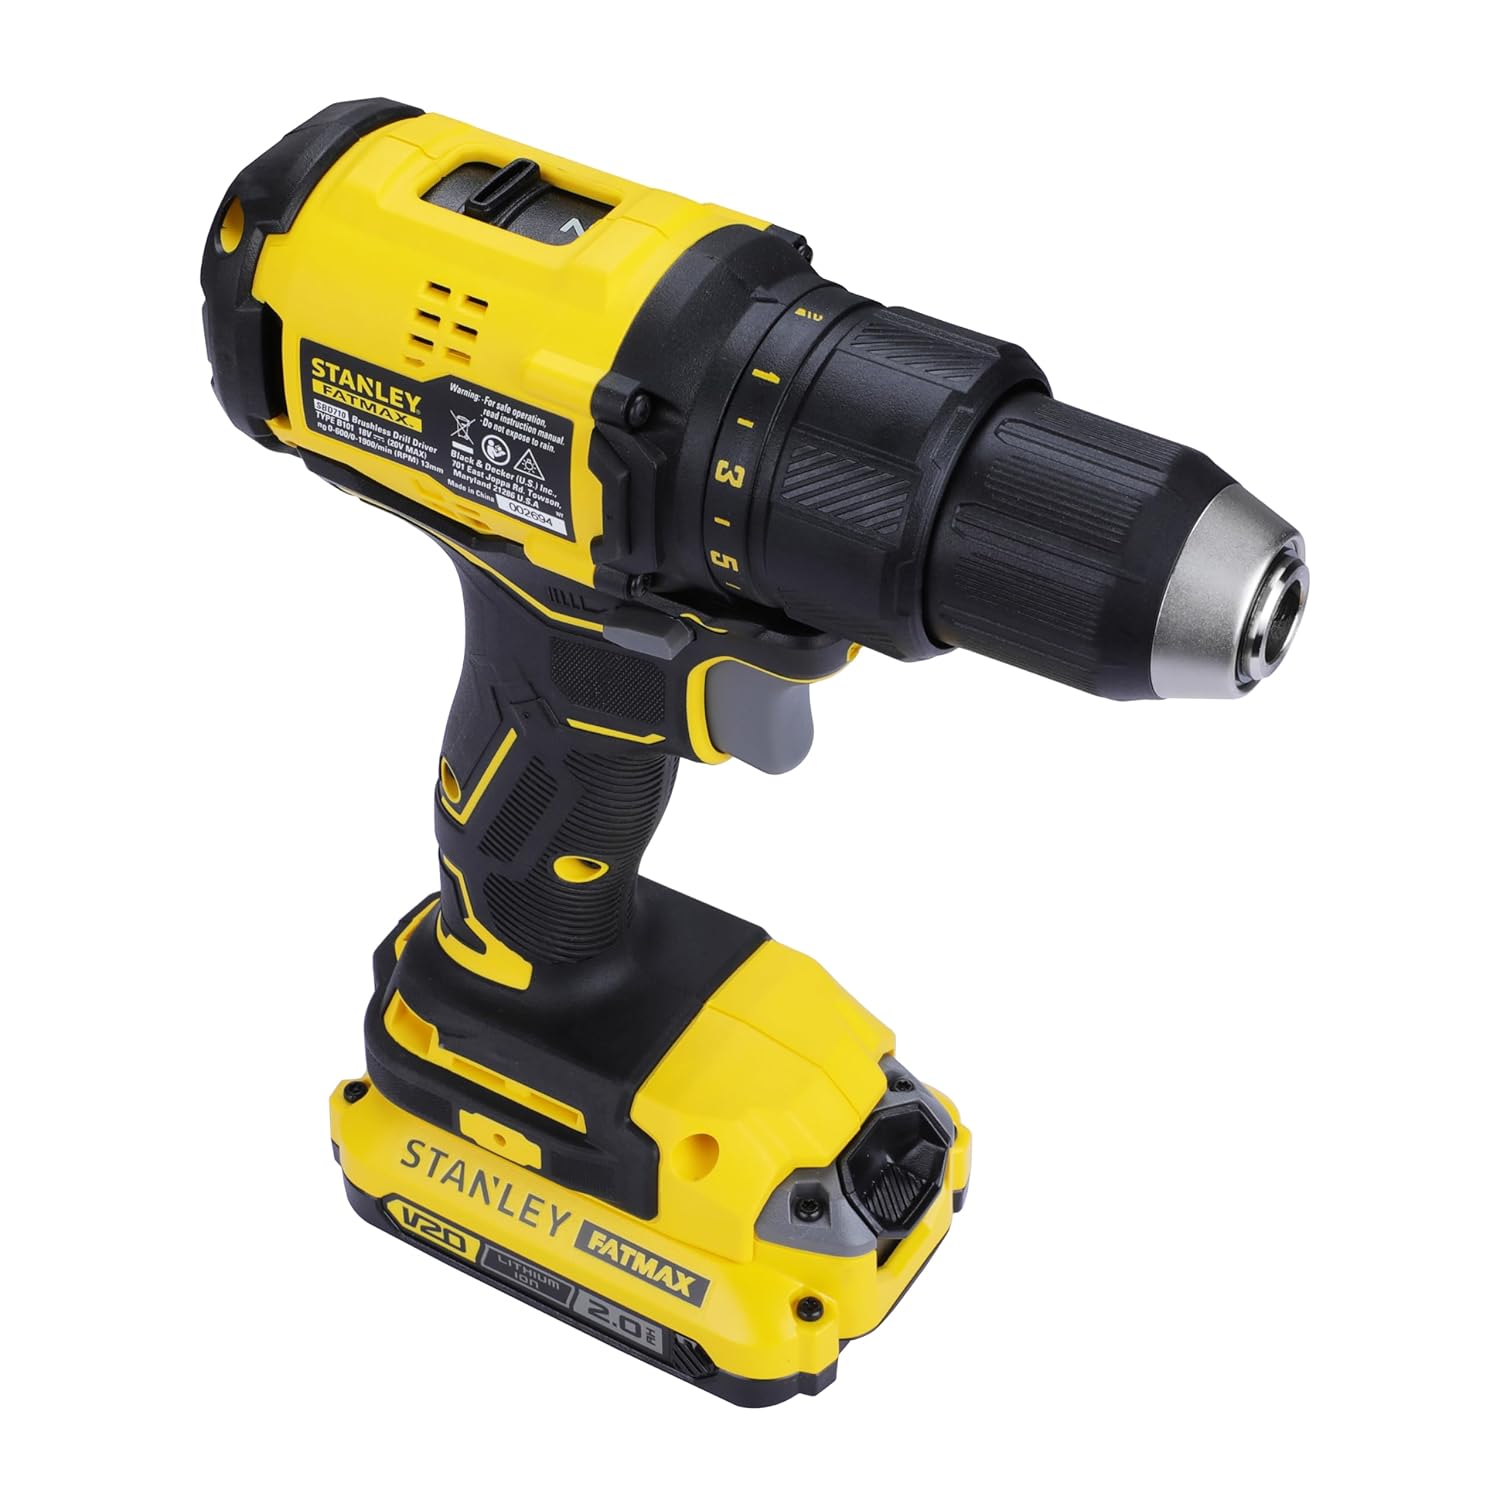
Image 4.3: Detail of the gear shifter, used to select between two speed ranges for greater versatility in different applications.

Image 4.4: View of the LED work light for illuminating poorly lit spaces, the forward/reverse button for changing rotation direction, and the variable speed switch for precise control.
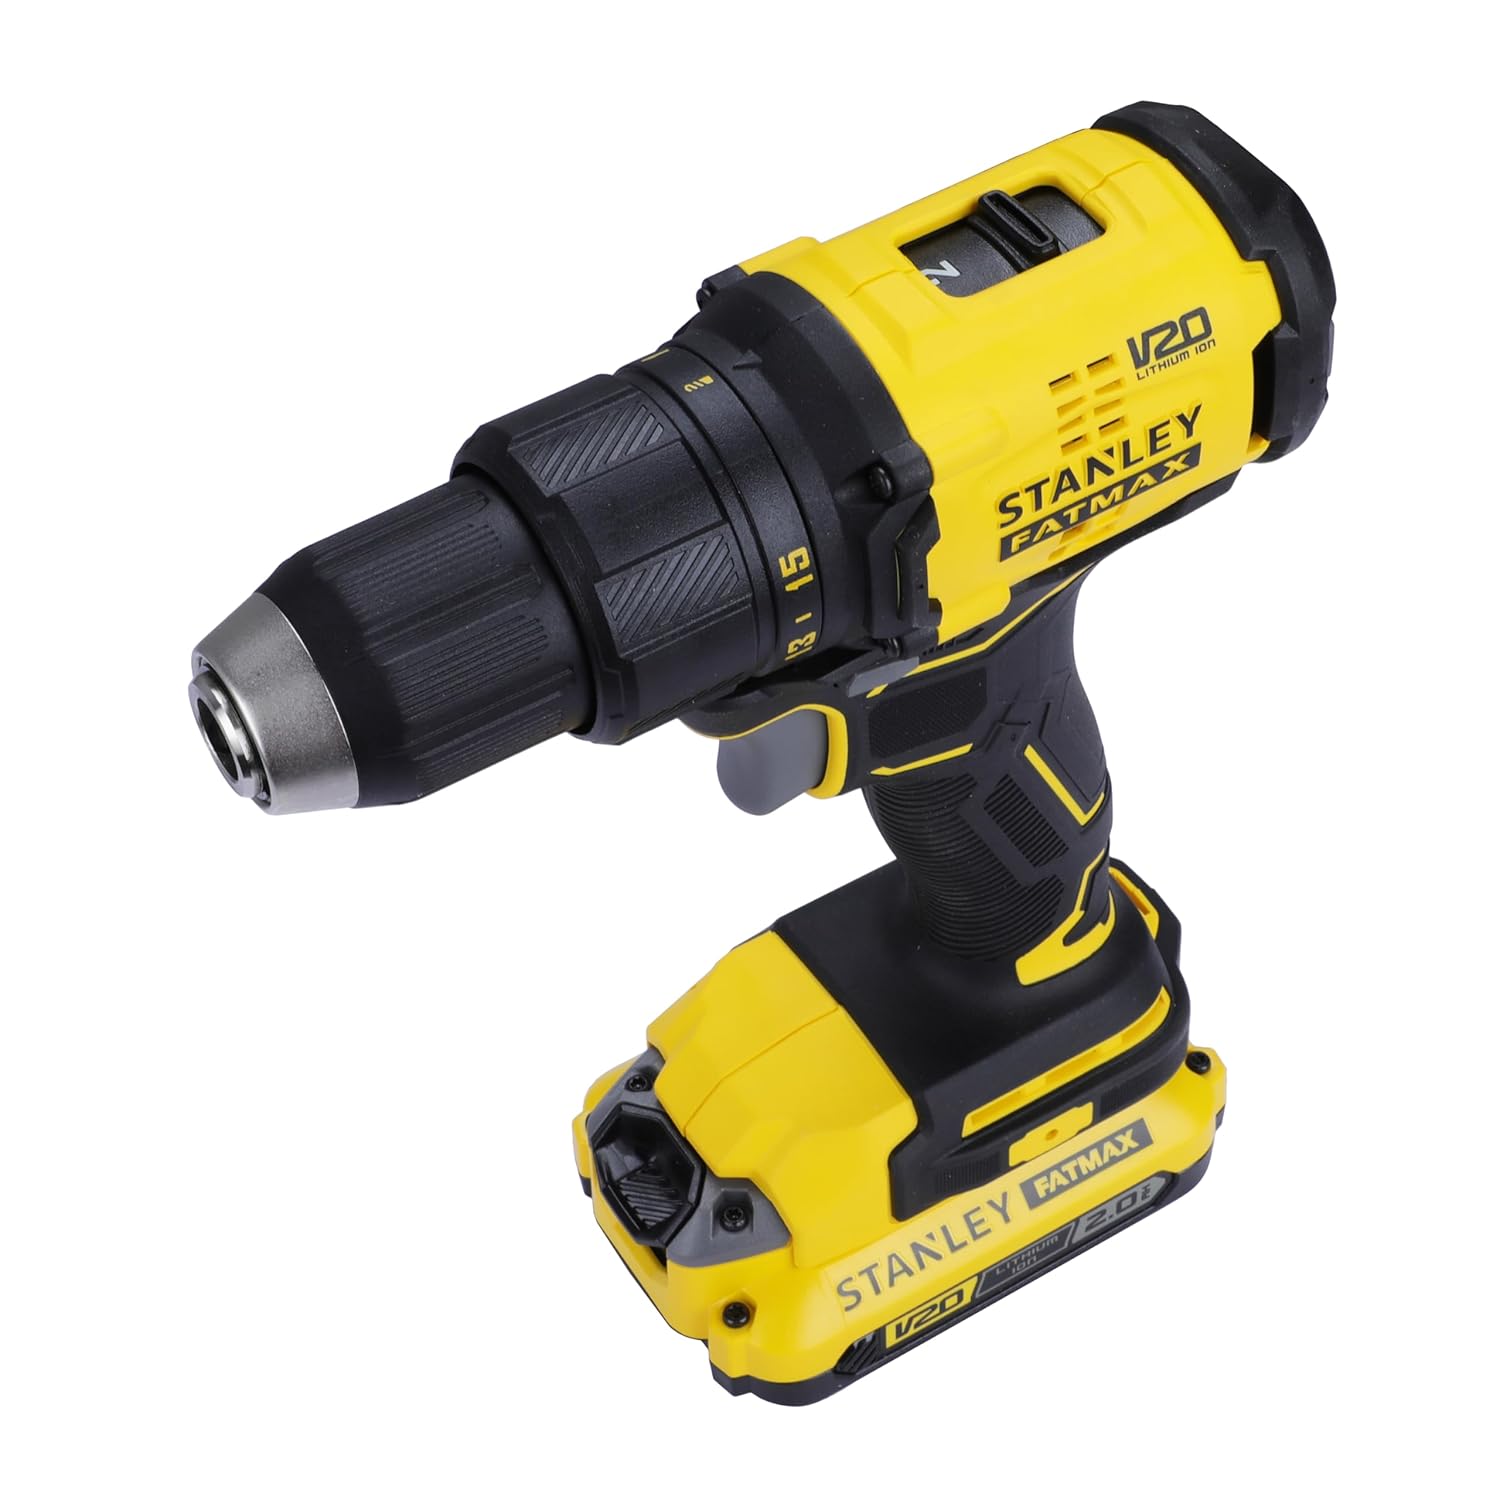
Image 4.5: Close-up of the quick and efficient Lithium-Ion battery and the easily accessible battery release button.
5. Setup
5.1 Charging the Battery
- Connect the charger to a standard power outlet.
- Slide the battery pack onto the charger until it clicks into place.
- The charging indicator light on the charger will show the charging status. Refer to the charger's specific instructions for light indications.
- Once fully charged, remove the battery from the charger.
5.2 Installing and Removing the Battery Pack
- To Install: Align the battery pack with the base of the tool and slide it in until it locks securely into place. Ensure it is fully seated.
- To Remove: Press the battery release button (located on the front of the battery pack) and slide the battery pack out of the tool.
5.3 Installing and Removing Drill Bits/Accessories
- Ensure the tool is switched off and the forward/reverse button is in the center (locked) position to prevent accidental starting.
- Grip the rear half of the chuck and rotate the front half counter-clockwise until the chuck jaws are open wide enough to accept the bit.
- Insert the drill bit or accessory fully into the chuck.
- Grip the rear half of the chuck and rotate the front half clockwise until the bit is securely tightened. Hand-tighten firmly.
- To remove, reverse the process.
6. Operating Instructions
6.1 Selecting Speed Range (Gear Selector)
Your drill driver features a 2-speed gearbox for optimal performance across various tasks.
- Gear 1 (Low Speed, High Torque): Use for heavy-duty drilling in large diameters, screwdriving, or applications requiring maximum torque. (0-600 RPM)
- Gear 2 (High Speed, Low Torque): Use for fast drilling in small diameters or when less torque is required. (0-1900 RPM)
To change the speed range, slide the gear selector switch located on top of the tool. Ensure the tool is stopped before changing gears to prevent damage.
6.2 Adjusting Torque (Torque Adjust Collar)
The torque adjust collar allows you to set the amount of torque the drill will apply before the clutch disengages. This prevents over-tightening screws or stripping screw heads.
- Rotate the torque adjust collar to the desired setting. Lower numbers are for smaller screws and softer materials. Higher numbers are for larger screws and harder materials.
- For drilling, set the collar to the drill symbol (usually the highest setting) to bypass the clutch and provide maximum power.
6.3 Forward/Reverse Operation
The forward/reverse button controls the direction of rotation.
- Push the button to the left for forward rotation (drilling and driving screws).
- Push the button to the right for reverse rotation (removing screws or backing out bits).
- When the button is in the center position, the trigger is locked, preventing accidental operation.
6.4 Variable Speed Trigger and LED Work Light
- The trigger switch provides variable speed control. Pressing the trigger further increases the speed.
- The integrated LED work light automatically illuminates when the trigger is pressed, providing visibility in dark areas.
6.5 Drilling and Screwdriving Tips
- Always secure your workpiece to prevent movement.
- Start drilling or driving at a low speed and gradually increase as needed.
- Apply steady, even pressure. Do not force the tool.
- For drilling metal, use a cutting lubricant and keep the drill bit cool.
- For screwdriving, ensure the bit matches the screw head type and size to prevent cam-out.

Image 6.1: The STANLEY FATMAX SBD710D2K drill driver being used to drill into a wooden beam, demonstrating its application in woodworking tasks.
7. Maintenance
Regular maintenance ensures the longevity and safe operation of your tool.
- Cleaning: Keep the ventilation slots clear and clean. Use a soft brush or dry cloth to remove dust and debris. Do not use water or chemical cleaners.
- Battery Care: Store batteries in a cool, dry place away from direct sunlight. Do not store fully discharged batteries for extended periods. Charge them periodically if not in use.
- Chuck Maintenance: Periodically clean the chuck jaws to ensure proper gripping of bits.
- Inspection: Regularly inspect the tool, battery, and charger for any signs of damage, wear, or loose parts. Do not use damaged equipment.
8. Troubleshooting
If you encounter issues with your drill driver, refer to the following common problems and solutions:
| Problem | Possible Cause | Solution |
|---|---|---|
| Tool does not start. | Battery not charged or improperly installed. Forward/reverse button in locked position. | Charge battery and ensure it is securely installed. Move forward/reverse button to forward or reverse position. |
| Battery not charging. | Charger not plugged in. Faulty battery or charger. | Check power connection. Try a different outlet. Contact customer service if issue persists. |
| Drill bit slips in chuck. | Chuck not tightened sufficiently. Bit shank is dirty or damaged. | Re-tighten chuck firmly by hand. Clean or replace the drill bit. |
| Screws are over-tightened or stripped. | Torque setting is too high. | Adjust the torque collar to a lower setting. |
For issues not covered here, please contact STANLEY customer support.
9. Specifications
Technical data for the STANLEY FATMAX SBD710D2K Cordless Brushless Drill Driver.
| Feature | Specification |
|---|---|
| Model Number | SBD710D2K |
| Voltage | 20V |
| Maximum Rotational Speed (Gear 1) | 0-600 RPM |
| Maximum Rotational Speed (Gear 2) | 0-1900 RPM |
| Amperage | 2 Amps |
| Maximum Chuck Size | 13 mm |
| Maximum Torque | 60 Nm |
| Number of Speeds | 2 |
| Item Weight | 1.5 kg (1500 Grams) |
| Battery Capacity | 2.0 Ah |
| Drilling Capacity (Wood) | 30 mm |
| Drilling Capacity (Steel) | 13 mm |
| Product Dimensions (L x W x H) | 20.2 x 7.1 x 20.4 cm |
| Country of Origin | China |
10. Warranty and Support
STANLEY provides a 2-year warranty from the date of purchase for this product. For any warranty-related issues, product feedback, or technical support, please contact STANLEY customer care.

Image 10.1: STANLEY Total Care contact information, including phone, email, and WhatsApp details for customer support.
Customer Care Contact:
- Phone: 1860-425-1111 (Monday - Friday, 10 AM to 5 PM IST, except government holidays)
- Email: SBD-CUSTOMERCOMMUNICATIONS@SBDINC.COM
- WhatsApp: +91 96060 55835 (Scan the QR code in the image or click the link to contact)
- Manufacturer: Stanley Black & Decker India Private Ltd #28, Akemps, 3rd Main, 1st Cross, Ashwini Layout Koramangala Bangalore - 560047
- Number of Authorized Service Centers: 500+