1. Introduction
This manual provides comprehensive instructions for the installation, operation, and maintenance of your Ideal Security DX Pull Handle Replacement Set for Storm Door and Screen Door. This handle set is designed to offer a natural and convenient way to open and close your storm or screen door.
The DX pull handle eliminates the need for buttons or levers; simply pull the handle to open the door. It is an elegant and functional addition suitable for aluminum, wood, or vinyl storm and screen doors.
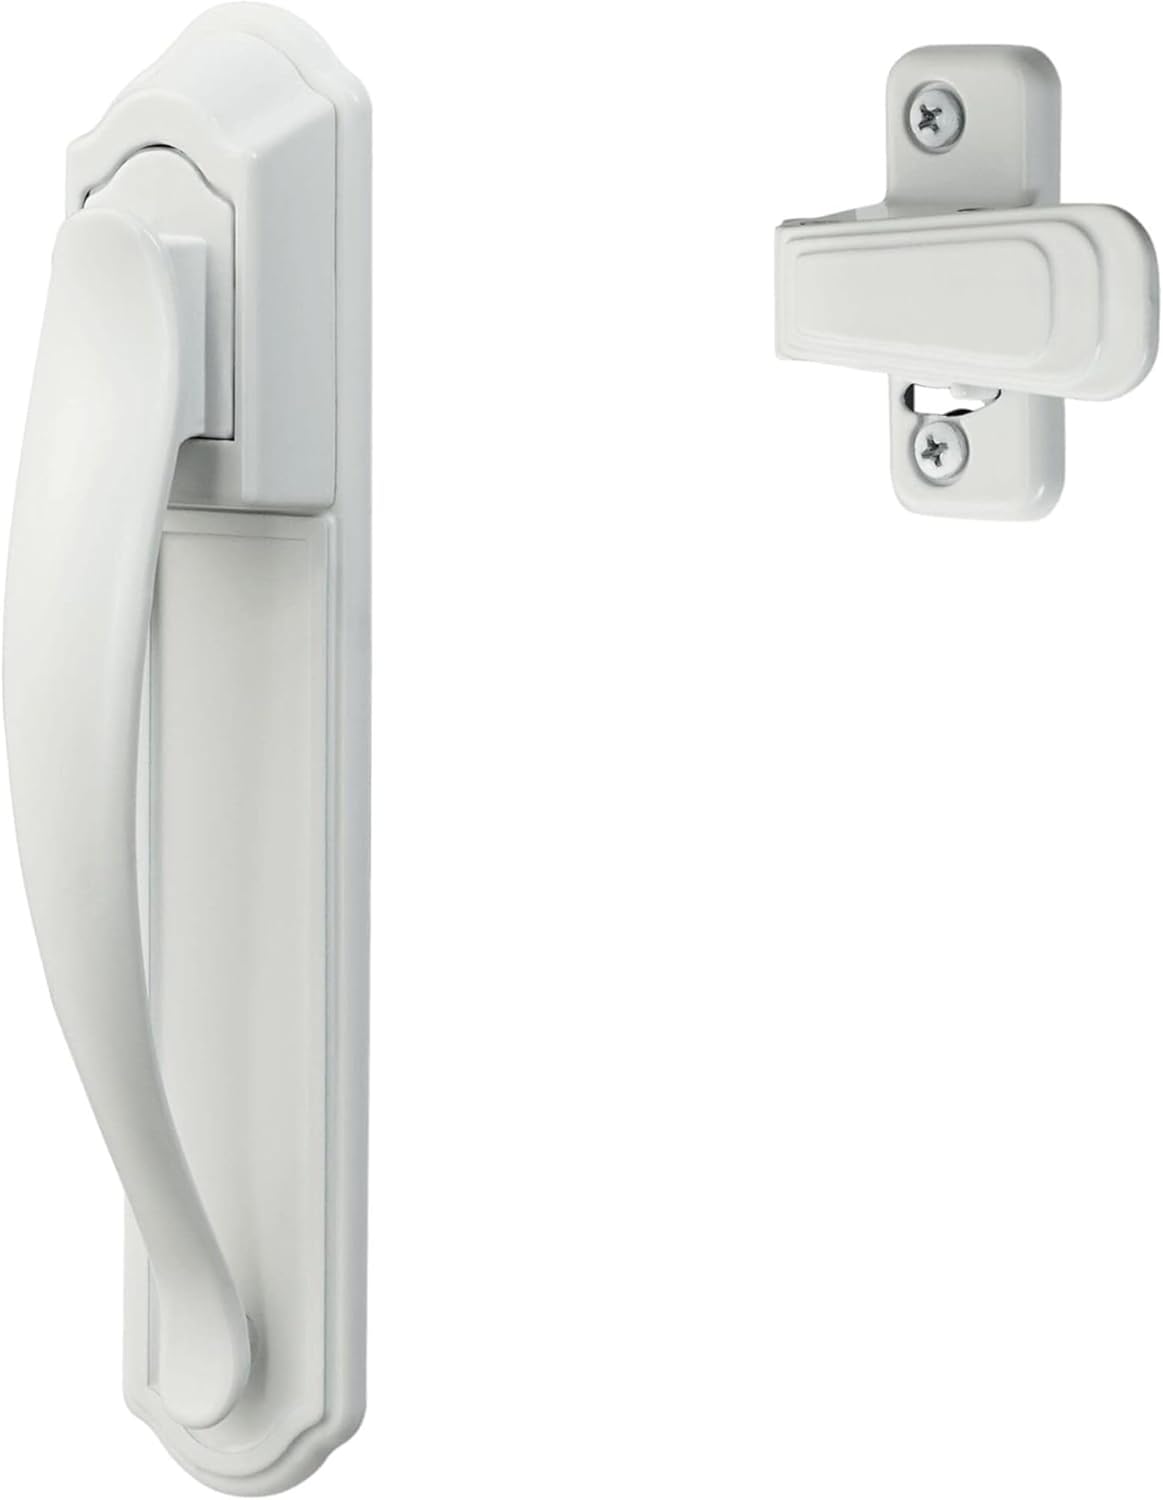
Image 1.1: The Ideal Security DX Pull Handle Replacement Set, featuring the exterior pull handle and the interior latch in white finish.
2. Key Features
- Effortless Operation: Designed for easy entry and exit; simply pull the handle to open from the outside and push to open from the inside.
- Enhanced Security: Includes an inside latch with a night lock function for added security when the door is closed.
- Broad Compatibility: Suitable for out-swinging storm doors ranging from 1 inch to 2-1/8 inches in thickness.
- Surface Mount Design: Compatible with most pre-installed surface mount handles. This set is not designed to replace mortise handle sets.
- Simple Installation: Can be installed as a new handle or as a replacement. For existing installations, screw posts must be 1-3/4 inches apart. New installations require only three standard drilled holes.

Image 2.1: The ergonomic design of the DX pull handle, emphasizing its ease of use compared to traditional push-button handles.
3. Included Components
The Ideal Security DX Pull Handle Replacement Set includes all necessary components for installation:
- Outside Pull Handle
- Inside Latch
- Solid Strike Plate
- Fasteners (various screws and bolts)
- Shims
- Spindle

Image 3.1: A detailed view of the fasteners, shims, and other small parts provided with the handle set for complete installation.
4. Door Compatibility
This handle set is specifically designed for:
- Door Type: Out-swinging storm doors and screen doors.
- Door Thickness: Compatible with doors between 1 inch and 2-1/8 inches thick.
- Handle Type: Designed to replace or install on surface mount handle systems. It is not compatible with mortise handle sets.

Image 4.1: Visual representation of the handle's compatibility with out-swinging doors and existing surface mount handle configurations.
5. Installation Instructions
Follow these steps for a straightforward installation of your DX Pull Handle Replacement Set.
5.1. Preparation
- Ensure your door is an out-swinging type and its thickness is between 1 inch and 2-1/8 inches.
- Gather necessary tools: screwdriver, drill (if new holes are needed), measuring tape.
5.2. Installation Steps
- For Existing Handles: If replacing an existing handle, ensure the distance between the screw posts on your current handle is 1-3/4 inches. Remove the old handle.
- For New Installations: Only 3 standard drilled holes are typically needed. Refer to the included template (if provided) or measure carefully according to the handle's design. You may need to drill one small hole on the outside face of the door to secure the backplate of the exterior handle.
- Attach Exterior Handle: Position the outside pull handle on the exterior side of the door.
- Install Spindle: Insert the spindle through the door and into the mechanism of the exterior handle.
- Mount Interior Latch: Place the interior latch on the inside of the door, aligning it with the spindle and screw holes.
- Secure with Fasteners: Use the provided screws and fasteners to secure both the exterior handle and interior latch firmly to the door. Do not overtighten.
- Install Strike Plate: Mount the solid strike plate on the door frame, ensuring it aligns correctly with the interior latch for smooth locking and unlocking. Adjust as needed for proper function.

Image 5.1: Key installation considerations, including screw post spacing for replacements and the minimal drilling required for new installations.
6. Operation
Operating the Ideal Security DX Pull Handle is intuitive:
- Opening from Outside: Simply grasp the pull handle and pull it towards you. The latch mechanism will disengage, allowing the door to open.
- Opening from Inside: Push the door outwards. The interior latch is designed to release with a simple push.
- Locking (Night Latch): To secure the door from the inside, engage the night latch on the interior mechanism. This prevents the door from being opened from the outside. This lock is for interior use only and does not provide keyed security.

Image 6.1: The DX pull handle installed on a storm door, demonstrating its appearance and how it integrates with the door's design.
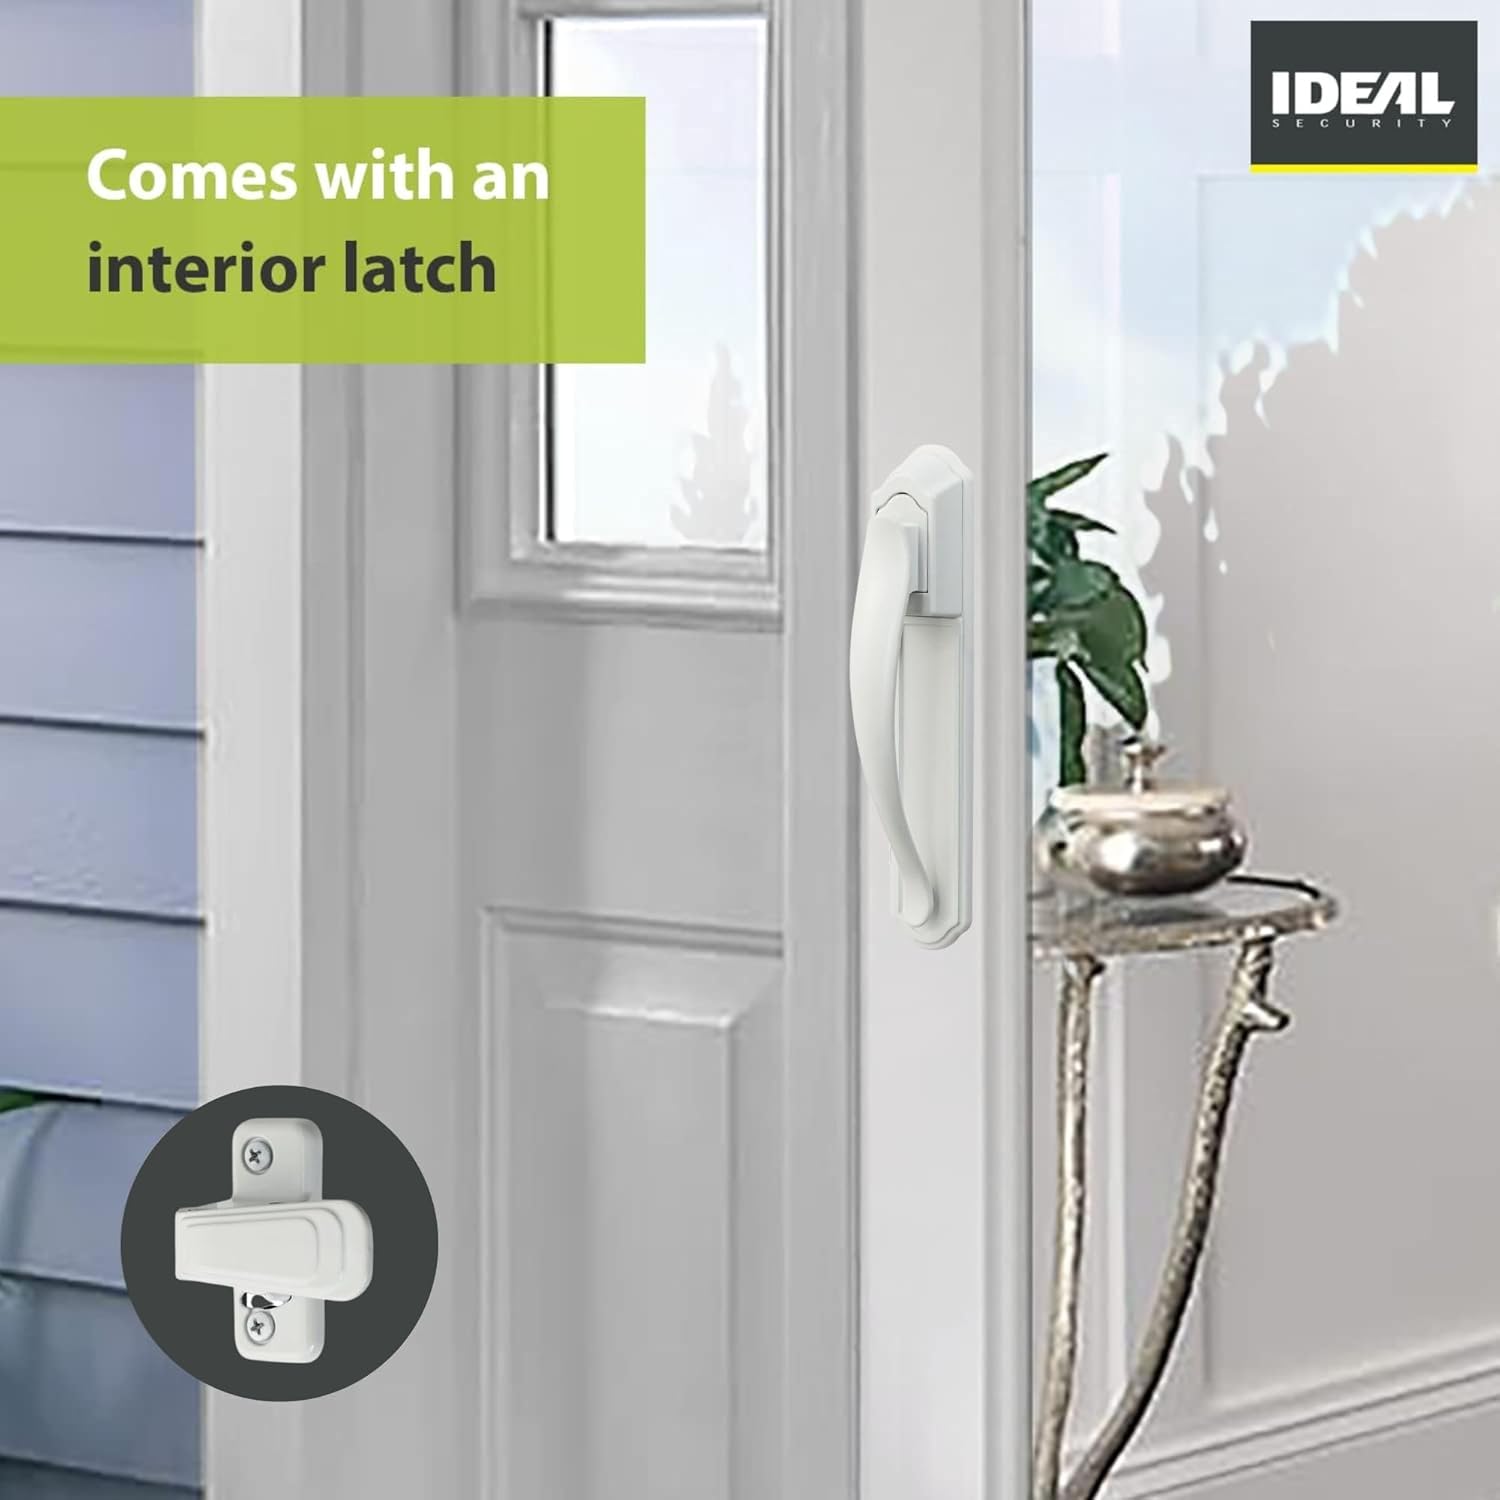
Image 6.2: The interior latch of the DX handle, showing its simple design for easy operation and the night lock feature.
7. Maintenance
The Ideal Security DX Pull Handle is designed for durability and requires minimal maintenance:
- Cleaning: Wipe the handle and latch surfaces periodically with a soft, damp cloth to remove dust and grime. Avoid abrasive cleaners or harsh chemicals, as these can damage the finish.
- Lubrication: If the latch mechanism feels stiff over time, apply a small amount of silicone-based lubricant to the moving parts. Do not use oil-based lubricants, which can attract dirt.
- Fastener Check: Periodically check all screws and fasteners to ensure they are tight. Retighten if necessary to maintain secure installation.
8. Troubleshooting
If you encounter issues with your DX Pull Handle, refer to the following common problems and solutions:
| Problem | Possible Cause | Solution |
|---|---|---|
| Handle is loose or wobbly. | Loose mounting screws. | Tighten all visible mounting screws on both the exterior handle and interior latch. |
| Latch does not engage or disengage smoothly. | Misalignment with strike plate; dirt/debris in mechanism; lack of lubrication. | Check strike plate alignment and adjust if necessary. Clean any visible debris. Apply silicone lubricant to the latch mechanism. |
| Door does not close properly after installation. | Strike plate misalignment or incorrect shimming. | Re-evaluate the position of the strike plate on the door frame. Use shims as needed to ensure proper engagement with the latch. |
| Night latch does not function. | Mechanism obstruction or damage. | Inspect the night latch mechanism for any obstructions. If damaged, contact customer support. |
If the problem persists after attempting these solutions, please contact Ideal Security customer support.
9. Product Specifications
| Attribute | Detail |
|---|---|
| Manufacturer | Ideal Security |
| Model Number | BKDXW |
| Product Dimensions | 4.62 x 3.81 x 3.81 cm (1.82 x 1.5 x 1.5 inches) |
| Item Weight | 531 g (1.17 lbs) |
| Color | White |
| Style | Modern |
| Finish | Matte |
| Material | Zinc (Handle Material: Aluminum, Wood) |
| Shape | Pull |
| Number of Pieces | 2 (Handle set) |
| Usage | Storm Door, Screen Door |
| Special Features | Easy to Install |
| Country of Origin | Taiwan |
10. Warranty Information
The Ideal Security DX Pull Handle Replacement Set comes with a 1-Year Warranty from the date of purchase. This warranty covers defects in materials and workmanship under normal use. Please retain your proof of purchase for warranty claims.
For detailed warranty terms and conditions, please refer to the official Ideal Security website or contact customer support.
11. Customer Support
Should you require technical assistance, have questions about installation, or need to report a defect, please contact Ideal Security customer support.
Visit the official Ideal Security website for contact information and additional resources: Ideal Security Store

Image 11.1: Reminder to contact Ideal Security for technical support regarding the hardware.


