1. Introduction
This manual provides essential information for the safe and effective operation of your VOLTCRAFT VC-WL 60/200 Charger and Starter. Please read these instructions carefully before use and retain them for future reference. This device is designed for charging and jump-starting 12V and 24V lead-acid batteries, including STD (WET, MF), AGM, and GEL types.
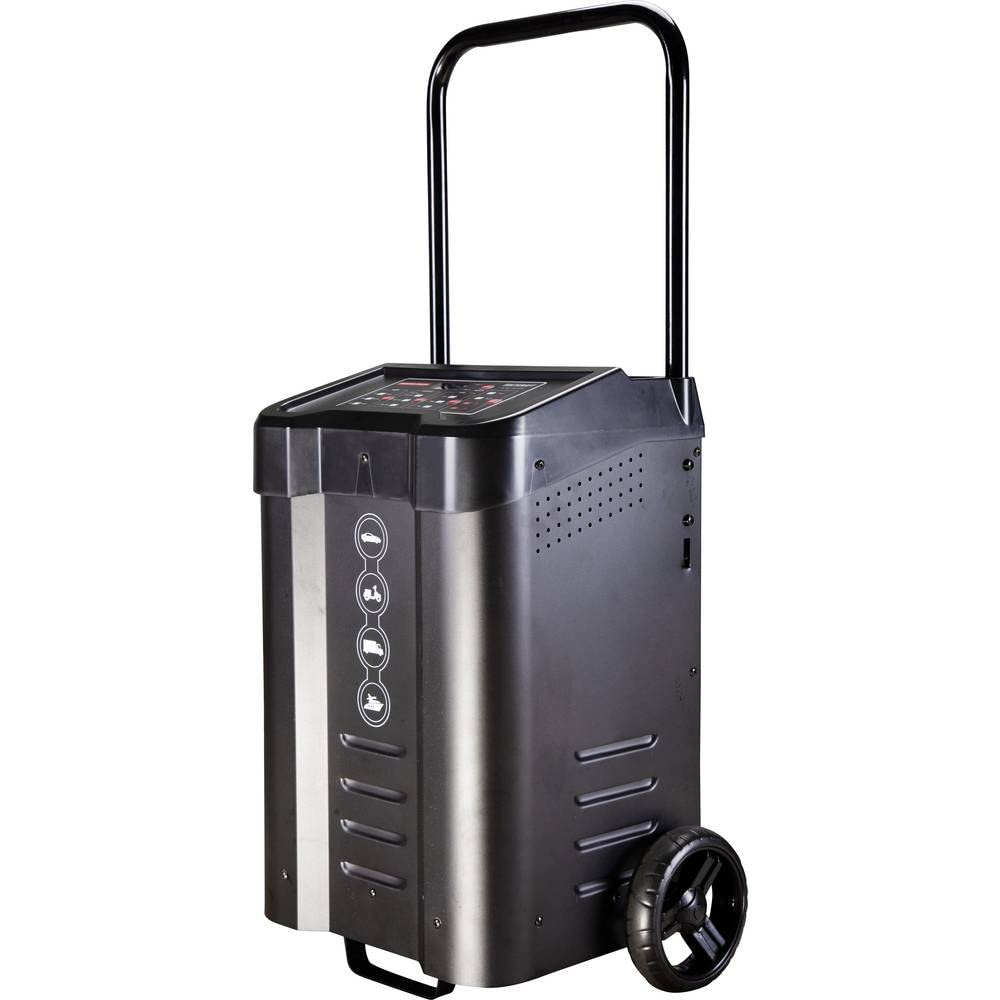
Image 1.1: Angled view of the VOLTCRAFT VC-WL 60/200 Charger and Starter, showing the control panel, cables, and wheels.
2. Safety Information
Always observe the following safety precautions to prevent injury or damage to the device:
- Ensure proper ventilation during operation to prevent gas accumulation.
- Wear appropriate personal protective equipment, including eye protection and gloves.
- Do not expose the device to rain or moisture.
- Keep children and unauthorized persons away from the device during operation.
- Disconnect the power supply before making or breaking connections to the battery.
- Do not attempt to charge or jump-start damaged or frozen batteries.
- Refer to the vehicle's owner's manual for specific battery connection procedures.
3. Product Features
The VOLTCRAFT VC-WL 60/200 Charger and Starter offers the following key features:
- IP 20 Protection Rating: Provides protection against solid objects over 12.5mm, but no protection against water.
- One-Button Operation: Simplifies the user interface for ease of use.
- Integrated Storage Compartment and Wheels: Enhances portability and convenient storage of cables.
- Boost Function: Delivers a high current for jump-starting vehicles with discharged batteries.
- Multi-Battery Type Compatibility: Supports 12V/24V lead-acid STD (WET, MF), AGM, and GEL batteries.
4. Package Contents
Please check the package for the following items:
- VOLTCRAFT VC-WL 60/200 Charger and Starter Unit
- Integrated Charging Cables with Clamps
- Power Cord
- Instruction Manual (this document)
5. Setup
Follow these steps for initial setup:
- Unpacking: Carefully remove the charger/starter from its packaging. Inspect for any signs of damage.
- Positioning: Place the unit on a stable, level surface in a well-ventilated area, away from flammable materials. The integrated wheels allow for easy movement.
- Power Connection: Connect the power cord to a suitable grounded electrical outlet. Ensure the outlet voltage matches the device's requirements.

Image 5.1: Front view of the charger and starter, highlighting the control panel and battery type selection icons.

Image 5.2: Rear view of the charger and starter, showing the power cord and battery cables neatly stored.
6. Operating Instructions
6.1. Charging a Battery
- Prepare the Battery: Ensure the battery terminals are clean and free of corrosion. If charging an in-vehicle battery, ensure the vehicle's ignition is off and all accessories are disconnected.
- Connect to Battery: Connect the red positive (+) clamp to the positive (+) battery terminal. Connect the black negative (-) clamp to the negative (-) battery terminal. For in-vehicle charging, connect the black clamp to a metal part of the vehicle chassis away from the battery and fuel line.
- Select Battery Type/Voltage: Use the one-button operation on the control panel to select the appropriate battery type (STD, AGM, GEL) and voltage (12V or 24V). The display will indicate the current selection.
- Start Charging: The device will automatically begin the charging process. Monitor the display for charging status.
- Disconnect: Once charging is complete, disconnect the power cord from the outlet first, then remove the black negative (-) clamp, followed by the red positive (+) clamp.
6.2. Jump-Starting a Vehicle
Use the boost function for jump-starting a vehicle with a discharged battery.
- Prepare Vehicle: Ensure the vehicle's ignition is off and all non-essential electrical loads are turned off.
- Connect to Battery: Connect the red positive (+) clamp to the positive (+) terminal of the discharged battery. Connect the black negative (-) clamp to a solid, unpainted metal part of the vehicle's engine block or chassis, away from the battery and fuel lines.
- Activate Boost Function: Select the appropriate voltage (12V or 24V) and then activate the boost function via the control panel.
- Start Vehicle: Attempt to start the vehicle. If it does not start after 5-10 seconds, wait a few minutes before trying again to allow the charger to cool. Do not crank for more than 10 seconds at a time.
- Disconnect: Once the vehicle starts, disconnect the black negative (-) clamp first, then the red positive (+) clamp. Allow the vehicle to run for some time to recharge its battery.
7. Maintenance
Regular maintenance ensures the longevity and optimal performance of your device:
- Cleaning: Disconnect the unit from power before cleaning. Wipe the exterior with a soft, dry cloth. Do not use abrasive cleaners or solvents.
- Cable Inspection: Periodically inspect the charging cables and clamps for any signs of damage, fraying, or corrosion. Replace damaged components immediately.
- Storage: Store the charger/starter in a cool, dry place when not in use. Utilize the integrated storage compartment for cables to prevent damage.
8. Troubleshooting
If you encounter issues, refer to the following table:
| Problem | Possible Cause | Solution |
|---|---|---|
| Unit does not power on | No power from outlet; Faulty power cord | Check power outlet; Inspect power cord for damage. |
| Battery not charging | Incorrect battery connection; Battery severely discharged or damaged; Incorrect battery type/voltage selected | Ensure correct polarity and secure connections; Have battery tested by a professional; Verify selected battery type and voltage. |
| Vehicle does not jump-start | Poor connection; Battery too low; Vehicle issue | Ensure clamps are securely attached; Allow more time for boost function; Consult a mechanic for vehicle issues. |
| Overheating | Insufficient ventilation; Prolonged use at high current | Ensure adequate airflow around the unit; Allow unit to cool down before resuming operation. |
If problems persist after following these steps, contact customer support.
9. Specifications
Key technical specifications for the VOLTCRAFT VC-WL 60/200 Charger and Starter:
- Brand: VOLTCRAFT
- Model Number: VC-12362515
- ASIN: B0BVSMKGS9
- Output Voltage: 12 Volts (DC), 24 Volts (DC)
- Current Rating: 60 A
- Compatible Battery Types: Lead-acid STD (WET, MF), AGM, GEL
- Protection Rating: IP 20
- Item Weight: 16 Kilograms
10. Warranty and Support
The VOLTCRAFT VC-WL 60/200 Charger and Starter comes with a warranty period as per local regulations. Spare parts availability is guaranteed for 1 year from the date of purchase.
For technical support, warranty claims, or service inquiries, please refer to the contact information provided with your purchase documentation or visit the official VOLTCRAFT website.


