
AOSU C9L
AOSU Solar Security Camera Wireless Outdoor Instruction Manual
Model: C9L
1. Introduction
The AOSU Solar Security Camera is a state-of-the-art wireless outdoor surveillance solution designed for comprehensive home protection. Featuring panoramic PTZ (Pan-Tilt-Zoom) capabilities, human auto-tracking, 2K night vision, and a solar-powered design, it offers continuous monitoring without the need for constant battery changes. This manual provides detailed instructions for setting up, operating, and maintaining your camera to ensure optimal performance.

Figure 1: AOSU Solar Security Camera with integrated solar panel.
2. What's in the Box
Upon unboxing your AOSU Solar Security Camera, you should find the following components:
- AOSU Solar Security Camera (Model: C9L)
- Solar Panel (integrated or separate, depending on model variant)
- Mounting Bracket for Camera
- Mounting Bracket for Solar Panel (if separate)
- USB Charging Cable
- Mounting Screws and Wall Anchors
- Drilling Template Sticker
- Instruction Manual (this document)
- 24/7 Monitoring Sticker
- Batteries (1 Lithium Ion battery included)
Video 1: Unboxing and initial overview of the AOSU Solar Security Camera components. This video demonstrates the contents of the package and provides a first look at the camera and its accessories.
3. Setup
3.1 App Installation and Account Creation
- Download the AOSU App: Scan the QR code provided in the instruction manual or search for "AOSU" in your device's app store (iOS App Store or Google Play Store).
- Create an Account: Open the app and follow the on-screen prompts to create a new account. You will typically need to provide an email address and verify it.
3.2 Device Pairing
- Power On the Camera: Ensure the camera is charged or connected to the solar panel. The camera will typically emit a "Hello" prompt.
- Scan QR Code: In the AOSU app, select "Add Device" and use your phone's camera to scan the QR code located on the bottom of the camera.
- Connect to Wi-Fi: Follow the app's instructions to connect the camera to your 2.4GHz Wi-Fi network. Note: The camera only supports 2.4GHz Wi-Fi. 5GHz networks are not compatible.
- Confirm Connection: Once connected, the app will confirm "Connection Successful." You can then name your device.
3.3 Mounting the Camera and Solar Panel
Choose a mounting location that provides optimal sunlight exposure for the solar panel and a clear view for the camera. The camera is designed for outdoor use with an IP65 waterproof rating.
- Prepare the Surface: Use the provided drilling template sticker to mark the screw holes on your desired mounting surface (wall, ceiling, etc.).
- Drill Holes: Drill pilot holes at the marked locations. Insert wall anchors if mounting into drywall or masonry.
- Attach Mounting Bracket: Secure the camera's mounting bracket using the provided screws.
- Attach Camera: Slide the camera onto the secured mounting bracket.
- Mount Solar Panel: If the solar panel is separate, attach its mounting bracket to a location with maximum direct sunlight. Connect the solar panel cable to the camera. The pivoting arm allows for optimal angle adjustment.
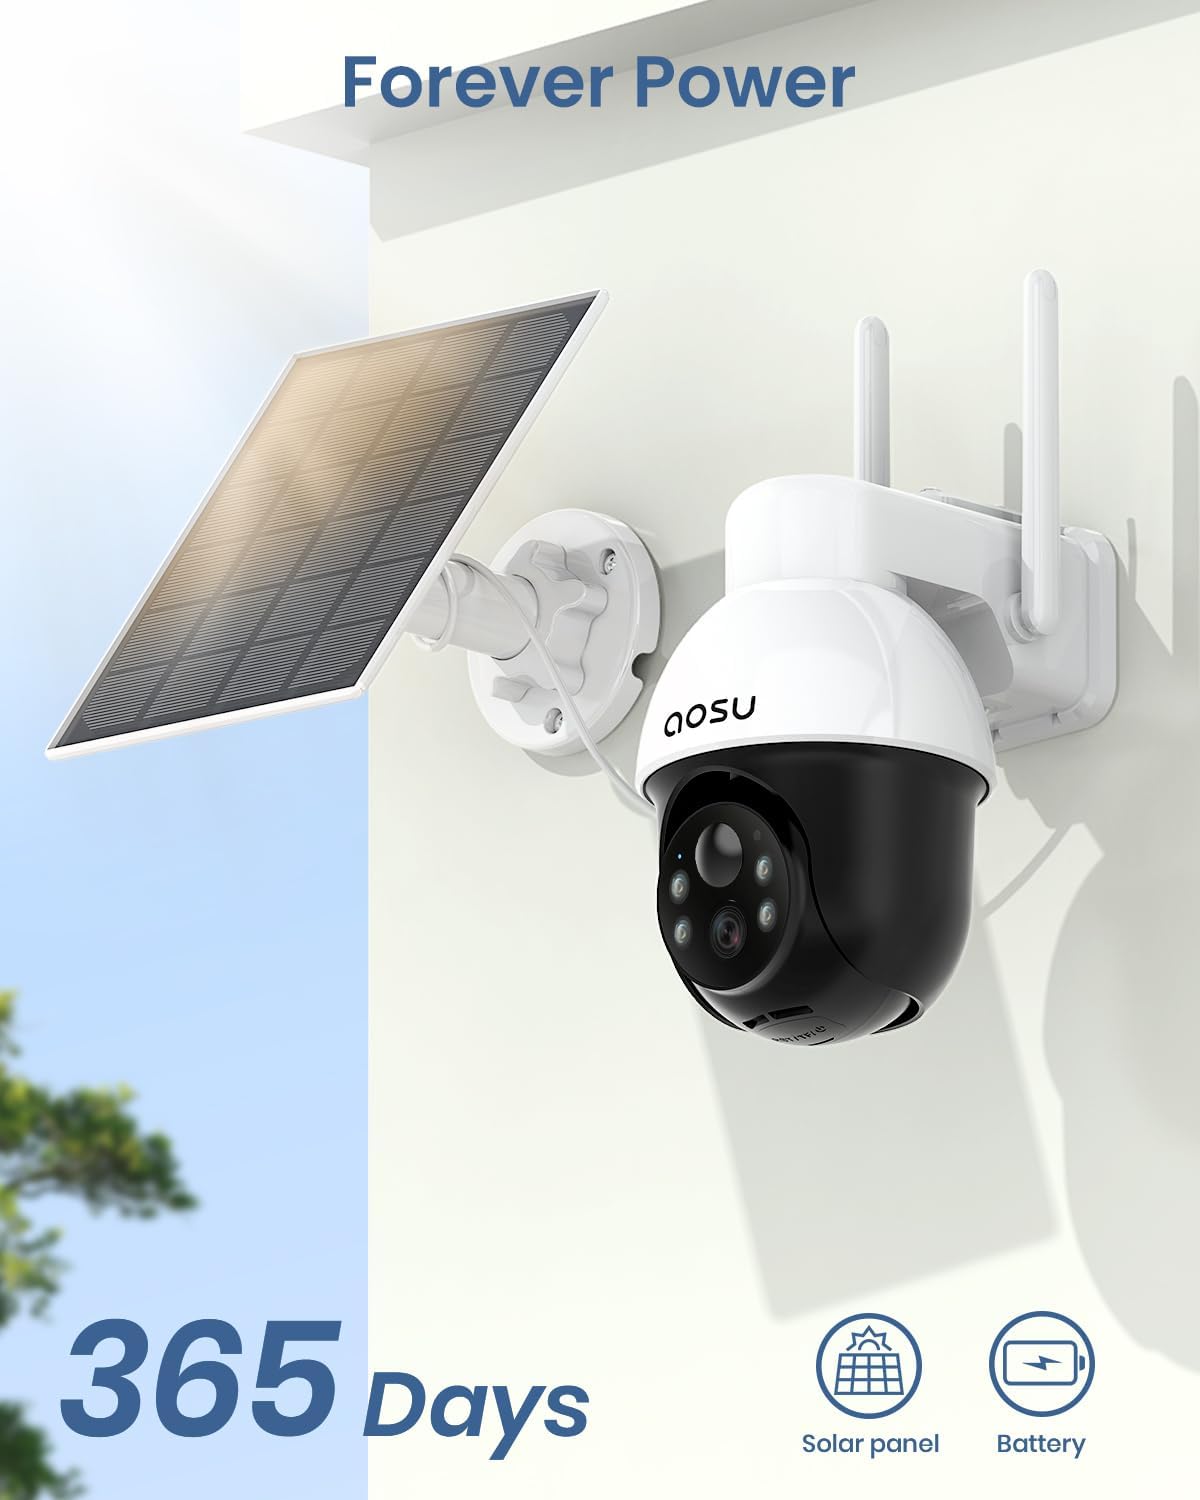
Figure 2: Proper mounting of the camera and solar panel for continuous power.

Figure 3: The camera's IP65 waterproof rating ensures durability in various weather conditions.
4. Operating Your AOSU Camera
4.1 Live View and Panoramic PTZ
Access the live feed from your camera through the AOSU app. Use the on-screen controls to pan (horizontal rotation) and tilt (vertical movement) the camera for a 360-degree panoramic view. Tap on any area of the panorama to quickly direct the camera to that specific point.

Figure 4: The camera offers a comprehensive 360-degree panoramic view for complete coverage.
Video 2: A short demonstration of the Panoramic PTZ functionality of the AOSU SolarCam D1 Lite, showcasing its ability to rotate and cover a wide area.
4.2 Automatic Human Tracking
When human motion is detected, the camera can automatically focus on and track the moving individual, ensuring detailed recording of the event. This feature enhances surveillance by keeping the subject in frame.

Figure 5: The camera's automatic human tracking feature follows detected individuals to capture detailed events.
4.3 Smart Alerts and Two-Way Audio
Receive instant notifications on your smartphone with a quick preview image when motion is detected. The camera also features two-way audio, allowing you to communicate with visitors or deter intruders using preset voice messages or voice-changing talk. Motion-activated light and sound alarms can be triggered to repel suspicious persons.

Figure 6: Engage in real-time two-way audio communication through the camera using your smartphone.

Figure 7: The camera provides automatic defense with light and sound alarms to deter intruders.
Video 3: This video highlights the smart alert system and quick action capabilities of the AOSU camera, including motion-activated alarms and two-way communication.
4.4 2K Night Vision
The camera features upgraded 2K resolution for crisp details day and night. Its advanced night vision capabilities ensure clear visibility even in low-light conditions.

Figure 8: Experience superior image clarity with 2K QHD resolution, capturing every detail.
5. Maintenance
The AOSU Solar Security Camera is designed for minimal maintenance due to its solar power capabilities and durable construction.
- Solar Panel Care: Ensure the solar panel is clean and free from debris (leaves, dust, snow) to maximize sunlight absorption. Periodically wipe it with a soft, damp cloth.
- Battery Life: The camera is designed for continuous power with daily direct sunlight. In prolonged periods of cloudy weather, if the battery level drops significantly, you can use the provided USB charging cable to manually recharge the camera.
- Weather Resistance: The IP65 rating means the camera is protected against dust and water jets. While it is built to withstand various weather conditions, avoid directly spraying it with high-pressure water.
6. Troubleshooting
| Problem | Possible Cause | Solution |
|---|---|---|
| Camera not connecting to Wi-Fi | Incorrect Wi-Fi band (5GHz) or weak signal. | Ensure your router is broadcasting a 2.4GHz network. Move the camera closer to the router or use a Wi-Fi extender. |
| Battery not charging | Insufficient sunlight on the solar panel or dirty panel. | Relocate the solar panel to an area with more direct sunlight. Clean the solar panel surface. If issues persist, manually charge via USB. |
| Motion detection not working or too sensitive | Incorrect sensitivity settings or environmental factors. | Adjust motion detection sensitivity in the app (Human Only mode recommended to reduce false alarms). Ensure no obstructions are blocking the camera's view. |
| Poor video quality | Weak Wi-Fi signal or dirty lens. | Check Wi-Fi signal strength. Clean the camera lens with a soft cloth. |
7. Specifications
| Feature | Detail |
|---|---|
| Model Name | SolarCam D1 Lite (C9L) |
| Indoor/Outdoor Usage | Outdoor |
| Video Capture Resolution | 2K |
| Field Of View | 360 Degrees (Panoramic PTZ) |
| Connectivity Protocol | Wi-Fi (2.4GHz ONLY) |
| Power Source | Solar Powered, Battery Powered (1 Lithium Ion battery included) |
| Waterproof Rating | IP65 |
| Special Features | Night Vision, PTZ Technology, Motion Sensor, Human Auto Tracking, Light and Sound Alarm, 2-Way Audio |
| Compatible Devices | Smartphone (AOSU App), Alexa, Google Assistant |
| Item Dimensions (L x W x H) | 8.66 x 6.3 x 5.12 inches |
| Item Weight | 2.07 pounds |
8. Warranty and Support
AOSU is committed to providing high-quality products and excellent customer service.
- Warranty: The product comes with a 1-year replacement warranty.
- Technical Support: Lifetime technical support is offered, including local phone service.
- Contact Information: For any technical assistance, troubleshooting, or warranty claims, please refer to the contact details provided in the Quick Start Guide included in your product packaging or visit the official AOSU website.
Ask a question about this manual
Ask about setup, troubleshooting, compatibility, parts, safety, or missing instructions. Manuals+ will review the question and use this page’s manual context to help answer it.