
1. Product Overview
This manual provides instructions for the installation and maintenance of the Top Knobs M2401 Pennington Cabinet Pull. This product is designed for use on cabinet doors and drawers, offering a functional and aesthetic enhancement to your cabinetry.
The M2401 Pennington pull features a 3-3/4 inch (96mm) center-to-center spacing, constructed from durable steel with a Honey Bronze finish. It is supplied with all necessary mounting hardware for a straightforward installation process.

Figure 1: Top Knobs M2401 Pennington Cabinet Pull, Honey Bronze finish. This image displays the front view of the cabinet pull, highlighting its cylindrical bar design and square-shaped feet.
2. Specifications
| Model Number | M2401 |
| Brand | Top Knobs |
| Material | Alloy Steel |
| Finish | Honey Bronze (Brushed) |
| Center to Center Spacing | 3-3/4 inches (96mm) |
| Overall Length | 4-3/8 inches (111mm) |
| Width | 1/2 inch (12.7mm) |
| Projection | 1-3/8 inches (35mm) |
| Item Weight | 5.6 ounces |
| Included Components | Cabinet Pull, Mounting Screws (m4-0.7 x 25, m4-0.7 x 45) |
3. Package Contents
Verify that all components are present before beginning installation:
- One (1) Top Knobs M2401 Pennington Cabinet Pull
- Two (2) M4-0.7 x 25mm mounting screws
- Two (2) M4-0.7 x 45mm mounting screws
Note: The two screw lengths are provided to accommodate various cabinet and drawer thickness. Use the appropriate length for your application.
4. Installation (Setup)
4.1. Tools Required
- Measuring Tape or Ruler
- Pencil
- Drill with appropriate drill bit (e.g., 3/16 inch or 5mm for M4 screws)
- Screwdriver (Phillips head recommended)
- Awl or Center Punch (optional, for marking drill points)
4.2. Installation Steps
- Determine Placement: Decide on the desired location for the pull on your cabinet door or drawer. For consistency, measure and mark the exact position for each pull.
- Mark Drill Points: Using a measuring tape or a template, mark two points on the cabinet surface that are 3-3/4 inches (96mm) apart, corresponding to the center-to-center spacing of the pull. Ensure these marks are level and accurately positioned.
- Drill Pilot Holes: Carefully drill pilot holes at the marked points. Use a drill bit slightly smaller than the screw diameter (e.g., 3/16 inch or 5mm for M4 screws) to prevent splitting the wood. Drill straight through the cabinet material.
- Attach the Pull: Align the pull with the drilled holes. Insert the appropriate length M4 mounting screws from the inside of the cabinet door/drawer through the pilot holes and into the threaded receivers on the pull.
- Tighten Screws: Using a Phillips head screwdriver, gently tighten the screws until the pull is secure. Do not overtighten, as this can strip the threads or damage the cabinet material.
- Verify Stability: Once installed, gently pull on the handle to ensure it is firmly attached and does not wobble.
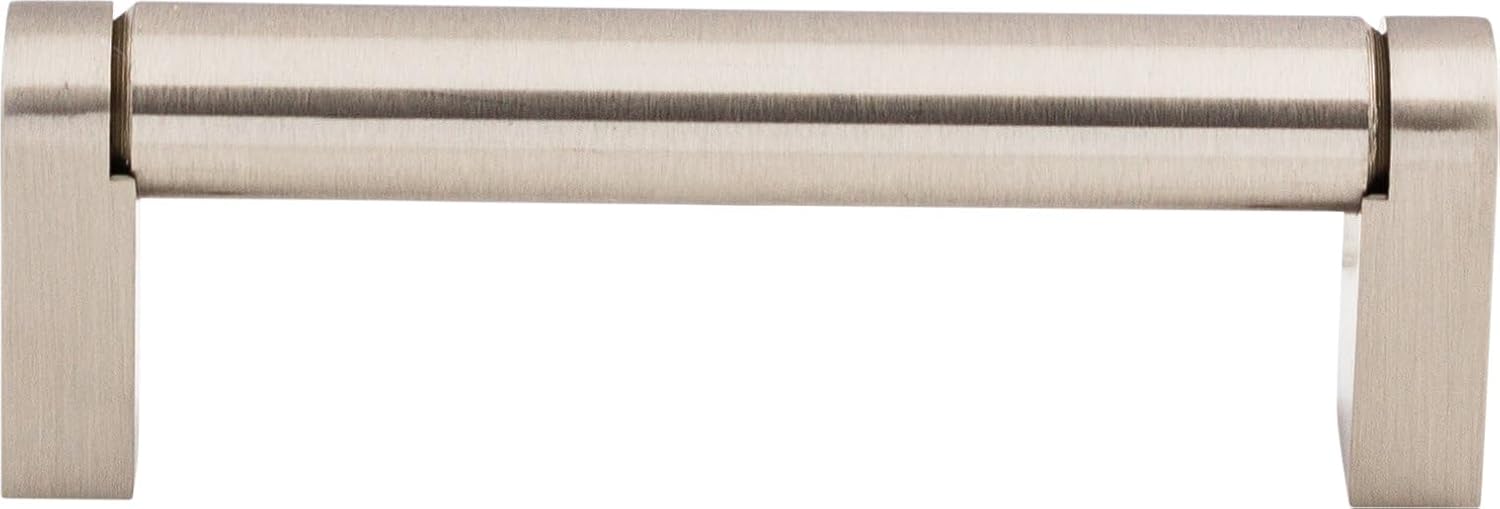
Figure 2: Side view of the Top Knobs M2401 Pennington Cabinet Pull. This image illustrates the projection of the pull from the cabinet surface and the design of its mounting feet.
5. Maintenance
To maintain the finish and functionality of your Top Knobs cabinet pull, follow these guidelines:
- Cleaning: Clean regularly with a soft, damp cloth. Avoid abrasive cleaners, harsh chemicals, or polishing agents, as these can damage the finish.
- Avoid Scratches: Protect the pull from sharp objects or impacts that could scratch or dent the surface.
- Periodic Check: Periodically check the mounting screws for tightness. If they become loose, gently tighten them with a screwdriver.
6. Troubleshooting
- Pull feels loose after installation:
- Ensure screws are fully tightened.
- Verify that the correct screw length was used for the cabinet thickness. If screws are too short, they may not engage fully. If too long, they may bottom out before tightening the pull.
- Difficulty inserting screws:
- Check that the pilot holes are properly aligned with the pull's screw receivers.
- Ensure the pilot holes are of the correct diameter. If too small, they may prevent screw insertion.
7. Warranty and Support
For information regarding product warranty, returns, or technical support, please refer to the official Top Knobs website or contact their customer service department. Keep your purchase receipt for warranty claims.
Contact Information: Please visit www.topknobs.com for the most current support resources and contact details.


