1. Introduction
Thank you for choosing the intelamp Solar Outdoor Lights. This manual provides detailed instructions for the proper installation, operation, maintenance, and troubleshooting of your new solar security lights. Please read this manual thoroughly before use to ensure optimal performance and longevity of the product.
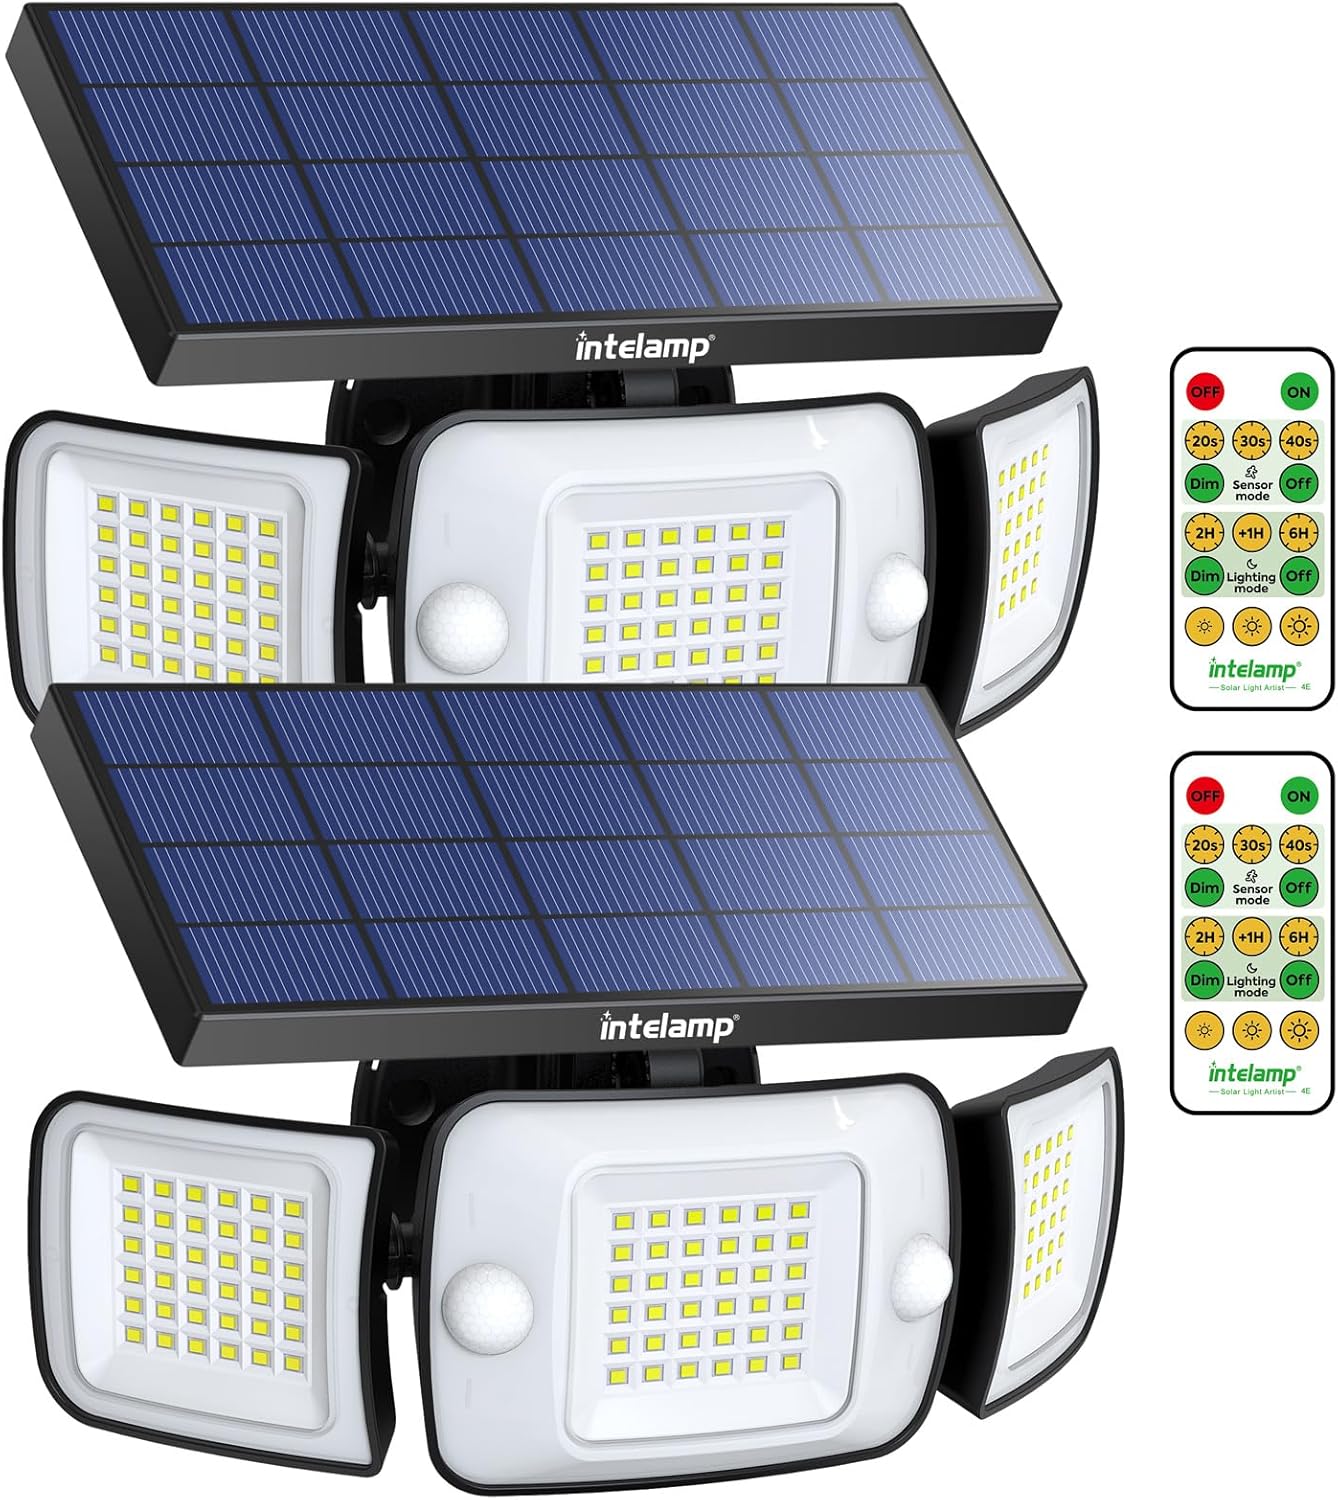
Image: Two intelamp solar outdoor lights, each featuring a solar panel, three adjustable light heads, and motion sensors. Two remote controls are also visible.
2. What's in the Box
- intelamp Solar Outdoor Light Unit(s)
- Remote Control
- Instruction Manual (This document)
- Mounting Screws
- Wall Plugs
- Cable Ties
3. Key Features
- Four Lighting Modes:
- Mode 1: High brightness when motion is detected, and low brightness when no motion is present.
- Mode 2: High brightness upon detecting motion, with the light remaining on when no motion is detected.
- Mode 3: Motion sensor disabled, maintaining a constant medium brightness that turns off after a set timer.
- Mode 4: Motion sensor disabled, constant medium brightness that gradually dims after the timer expires until dawn.
- Remote Control Functionality: The intelamp lights come with a large, user-friendly remote control for easy operation. You can set the motion detection time to 20, 30, or 40 seconds, ensuring consistent illumination while people are nearby.
- High-Efficiency Solar Panels and Batteries: The solar security lights utilize powerful 40 square inch solar panels (9.4 inches by 4.3 inches) for efficient charging. This design enables the 6000mAh high-capacity battery to store three times more energy compared to many competitors. When fully charged in sunlight, these lights can operate for up to three nights in sensing mode with an impressive brightness of 1200 lumens.
- Innovative Dual Sensor Design: The intelamp waterproof solar motion sensor lamp incorporates a dual-sensor design that detects movement over a significantly larger area than traditional single sensors, providing 180-degree coverage. This ensures comprehensive detection across an entire wall, even triggering from side approaches, enhancing security by reducing blind spots.
- Simple Installation: Each set of intelamp solar flood lights includes screws and tie straps for straightforward installation wherever needed. They can be mounted on various hard surfaces like walls or fences or secured to trees using cable ties. For optimal charging efficiency, position the solar panel toward direct sunlight.

Image: Illustration of the 270-degree wide-angle illumination provided by the light, covering a broad area in front of a house.

Image: Diagram highlighting the large solar panel (9.4 x 4.3 inches) and the two motion sensors for wider and longer detection.

Image: Visual comparison demonstrating the 180-degree detection angle and 25ft*2 operation range of the dual-sensor system versus a single 90-degree sensor.

Image: Comparison showing the intelamp light's superior brightness (1200LM) and battery capacity (6000mAh) compared to a typical 600LM light with a 2000mAh battery.

Image: The intelamp solar light mounted on a brick wall, shown with water droplets, illustrating its IP65 waterproof rating and suitability for rainy and snowy days.
4. Setup and Installation
Before installation, ensure the solar panel is exposed to direct sunlight for at least 6-8 hours to fully charge the battery. Choose an installation location that receives ample direct sunlight throughout the day for optimal charging.
4.1 Wall Installation
- Identify a suitable location on a wall or fence that receives direct sunlight.
- Rotate the solar panels from side to side and the central lamp vertically up and down to provide space for the installation of screws.
- Mark the drilling points using the light's mounting holes as a template. The hole spacing is approximately 3.5 inches.
- Drill holes at the marked points and insert the wall plugs.
- Align the light with the drilled holes and secure it using the provided screws.
- Adjust the solar panel and light heads to your desired angles for optimal light coverage and solar charging.
4.2 Cable Tie Installation (for trees/poles)
- Select a tree or pole that allows the solar panel to receive direct sunlight.
- Insert the provided cable ties through the mounting holes on the back of the light.
- Securely tie the light to the tree or pole using the cable ties. Ensure it is firmly attached and stable.
- Adjust the solar panel and light heads to your desired angles.

Image: Detailed diagrams illustrating both wall installation with screws and cable tie installation for poles or trees, showing how to adjust the light for screw access.

Image: Collage showing the solar lights installed in different outdoor environments, including on a tree, above a garage, and illuminating a backyard gathering.
5. Operating Instructions
Your intelamp solar light is equipped with a remote control for easy mode selection and adjustment. The light automatically charges during the day and activates at night based on the selected mode.
5.1 Remote Control Functions
- ON/OFF: Turns the light on or off.
- Mode 1 (20s/30s/40s): Motion sensor mode. High brightness when motion is detected, then returns to low brightness after the set time (20, 30, or 40 seconds) if no further motion is detected.
- Mode 2 (Sensor ON): Motion sensor mode. High brightness when motion is detected, and the light remains on at high brightness as long as motion is present.
- Mode 3 (1H/2H/3H): Constant lighting mode. Motion sensor disabled. Maintains a medium brightness for a set duration (1, 2, or 3 hours), then turns off.
- Mode 4 (Lighting OFF): Constant lighting mode. Motion sensor disabled. Maintains a medium brightness for a set duration, then gradually dims until dawn.
- Dim/Bright: Adjusts the brightness level in constant lighting modes.
Video: Demonstration of the intelamp flood lights' motion sensor capabilities and various lighting modes in an outdoor setting. It highlights the dual sensor's wide detection range and the light's brightness.

Image: Visual representation of the motion sensor feature, showing the light increasing from 60% to 80% to 100% brightness when motion is detected.

Image: Illustration of the 'Strong Light Motion Sensor Mode' where the light stays at low brightness, turns to 100% brightness upon motion detection, and then returns to dim after 20/30/40 seconds.

Image: Illustration of another 'Strong Light Motion Sensor Mode' where the light stays off, turns to 100% brightness upon motion detection, and then turns off after 20/30/40 seconds.

Image: Illustration of 'Long Light Mode' with motion sensor disabled, showing the light at 80% brightness, then dimming after a set timing (2-12 hours) until dawn.
6. Maintenance
- Cleaning: Regularly wipe the solar panel with a soft, damp cloth to remove dust, dirt, or debris. A clean solar panel ensures efficient charging.
- Inspection: Periodically check the mounting screws or cable ties to ensure the light remains securely fastened.
- Battery: The integrated lithium-ion battery is designed for long-term use. If the light's performance significantly degrades over time, it may indicate the battery is reaching the end of its lifespan. Battery replacement should only be performed by qualified personnel.
- Environmental Factors: Ensure no obstructions (e.g., tree branches, tall grass) are blocking the solar panel's exposure to direct sunlight.
7. Troubleshooting
| Problem | Possible Cause | Solution |
|---|---|---|
| Light does not turn on at night. | Insufficient solar charge. | Ensure the solar panel is in direct sunlight for 6-8 hours daily. Clean the solar panel surface. |
| Light is dim or only stays on for a short time. | Battery not fully charged or aging battery. | Relocate the light to an area with more direct sunlight. Ensure the solar panel is clean. If the problem persists after several sunny days, the battery may need replacement. |
| Motion sensor not working or too sensitive. | Incorrect mode selection or sensor obstruction. | Check the remote control settings to ensure the correct motion sensor mode is selected. Clear any obstructions around the sensor. Avoid installing near heat sources or reflective surfaces. |
| Remote control not responding. | Remote battery low or out of range. | Replace the remote control battery. Ensure you are within the effective range of the remote control. |
8. Specifications
| Feature | Detail |
|---|---|
| Brand | intelamp |
| Model Name | YL002-12C |
| Part Number | US-YL002-12A-2Pack |
| Light Source Type | LED |
| Brightness | 1200 Lumens |
| Wattage | 4 watts |
| Color Temperature | 6500 Kelvin (White Light) |
| Power Source | Solar Powered |
| Battery | 1 Lithium Ion battery required (included), 6000mAh capacity |
| Control Method | Remote Control |
| Motion Sensor | Dual Sensor, 180° coverage |
| Water Resistance Level | IP65 Waterproof |
| Material | Acrylonitrile Butadiene Styrene |
| Product Dimensions | 9.84"L x 4.65"W x 5.31"H |
| Item Weight | 3.51 Pounds |
| Number of Items | 2 (for 2 Pack variant) |
| Assembly Required | Yes |
9. Warranty
This product comes with an Extended Warranty. For specific details regarding the warranty period, coverage, and claims process, please refer to the warranty information provided on the product packaging or contact intelamp customer support directly. Keep your purchase receipt as proof of purchase.
10. Customer Support
If you encounter any issues or have questions regarding your intelamp Solar Outdoor Lights that are not covered in this manual, please do not hesitate to contact our customer support team. You can typically find contact information on the product packaging, the seller's page on the retail platform, or the official intelamp website.
For the most up-to-date support information, please visit the intelamp store on Amazon: intelamp Store


