
1. Important Safety Instructions
Please read and understand all safety information before using this product. Failure to follow these instructions may result in electric shock, fire, or serious injury.
- Always connect the red clamp to the positive (+) terminal and the black clamp to the negative (-) terminal of the vehicle battery.
- Do not touch the red and black clamps together to prevent short circuits.
- Do not expose the jump starter to rain or extreme moisture.
- Do not operate the jump starter if it has been damaged or modified.
- Keep out of reach of children.
- Ensure proper ventilation when operating.
- The device features built-in protections against short circuit, overcurrent, reverse polarity, high temperature, and overload. An audible buzz and flashing lights will indicate incorrect usage.
2. Product Overview
The Fockety Portable Car Jump Starter is a versatile device designed to jump-start 12V vehicles, serve as a power bank for electronic devices, and provide emergency lighting. It features an 800A peak current, a 12000mAh battery capacity, and multiple safety protections.

Figure 2.1: Product Diagram. This image shows the Fockety Car Jump Starter from a top-down perspective, highlighting its various ports and controls. Labels include USB outlet (for mobile phone charging), 14V charging port, ON/OFF switch, Function key, Type-C charging port (5V2A/9V2A mobile phone charger charging), 12V automotive lighting port, and Emergency light. A digital display screen is also visible, showing battery percentage and output status.
- High Peak Current: 800A peak current for quick starting of 12V vehicles (up to 7.5L gasoline and 5.5L diesel engines).
- Versatile Power Bank: 12000mAh battery capacity with 5V/2.1A USB output and 37W Type-C output for charging smartphones, tablets, and other USB devices.
- Emergency Lighting: Integrated LED light with 3 modes: Always On, Flashing, and SOS.
- Durable Construction: PC shell material for wear resistance and long service life.
- Digital Display: Clear digital screen showing battery percentage and output status.

Figure 2.2: Digital Display Screen. The image displays the Fockety Car Jump Starter with its digital screen showing "100%" charge and "IN OUT 5.0V 2.1A", indicating full charge and active input/output capabilities.
3. What's Included
Verify that all items are present in the package:
- 1 x Fockety Car Jump Starter
- 1 x Smart Battery Clamp Cable
- 1 x USB Charging Cable
- 1 x Instruction Manual
- 1 x Storage Case

Figure 3.1: Package Contents. This image shows the complete kit: the main jump starter unit, a pair of smart battery clamps (red and black), a USB charging cable, and a black protective storage case with "JUMP STARTER" printed on it.
4. Setup and Initial Charging
Before first use, fully charge the jump starter. It is recommended to charge the device every 2-3 months if not used for a long period to maintain battery health.
- Connect the provided USB charging cable to the jump starter's input port (USB or Type-C).
- Connect the other end of the USB cable to a suitable USB power adapter (not included) or a powered USB port.
- The digital display will show the charging progress. Charge until the display shows "100%".
- A full charge typically takes 3-5 hours.

Figure 4.1: Charging the Device. The image illustrates the jump starter connected to a charging cable, with its digital display indicating a "100%" charge. The text "LIGHTNING FAST CHARGE, SAVE TIME" is overlaid, emphasizing quick charging capability.
5. Operating Instructions: Jump Starting a Vehicle
Ensure the jump starter has at least 25% charge before attempting to jump-start a vehicle.
- Connect the Smart Clamp: First, plug the smart battery clamp cable into the starting port of the jump starter. Ensure it is fully inserted.
- Connect to Vehicle Battery: Clip the red clamp to the positive (+) terminal of the vehicle battery and the black clamp to the negative (-) terminal. The smart clamp will indicate if the connection is correct or if there's a reverse polarity issue.
- Start the Vehicle: Get into the car and turn the ignition key to start the engine. If the battery voltage is extremely low (below 9V), you may need to press the "BOOST" button on the smart clamp (if available) to force a restart.
- Remove Clamps: Once the engine starts, immediately remove the smart clamp from the vehicle battery, then unplug it from the jump starter.

Figure 5.1: Jump Starting Steps. This image provides a visual, four-step guide: 1) Plug the battery clip into the jump starter's port. 2) Clip the red clamp to the positive (+) terminal and the black clamp to the negative (-) terminal of the car battery. 3) Enter the car and turn the key to start. 4) Remove the battery clip after the car starts.
6. Using as a Power Bank
The jump starter can also function as a portable power bank to charge your electronic devices.
- Connect your device's USB charging cable to one of the jump starter's USB output ports (5V/2.1A) or the Type-C output port (37W).
- The jump starter will automatically begin charging your device.
- The digital display will show "OUT" and the voltage/current being supplied.

Figure 6.1: USB Output Ports. A close-up view of the jump starter's side, clearly showing two USB "OUTPUT 5V" ports and an "INPUT DC" port, indicating its capability to charge external devices.
7. LED Light Functions
The integrated LED light provides illumination for various situations.
- Press the "FUNC" button once to turn on the LED light in "Always On" mode (flashlight).
- Press the "FUNC" button again to switch to "Flashing" mode.
- Press the "FUNC" button a third time to activate "SOS" mode.
- Press the "FUNC" button a fourth time to turn off the LED light.

Figure 7.1: LED Flashlight. This image shows the front end of the jump starter with its powerful LED light illuminated, demonstrating its use as a flashlight.
8. Maintenance
Proper maintenance ensures the longevity and optimal performance of your jump starter.
- Store the device in a cool, dry place away from direct sunlight and extreme temperatures.
- If not used for an extended period, charge the jump starter every 2-3 months to prevent deep discharge and prolong battery life.
- Clean the exterior with a soft, damp cloth. Do not use harsh chemicals or abrasive cleaners.
- Keep the ports free from dust and debris.
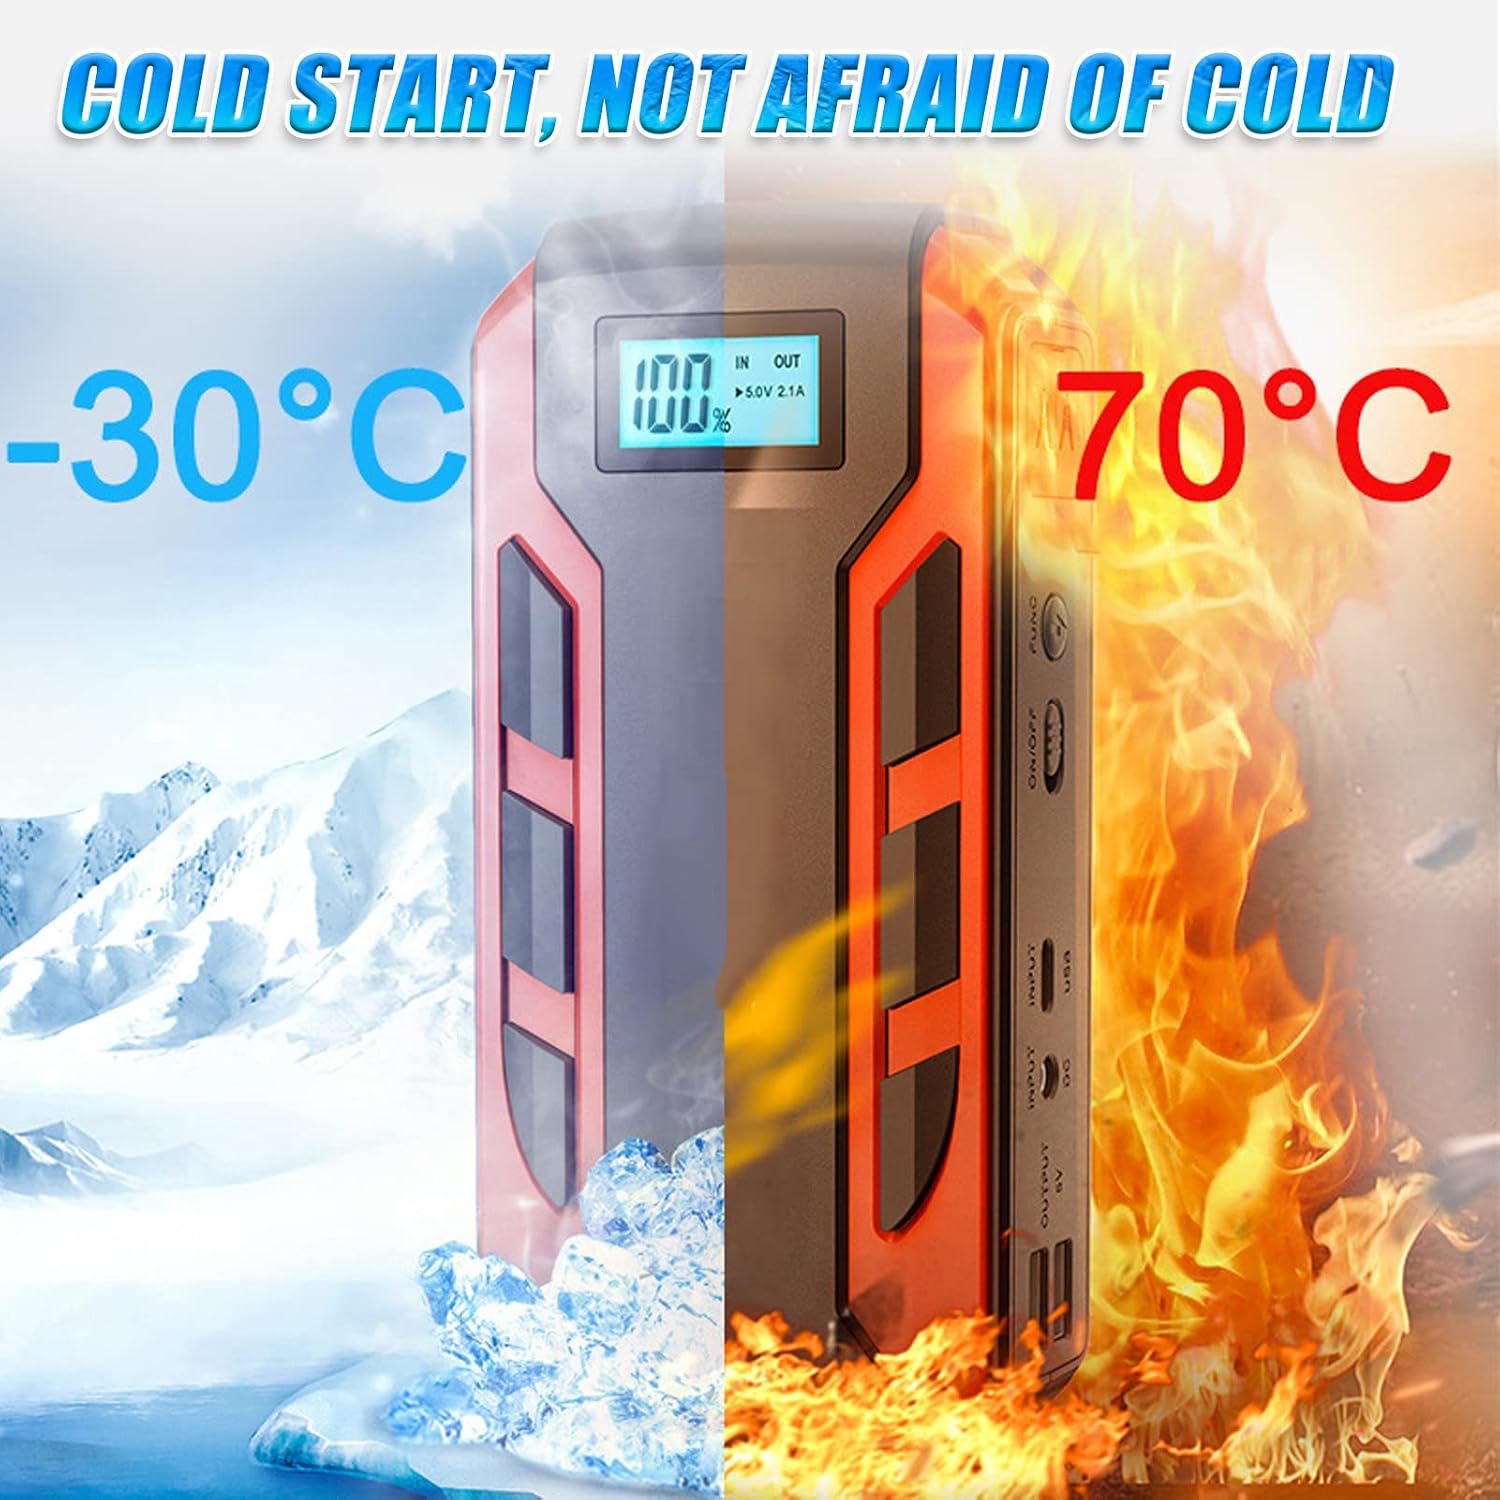
Figure 8.1: Operating Temperature Range. The image visually represents the jump starter's ability to function in a wide temperature range, from cold conditions (-30°C) to hot conditions (70°C), indicating its robust design for various environments.
9. Troubleshooting
If you encounter issues, refer to the following common problems and solutions:
| Problem | Possible Cause | Solution |
|---|---|---|
| Vehicle does not start. | Jump starter battery too low. Incorrect clamp connection. Vehicle battery completely dead (below 9V). | Ensure jump starter is charged above 25%. Check clamp connections (red to +, black to -). If vehicle battery is very low, press the "BOOST" button on the smart clamp (if applicable) for a forced start. |
| Jump starter not charging. | Charging cable or adapter faulty. Input port dirty. | Try a different USB cable and power adapter. Clean the input port. |
| Power bank function not working. | Jump starter battery too low. Device cable faulty. | Charge the jump starter. Try a different charging cable for your device. |
| Audible buzz/flashing lights during jump start. | Incorrect clamp connection (e.g., reverse polarity). | Immediately disconnect clamps and re-connect them correctly (red to +, black to -). |
If the problem persists, please contact customer support.
10. Specifications
| Feature | Detail |
|---|---|
| Brand | Fockety |
| Model | Diydegcbgvodwkus |
| Battery Capacity | 12000 mAh |
| Battery Cell Composition | Lithium Ion |
| Starting Current | 400 A |
| Peak Current | 800 A |
| Voltage | 12 Volts |
| Vehicle Service Type | Car, Truck, SUV |
| LED Lighting Modes | Always On, Flashing, SOS |
| USB Output | 5V/2.1A |
| Type-C Output | 37W |
| Charging Time | 4-5 hours (approx.) |
| Operating Temperature | -30°C to 65°C |
| Flame Retardant Grade | V0 |
| Dimensions | 21 x 20 x 6 cm (Package) |
11. Warranty and Support
Specific warranty information for this product is not provided in the available data. Please refer to the product packaging or contact the retailer/manufacturer directly for warranty details and customer support.
For technical assistance or inquiries, please contact Fockety customer service through their official channels.