
1. Introduction
This manual provides comprehensive instructions for the safe and effective use, setup, operation, and maintenance of your PROTECTOR COXO Air Polisher. Please read this manual thoroughly before operating the device to ensure optimal performance and longevity.
The COXO Air Polisher is designed for professional use, featuring two distinct working modes and two specialized nozzles to facilitate both supragingival and subgingival air polishing procedures. Its 360-degree rotating head and quick coupling design enhance usability and simplify maintenance.
2. Product Overview
2.1 Key Features
- Two Working Modes: Supports both supragingival and subgingival air polishing.
- Two Nozzles Included: Dedicated nozzles for different treatment areas.
- 360° Rotation: The handpiece can rotate 360 degrees for enhanced maneuverability.
- Quick Coupling Design: Allows for easy cleaning, installation, and disassembly.
- Autoclave Sterilization: Supports high-temperature and high-pressure sterilization for hygiene.
2.2 Components
The COXO Air Polisher package includes the following components:

Figure 2.1: Included Accessories. This image displays the complete set of items provided with the air polisher, including the main unit, various nozzles, O-rings, needles, a wrench, and the user manual.
- COXO Air Polisher Main Unit
- Supragingival Head
- Subgingival Head
- Sandblasting Scaler
- Short Needle
- Wrench
- O-rings (3 sizes)
- O-ring for Cap
- Needle Knife (2 sizes)
- User Manual

Figure 2.2: COXO Air Polisher Main Unit. This image shows the overall design of the air polisher, highlighting its ergonomic shape and the connection point for the air supply.
3. Setup
- Connect to Air Source: Ensure your dental unit's air supply is compatible with the polisher's connection. Connect the air polisher to the dental unit's air hose.

Figure 3.1: Quick Coupling Design. This illustration demonstrates how the handpiece easily attaches and detaches from the main unit, facilitating quick setup and cleaning.
- Attach Nozzle: Select the appropriate nozzle (supragingival or subgingival) for your procedure. Securely attach it to the handpiece using the quick coupling mechanism.

Figure 3.2: Two Types of Nozzles. This image shows the distinct designs of the supragingival and subgingival nozzles, indicating their different spray patterns for targeted treatment.
- Fill Powder Chamber: Unscrew the powder chamber cap. Carefully fill the chamber with the recommended polishing powder. Do not overfill. Securely replace the cap.
4. Operating Instructions
- Power On: Activate the air supply from your dental unit. The polisher is air-powered and will be ready for use once air pressure is applied.
- Select Mode: The polisher supports two modes:
- Supragingival Mode: For cleaning and polishing above the gum line. Use the corresponding supragingival nozzle.
- Subgingival Mode: For cleaning and polishing below the gum line. Use the corresponding subgingival nozzle.

Figure 4.1: Nozzle Application. This image illustrates the two different nozzles and their intended use for either supragingival or subgingival areas.
- Begin Polishing: Direct the nozzle towards the treatment area. Activate the air flow to dispense polishing powder. Maintain appropriate distance and angle as per standard dental procedures.

Figure 4.2: Sandblasting Action. This image shows the polisher in action, demonstrating its ability to effectively clean and polish surfaces, as depicted on a dental model.
- Utilize 360° Rotation: The handpiece can be rotated 360 degrees during operation to reach difficult angles and ensure thorough cleaning without repositioning the main unit.

Figure 4.3: 360° Rotation. This diagram highlights the full rotational capability of the handpiece, allowing for flexible and precise operation.
- Power Off: Once the procedure is complete, turn off the air supply from the dental unit.
5. Maintenance
Proper maintenance is crucial for the longevity and hygienic operation of your COXO Air Polisher.
- Disassembly: Utilize the quick coupling design to easily disassemble the handpiece and powder chamber from the main unit after each use.
- Cleaning:
- Rinse all components thoroughly with water to remove any residual polishing powder.
- Use the provided needle knife and short needle to clear any blockages in the nozzles or internal channels.
- Sterilization: The COXO Air Polisher supports autoclave sterilization.
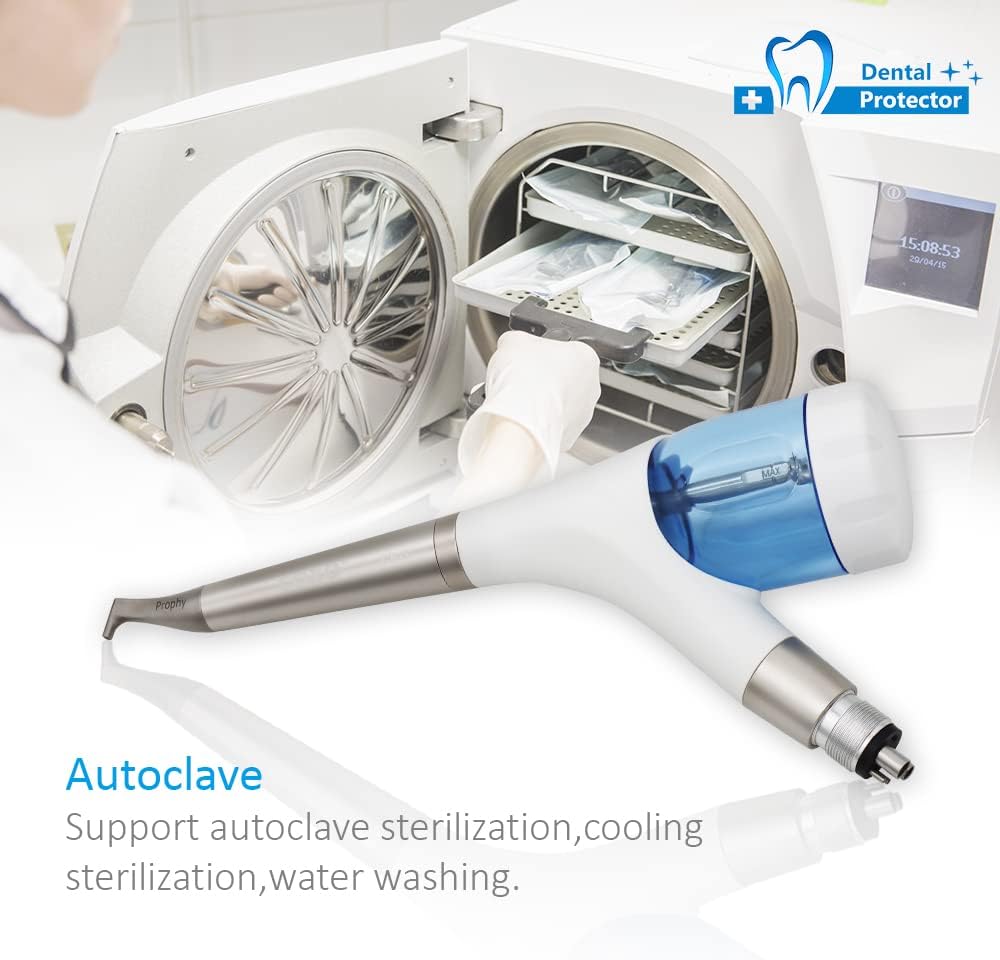
Figure 5.1: Autoclave Sterilization. This image demonstrates the air polisher being prepared for sterilization in an autoclave, emphasizing its compatibility with high-standard hygiene protocols.
- Follow standard autoclave procedures for dental instruments.
- Ensure components are dry before sterilization.
- The device also supports cooling sterilization and water washing.
- O-ring Inspection: Regularly inspect the O-rings for wear and tear. Replace them with the provided spare O-rings as needed to maintain a proper seal and prevent leaks.
- Storage: Store the cleaned and sterilized polisher in a dry, clean environment.
6. Troubleshooting
| Problem | Possible Cause | Solution |
|---|---|---|
| No powder flow or weak flow | Powder chamber empty; Nozzle/channel blockage; Insufficient air pressure. | Refill powder chamber; Clear blockages using needle knife; Check air supply and pressure from dental unit. |
| Air leakage | Loose connections; Worn O-rings. | Ensure all connections are tight; Inspect and replace O-rings if damaged. |
| Difficulty rotating handpiece | Accumulation of debris; Lack of lubrication. | Clean the rotation mechanism thoroughly; Apply a small amount of dental-grade lubricant if recommended by manufacturer (refer to specific COXO guidelines). |
7. Specifications
| Manufacturer | coxo |
| Model Number | 22 |
| Product Dimensions | 5 x 3 x 3 inches |
| Color | White |
| Material | Metal |
| Power Source | Air Powered |
| Speed | 5.5E+3 RPM |
| Usage | Automotive (Note: Product description indicates dental use, this specification might be a general category. Please refer to product description for intended use.) |
8. Warranty and Support
Your PROTECTOR COXO Air Polisher is designed for durability and performance. For specific warranty details, including coverage period and terms, please refer to the documentation provided at the time of purchase or contact your seller directly.
In case of any issues or for technical support, please contact the seller or manufacturer. Keep your purchase receipt and product model number (Model: 22) handy when seeking assistance.
Protection plans may be available for extended coverage. Please check with your retailer for options such as 3-Year or 4-Year Protection Plans.


