
1. Introduction
The RackChoice R35-6GB is a high-density storage backplane module designed to convert three standard 5.25-inch optical drive bays into a hot-swappable interface for five 2.5-inch or 3.5-inch SATA or SAS hard drives/SSDs. This enclosure provides a convenient solution for expanding storage capacity and managing multiple drives in a PC or server chassis, offering data transfer speeds up to 6 Gbit/s.
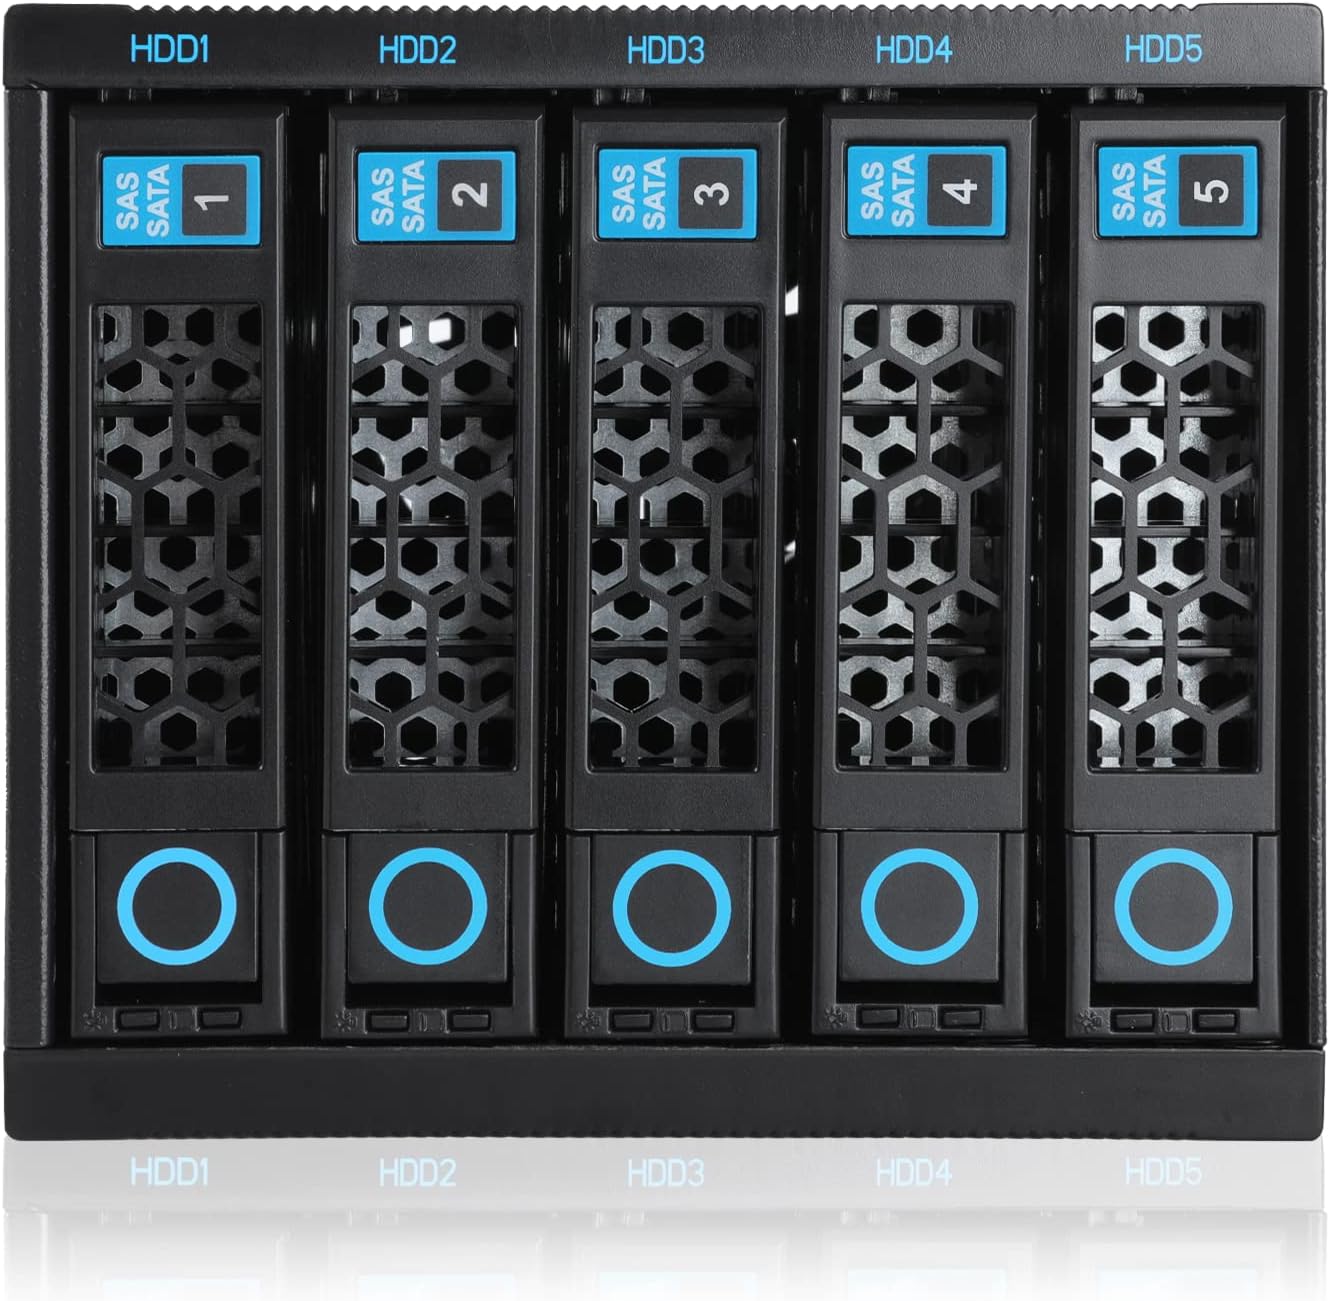
Figure 1: Front view of the RackChoice R35-6GB Hot-Swap Backplane.
2. Product Features
- Converts three 5.25" bays into a hot-swappable interface for five 2.5" or 3.5" SATA or SAS I/II/III hard drives/SSDs.
- Features an 80mm cooling fan with an all-metal body for efficient heat dissipation.
- Supports SATA 3.0 with data transfer rates up to 6 Gbit/s.
- Compatible with RAID 0, 1, 5, 6, 10 configurations (requires a separate RAID controller card).
- Tray-less design for 3.5" drives, allowing for easy installation and removal.
- Individual power and activity LED indicators for each drive bay.
3. Package Contents
Please verify that all items are present in the package:
- RackChoice R35-6GB 5-Bay Hot-Swap Backplane Enclosure
- 5 x SATA Data Cables
- Mounting Screws for Enclosure and 2.5" Drives
- Molex-to-SATA Power Adapter Cable (if applicable)
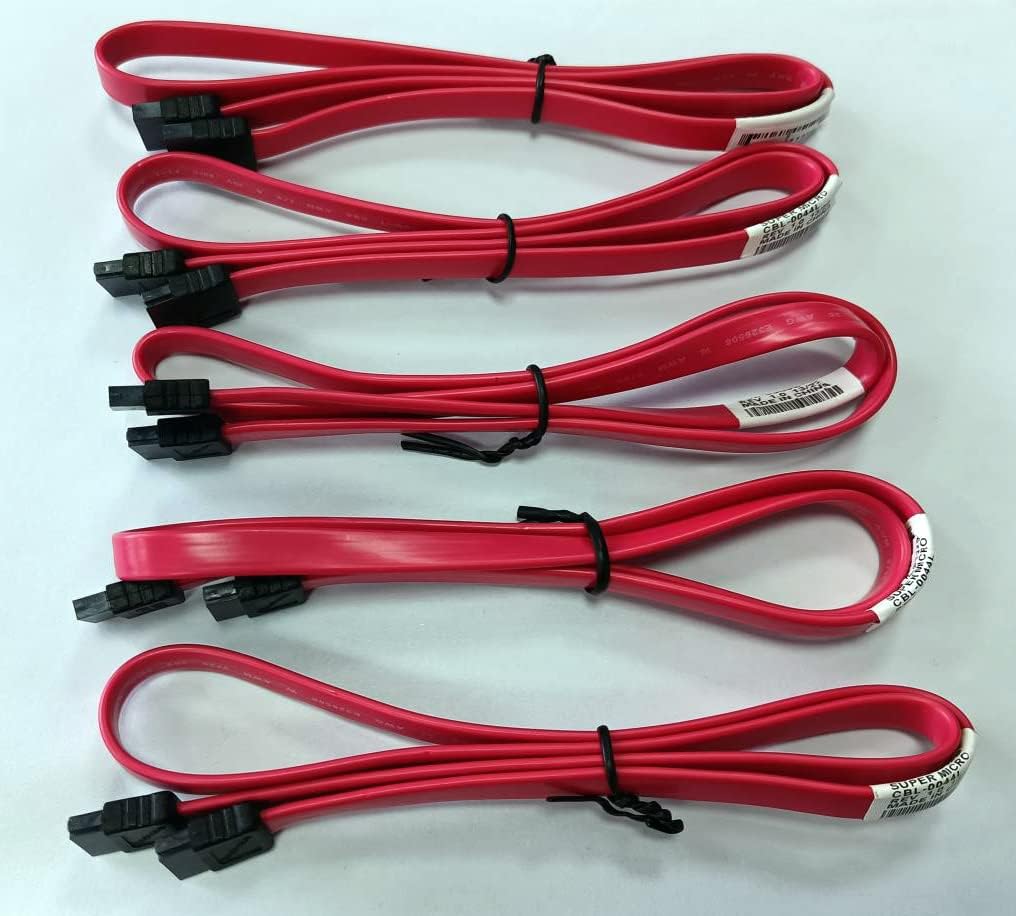
Figure 2: Included SATA data cables.
4. Installation Guide
Follow these steps to properly install your RackChoice R35-6GB hot-swap backplane into your computer chassis.
4.1. Prepare Your PC Chassis
- Power off your computer and disconnect all power cables.
- Open your computer case to access the internal components.
- Identify three consecutive empty 5.25-inch optical drive bays. Remove any covers or brackets obstructing these bays.
4.2. Mount the Enclosure
- Carefully slide the RackChoice R35-6GB enclosure into the prepared 5.25-inch bays from the front of your chassis.
- Align the screw holes on the sides of the enclosure with the mounting holes in your chassis.
- Secure the enclosure using the provided screws. Ensure it is firmly seated to prevent movement.
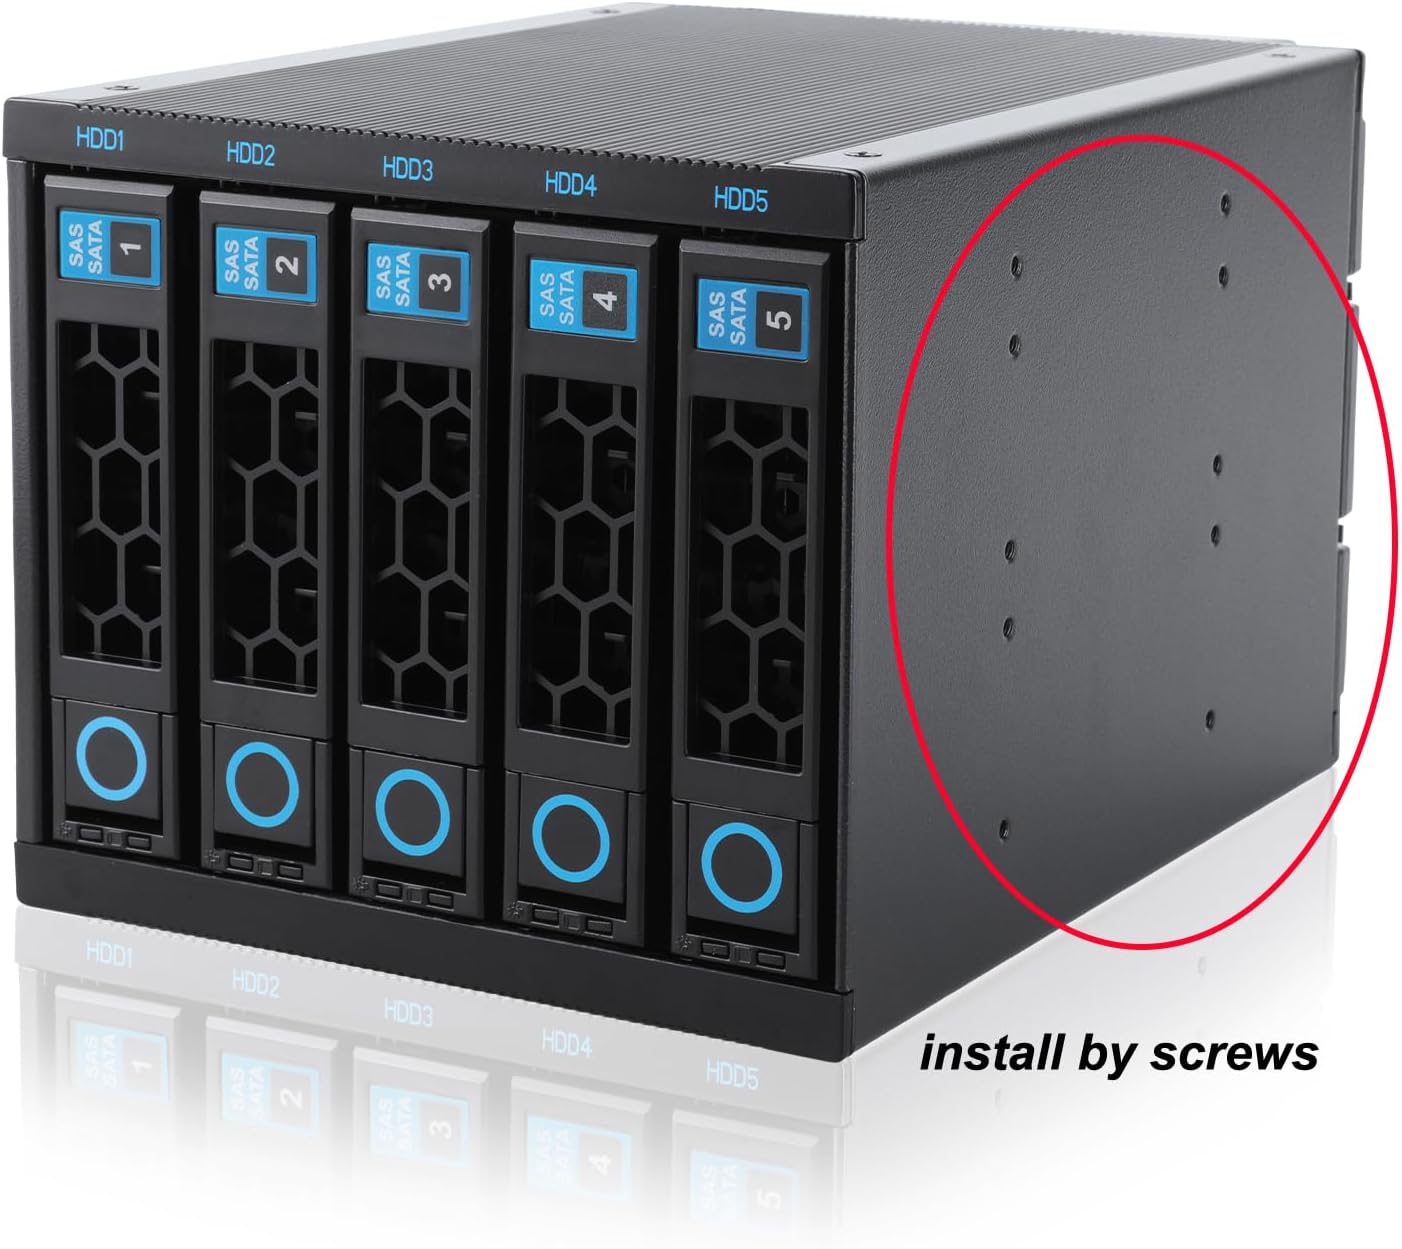
Figure 3: Enclosure mounting points for screw installation.
4.3. Connect Power
The enclosure requires power for operation. You have two options for connecting power:
- Direct Molex Connection: Connect two 4-pin Molex power connectors from your power supply unit (PSU) directly to the corresponding ports on the rear of the enclosure.
- Molex-to-SATA Adapter: If your PSU primarily uses SATA power connectors, use the included Molex-to-SATA power adapter cable. Connect the Molex end to the enclosure and the SATA end to your PSU's SATA power cable.
Note: Ensure both Molex power inputs are connected for stable operation, especially when using multiple drives.

Figure 4: Power connection options.
4.4. Connect Data Cables
- Connect one end of each of the five included SATA data cables to the SATA ports on the rear of the enclosure.
- Connect the other end of each SATA data cable to an available SATA port on your motherboard or RAID controller card.

Figure 5: Rear view showing power and data connections.
4.5. Install Hard Drives/SSDs
- Press the release button on the front of the desired drive bay to eject the drive tray. Pull the tray out completely.
- For 3.5-inch HDDs: Place the 3.5-inch hard drive into the tray. The tray is designed for tool-less installation for 3.5-inch drives, so no screws are typically needed. Ensure the drive is securely seated.
- For 2.5-inch HDDs/SSDs: Place the 2.5-inch drive into the tray. Use the provided screws to secure the 2.5-inch drive to the tray.
- Gently slide the loaded drive tray back into the enclosure until it clicks into place.

Figure 6: Installation of a 2.5-inch HDD/SSD into a drive tray.
5. Operating Instructions
5.1. Hot-Swapping Drives
The RackChoice R35-6GB supports hot-swapping, allowing you to insert or remove drives while the system is running, provided your operating system and motherboard/RAID controller support this feature.
- Before Removal: Safely eject or unmount the drive from your operating system to prevent data corruption.
- Press the release button on the front of the desired drive bay and pull out the drive tray.
- For Insertion: Install a new drive into a tray (as per Section 4.5) and slide the tray into an empty bay until it clicks. The operating system should detect the new drive.
5.2. LED Indicators
Each drive bay features LED indicators to provide status information:
- Power LED (Blue): Indicates that a drive is installed and receiving power.
- Activity LED (Flashing): Indicates drive activity (read/write operations).
6. Maintenance
6.1. Cleaning
To ensure optimal performance and longevity, periodically clean the enclosure:
- Power off the system and disconnect the enclosure.
- Use a soft, dry cloth to wipe down the exterior.
- Use compressed air to clear dust from the fan and ventilation grilles.
6.2. Fan Replacement
The 80mm cooling fan is designed for durability. However, if you notice increased noise or reduced cooling performance, the fan may need replacement. Consult a qualified technician for fan replacement if necessary.
7. Troubleshooting
- Drives Not Detected:
- Ensure all SATA data cables are securely connected to both the enclosure and the motherboard/RAID controller.
- Verify that both Molex power connectors are securely attached to the enclosure.
- Check your BIOS/UEFI settings to ensure SATA ports are enabled.
- If using a RAID card, ensure drivers are installed and the card is properly configured.
- Test drives individually to rule out a faulty drive.
- Poor Cooling/Overheating:
- Ensure the 80mm cooling fan is operating correctly and not obstructed.
- Clean any dust accumulation from the fan and vents.
- Verify adequate airflow within your PC chassis.
- Hot-Swap Not Working:
- Confirm that your motherboard/RAID controller and operating system support hot-swapping (AHCI mode enabled in BIOS/UEFI).
- Always safely eject/unmount drives from the operating system before physical removal.
8. Specifications
| Feature | Detail |
|---|---|
| Model Number | R35-6GB |
| Drive Bays | 5 x 2.5"/3.5" SATA/SAS HDD/SSD |
| Host Interface | SATA 3.0 (6 Gbit/s) |
| External Bays Required | 3 x 5.25" |
| Cooling Fan | 80mm |
| Material | Metal |
| Color | Black |
| Product Dimensions (L x W x H) | 22.5 x 12.7 x 14.6 cm (8.86 x 5 x 5.75 inches) |
| Item Weight | 1.94 Kilograms (4.28 lbs) |
| Compatible Devices | Personal Computer, Laptop (with 5.25" bays) |
| Mounting Type | Rack Mount |
9. Warranty and Support
RackChoice products are designed for reliability and performance. For technical support, warranty inquiries, or if you require a replacement drive tray, please contact RackChoice customer service.
For a PDF version of this manual or further assistance, please reach out to us via email.
Contact Information:
- Please refer to your product packaging or the official RackChoice website for the most current support contact details.