1. Introduction
This manual provides detailed instructions for the setup, operation, and maintenance of your Douk Audio C100 PRO Digital Audio Player. Please read this manual thoroughly before using the device to ensure proper functionality and to maximize your listening experience.
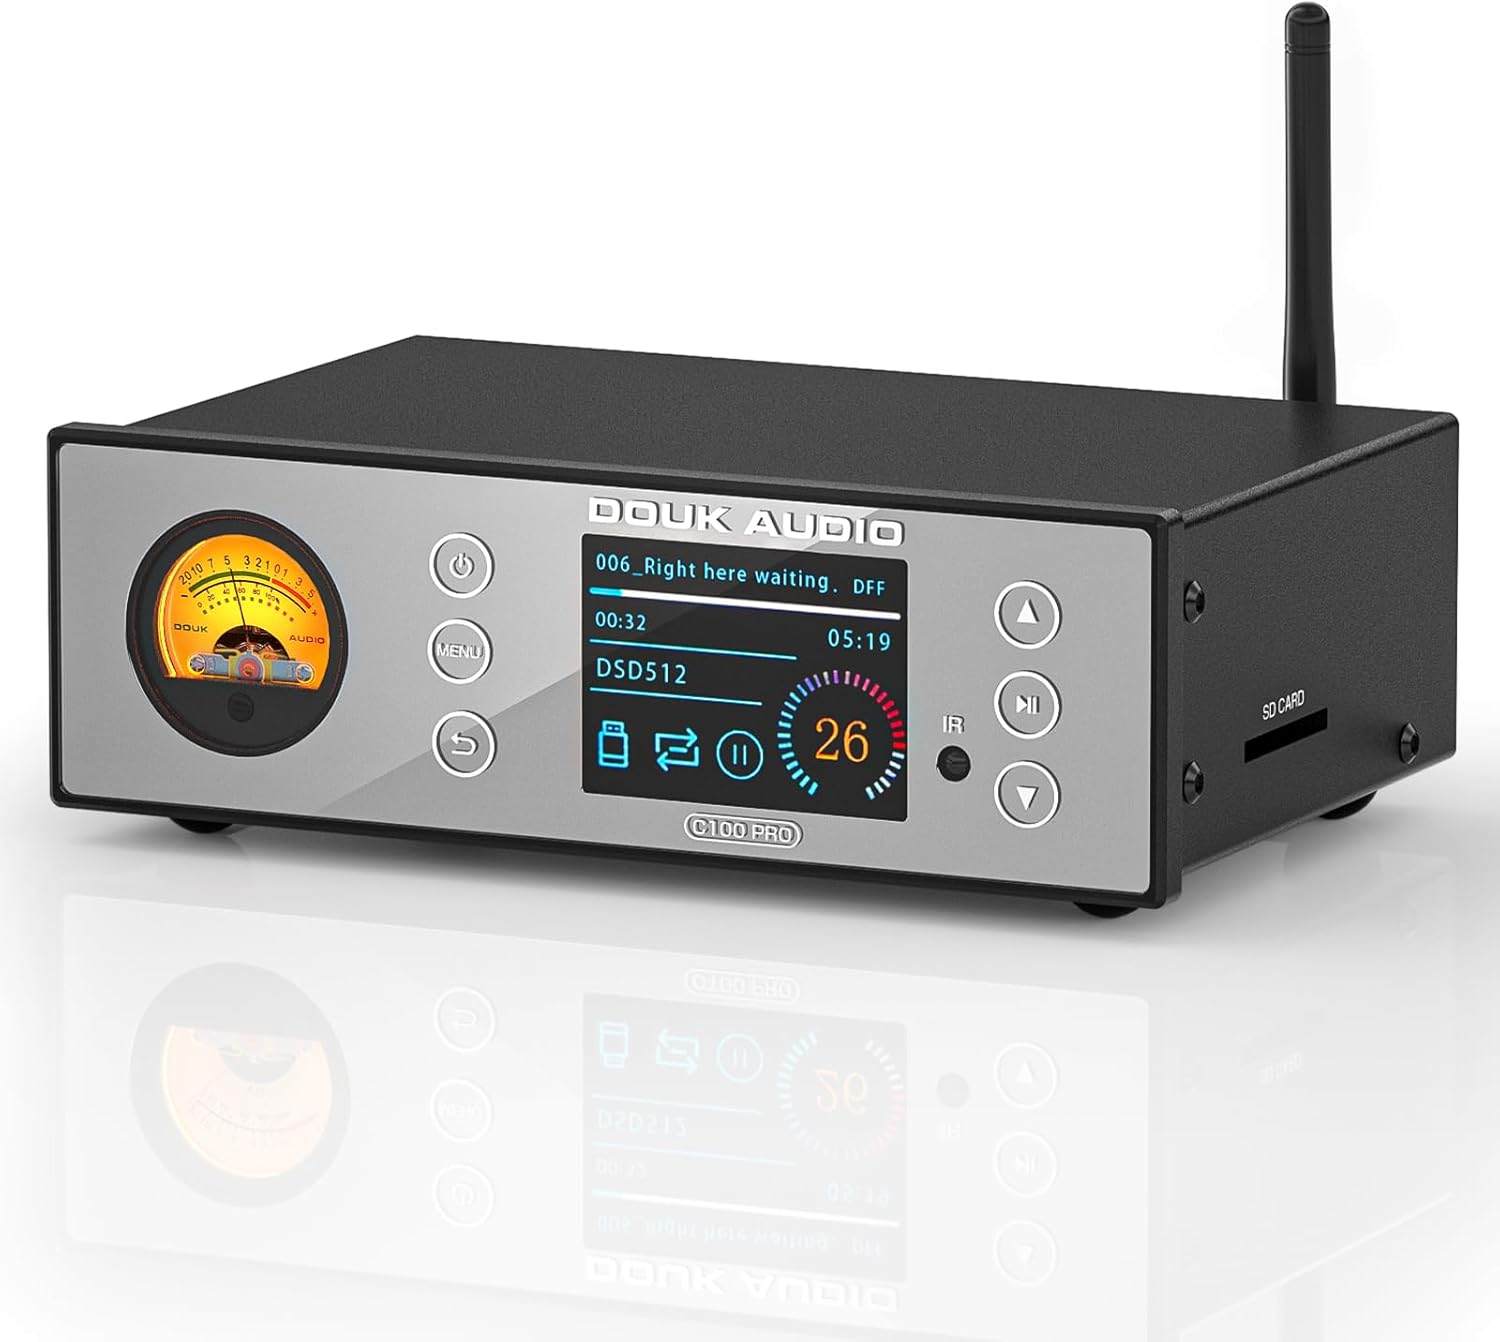
Image: Front view of the Douk Audio C100 PRO, showcasing the VU meter, OLED display, and control buttons.
2. Key Features
- High-Fidelity Audio: Equipped with an ESS9038 decoding chip for ultra-low distortion (0.0005%) and 119dB SNR.
- Advanced Bluetooth: CSR8675 Bluetooth chip supporting APTX-HD/LDAC for 24Bit/96kHz lossless transmission.
- Versatile Inputs: Bluetooth 5.0, Optical, USB, and SD card.
- Multiple Outputs: S/PDIF coaxial and optical digital (up to 24bit/192Khz/dop64), RCA, and balanced XLR outputs.
- Wide Format Support: Plays 32Bit/768kHz WAV, ISO, DFF, DSF (up to DSD512), and DTS formats.
- User Interface: 2.4-inch OLED screen, touch buttons, remote control, and retro VU meter.
- Multi-language Support: Supports 8 languages (Chinese, English, French, German, Japanese, Vietnamese, Spanish, Russian).
3. Package Contents
Verify that all items are present in the package:
- 1x Douk Audio C100 PRO Digital Player
- 1x 32GB SD Card
- 1x Optical Cable
- 1x DC 12V Power Adapter
- 1x Remote Control (batteries not included)
- 1x Quick Start Guide (this document)

Image: Contents of the Douk Audio C100 PRO package, including the player, remote, cables, and SD card.
4. Controls and Interfaces
4.1 Front Panel

Image: Detailed view of the C100 PRO front panel with labels for Power button, VU meter, Menu button, Return button, OLED display screen, Infrared receiver, Previous/Fast Backward button, Play/Pause button, and Next/Fast Forward button.
- Power Button: Short press to turn on/off.
- VU Meter: Displays audio signal level.
- Menu Button: Accesses system settings and playback options.
- Return Button: Navigates back in menus.
- OLED Display Screen: Shows track information, settings, and status.
- Infrared Receiver: For remote control commands.
- Previous/Fast Backward: Short press for previous track, long press for fast backward.
- Play/Pause: Toggles playback.
- Next/Fast Forward: Short press for next track, long press for fast forward.
4.2 Rear Panel

Image: Detailed view of the C100 PRO rear panel with labels for RF antenna connector, USB input, Optical input, Coaxial output, Optical output, Balanced XLR outputs (Left/Right), RCA outputs (Left/Right), and DC 12V power input.
- RF Antenna Connector: For Bluetooth antenna.
- USB Input: Connect USB flash drives or hard disks.
- Optical Input (OPT IN): Digital audio input.
- Coaxial Output (COA): Digital audio output.
- Optical Output (OPT): Digital audio output.
- Balanced XLR Outputs (RIGHT/LEFT): Professional analog audio outputs.
- RCA Outputs (RIGHT/LEFT): Standard analog audio outputs.
- DC 12V IN: Power adapter connection.
4.3 Side Panel
- SD Card Slot: Insert SD cards for music playback.
5. Setup Instructions
5.1 Initial Connection
- Connect Antenna: Screw the provided Bluetooth antenna onto the RF connector on the rear panel.
- Power Connection: Connect the DC 12V power adapter to the "DC 12V IN" port on the rear panel, then plug the adapter into a power outlet.
- Audio Output:
- For analog connection, connect the RCA or XLR outputs to your amplifier or active speakers.
- For digital connection, connect the Coaxial or Optical outputs to a compatible DAC or receiver.
- Audio Input (Optional):
- USB Storage: Insert a USB flash drive or hard disk into the USB port.
- SD Card: Insert an SD card into the SD card slot.
- Optical Input: Connect an optical cable from your source device to the "OPT IN" port.
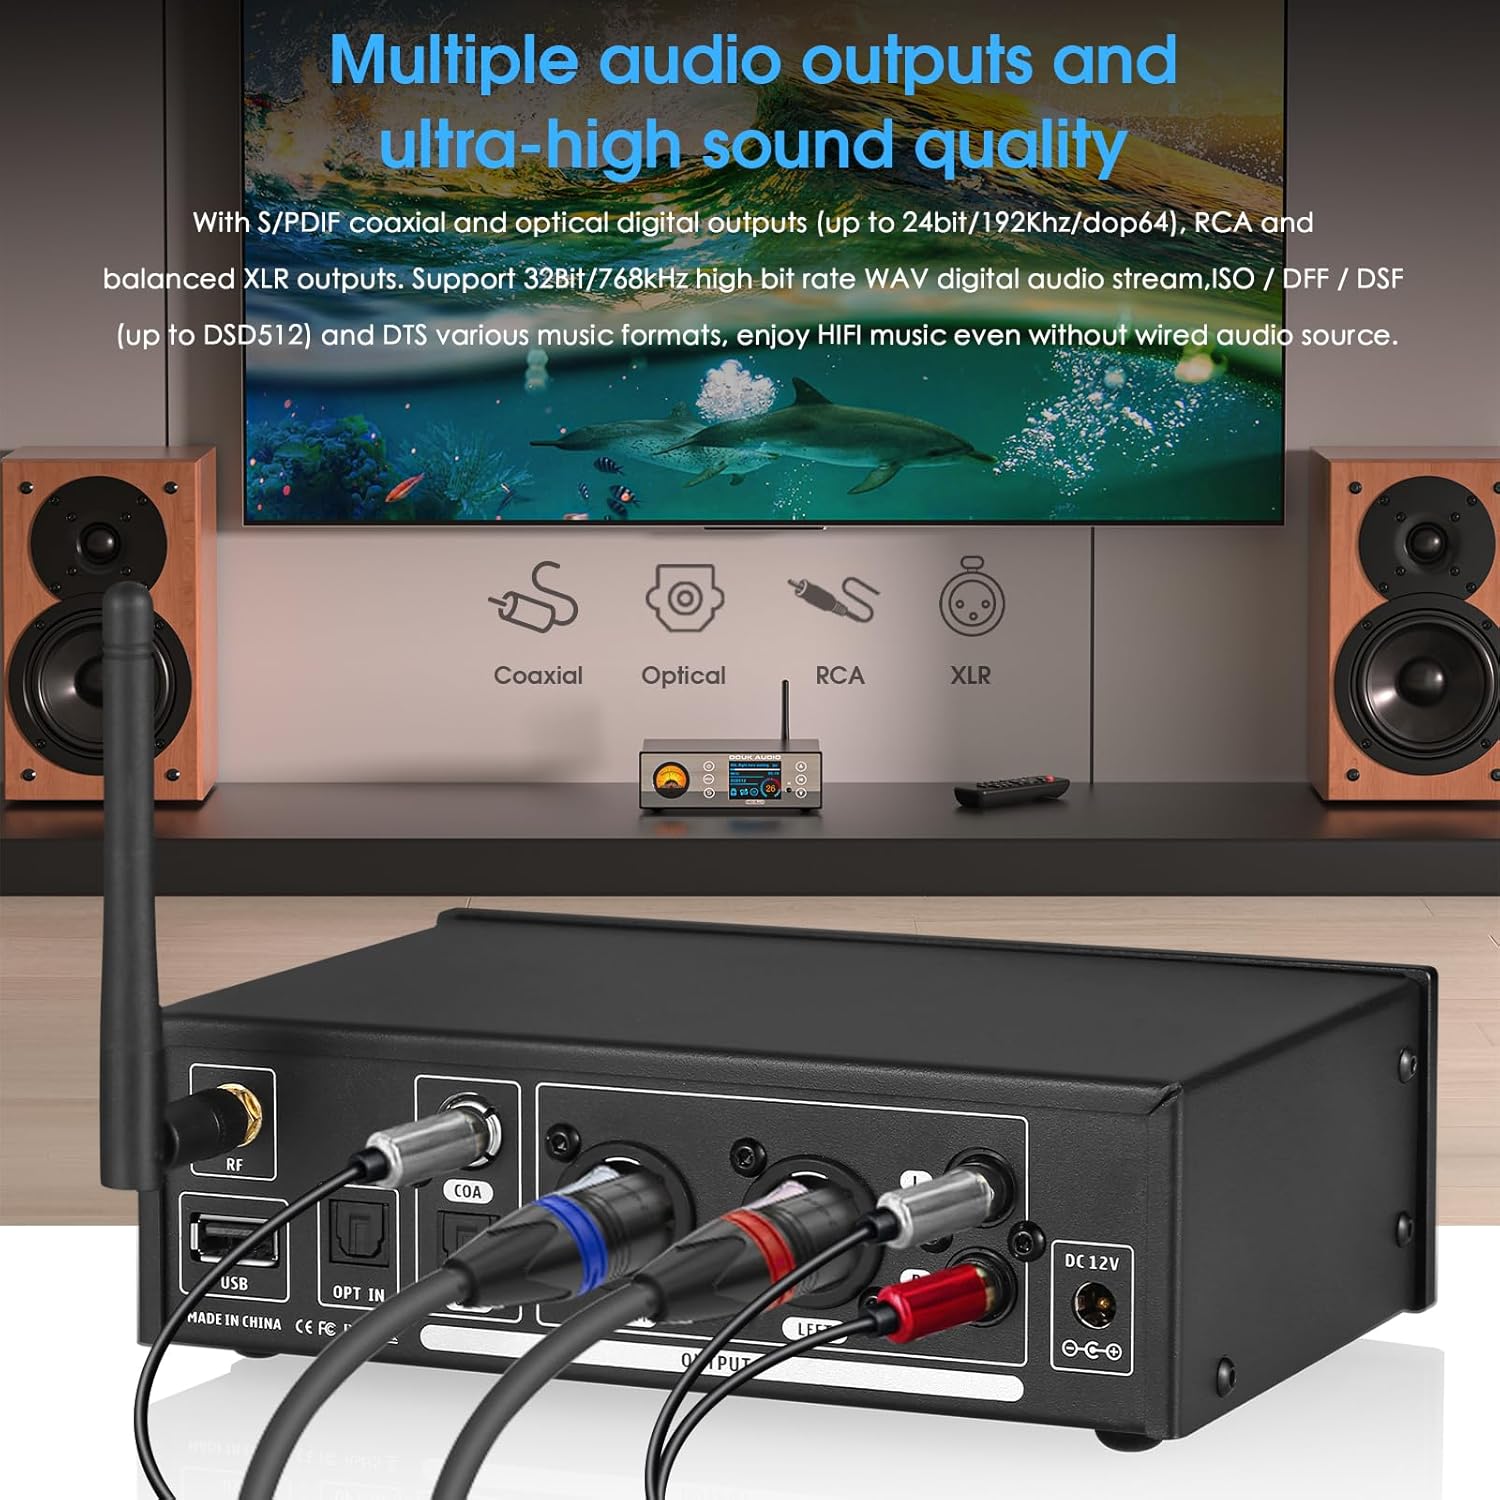
Image: Rear view of the C100 PRO showing various audio cables (USB, optical, coaxial, XLR, RCA) connected to external audio equipment.
5.2 Power On/Off
Press the Power button on the front panel or the remote control to turn the device on or off. The OLED display will illuminate upon power-on.
6. Operating Instructions
6.1 Source Selection
Use the Menu button on the front panel or the remote control to navigate through input sources (Bluetooth, USB, SD Card, Optical Input).
6.2 Bluetooth Playback
- Select "Bluetooth" as the input source.
- On your mobile device, search for "Douk Audio C100 PRO" in the Bluetooth settings and pair.
- Once connected, audio from your device will stream to the C100 PRO.
6.3 USB/SD Card Playback
- Insert your USB drive or SD card containing audio files.
- Select "USB" or "SD Card" as the input source. The device will scan and display available files.
- Use the navigation buttons (Previous, Next, Play/Pause) to control playback.
- The OLED display will show track information, format, and playback progress.
Note: Ensure audio files are in supported formats (WAV, ISO, DFF, DSF, DTS) and organized in a clear folder structure for optimal navigation.
6.4 Optical Input Playback
- Connect your external audio source (e.g., TV, CD player) to the "OPT IN" port using an optical cable.
- Select "Optical Input" as the source. The C100 PRO will act as a DAC for the incoming digital signal.
6.5 Menu Navigation and Settings
Press the Menu button to access various settings, including language selection, display brightness, VU meter modes, and playback options. Use the navigation buttons to scroll and the Play/Pause button to confirm selections. The Return button exits menus.
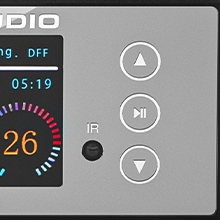
Image: Close-up of the C100 PRO's OLED display, showing current track, format (DSD512), and playback status.
7. Maintenance
- Cleaning: Use a soft, dry cloth to clean the exterior of the device. Avoid using liquid cleaners or abrasive materials.
- Ventilation: Ensure the device is placed in a well-ventilated area to prevent overheating. Do not block ventilation openings.
- Storage: When not in use for extended periods, store the device in a cool, dry place away from direct sunlight and extreme temperatures.
- Power: Disconnect the power adapter during electrical storms or when unused for long durations.
8. Troubleshooting
| Problem | Possible Cause | Solution |
|---|---|---|
| No power | Power adapter not connected or faulty. | Check power connections. Ensure the power outlet is functional. |
| No sound output | Incorrect input/output selection; cables not connected properly; amplifier/speakers off. | Verify input source on C100 PRO. Check all audio cable connections. Ensure connected amplifier/speakers are powered on and set to the correct input. |
| Bluetooth pairing issues | Device not in pairing mode; interference; distance too far. | Ensure C100 PRO is in Bluetooth input mode. Move devices closer. Restart Bluetooth on both devices. |
| USB/SD card not recognized | Unsupported file format; corrupted storage device; incorrect file system. | Ensure files are supported. Try a different USB/SD card. Format the storage device to FAT32 or exFAT if necessary. |
| Remote control not working | Batteries depleted; obstruction between remote and device; remote sensor blocked. | Replace remote batteries. Remove any obstructions. Ensure remote is pointed at the IR receiver. |
9. Specifications
| Feature | Detail |
|---|---|
| Decoding Chip | ESS9038 |
| Bluetooth Chip | CSR8675 |
| Bluetooth Protocols | APTX-HD/LDAC (24Bit/96kHz) |
| Distortion | 0.0005% |
| Signal-to-Noise Ratio (SNR) | 119dB |
| Supported Audio Formats | WAV (up to 32Bit/768kHz), ISO, DFF, DSF (up to DSD512), DTS |
| Inputs | Bluetooth 5.0, Optical, USB, SD Card |
| Outputs | S/PDIF Coaxial, Optical Digital (up to 24bit/192Khz/dop64), RCA, Balanced XLR |
| Display | 2.4-inch OLED screen, VU Meter |
| Product Dimensions | 4.17 x 6.61 x 2.09 inches (106 x 168 x 53 mm) |
| Item Weight | 1.98 pounds (0.9 kg) |
| Power Supply | DC 12V |
10. Warranty and Support
For warranty information and technical support, please refer to the official Douk Audio website or contact your retailer. Keep your purchase receipt for warranty claims.
Manufacturer: Douk Audio
Website: Douk Audio Official Store
11. Safety Information
- Do not expose the device to water or excessive moisture.
- Avoid placing the device near heat sources or in direct sunlight.
- Do not attempt to disassemble or modify the device. This will void the warranty.
- Use only the provided power adapter.
- Keep out of reach of children.


