
1. Introduction
Thank you for choosing the USTELLAR 55W Security Lights. This product is designed to provide bright, energy-efficient outdoor illumination with advanced motion sensing and remote control capabilities. Featuring 5500 lumens of 5000K daylight white light, these IP65 waterproof lights are ideal for enhancing security and visibility around your yard, house, garage, or patio. This manual provides essential information for safe installation, operation, and maintenance.

Figure 1: USTELLAR 55W Security Lights (2-Pack)
2. What's in the Box
Upon opening the package, you will find the following components:
- 2 x LED Flood Lights with Motion Sensors
- 2 x Remote Controls
- Mounting Hardware (including screws, wire connectors, gasket, mounting bracket, rubber plug)
- 1 x E-manual (accessible via QR code)

Figure 2: Included Components and Dimensions
3. Specifications
| Feature | Specification |
|---|---|
| Brand | USTELLAR |
| Model Name | UT88125W-DW-US-2 |
| Wattage | 55 watts |
| Brightness | 5500 Lumen |
| Color Temperature | 5000 Kelvin (Daylight White) |
| Material | Aluminum, Plastic |
| Water Resistance Level | IP65 Waterproof |
| Motion Sensor Angle | Max 180° |
| Motion Sensor Distance | Max 60ft |
| Light Head Adjustability | Adjustable (3 panels) |
| Control Method | Remote Control (Infrared) |
| Power Source | Corded Electric (Hardwired) |
| Lifespan | Up to 50,000 hours |
| Batteries Required | 1 CR2 battery (included for remote) |
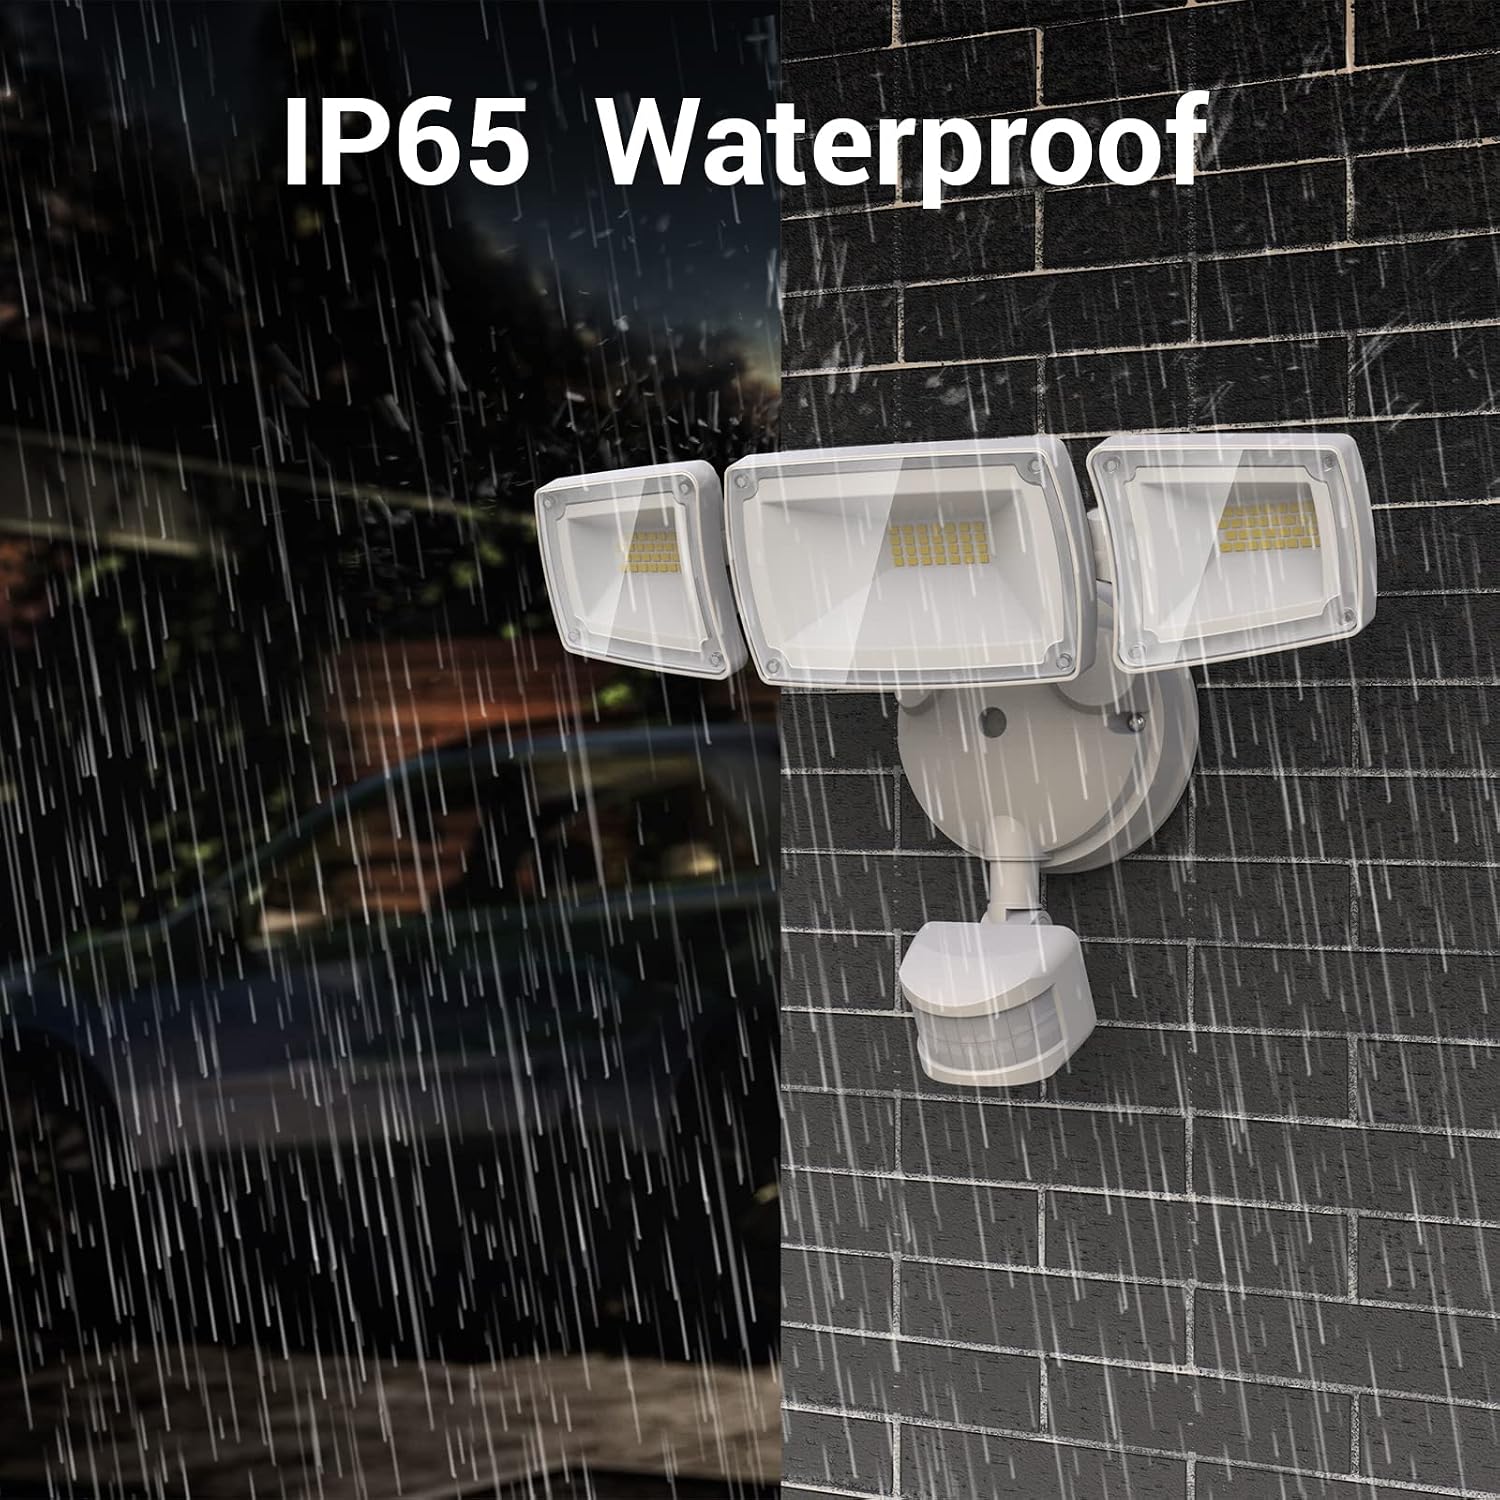
Figure 3: IP65 Waterproof Rating
4. Safety Information
Please read and understand all safety instructions before installing or operating this product. Failure to do so may result in electric shock, fire, or other injuries.
- WARNING: Risk of Electric Shock. Disconnect power at the fuse or circuit breaker before installation or servicing.
- Ensure the product is properly grounded.
- Do not install on surfaces that are unstable or prone to vibration.
- This product is designed for outdoor use and is IP65 rated for water resistance. However, ensure all wiring connections are sealed and protected from moisture.
- Do not look directly into the LED light source when illuminated, as this may cause eye damage.
- Consult a qualified electrician if you are unsure about any part of the installation process.
5. Setup and Installation
The USTELLAR security light is hardwired and designed for easy installation on walls or under eaves. All necessary mounting hardware is included.
5.1 Mounting Location
- Choose a location that provides optimal coverage for the desired area.
- Ensure the mounting surface is sturdy and can support the weight of the fixture.
- Consider the motion sensor's detection range (up to 60ft) and angle (180°) when positioning.


Figure 4: Wall Mounted and Soffit Mounted Installation Examples
5.2 Wiring Instructions
- Turn off power at the circuit breaker before beginning installation.
- Connect the wires from the fixture to your household wiring:
- Black wire (Live) to Black wire (Live)
- White wire (Neutral) to White wire (Neutral)
- Green/Yellow wire (Ground) to Green/Yellow wire (Ground)
- Secure connections with the provided wire connectors.
- Carefully tuck all wires into the junction box.
5.3 Adjusting Light Heads and Sensor
The three light heads and the motion sensor are independently adjustable to customize your lighting area and detection zone.
- Rotate the light heads to direct illumination where needed.
- Adjust the motion sensor's angle to cover the desired detection area.

Figure 5: Adjustable Light Heads and Motion Sensor

Figure 6: Motion Sensor Detection Range and Angle
6. Operating Instructions
The USTELLAR security light features an IR remote control for convenient adjustment of settings and lighting modes. Ensure the remote is aimed at the motion sensor for optimal functionality, keeping within 16ft and avoiding obstructions.

Figure 7: Remote Control for Easy Adjustment
6.1 Remote Control Functions

Figure 8: Remote Control Overview
- ON/OFF: Turns the light on or off. In this mode, the motion detector will not work.
- PIR (Mode 1): Motion Sensor Mode. The light activates at 100% brightness when motion is detected.
- DIM (Mode 2): Dimming Mode. The light turns on at 100% brightness when motion is detected, then decreases to 20% brightness after motion ceases.
- D2D (Mode 3): Dusk to Dawn Mode. The light turns on at 100% brightness at night and automatically turns off in the morning. The motion sensor does not work in this mode.
- HOLD TIME (10s, 1min, 5min, 10min): Sets the duration the light stays on after motion is detected (for PIR and DIM modes).
- LUX (DAY, LUX, NIGHT): Sets the luminance detection threshold. 'DAY' allows the light to work all day, 'NIGHT' only at night.
- SENS (LOW, SENS, HIGH): Adjusts the motion sensor sensitivity.
6.2 Lighting Modes in Detail

Figure 9: PIR (Motion Sensor) Mode

Figure 10: DIM (Dimming) Mode

Figure 11: D2D (Dusk to Dawn) Mode

Figure 12: Always ON Mode
7. Maintenance
Regular maintenance ensures optimal performance and longevity of your USTELLAR security lights.
- Cleaning: Periodically clean the light fixture and motion sensor lens with a soft, damp cloth to remove dirt, dust, or debris. Do not use abrasive cleaners or solvents.
- Inspection: Annually inspect the wiring and mounting hardware for any signs of wear, damage, or loosening. Tighten screws as needed.
- LEDs: The LED light source is non-replaceable. Do not attempt to open or modify the light panels.
8. Troubleshooting
If you encounter issues with your USTELLAR security light, refer to the following common troubleshooting steps:
| Problem | Possible Cause | Solution |
|---|---|---|
| Light does not turn on. | No power, loose wiring, faulty sensor. | Check circuit breaker. Ensure all wiring connections are secure. Test sensor sensitivity. |
| Light stays on continuously. | Sensor sensitivity too high, continuous motion in detection area, D2D mode active. | Adjust sensor sensitivity to LOW. Ensure no constant motion. Switch out of D2D mode if not desired. |
| Light turns on for no apparent reason. | Sensor sensitivity too high, environmental factors (wind, small animals). | Reduce sensor sensitivity. Adjust sensor angle to avoid unwanted triggers. |
| Remote control not working. | Battery low/dead, obstruction, out of range. | Replace CR2 battery. Ensure direct line of sight to sensor. Operate within 16ft. |
9. Warranty and Support
The USTELLAR 55W Security Lights come with a Limited Warranty. Please refer to the product packaging or contact USTELLAR customer support for specific warranty terms and conditions.
For technical assistance, troubleshooting beyond this manual, or warranty claims, please contact USTELLAR customer support through their official website or the contact information provided with your purchase.