1. Introduction
This instruction manual provides important information regarding the safe installation, proper usage, and maintenance of your Lindby Linaro 1-Phase Track Connector. Please read this manual thoroughly before installation and retain it for future reference. This connector is designed to join two sections of a 1-phase track system, ensuring continuous electrical connection for track spotlights.
2. Safety Information
- Electrical Safety: Installation must be performed by a qualified electrician in accordance with local electrical codes and regulations.
- Power Disconnection: Always disconnect the main power supply before installing, maintaining, or performing any work on the track system.
- Product Integrity: Do not modify the product in any way. Use only original Lindby components for the track system.
- Environment: This product is rated IP20, meaning it is protected against solid objects larger than 12.5mm but has no protection against water. Do not install in damp or wet environments.
- Protection Class I: This product requires a protective earth connection. Ensure proper grounding during installation.
3. Package Contents
Verify that all components are present and undamaged before proceeding with installation.
- 1x Lindby Linaro 1-Phase Track Connector (Model 9627165)

Image 1: Top view of the Lindby Linaro 1-Phase Track Connector, showing its white synthetic housing and internal brass contacts.
4. Installation
Follow these steps to properly install the track connector:
- Prepare Tracks: Ensure both track sections are cut to the desired length and have clean, burr-free ends.
- Align Connector: Slide one end of the track connector into the channel of the first track section. Ensure the internal contacts align correctly with the track's conductors.
- Secure First Side: Gently push the connector fully into the first track section until it is snug. Tighten the small screw on the connector to secure it to the track. Do not overtighten.
- Connect Second Track: Align the second track section with the exposed end of the connector. Slide the second track section onto the connector, ensuring proper alignment of conductors.
- Secure Second Side: Push the second track section fully onto the connector. Tighten the remaining screw on the connector to secure it to the second track.
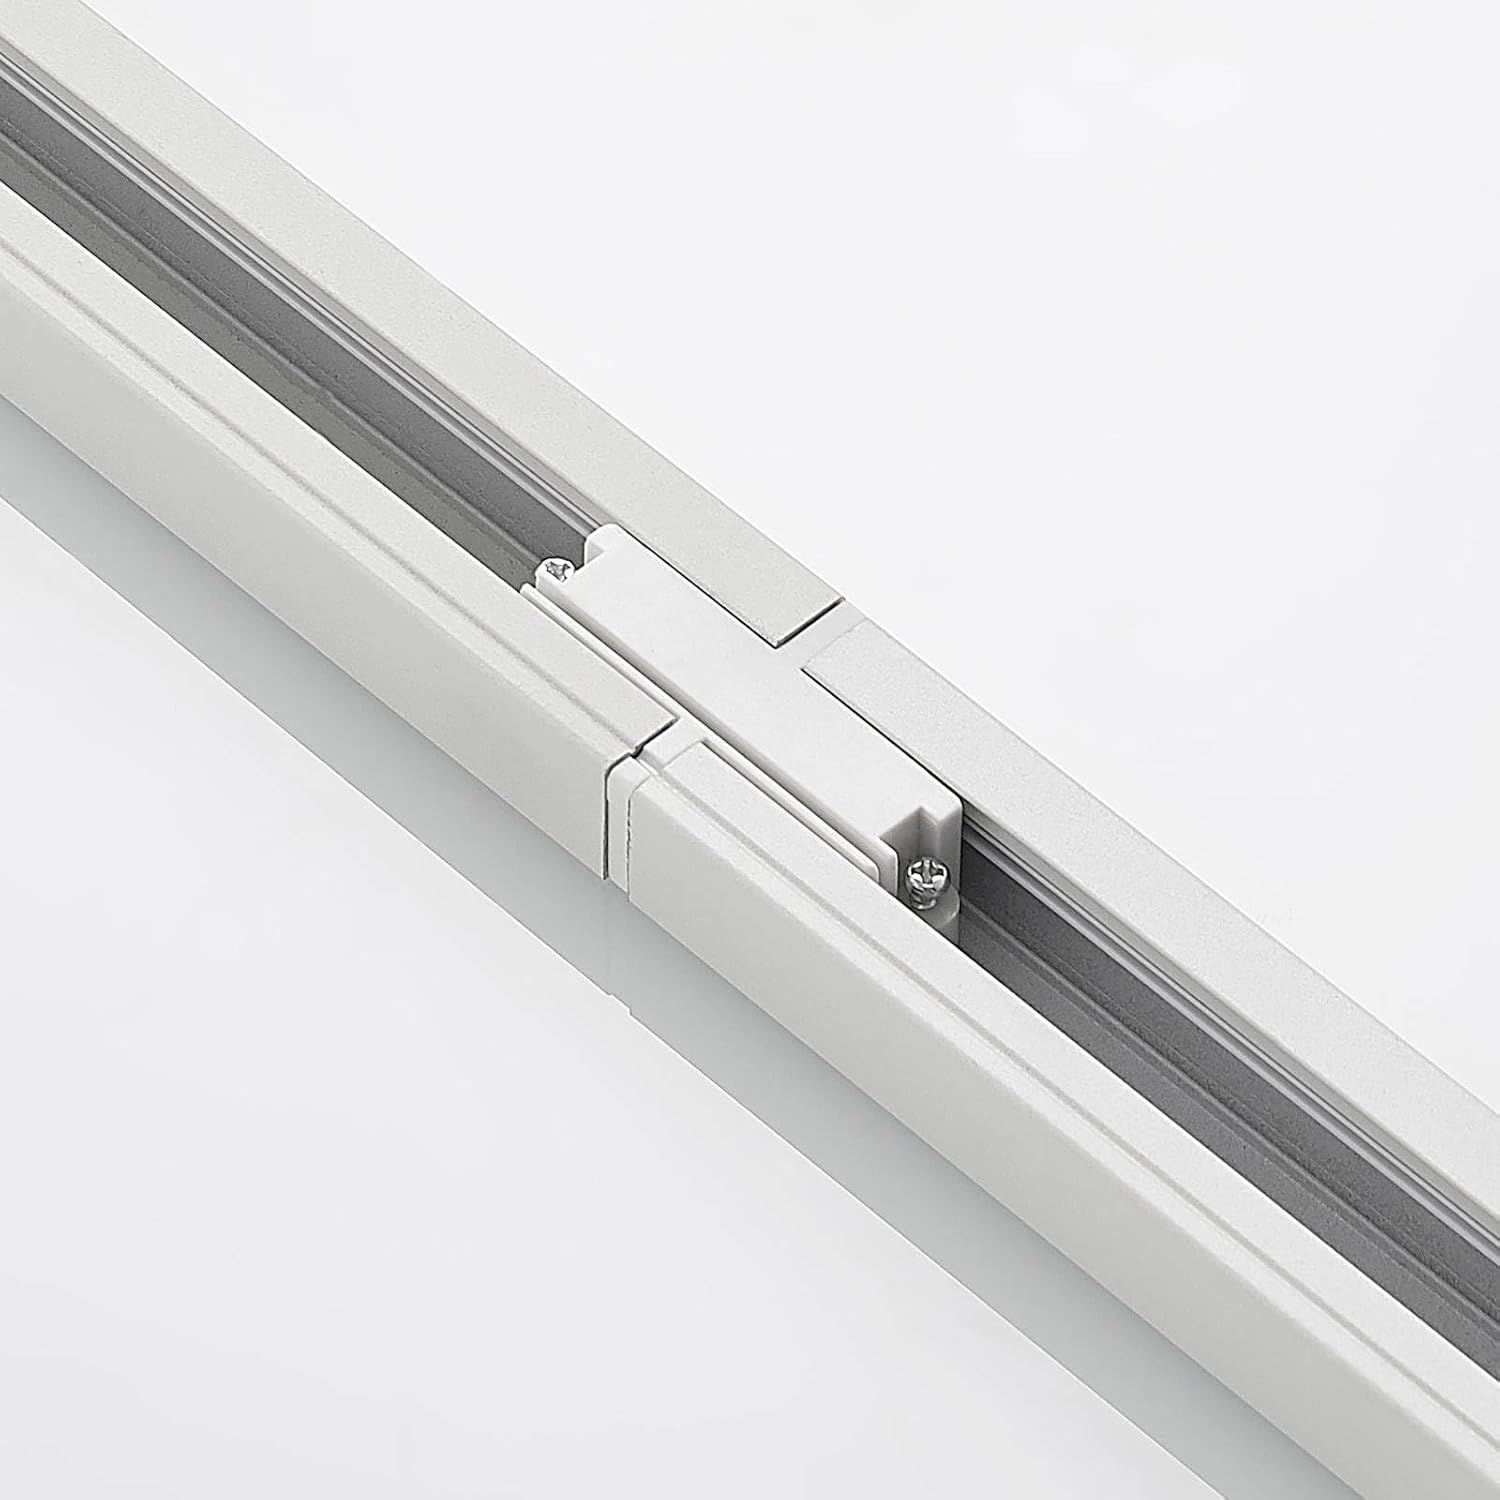
Image 2: The Linaro track connector joining two sections of a 1-phase track system, showing a seamless connection.

Image 3: Detailed view of the securing screw on the track connector, which fastens it to the track rail.

Image 4: Another view of the connector integrated into the track, highlighting its flush fit.
5. Usage
The Lindby Linaro 1-Phase Track Connector provides a secure and electrically conductive link between two track sections. Once installed, it allows for the continuous flow of power along the track, enabling the attachment and operation of track spotlights and other compatible accessories across the joined sections.
6. Maintenance
- Cleaning: Disconnect power before cleaning. Wipe the connector with a soft, dry cloth. Do not use abrasive cleaners or solvents.
- Inspection: Periodically inspect the connector for any signs of damage, loose connections, or discoloration. If any issues are found, disconnect power and consult a qualified electrician.
7. Troubleshooting
- No Power to Track:
- Ensure the main power supply to the track system is switched on.
- Check that the connector is fully inserted into both track sections and the screws are tightened.
- Verify that the track sections themselves are properly installed and receiving power.
- Loose Connection:
- Disconnect power. Re-check the tightness of the securing screws on the connector.
- Ensure the track ends are clean and free of debris that might prevent a proper connection.
8. Specifications
| Brand | Lindby |
| Model Number | 9627165 |
| Material | Synthetic material |
| Color | White |
| Dimensions (L x W x H) | 6.1 cm x 3.5 cm x 1.8 cm |
| IP Rating | IP20 |
| Protection Class | I |
| System Compatibility | 1-Phase Track System |

Image 5: Technical drawing showing the dimensions of the connector: 61mm length, 35mm width, and 18mm height.
9. Warranty and Support
For warranty information, please refer to the terms and conditions provided by your retailer at the time of purchase. If you encounter any issues or require technical assistance, please contact your point of purchase or the Lindby customer support channel specified by your retailer.


