
Ergounion E666
Ergounion E666 Triple Monitor Mount Instruction Manual
Model: E666 | Brand: Ergounion
Introduction
This manual provides detailed instructions for the installation, operation, and maintenance of your Ergounion E666 Triple Monitor Mount. Designed for ergonomic comfort and productivity, this fully adjustable desk mount supports up to three flat or curved screens, each up to 40 inches and 25 lbs (11.3 kg). It features VESA compliance (100x100mm and 75x75mm) and offers both C-Clamp and Grommet Base mounting options. Please read this manual thoroughly before installation to ensure safe and correct usage.
Safety Information
WARNING: Failure to read, understand, and follow all instructions can result in serious personal injury, property damage, or voiding of warranty. Ensure your mounting surface can safely support the combined weight of the mount and all attached equipment. Do not exceed the maximum weight capacity of 25 lbs (11.3 kg) per monitor. Use only with VESA compliant monitors. Keep small parts away from children. If you have any questions, contact Ergounion customer support.
Package Contents
Verify that all components are present and undamaged before proceeding with installation. Refer to the diagram below for identification.
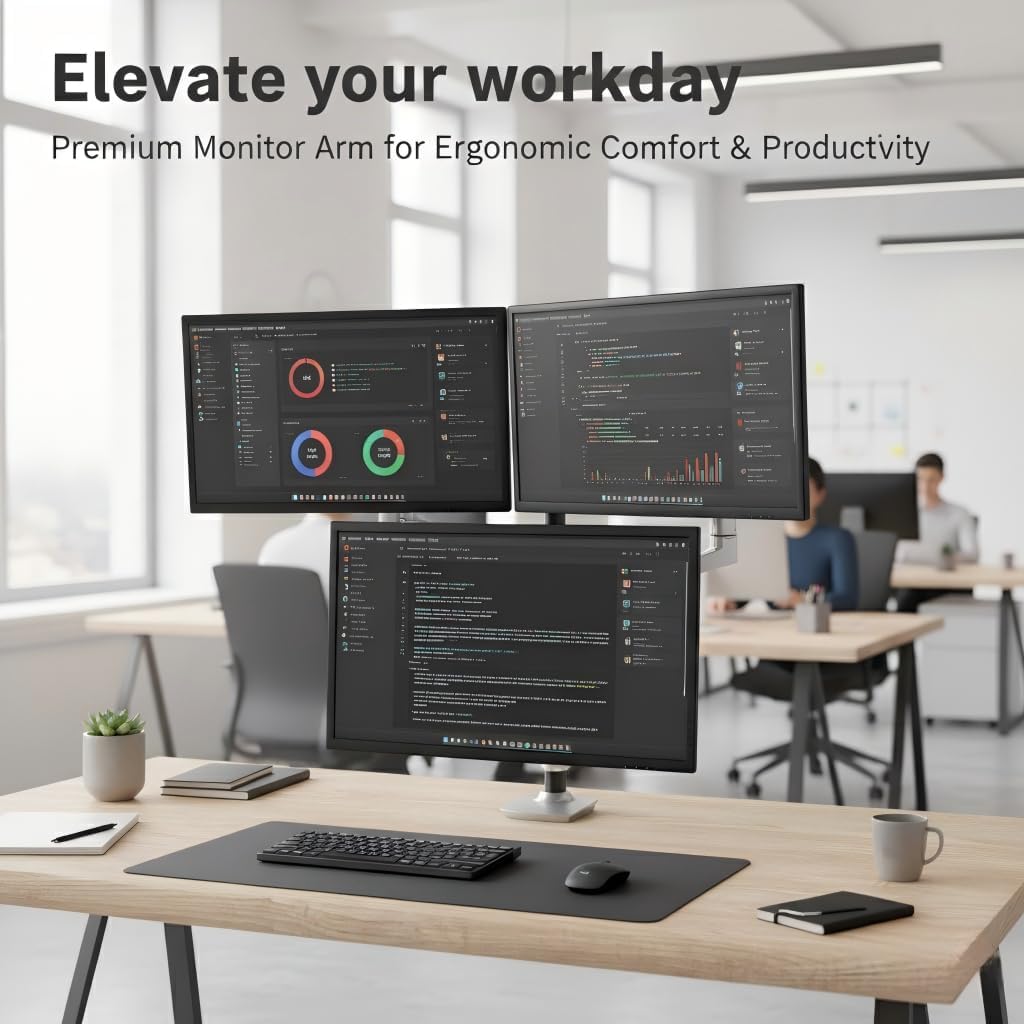
Image: Ergounion E666 Triple Monitor Mount with three monitors in an office setting.
Parts List:
- A: C-Clamp Mount (for desk edge mounting)
- B: Extension Arm (connects to pole)
- C: Monitor Arm (gas spring arm with VESA plate)
- D: VESA Screws (M4x12, M4x16, M5x12, M5x16 for monitor attachment)
- E: Allen Key (for adjustments and assembly)
- F: C-Clamp/Grommet Screws (various sizes for different desk thicknesses)
- G: Grommet Plate (part of grommet mounting base)
- H: Grommet Base (secures mount through a desk hole)
- I: Grommet Cover (finishes grommet installation)
Video: Detailed unboxing and package contents for the Ergounion E666 Monitor Desk Mount. This video visually guides you through identifying all included parts.
Setup and Installation
Follow these steps carefully to install your Ergounion E666 Triple Monitor Mount. Two primary mounting options are available: C-Clamp and Grommet Base.
1. Choose Your Mounting Option: C-Clamp or Grommet Base
The C-Clamp is suitable for desks with edges between 0.4" and 2.4" (10-60mm) thick. The Grommet Base is for desks up to 2.25" (57mm) thick with an existing hole.

Image: C-Clamp mounting method, showing how it attaches to the edge of a desk.

Image: Grommet Base mounting method, illustrating installation through a desk hole.
2. Install the Base
For C-Clamp Mount: Attach the C-Clamp (Part A) to the desk edge and tighten the screw using the Allen key (Part E) until secure. Ensure the mount is stable.
For Grommet Base Mount: Insert the grommet screw (Part F) through the desk hole, then secure the grommet plate (Part G) and base (Part H) from underneath. Tighten firmly. Place the grommet cover (Part I) on top for a clean finish.
3. Assemble the Monitor Arms
Slide the extension arms (Part B) onto the main pole, securing them at your desired height with the provided screws and Allen key. Then, attach the monitor arms (Part C) to the extension arms. For a triple monitor setup, ensure proper spacing and alignment.
Video: Step-by-step installation guide for the Ergounion E666 Triple Monitor Mount, demonstrating arm assembly and attachment.
4. Attach Monitors
Carefully attach your VESA-compatible monitors to the VESA plates on each monitor arm using the appropriate VESA screws (Part D). Ensure the screws are tightened securely but do not overtighten.

Image: A triple monitor setup demonstrating the mount's capacity for screens up to 40 inches and 25 lbs, with VESA 75x75mm and 100x100mm compatibility.
Operating Instructions
The Ergounion E666 features a premium spring arm design for flexible and effortless adjustments.
Adjusting Monitor Arm Tension
The monitor arms are designed with mechanical constant force springs. If a monitor does not stay in its raised or lowered position, you may need to adjust the tension.
- If the monitor does not stay up when raised, turn the adjustment screw clockwise (+) to increase tension for heavier monitors.
- If the monitor does not stay down when lowered, turn the adjustment screw counter-clockwise (-) to reduce tension for lighter monitors.

Image: Adjusting arm tension: Turn clockwise to increase tension if the monitor does not stay up.

Image: Adjusting arm tension: Turn counter-clockwise to decrease tension if the monitor does not stay down.
Video: Demonstrates how to adjust the monitor arm's tension to ensure the monitor stays in the desired position after attachment.
Monitor Positioning
The E666 allows for extensive movement to achieve your optimal viewing angle:
- Tilt: Adjust your monitor from -25° to +90°.
- Swivel: Rotate your monitor ±180° horizontally.
- Rotation: Rotate your monitor 360° for landscape or portrait orientation.

Image: Illustrates the full range of motion including tilt, swivel, and 360° rotation for optimal monitor positioning.
Cable Management
Utilize the integrated cable management channels on the arms to route your monitor cables. This helps maintain a clean and organized workspace.

Image: Detail of the hidden cable management system within the monitor arm.
Maintenance
- Regularly check all screws and connections to ensure they remain tight.
- Clean the mount with a soft, damp cloth. Avoid abrasive cleaners.
- Do not attempt to disassemble the gas spring mechanism.
Troubleshooting
- Monitor arm does not move freely: Ensure the tension is correctly adjusted for the weight of your monitor. Refer to the "Adjusting Monitor Arm Tension" section.
- Monitor sags or drifts: Increase the tension of the arm by turning the adjustment screw clockwise (+).
- Monitor floats up: Decrease the tension of the arm by turning the adjustment screw counter-clockwise (-).
- Mounting plate seems stuck: If the top of the mounting plate does not move, first mount the monitor to add a little gravity, then try adjusting.
Video: Troubleshooting tip for when the mounting plate is difficult to move. It suggests attaching the monitor first to provide necessary weight.
Specifications
| Feature | Detail |
|---|---|
| Brand | Ergounion |
| Model Number | E666 |
| Item Weight | 19.8 pounds |
| Product Dimensions | 22.8 x 18.5 x 7.5 inches |
| Color | Silver |
| Material | Aluminum |
| Mounting Type | Tabletop Mount (C-Clamp, Grommet) |
| Movement Type | Articulating, Rotate, Swivel, Tilt |
| Compatible Devices | Monitors (13" - 40" screens, up to 25 lbs each) |
| VESA Compliance | 75x75mm, 100x100mm |
| Maximum Tilt Angle | 90 Degrees |
| UPC | 768399902182 |
Warranty and Support
For specific warranty information and customer support, please refer to the official Ergounion website or contact their customer service directly. Protection plans are available for purchase separately to extend coverage for your product.
Ergounion Contact: Visit the Ergounion Store on Amazon for more information and support resources.
Related documentsE666


Ask a question about this manual
Ask about setup, troubleshooting, compatibility, parts, safety, or missing instructions. Manuals+ will review the question and use this page’s manual context to help answer it.