Introduction
This manual provides essential information for the installation, maintenance, and proper use of your RYOBI Pressure Washer Gasket Kit. This kit contains replacement gaskets designed to restore optimal performance and prevent leaks in compatible pressure washer models. Please read these instructions carefully before proceeding with any installation or maintenance.
Product Overview
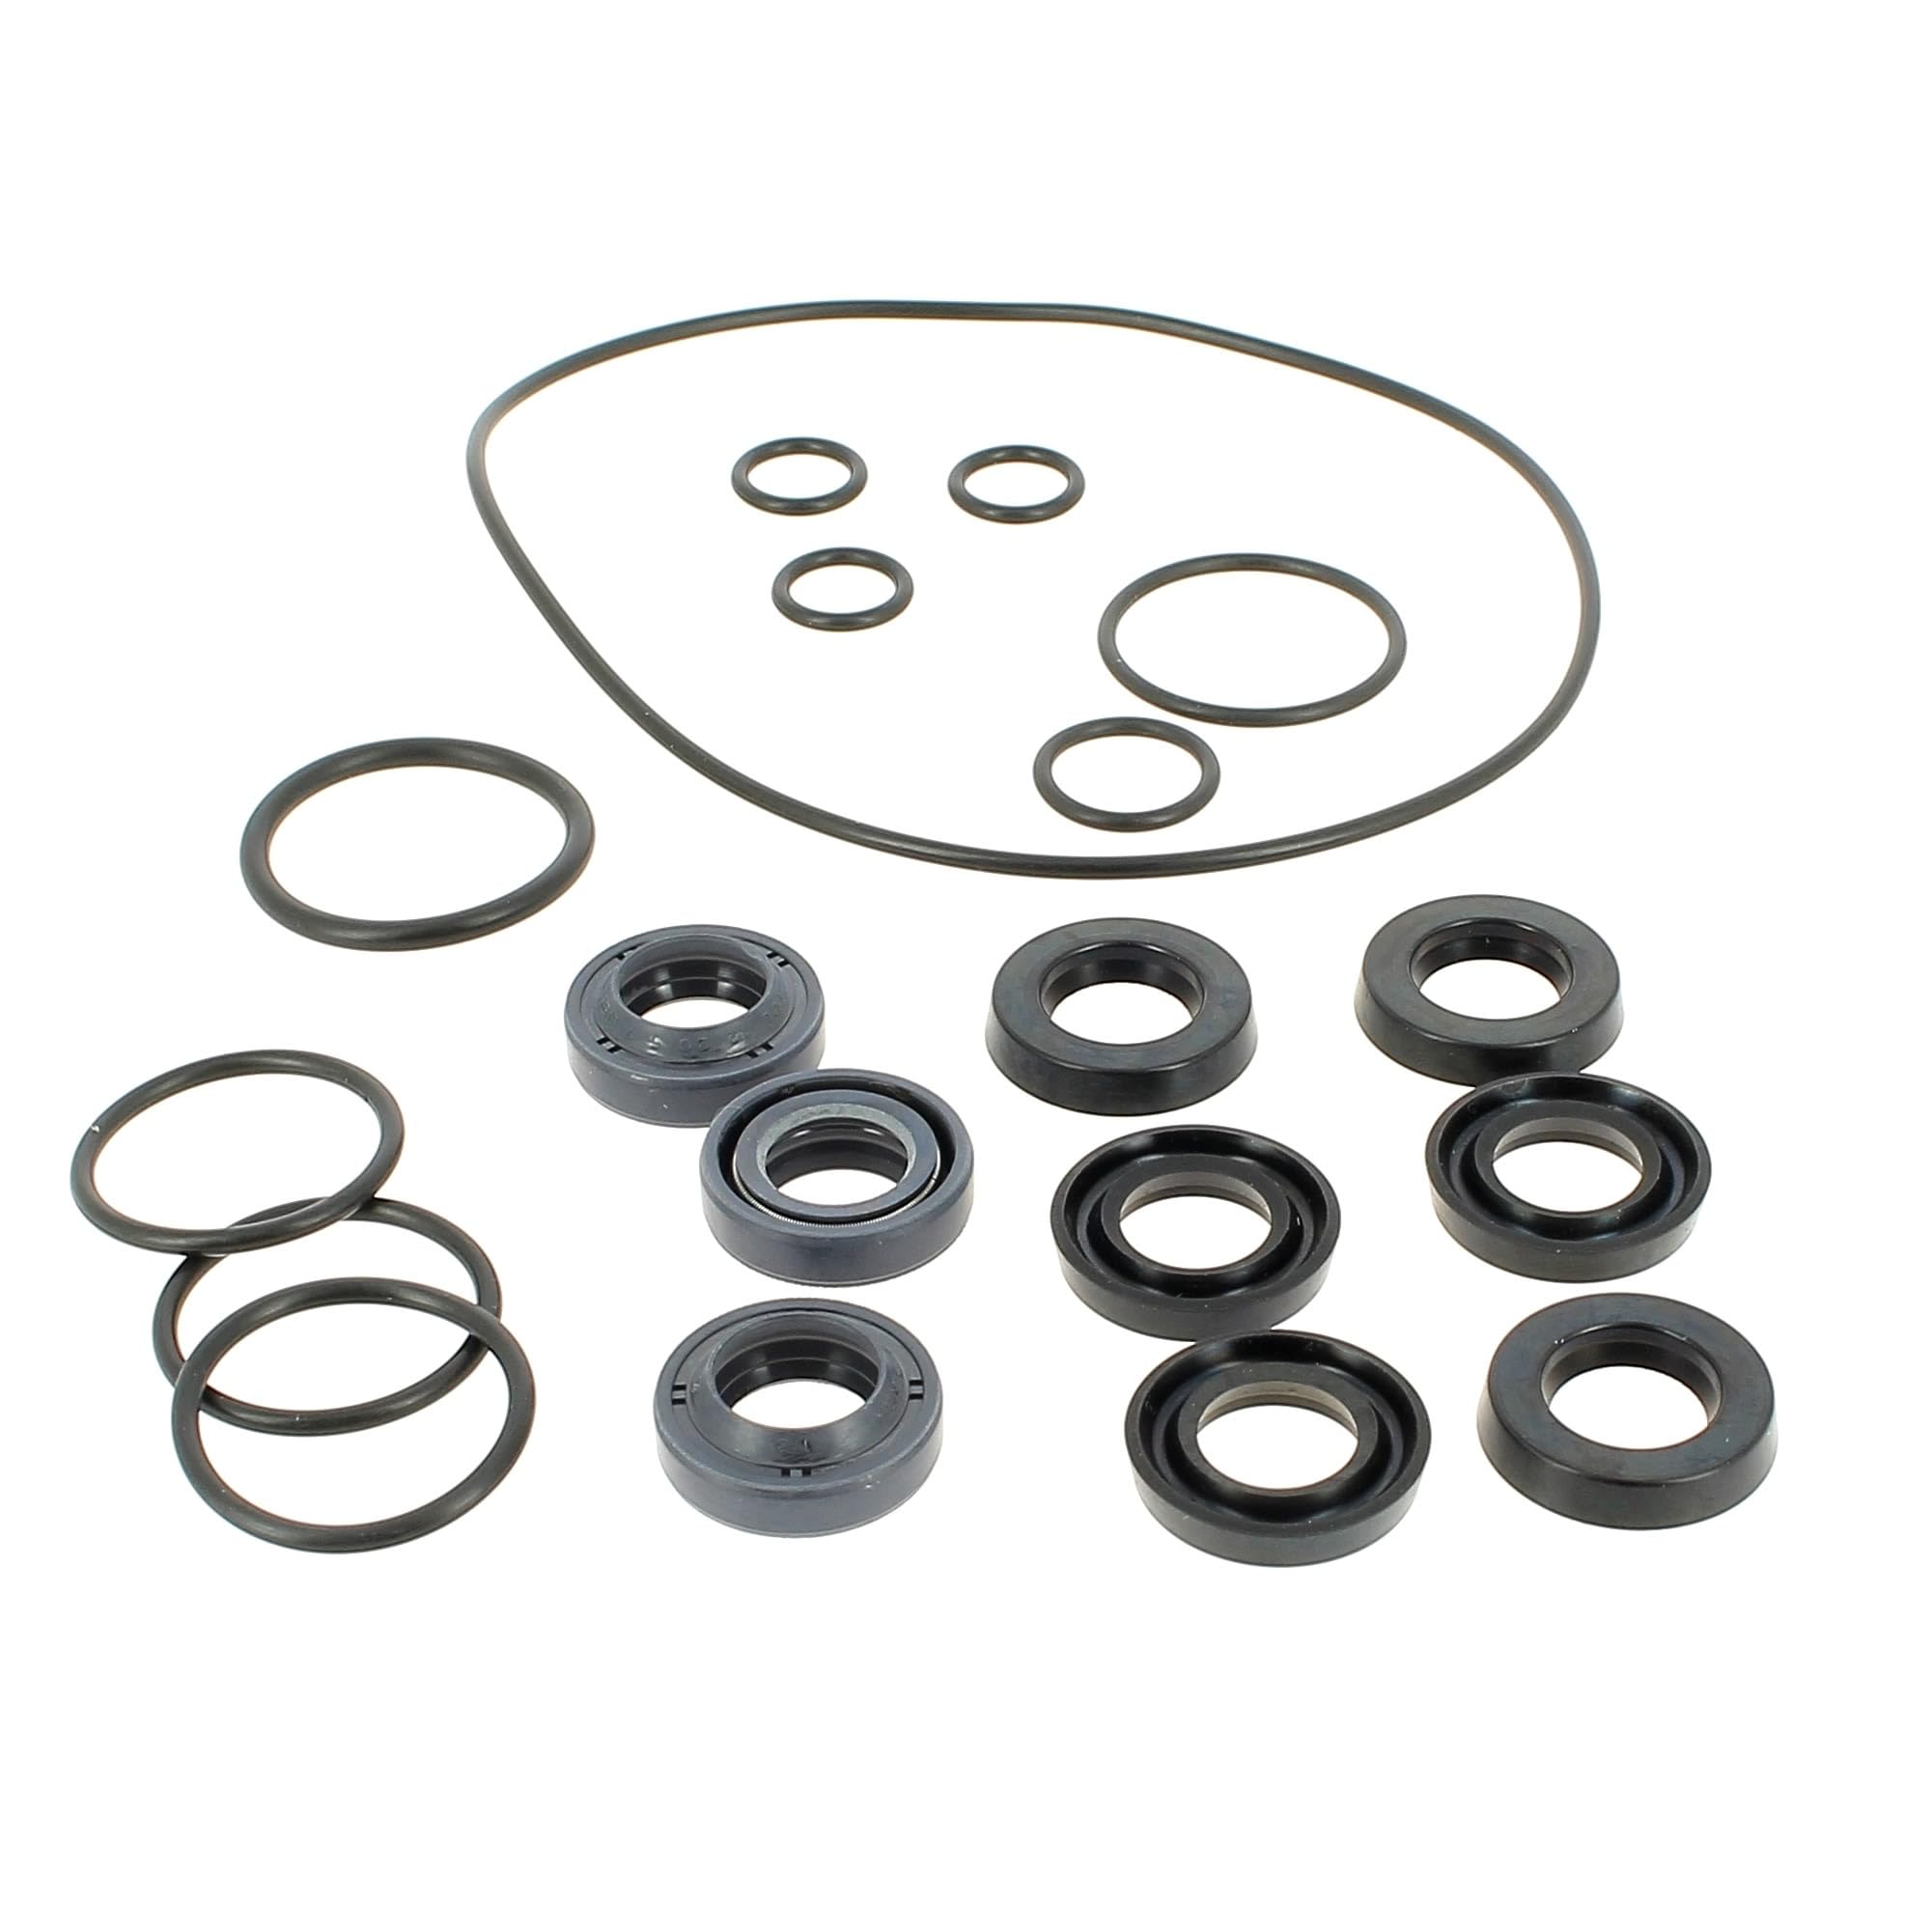
Image Description: A close-up view of the RYOBI Pressure Washer Gasket Kit, showing various sizes and types of gaskets and O-rings, typically used for sealing connections and preventing leaks in high-pressure washing equipment.
The RYOBI Gasket Kit is designed for use with various Ryobi and Mac Allister pressure washer models. These gaskets are crucial components for maintaining the high-pressure seal within your equipment, preventing water leaks and ensuring efficient operation.
Compatible Models:
- Ryobi and Mac Allister pressure washers
- 135xtrm
- Ehp1240
- Ehp5014 (Version 1 & 2)
- Rhp4121 (Model 1, 2 & 3)
- Rhp41300 (Version 2)
- Rhon. P4130 (Version 3)
Kit Contents:
- Various gaskets
- High-pressure washers (seals)
- O-rings (implied by "gaskets" for pressure washers)
Setup and Installation
Proper installation of gaskets is critical for the safe and effective operation of your pressure washer. Always ensure the pressure washer is disconnected from power and water sources before beginning any maintenance.
- Safety First: Disconnect the pressure washer from the electrical outlet and turn off the water supply. Release any residual pressure by squeezing the trigger gun.
- Identify Worn Gaskets: Locate the leaking or worn-out gasket. Common areas include hose connections, spray gun connections, and pump inlets/outlets.
- Remove Old Gasket: Carefully remove the old gasket using a small pick or screwdriver, being cautious not to scratch or damage the mating surfaces.
- Clean Surfaces: Clean the gasket seating surfaces thoroughly to remove any debris, dirt, or old gasket material. A clean surface ensures a proper seal.
- Select Correct Gasket: Choose the appropriate replacement gasket from the kit that matches the size and type of the old gasket.
- Install New Gasket: Gently press the new gasket into its seating groove. Ensure it is seated evenly and not twisted or pinched. For O-rings, a small amount of silicone grease can aid installation and sealing.
- Reconnect Components: Reassemble the pressure washer components, ensuring all connections are hand-tightened first, then secured firmly. Avoid over-tightening, which can damage gaskets.
- Test for Leaks: Reconnect the water supply and power. Turn on the water and check for leaks before operating the pressure washer. If leaks persist, recheck the installation.
Operating Considerations
While this kit primarily focuses on maintenance, proper operating practices contribute to gasket longevity:
- Avoid Dry Running: Never operate the pressure washer without a water supply, as this can damage pump seals and other internal components.
- Proper Storage: Store the pressure washer in a frost-free environment to prevent water freezing inside, which can expand and damage seals.
- Regular Inspection: Periodically inspect all connections for signs of wear or leaks. Replace gaskets at the first sign of damage to prevent larger issues.
Maintenance
Regular maintenance of your pressure washer's gaskets is essential for its performance and lifespan.
- Routine Checks: Before each use, visually inspect all hose and accessory connections for any visible damage or signs of wear on the gaskets.
- Replacement Schedule: Gaskets are wear-and-tear items. Replace them annually or more frequently if the pressure washer is used often, or if leaks are detected.
- Cleaning: Keep gasket surfaces clean from dirt and debris. A clean seal is an effective seal.
- Lubrication: For rubber O-rings, a thin layer of silicone grease can help maintain flexibility and improve sealing properties, especially in cold conditions.
Troubleshooting
If you encounter issues after installing new gaskets, consider the following:
| Problem | Possible Cause | Solution |
|---|---|---|
| Water Leak at Connection | Gasket not seated correctly, incorrect gasket size, damaged gasket, or connection not tight enough. | Ensure gasket is properly seated. Verify correct gasket size. Replace damaged gasket. Tighten connection firmly but do not overtighten. |
| Loss of Pressure | Internal pump gasket leak, or significant external leak. | Inspect all external connections for leaks. If no external leaks, internal pump seals may require professional service. |
| Difficulty Connecting Hoses | Gasket is too thick or improperly sized. | Ensure the correct gasket is used. Lubricate O-rings with silicone grease if necessary. |
If troubleshooting steps do not resolve the issue, contact RYOBI customer support or a qualified service technician.
Specifications
- Product Dimensions: 21 x 17 x 14 cm
- Product Weight: 30 grams
- Part Number: 5131007985
- Model Number: 4058546091910
- Manufacturer: Ryobi
- ASIN: B0BTDD73R6
Warranty Information
Specific warranty details for this gasket kit are not provided in this manual. For information regarding the warranty period and terms, please refer to the documentation included with your original pressure washer or contact RYOBI customer service directly. Gaskets are typically considered wear-and-tear items and may have limited or no warranty coverage.
Support
For further assistance, technical support, or to inquire about replacement parts, please visit the official RYOBI website or contact their customer service department. You can often find contact information on the RYOBI brand store page or through a general web search for "RYOBI customer support".


