
1. Introduction
Thank you for choosing the VEVOR Manual 11LBS/5L Vertical Sausage Stuffer. This instruction manual provides essential information for the safe and efficient operation, maintenance, and care of your new sausage stuffer. Please read this manual thoroughly before initial use and retain it for future reference.

Image 1: The VEVOR Manual 11LBS/5L Vertical Sausage Stuffer, a robust stainless steel unit designed for efficient sausage making.
2. Safety Instructions
Always observe basic safety precautions when using this appliance to reduce the risk of injury or damage. This appliance is intended for household and light commercial use in preparing sausages.
- WARNING: Keep hands away from moving parts and cutting blades.
- Ensure the stuffer is securely mounted on a stable, flat surface before operation.
- Do not operate the stuffer if any parts are damaged or missing.
- Keep children and pets away from the appliance during use.
- Always clean the stuffer thoroughly before and after each use to maintain hygiene.
- Use only food-grade casings and ingredients.
3. Package Contents
Verify that all items are present and in good condition upon unpacking:
- 1 x VEVOR Manual 11LBS/5L Vertical Sausage Stuffer Unit
- 4 x Stainless Steel Stuffing Tubes (Φ15 mm, Φ21 mm, Φ30 mm, Φ37 mm)
- 1 x Cleaning Brush
- 1 x Piston with Detachable Silicone Ring
- 1 x Discharge Tube Set
- 4 x Bottom Suction Cups
- 1 x Doughnut Accessories
- 1 x Instruction Manual
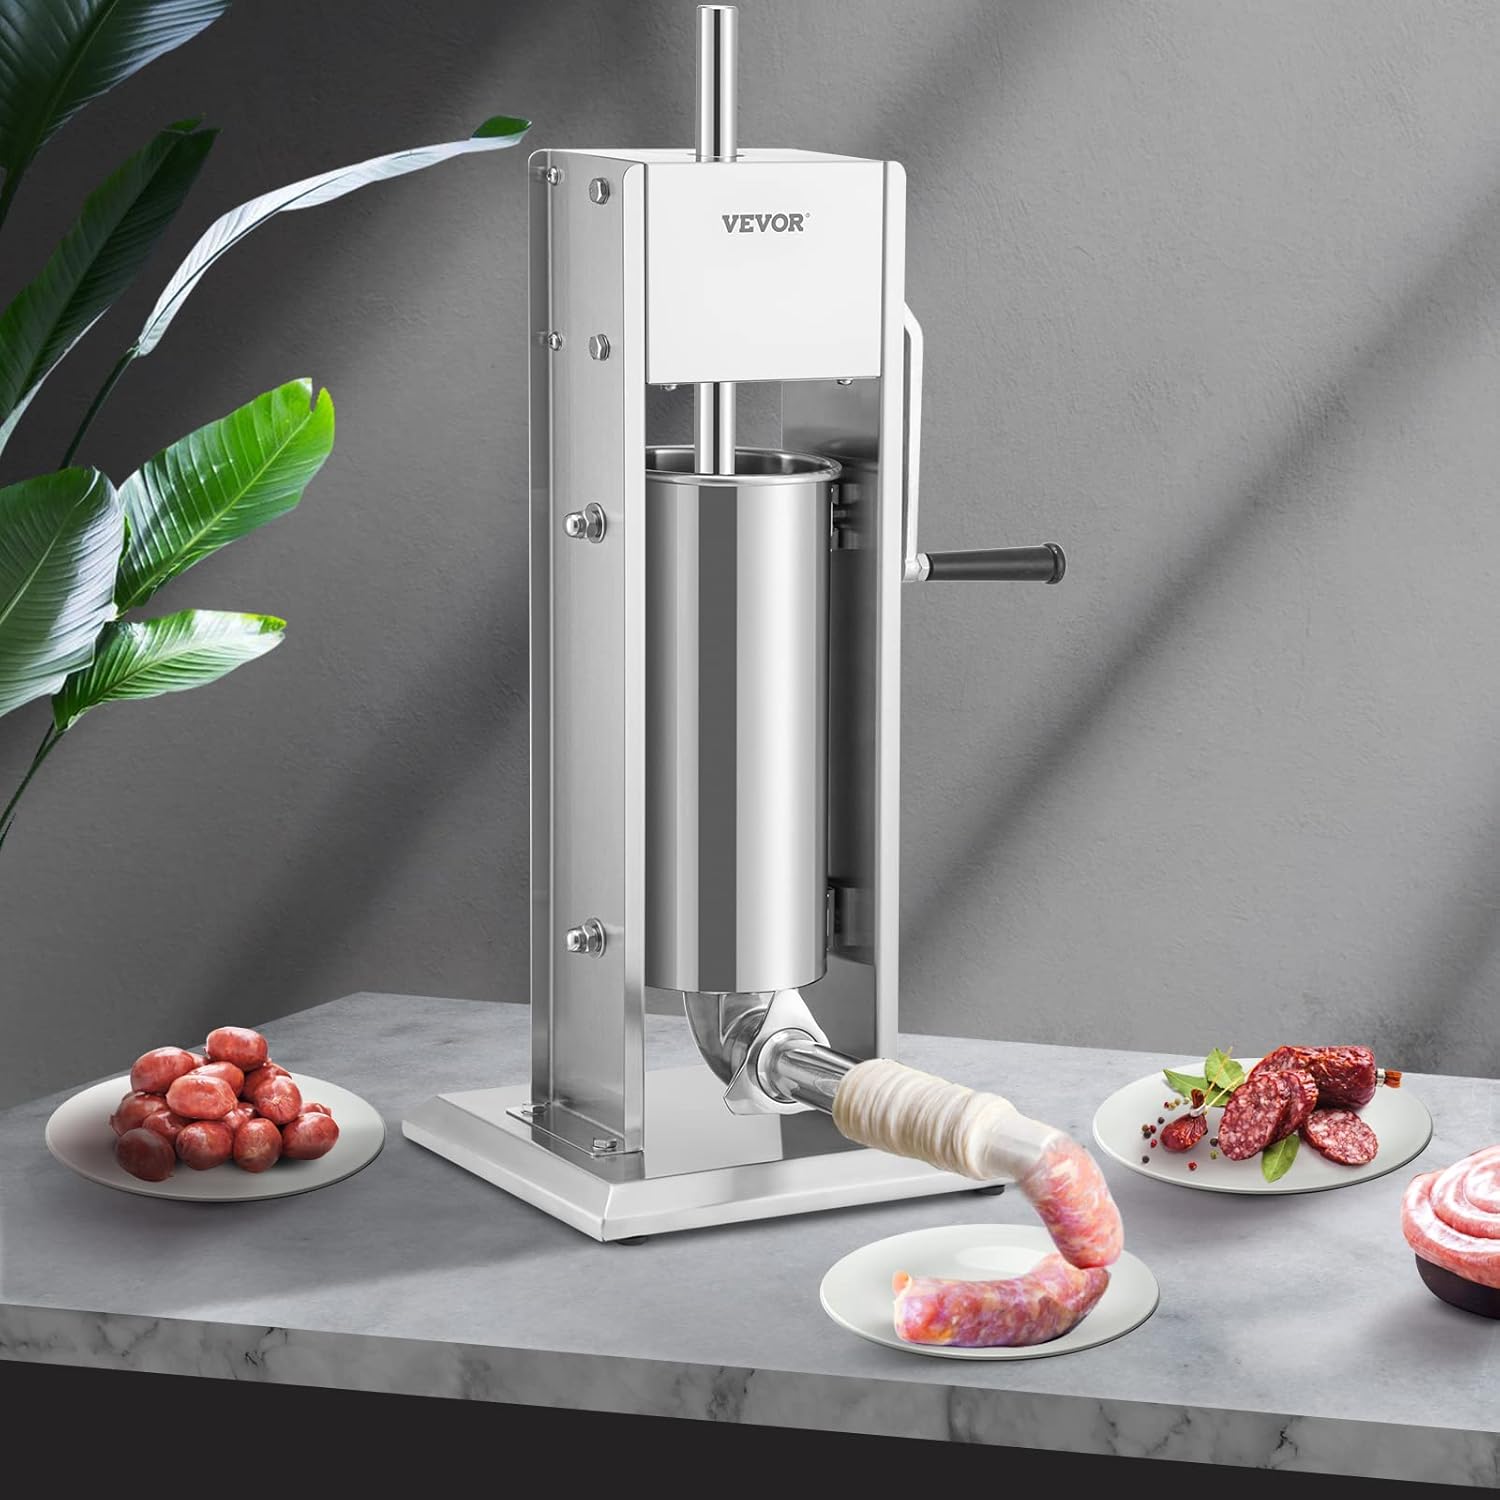
Image 2: All components of the VEVOR Sausage Stuffer, including the main unit, various stuffing tubes, and cleaning tools.
4. Setup
Follow these steps to prepare your sausage stuffer for use:
- Unpack: Carefully remove all components from the packaging.
- Clean: Wash all parts that will come into contact with food using warm, soapy water. Rinse thoroughly and dry.
- Secure Base: Place the stuffer on a clean, flat, and stable countertop. The large suction cups at the base will help secure the unit, preventing movement during operation.
- Install Stuffing Tube: Select the desired stuffing tube size. Attach it securely to the discharge outlet at the bottom of the barrel.
- Prepare Barrel: Ensure the barrel is clean and properly seated in its frame. The tiltable barrel design allows for easy loading of meat.

Image 3: Close-up of the large base suction cup, ensuring stable operation and preventing the stuffer from shaking or moving on the table.
5. Operation
This manual sausage stuffer is designed for ease of use, featuring a two-speed system and a tiltable barrel for efficient sausage production.
- Load Meat: Tilt the stainless steel barrel and fill it with your prepared meat mixture. The 11LBS/5L capacity allows for making a significant amount of sausage at once.
- Attach Casing: Carefully slide your chosen sausage casing over the selected stuffing tube.
- Adjust Speed: The stuffer offers two adjustable speeds. Use the Fast Speed for quickly raising and lowering the piston when loading or unloading. Switch to Slow Speed for precise and controlled stuffing, ensuring firm and full sausages.
- Stuffing Process: Begin cranking the handle. The piston will press the meat mixture through the stuffing tube into the casing. The double air release valve on the piston helps to evenly expel excess air, reducing air bubbles and preventing casing rupture.
- Minimize Waste: The short elbow design of the discharge outlet helps to reduce meat fillings left in the tube, minimizing waste. A manual piston is also included for this purpose.

Image 4: Illustration of the VEVOR Sausage Stuffer's features, including free speed adjustment, reduced meat waste due to the short elbow design, and stable stuffing without shaking.
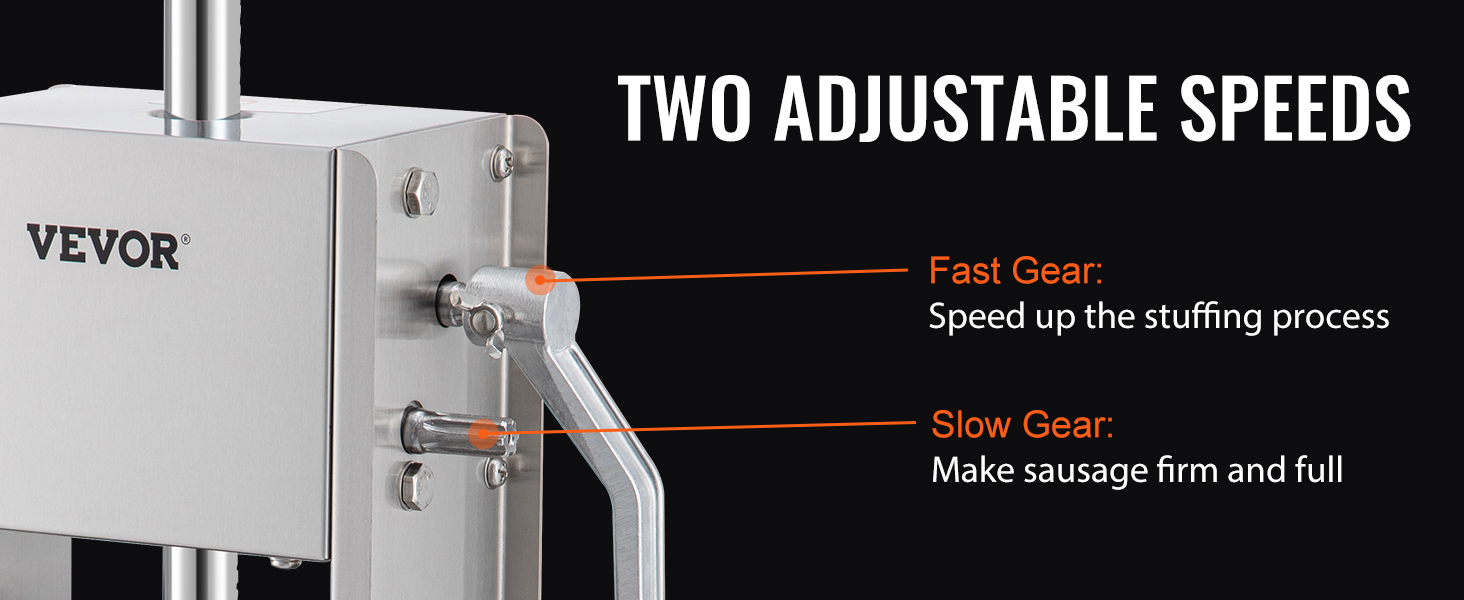
Image 5: Detail of the double air release valve, which ensures air is expelled during pressing, leading to firmer sausages with fewer air bubbles.

Image 6: Close-up of the short elbow design, engineered to minimize meat residue in the tube and reduce waste.
Operation Videos
Video 1: Demonstrates the VEVOR Sausage Stuffer in action, showcasing its ease of use and the quality of the stuffed sausages.
Video 2: A commercial hand sausage stuffer in operation, highlighting its efficiency and the smooth process of filling casings.
Video 3: Shows the LEEVOT Sausage Stuffer, demonstrating its features and the process of making various types of sausages.
Video 4: An overview of the VEVOR Sausage Stuffer, illustrating its design and how it simplifies the sausage-making process.
Video 5: Highlights the VEVOR Sausage Stuffer's features, including its robust construction and user-friendly design for efficient meat processing.
Video 6: Shows the 11LB Sausage Stuffer in operation, demonstrating how to load meat and fill casings effectively.
6. Cleaning and Maintenance
Proper cleaning and maintenance are crucial for the longevity and hygienic operation of your sausage stuffer.
- Disassembly: The stuffer features a detachable design for easy cleaning. Disassemble the barrel, piston, and stuffing tube after each use.
- Washing: Wash all disassembled parts with warm, soapy water. Use the provided cleaning brush to thoroughly clean the stuffing tubes and any hard-to-reach areas.
- Rinsing and Drying: Rinse all parts thoroughly with clean water. Dry immediately to prevent water spots and corrosion.
- Reassembly: Once all parts are dry, reassemble the stuffer. Ensure the silicone ring on the piston is correctly installed with the grooved side facing upward for optimal performance.

Image 7: The detachable design of the sausage stuffer, showing the barrel tilted for easy access and a cleaning brush for thorough hygiene.
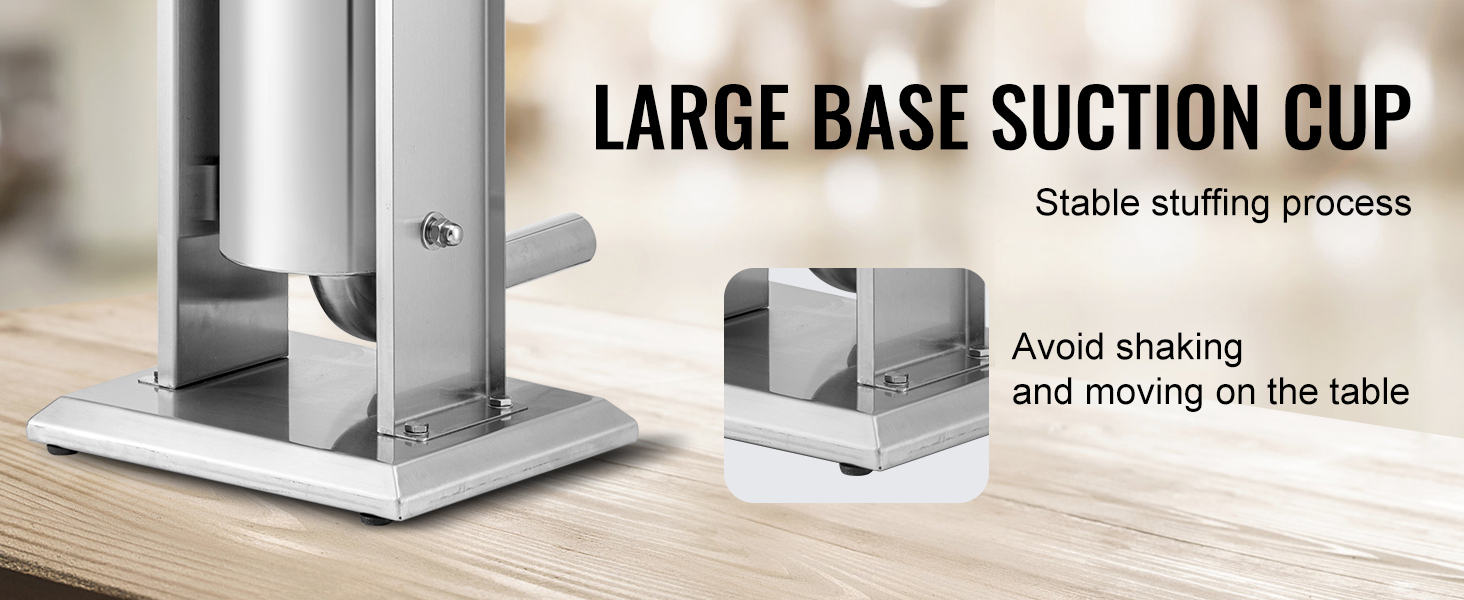
Image 8: Close-up highlighting the food-grade 304 stainless steel material, ensuring safety and durability for all food contact parts.
7. Specifications
| Feature | Specification |
|---|---|
| Brand | VEVOR |
| Model | Sausage Stuffer |
| Capacity | 11 LBS / 5 L |
| Material | 304 Stainless Steel (Food Grade) |
| Stuffing Tubes Included | 4 (Φ15 mm, Φ21 mm, Φ30 mm, Φ37 mm) |
| Speed Settings | Two (Fast/Slow) |
| Product Dimensions | 27"L x 13"W x 11.2"H (68.6 cm L x 33 cm W x 28.4 cm H) |
| Item Weight | 22 Pounds (10 kg) |
| UPC | 840281559787 |

Image 9: Visual representation of the VEVOR Sausage Stuffer's dimensions and the four included stuffing tube sizes.

Image 10: Examples of different sausage types that can be made using the various stuffing tubes provided with the VEVOR Sausage Stuffer.
8. Troubleshooting
If you encounter issues with your sausage stuffer, refer to the following common problems and solutions:
- Difficulty Cranking: Ensure the meat mixture is not too cold or dense. Allow meat to warm slightly to room temperature. Check that the piston and gears are clean and lubricated.
- Air Bubbles in Sausage: Verify that the double air release valve on the piston is clear and functioning correctly. Ensure the casing is properly loaded and not twisted.
- Meat Leaking from Sides: Check that the silicone ring on the piston is correctly installed with the grooved side facing upward and is not damaged. Replace if necessary.
- Stuffer Moves During Operation: Ensure the suction cups at the base are clean and firmly pressed onto a smooth, non-porous surface.
9. Warranty and Support
The VEVOR Manual 11LBS/5L Vertical Sausage Stuffer typically comes with a 1-year warranty from the date of purchase. For warranty claims, replacement parts, or technical support, please contact VEVOR customer service directly. Keep your purchase receipt as proof of purchase.
For further assistance, visit the official VEVOR support website or contact their customer service team.