1. Introduction
This manual provides essential information for the safe operation, setup, maintenance, and troubleshooting of your WORKPRO 20V Brushless Cordless Angle Grinder, Model W123017AE. Please read all instructions carefully before using the tool to ensure proper function and to prevent injury.
General Safety Information
Always wear appropriate personal protective equipment (PPE) including safety glasses, hearing protection, and gloves when operating the angle grinder. Ensure the work area is clear of obstructions and well-lit. Keep bystanders and children away from the operating area. Disconnect the battery pack before making any adjustments, changing accessories, or storing the tool.
2. What's Included
Your WORKPRO 20V Brushless Cordless Angle Grinder kit includes the following components:
- 1 × Cordless Angle Grinder (Brushless)
- 1 × Fast Charger
- 1 × 20V 4.0Ah Li-Ion Battery
- 5 × 60 Grit Flap Discs
- 5 × Metal/Stainless Cutting Wheels
- 1 × Metal Safety Wheel Guard
- 1 × Plastic Safety Wheel Guard
- 1 × Spanner Wrench
- 1 × Auxiliary Rubber Handle

The kit provides everything necessary to begin grinding and cutting tasks.
3. Setup
3.1 Battery Charging and Installation
Before first use, fully charge the 20V 4.0Ah Lithium-Ion battery using the provided fast charger. The charger can replenish the battery in approximately 1-2 hours.
To install the battery, align the battery pack with the base of the grinder and slide it in until it clicks securely into place. To remove, press the battery release button and slide the battery out.
3.2 Auxiliary Handle Attachment
The auxiliary handle can be attached in three positions for optimal comfort and control. Screw the handle into the desired threaded opening on the grinder head until it is firm.
3.3 Safety Guard Installation
The grinder includes two safety wheel guards: one metal and one plastic. Select the appropriate guard for your task (grinding or cutting). To install, align the guard with the grinder head and secure it using the guard clamping lever. Ensure the guard is positioned to deflect sparks and debris away from you.

3.4 Disc Installation
To install a grinding or cutting disc:
- Ensure the battery is removed.
- Press and hold the spindle lock button.
- Use the spanner wrench to loosen and remove the outer flange.
- Place the desired disc onto the spindle, ensuring it sits flush against the inner flange.
- Re-attach the outer flange and tighten it firmly with the spanner wrench while holding the spindle lock button.

4. Operating Instructions
4.1 Powering On/Off
The grinder features a two-step operational switch for safety. To turn on, push the switch forward and then up. To turn off, release the switch.
4.2 Speed Control
The tool offers two speed settings (0-2500 RPM and 0-8500 RPM) controlled by a button on the battery housing. Select the appropriate speed for your material and task. Lower speeds are generally used for lighter tasks or when more control is needed, while higher speeds are for aggressive material removal.
4.3 Grinding and Cutting
Always ensure the workpiece is securely clamped. Apply light, consistent pressure to the tool. Allow the disc to do the work; excessive force can lead to kickback or damage to the tool and disc. Maintain a firm grip on the auxiliary handle and main body. For grinding, hold the disc at a slight angle to the workpiece. For cutting, hold the disc perpendicular to the workpiece and make shallow passes.

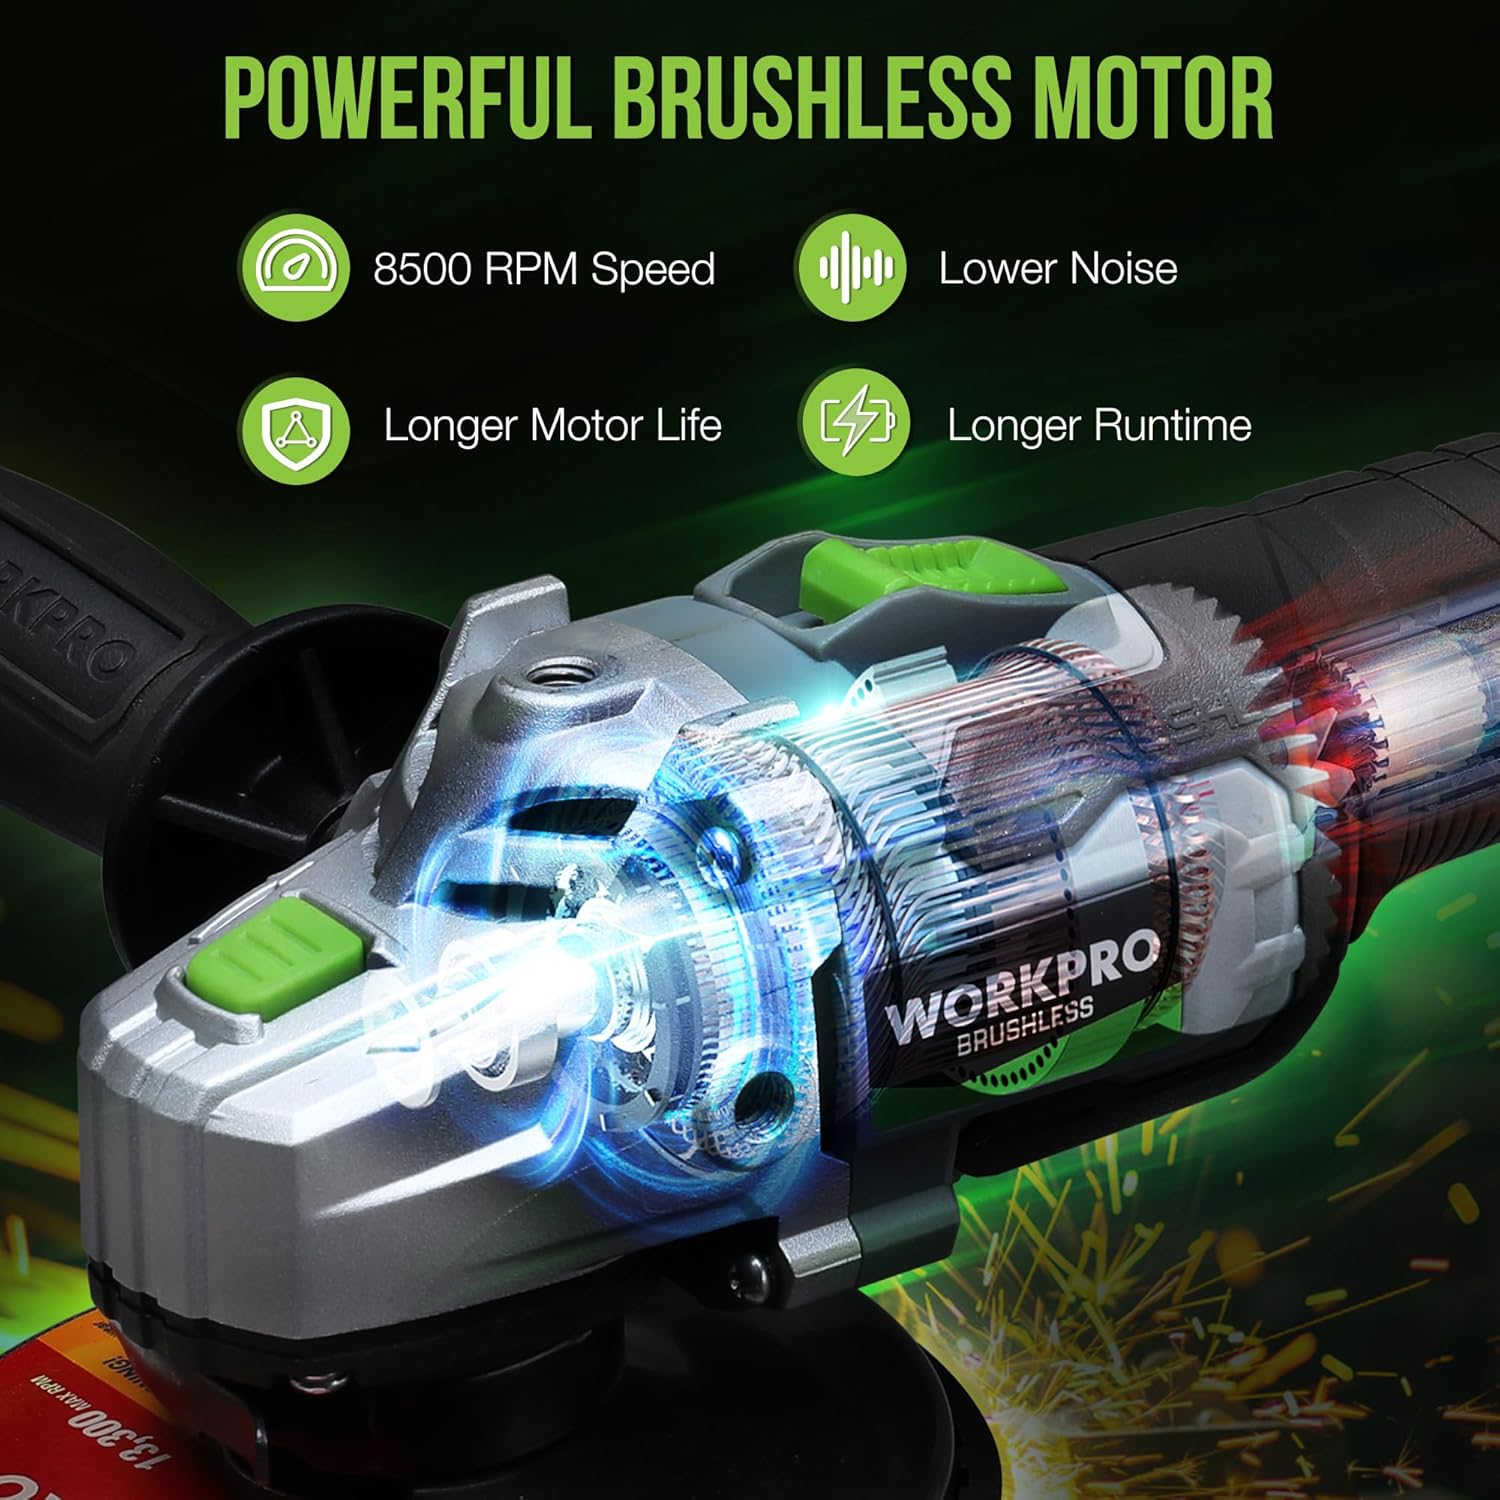
4.4 Brushless Motor Technology
This angle grinder is equipped with a brushless motor, which provides higher efficiency, longer service life, and lower operating noise compared to traditional brushed motors. This technology also contributes to the tool's 8500 RPM maximum speed, suitable for demanding tasks on metal, tiles, and concrete.
4.5 Product Video Overview
5. Maintenance
5.1 Cleaning
Regularly clean the tool's ventilation openings to prevent overheating. Use a soft brush or compressed air to remove dust and debris. Do not use solvents or harsh chemicals.
5.2 Disc Replacement
Replace worn or damaged discs promptly. Refer to section 3.4 for disc installation instructions. Always use discs rated for the grinder's maximum RPM and appropriate for the material being worked on.
5.3 Storage
Store the angle grinder and its accessories in a dry, secure location out of reach of children. Ensure the battery is removed from the tool before storage. For long-term storage, charge the battery partially (around 50%) and recharge every few months to maintain battery health.
6. Troubleshooting
| Problem | Possible Cause | Solution |
|---|---|---|
| Tool does not start | Battery not charged or improperly installed; Safety switch not engaged. | Charge battery fully; Ensure battery is clicked into place; Fully engage the two-step operational switch. |
| Reduced power or stops during use | Low battery charge; Overload protection activated; Worn disc. | Recharge battery; Reduce pressure on the tool; Replace disc if worn. |
| Excessive vibration | Improperly installed disc; Damaged disc; Loose auxiliary handle. | Re-install disc correctly; Replace damaged disc; Tighten auxiliary handle. |
| Overheating | Blocked ventilation; Continuous heavy use. | Clean ventilation slots; Allow tool to cool down during prolonged use. |
7. Specifications
| Feature | Specification |
|---|---|
| Brand | WORKPRO |
| Model | W123017AE |
| Power Source | Battery Powered |
| Motor Type | Brushless |
| Voltage | 20 Volts |
| Maximum Rotational Speed | 8500 RPM |
| Disc Size | 4-1/2 Inch |
| Battery Capacity | 4.0Ah Li-Ion |
| Item Weight | 7.76 pounds |
| Material | Metal |
| Color | Green |
8. Warranty and Support
WORKPRO products are manufactured to high-quality standards. For warranty information, product support, or service inquiries, please refer to the warranty card included with your product or visit the official WORKPRO website. Keep your purchase receipt as proof of purchase for any warranty claims.


