Introduction
Thank you for choosing the Sheffield Home 9 Piece Gallery Wall Frame Set. This manual provides detailed instructions for setting up, using, and maintaining your new frame set. Please read all instructions carefully before beginning installation to ensure proper and safe use.
Package Contents
- 9 x 11x14 Inch Gallery Wall Frames (Light Natural finish)
- 9 x Removable White Mats (for 8x10 inch photos)
- Wall Mounting Hardware (pre-attached sawtooth hangers)
- Easy-to-Hang Wall Template with multiple layout options
- Included Art Prints (for display or replacement)
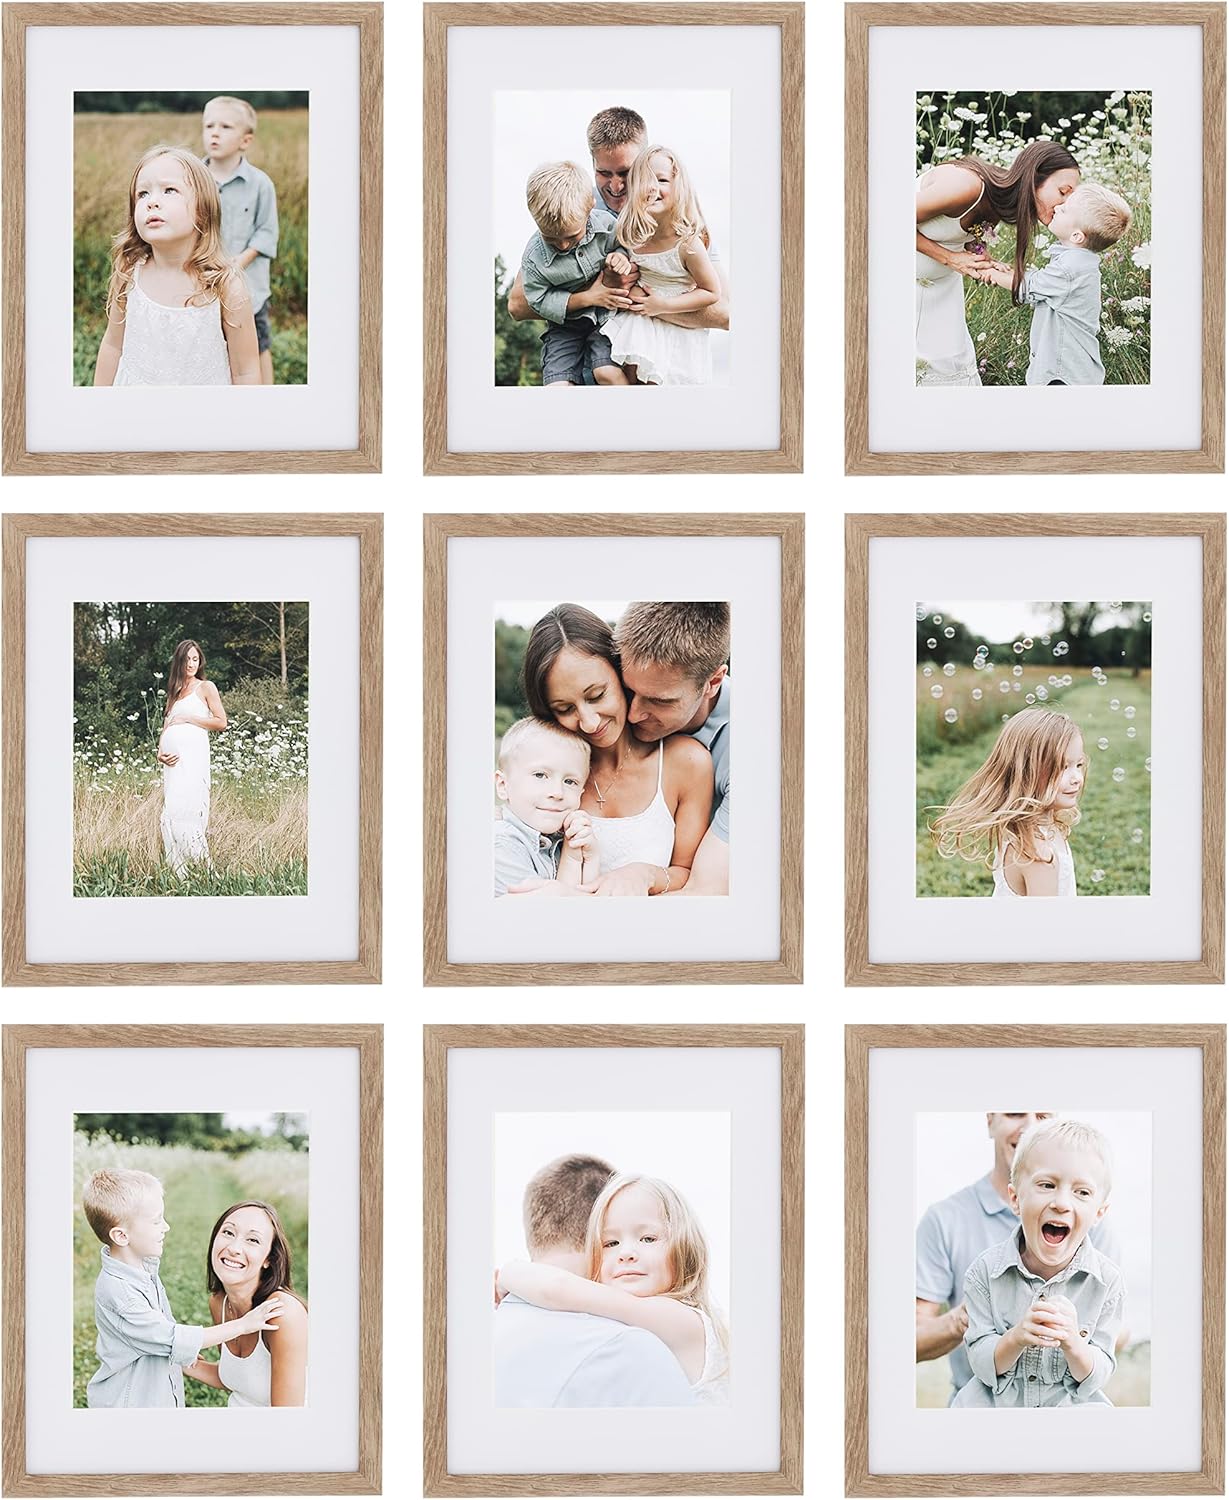
Image: The complete Sheffield Home 9 Piece Gallery Wall Frame Set, showcasing the light natural finish and included mats.
Features
- Contemporary Design: Frames feature a traditional color that complements various decor styles.
- Versatile Sizing: Each 11x14 inch frame includes a removable mat to display 8x10 inch photos. Without the mat, the frame holds an 11x14 inch photo.
- Durable Construction: Frames are made with durable polystyrene, protective mats, and gallery-quality protective glass.
- Easy Installation: Pre-attached hanging hardware and an included wall template simplify the hanging process.
- Flexible Orientation: Frames can be hung vertically or horizontally.

Image: Detailed view of frame dimensions, showing it holds one 8x10 inch photo with mat or one 11x14 inch photo without mat.

Image: An illustration showing various frame finishes offered by Sheffield Home, including Matte Black, Matte White, Brushed Gold, Brushed Silver, Natural Woodgrain, Light Natural Woodgrain, Dark Oak Woodgrain, Antique Bronze, and Beaded Antique Bronze.
Setup and Installation
1. Preparing Your Photos
Carefully remove the back of each frame by bending the metal flex tabs. Insert your desired 8x10 inch photos with the mat, or 11x14 inch photos without the mat. Ensure the photos are centered and flat before securing the back panel by bending the tabs back into place.

Image: Exploded view of a frame showing its components: glass front, removable mat, space for your photo, MDF back, sawtooth hanger, and metal flex tabs for easy opening.
2. Using the Wall Template
The included easy-to-hang wall template provides multiple layout options and simplifies the hanging process. This eliminates the need for complex measurements.
- Unfold the wall template and choose your preferred layout.
- Tape the template securely to your desired wall location using painter's tape or similar adhesive that won't damage your wall.
- Using a small level, ensure the template is perfectly straight.
- Locate the marked nail points on the template for each frame's sawtooth hanger.
- Carefully hammer nails into the wall at each marked point through the template.
- Once all nails are in place, gently remove the wall template from the wall.

Image: The easy-to-hang template demonstrating different gallery wall layouts for the 9-piece frame set.
3. Hanging the Frames
Align the pre-attached sawtooth hangers on the back of each frame with the nails you hammered into the wall. Gently lower each frame until it rests securely on the nail. Adjust as needed to ensure they are level and evenly spaced.

Image: An example of the 9-piece gallery wall frame set beautifully arranged on a wall, demonstrating a possible layout.
Operating
Changing Photos
To change photos, carefully remove the frame from the wall. Gently bend the metal flex tabs on the back of the frame to release the back panel. Replace the photo, ensuring it is properly aligned, then secure the back panel by bending the tabs back into their original position. Re-hang the frame on the wall.
Orientation
Each frame is equipped with sawtooth hangers that allow for both vertical (portrait) and horizontal (landscape) display. Simply choose the appropriate hanger for your desired orientation when hanging.
Maintenance and Care
- Cleaning: Wipe the glass and frame with a dry, soft cloth. Avoid using abrasive cleaners or harsh chemicals, as these may damage the finish or glass.
- Handling: Always handle frames by the edges to avoid fingerprints on the glass.
- Placement: Avoid placing frames in direct sunlight or in areas with extreme temperature fluctuations, as this can cause fading of photos or warping of the frame material.
- Storage: If storing frames, ensure they are protected from dust and moisture. Wrap them in soft material to prevent scratches.
Troubleshooting
| Problem | Possible Cause | Solution |
|---|---|---|
| Frame is not level on the wall. | Nail not inserted precisely, or frame shifted. | Remove frame, re-check nail placement using the template, and adjust as necessary. Use a level during re-hanging. |
| Glass appears cloudy or scratched. | Residue from cleaning products or surface scratches. | Clean with a dry, soft, lint-free cloth. If scratched, the glass may need replacement (contact customer support). |
| Photos appear warped or discolored. | Exposure to direct sunlight or high humidity. | Relocate frames away from direct sunlight or humid environments. Ensure photos are printed on quality archival paper. |
| Back panel does not close securely. | Metal flex tabs are bent incorrectly or obstructed. | Gently bend the metal flex tabs to ensure they are flat against the back panel and securely hold it in place. |
Specifications
- Brand: Sheffield Home
- Model: 9 Piece Gallery Wall Frame Set
- Color: Light Natural
- Frame Dimensions: 15.25"L x 12.25"W (for 11x14 inch photos)
- Mat Opening Size: Designed for 8x10 inch photos
- Frame Material: Polystyrene
- Cover Material: Glass
- Back Material: Cardboard
- Mounting Type: Wall Mount (Sawtooth Hanger)
- Number of Items: 9
- Item Weight: 18.8 Pounds (total for set)
- Country of Origin: China
- UPC: 729016137219
Warranty and Support
For information regarding warranty, returns, or customer support, please refer to the product packaging or contact Sheffield Home customer service directly through their official website or the retailer where the product was purchased. Please retain your proof of purchase for any warranty claims.
Manufacturer: Enchante Direct