Introduction
The Strex WiFi Endoscope is designed to simplify the inspection of hard-to-reach areas. This waterproof 1080P inspection camera features a 10-meter cable, allowing live viewing directly on your smartphone or tablet. It is ideal for various tasks, including pipe inspections, automotive repairs, and general household maintenance.
Key features include an 8mm camera lens with adjustable LED lighting, ensuring clear visibility even in narrow or dark spaces. The camera is lightweight and portable, making it convenient for on-the-go use. It captures realistic and sharp images in HD quality, with the option to save photos and videos directly to your device.
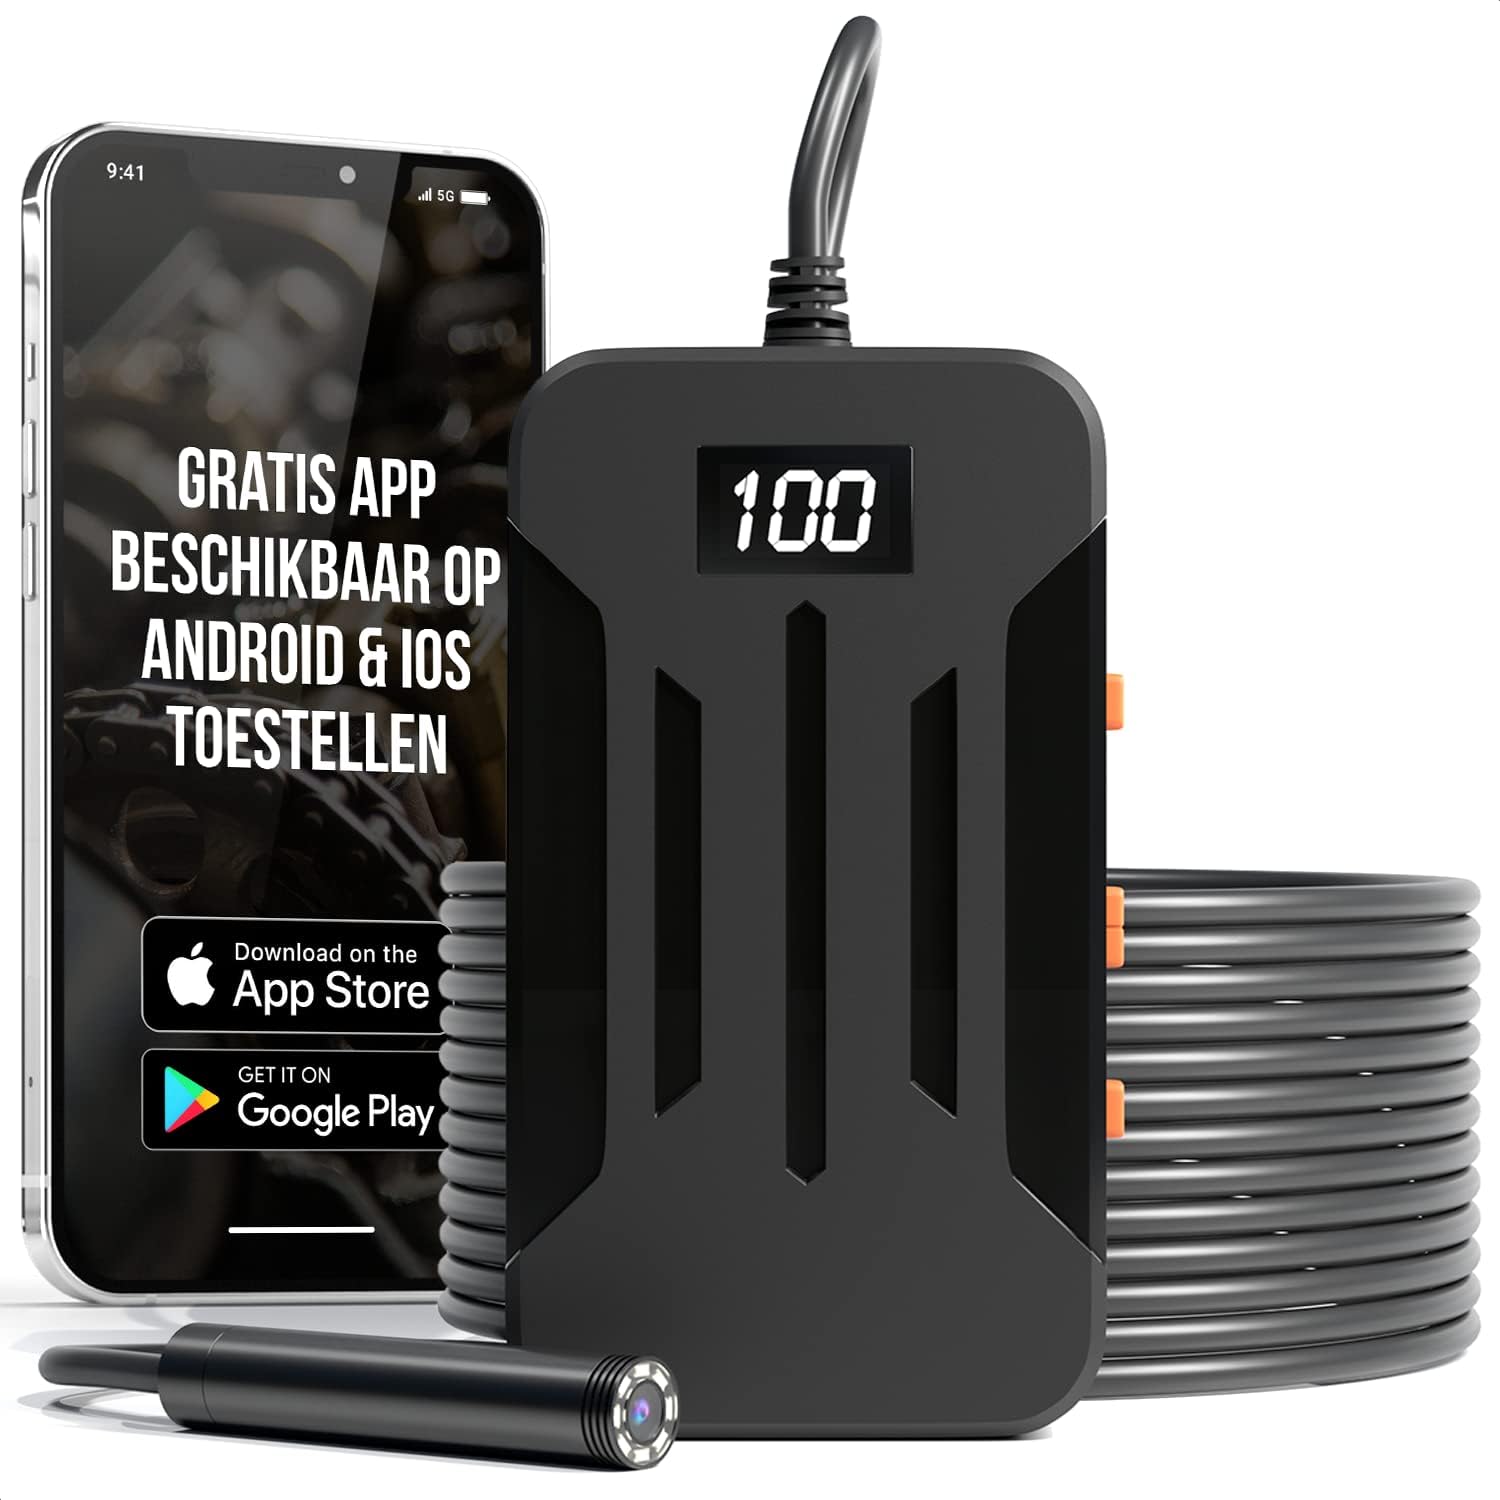
Image: The Strex Inspection Camera unit connected to a flexible cable with an endoscope camera, alongside a smartphone displaying the live view app. This illustrates the primary components and how they interact.

Image: An infographic highlighting the camera's main features: 2600 mAh battery capacity, 1920x1080 high resolution, 5MP HD camera quality, 5 hours working time, and an 8mm waterproof lens head.
Package Contents
Please check the box for the following items:
- Strex WiFi Endoscope Inspection Camera Unit
- 10-meter Flexible yet Rigid Camera Cable with 8mm Lens
- User Manual
- Micro USB Charging Cable
- Set of 3 Attachments: Hook, Magnet, Mirror

Image: A visual representation of the items included in the product box: the packaging, the inspection camera unit, the user manual, and various accessories including the charging cable and attachments.
Technical Specifications
| Model Number | SP132 |
| Camera Resolution | 1920x1080 (5MP) |
| Lens Diameter | 8mm |
| Cable Length | 10 meters |
| Battery Capacity | 2600 mAh |
| Operating Time | Up to 5 hours |
| Water Resistance | IP67 (cable and camera lens) |
| Connectivity | Wi-Fi |
| Compatibility | iOS and Android devices |
| Horizontal Viewing Angle | 70 degrees |
| Focal Length | 4-500 cm |
| Product Dimensions | 9.5 x 5.5 x 2 cm |
| Item Weight | 425 grams |
Setup Guide
- Charge the Device: Before first use, ensure the inspection camera unit is fully charged. Connect the provided Micro USB cable to the charging port on the unit and plug the other end into a USB power adapter (not included). The charging indicator will show the charging status.
- Download the App: Search for and download the free 'HOWiFi' app from your device's app store (Apple App Store for iOS or Google Play Store for Android).
- Power On: Press and hold the power button on the inspection camera unit to turn it on. The signal indicator will light up.
- Connect via Wi-Fi: On your smartphone or tablet, go to your Wi-Fi settings. Find the Wi-Fi network broadcast by the inspection camera (it will typically start with 'HOWiFi' or similar) and connect to it. No password is usually required.
- Open the App: Once connected to the camera's Wi-Fi, open the 'HOWiFi' app. The live video feed from the camera should appear on your screen.
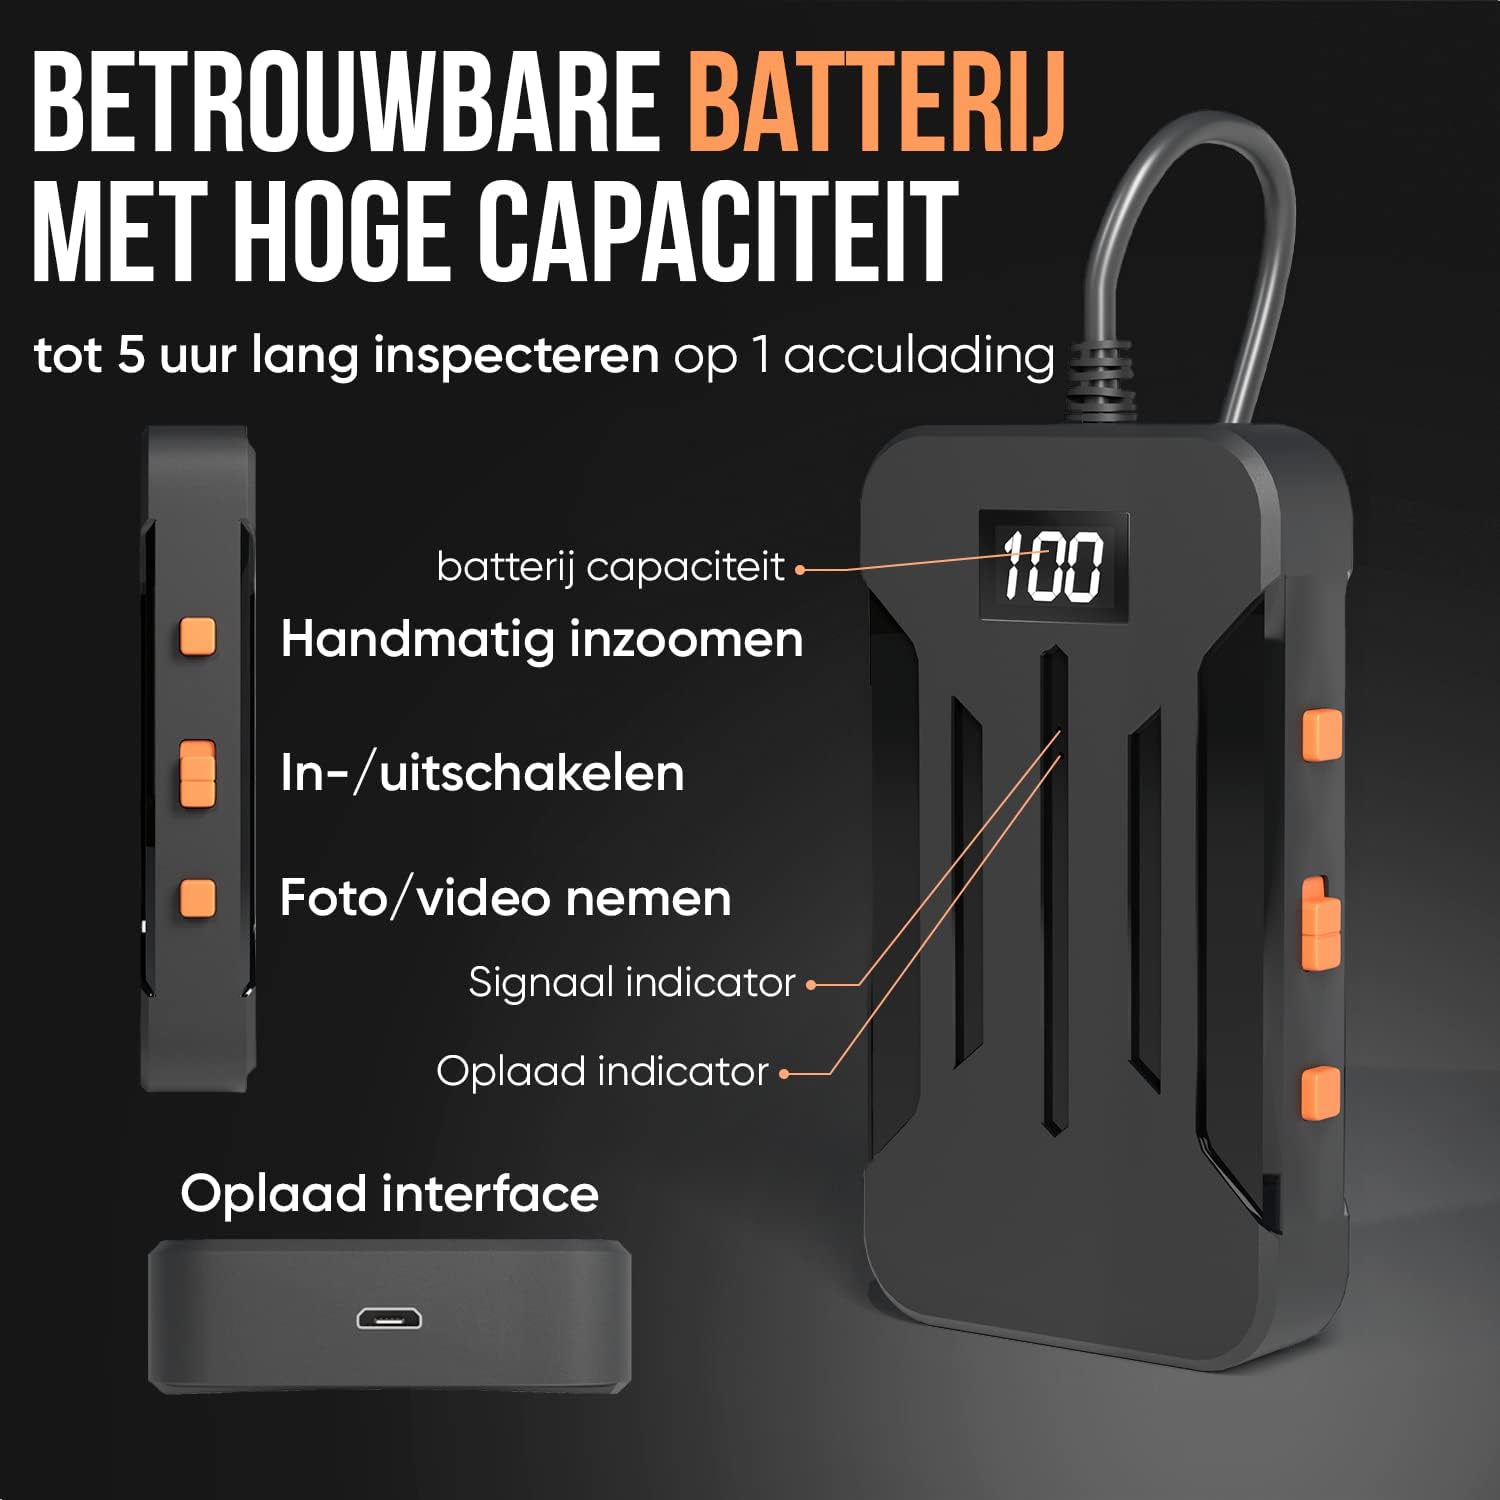
Image: A detailed view of the inspection camera's main unit, illustrating the battery capacity display, manual zoom buttons, power on/off button, photo/video capture button, signal indicator, charge indicator, and the charging interface.
Operating Your Inspection Camera
Adjusting LED Lighting
The camera features built-in LED lights around the lens. You can adjust their brightness to suit the inspection environment. Use the dedicated light adjustment buttons on the camera unit or within the app interface to increase or decrease the illumination. This ensures optimal visibility in dark or dimly lit areas.

Image: A close-up of the 8mm camera lens, showing the 8 LEDs surrounding it. Below, three examples demonstrate how the LED lighting can be adjusted from off to full brightness, allowing users to choose the ideal illumination.
Capturing Photos and Videos
While viewing the live feed in the 'HOWiFi' app, you can capture still images or record videos. Look for the photo/video button within the app interface or on the camera unit itself. Press once to take a photo, or press and hold to start/stop video recording. Captured media will be saved directly to your connected smartphone or tablet.
Using Attachments
The Strex Inspection Camera comes with three useful attachments to assist with various tasks:
- Hook Attachment: Useful for retrieving small objects from hard-to-reach places.
- Magnet Attachment: Ideal for picking up metallic items like screws or keys.
- Mirror Attachment: Provides a side view, allowing you to inspect areas that are not directly in front of the camera lens.
To attach, simply slide the desired attachment onto the end of the camera lens until it is securely in place.

Image: A set of four sturdy and handy attachments for the inspection camera, including a mirror attachment, a protective cap (not explicitly mentioned in text but visible), a hook attachment, and a magnetic attachment.
Cable Flexibility
The 10-meter cable is designed to be flexible yet rigid, allowing you to bend it into various shapes to navigate tight spaces. It retains its form, making it easier to guide the camera to the desired inspection area.

Image: An illustration demonstrating the flexibility of the 10-meter cable. It shows how the cable can be bent into a desired form and retains both straight and bent shapes, highlighting its high quality.
Common Applications
The Strex Inspection Camera is suitable for a wide range of applications due to its versatile design and waterproof capabilities:
- Engine Inspection: Examine internal engine components without extensive disassembly.
- Wall Inspection: Inspect inside walls for wiring, pipes, or insulation issues.
- Electrical Inspection: Check electrical conduits and junction boxes.
- Pipe Inspection: View blockages, corrosion, or damage within plumbing systems.
- HVAC Inspection: Inspect ducts and vents for debris or damage.
- General Home Inspection: Explore hard-to-reach areas in attics, crawl spaces, or behind appliances.

Image: A collage showing various applications of the inspection camera, including motor research, wall inspection, electrical inspection, and pipe inspection, demonstrating its versatility.

Image: An illustration emphasizing the camera's IP68 waterproof rating, showing it submerged in water, suitable for underwater use. It also highlights the focal distance of 4cm to 500cm for clear photos and videos.
Care and Maintenance
- Cleaning: After use, especially in dirty or wet environments, gently wipe the camera lens and cable with a soft, damp cloth. For stubborn dirt, a mild cleaning solution can be used, but avoid harsh chemicals or abrasive materials. Ensure the lens is clean for clear images.
- Water Resistance: The camera lens and cable are IP67 water-resistant, meaning they can withstand immersion in water up to 1 meter for 30 minutes. However, the main unit is not waterproof. Do not submerge the main unit in water.
- Storage: Store the inspection camera in a cool, dry place away from direct sunlight and extreme temperatures. Coil the cable neatly to prevent kinks or damage.
- Battery Care: To prolong battery life, avoid fully discharging the battery frequently. If storing for an extended period, charge the battery to about 50% and recharge every few months.
Troubleshooting
- No Image on Screen:
- Ensure the camera unit is powered on and fully charged.
- Verify that your smartphone/tablet is connected to the camera's Wi-Fi network.
- Close and reopen the 'HOWiFi' app.
- Restart both the camera unit and your smart device.
- Poor Image Quality:
- Clean the camera lens with a soft cloth.
- Adjust the LED lighting brightness to suit the environment.
- Ensure the camera is within the optimal focal length (4-500 cm) from the object.
- Wi-Fi Connection Issues:
- Make sure no other devices are interfering with the Wi-Fi signal.
- Ensure you are connecting to the correct Wi-Fi network broadcast by the camera.
- Try resetting your device's network settings if persistent issues occur.
- Battery Not Charging:
- Check if the Micro USB cable is securely connected to both the camera unit and the power source.
- Try a different USB power adapter or USB port.
- Ensure the charging cable is not damaged.
Warranty and Customer Support
For detailed information regarding the product warranty, please refer to the warranty card included with your purchase or the specific terms and conditions provided by your retailer.
For technical support, troubleshooting assistance, or any other inquiries, please contact Strex customer service through the contact information provided on the product packaging or the official Strex website.


