
SINGER M1155
SINGER M1155 Sewing Machine User Manual
Model: M1155
Introduction
Welcome to the user manual for your new SINGER M1155 Sewing Machine. This manual provides essential information for setting up, operating, maintaining, and troubleshooting your machine. Please read it thoroughly before first use to ensure safe and efficient operation.
The SINGER M1155 is designed for ease of use, making it suitable for both beginners and experienced sewers. It features 14 built-in stitch patterns and a robust metal frame for durability.
Important Safety Instructions
When using an electrical appliance, basic safety precautions should always be followed, including the following:
- Always unplug the machine from the electrical outlet immediately after using and before cleaning, removing covers, or making any user servicing adjustments.
- Do not allow to be used as a toy. Close attention is necessary when this appliance is used by or near children.
- Use this appliance only for its intended use as described in this manual. Use only attachments recommended by the manufacturer as contained in this manual.
- Never operate this appliance if it has a damaged cord or plug, if it is not working properly, if it has been dropped or damaged, or dropped into water.
- Never drop or insert any object into any opening.
- Do not operate where aerosol (spray) products are being used or where oxygen is being administered.
- To disconnect, turn all controls to the off position, then remove plug from outlet.
Machine Components
Familiarize yourself with the main parts of your SINGER M1155 sewing machine.

Figure 1: Front View of SINGER M1155 Sewing Machine. This image shows the overall design of the machine, including the stitch selector dial, tension dial, and needle area. The machine is white with red SINGER branding.
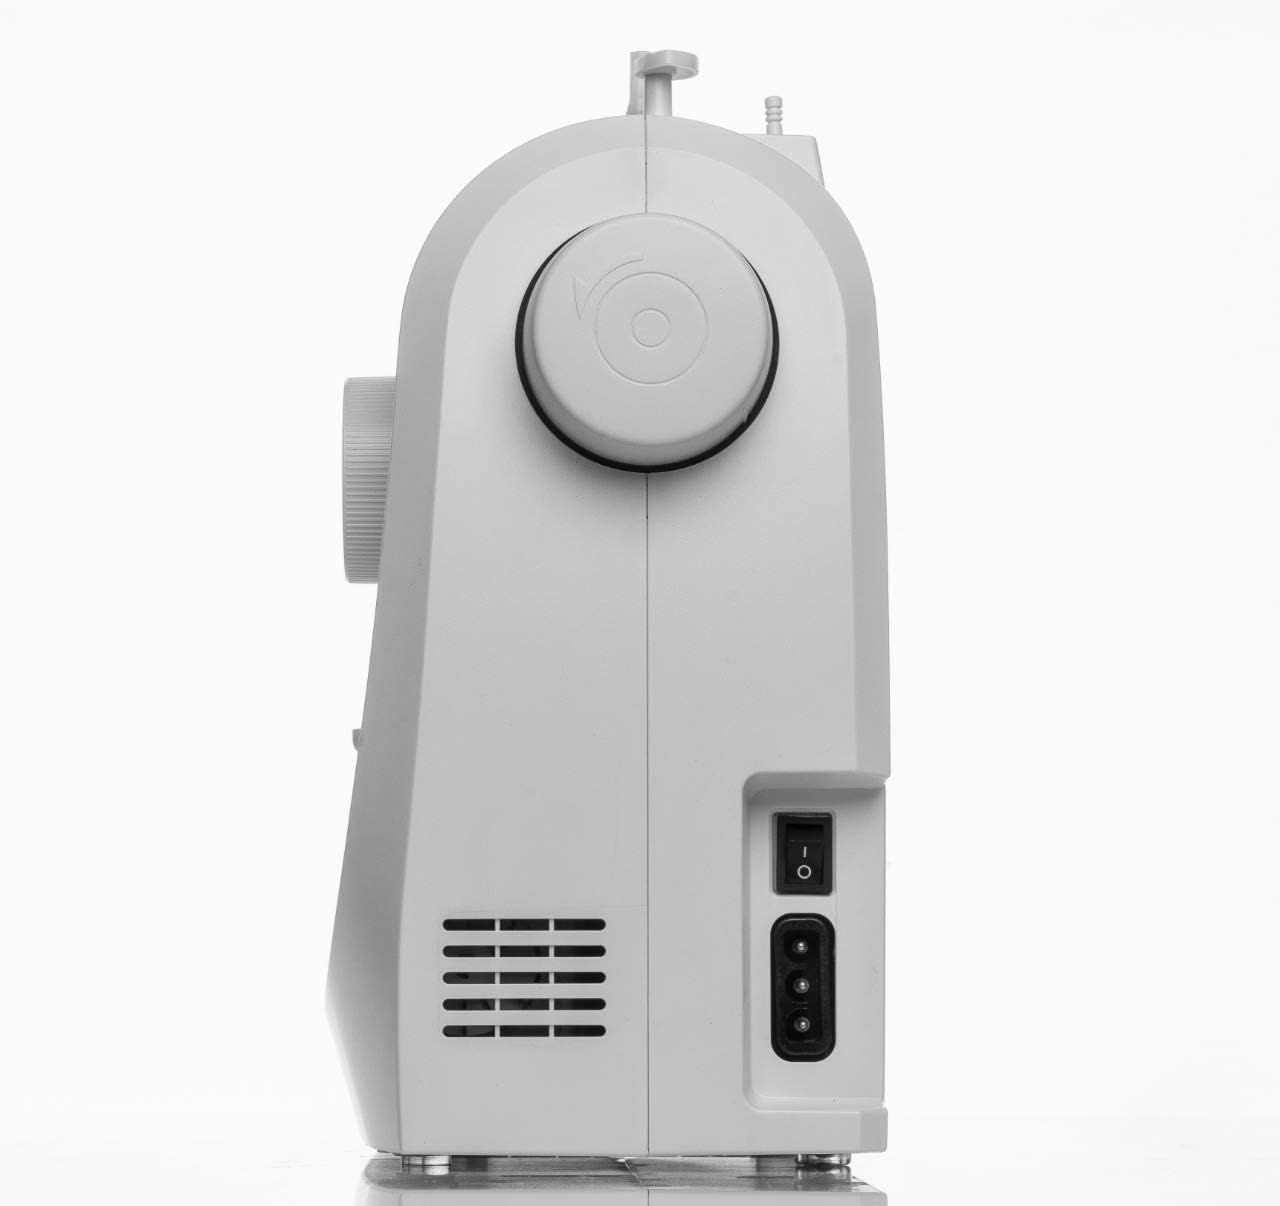
Figure 2: SINGER M1155 Sewing Machine with Included Accessories. This image displays the sewing machine alongside various accessories such as bobbins, needles, a seam ripper, and different presser feet, indicating what comes with the machine.

Figure 3: Rear View of SINGER M1155 Sewing Machine. This image highlights the power input and the main power switch located at the back of the machine.
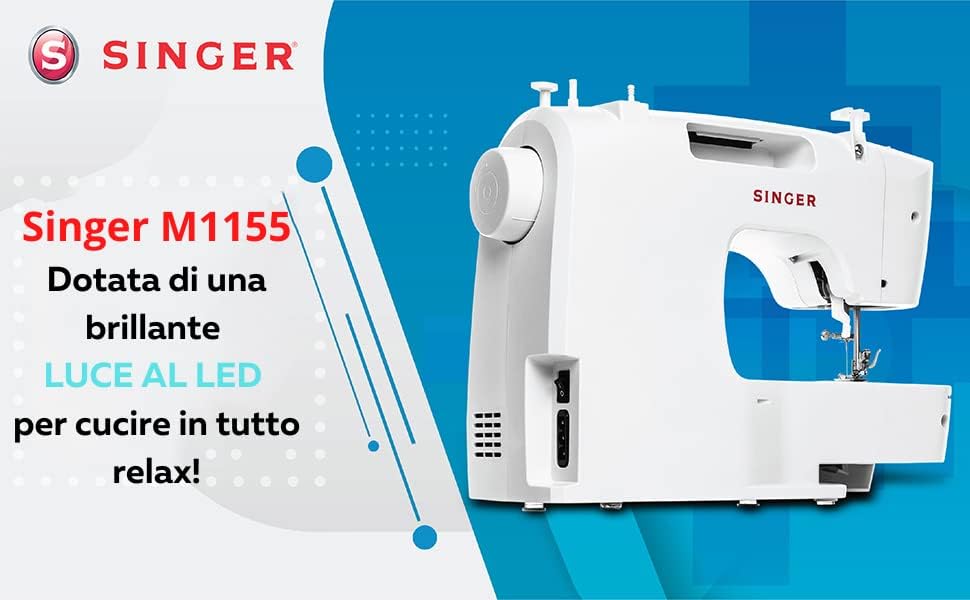
Figure 4: SINGER M1155 Sewing Machine with LED Lighting. This image emphasizes the built-in LED light, which illuminates the sewing area for better visibility during operation.
Setup
1. Unpacking and Placement
- Carefully remove the machine from its packaging.
- Place the machine on a stable, flat surface. Ensure there is enough space around the machine for comfortable operation.
- Connect the foot controller and power cord to the machine and then to a suitable electrical outlet.
2. Winding the Bobbin
The SINGER M1155 features an automatic bobbin winding system.
- Place a spool of thread on the spool pin.
- Guide the thread through the upper thread guide and around the bobbin winding tension disc.
- Place an empty bobbin onto the bobbin winder spindle.
- Wind the thread a few times manually around the bobbin.
- Push the bobbin winder spindle to the right.
- Press the foot controller to start winding. The machine will stop automatically when the bobbin is full.
- Cut the thread and push the bobbin winder spindle back to the left.
3. Threading the Upper Thread
Proper threading is crucial for good stitch quality.
- Raise the presser foot lifter.
- Place a spool of thread on the spool pin.
- Guide the thread through the upper thread guide.
- Bring the thread down into the right threading channel, then up and over the take-up lever, and down the left threading channel.
- Thread the needle from front to back. The M1155 offers facilitated threading.
4. Inserting the Bobbin
The M1155 uses a rotary hook system.
- Open the bobbin cover plate.
- Insert the wound bobbin into the bobbin case, ensuring the thread unwinds in the correct direction (usually counter-clockwise).
- Guide the bobbin thread through the tension spring and into the thread guide slot.
- Close the bobbin cover plate.
Operating Instructions
1. Selecting a Stitch
The SINGER M1155 offers 14 built-in stitch patterns. Use the easy stitch selector dial on the front of the machine to choose your desired stitch.

Figure 5: Close-up of the Stitch Selector Dial. This image shows the main dial used to select from the 14 available stitch patterns, including straight stitches, zig-zag, and decorative stitches.

Figure 6: Close-up of the Thread Tension Dial. This image highlights the dial used to adjust the upper thread tension, which is crucial for balanced stitches.

Figure 7: View of the Needle and Presser Foot Area. This image provides a detailed look at the working area, including the needle, presser foot, and feed dogs, where the fabric is guided during sewing.
2. Adjusting Stitch Length and Width
While the M1155 has preset stitch patterns, some adjustments might be possible via the stitch selector or tension dial for optimal results. The machine features a 5mm stitch width.
3. Sewing Basics
- Place the fabric under the presser foot.
- Lower the presser foot.
- Turn the handwheel towards you to bring the needle down into the fabric, then up again to bring up the bobbin thread. Pull both threads under the presser foot and to the back.
- Press the foot controller to begin sewing. Guide the fabric gently.
- To reverse stitch (for securing seams), press and hold the reverse lever/button.
- When finished, raise the needle to its highest position, raise the presser foot, and pull the fabric away from the machine. Cut the threads using the thread cutter.
4. Buttonhole Sewing
The M1155 supports a 4-step buttonhole process.
- Attach the buttonhole foot.
- Select the first step of the buttonhole stitch on the dial.
- Sew the first side of the buttonhole.
- Follow the remaining steps on the stitch selector dial to complete the buttonhole.
Maintenance
Regular maintenance ensures the longevity and optimal performance of your sewing machine.
1. Cleaning
- Always unplug the machine before cleaning.
- Remove the needle plate and bobbin case.
- Use a small brush to remove lint and dust from the feed dogs and bobbin area.
- Wipe the exterior of the machine with a soft, dry cloth. Do not use harsh chemicals.
2. Oiling
The SINGER M1155 is designed to require minimal oiling. Refer to the specific instructions in your full manual for any recommended oiling points, typically around the hook race.
3. Needle Replacement
Replace the needle regularly (after every 8-10 hours of sewing) or if it becomes bent, dull, or causes skipped stitches.
- Turn off the machine and unplug it.
- Loosen the needle clamp screw.
- Remove the old needle.
- Insert a new needle with the flat side facing the back of the machine, pushing it up as far as it will go.
- Tighten the needle clamp screw securely.
Troubleshooting
| Problem | Possible Cause | Solution |
|---|---|---|
| Skipped Stitches | Incorrectly inserted needle, bent needle, wrong needle size for fabric, improper threading. | Re-insert needle correctly, replace needle, use correct needle, re-thread machine. |
| Thread Breaking | Improper threading, tension too tight, poor quality thread, bent needle, burr on needle plate. | Re-thread machine, adjust tension, use good quality thread, replace needle, check needle plate for damage. |
| Bobbin Thread Breaking | Improperly wound bobbin, bobbin inserted incorrectly, lint in bobbin case. | Re-wind bobbin, re-insert bobbin correctly, clean bobbin case. |
| Uneven Stitches | Incorrect tension, improper threading, wrong needle/thread combination. | Adjust tension, re-thread machine, ensure needle and thread are suitable for fabric. |
| Machine Not Feeding Fabric | Feed dogs lowered, presser foot not lowered, lint under needle plate. | Raise feed dogs, lower presser foot, clean under needle plate. |
Specifications
| Feature | Detail |
|---|---|
| Model Number | M1155 |
| Brand | SINGER |
| Stitch Patterns | 14 Built-in Stitches |
| Buttonhole | 4-Step Buttonhole |
| Bobbin System | Rotary Hook |
| Bobbin Winding | Automatic |
| Needle Threading | Facilitated |
| Lighting | LED Light |
| Stitch Width | Up to 5mm |
| Frame Material | Metal |
| Power Source | Electric Cord |
| Dimensions (approx.) | 45.79 x 34.7 x 20 cm |
| Weight (approx.) | 5.82 kg |
Support and Warranty
For further assistance, technical support, or warranty information, please refer to the official SINGER website or contact their customer service. Keep your proof of purchase for warranty claims.
While specific warranty details are not provided in this manual, SINGER typically offers a limited warranty on their sewing machines covering manufacturing defects.
Related documentsM1155


Ask a question about this manual
Ask about setup, troubleshooting, compatibility, parts, safety, or missing instructions. Manuals+ will review the question and use this page’s manual context to help answer it.