
1. Introduction
This manual provides essential information for the safe and efficient operation of your Dura Heat EWH5510 Electric Forced Air Heater. Please read all instructions carefully before installation and use. Retain this manual for future reference.
The Dura Heat EWH5510 is a powerful electric forced air heater designed for spaces up to 600 sq. ft., delivering 17,060 BTUs of heat. It features a heavy-gauge steel body, spiral-wrapped steel coil heating element, adjustable thermostat, and remote control for convenient operation. This unit is intended for indoor use in environments such as garages, workshops, warehouses, basements, and agricultural buildings.

Figure 1.1: Front view of the Dura Heat EWH5510 Electric Forced Air Heater.
2. Important Safety Information
WARNING: This heater requires hard-wired installation. Professional installation is strongly suggested to ensure compliance with all local electrical codes and safety standards. Failure to do so may result in fire, electric shock, or injury.
- Always disconnect power before servicing or performing maintenance.
- Do not operate the heater with a damaged cord or plug, or after the heater malfunctions or has been dropped or damaged in any manner.
- Keep combustible materials, such as furniture, pillows, bedding, papers, clothes, and curtains at least 3 feet (0.9 m) from the front of the heater and keep them away from the sides and rear.
- Do not insert or allow foreign objects to enter any ventilation or exhaust opening as this may cause an electric shock or fire, or damage the heater.
- To prevent a possible fire, do not block air intakes or exhaust in any manner. Do not use on soft surfaces, like a bed, where openings may become blocked.
- This heater is hot when in use. To avoid burns, do not let bare skin touch hot surfaces.
- The heater is equipped with an Overheat Protection Sensor that automatically shuts off the unit if it detects overheating. If this occurs, turn off the heater, unplug it (if applicable, though this unit is hard-wired, so disconnect power at the breaker), and allow it to cool down before attempting to restart. Investigate and resolve the cause of overheating.

Figure 2.1: Overheat protection mechanism. The heater automatically shuts off if a threshold temperature is reached.
3. Setup and Installation
The Dura Heat EWH5510 is designed for permanent hard-wired installation and includes a ceiling/wall mount bracket for flexible placement. This unit operates on 240 Volts, 5,000 Watts, and 30 Amps. Professional installation is required.
3.1 Hard-Wire Connection
This heater does not include a plug-in cord and must be hard-wired directly into your electrical system. Ensure the power source meets the heater's electrical requirements (240V, 30A circuit). A power indicator light will illuminate once the unit is correctly installed and receiving power.

Figure 3.1: Illustration of hard-wire installation. Wiring connections must be secure and conform to electrical codes.
3.2 Mounting Options
The included bracket allows for mounting the heater on a wall or ceiling, optimizing floor space and heat distribution. Choose a location that provides adequate clearance from combustible materials and allows for optimal airflow.
- Wall Mount: Secure the bracket to a sturdy wall stud or appropriate anchoring system.
- Ceiling Mount: Attach the bracket to ceiling joists or a suitable structural support.

Figure 3.2: Example of wall-mounted installation, demonstrating space-saving benefits.
4. Operating Instructions
Your Dura Heat EWH5510 heater can be operated using the front-mounted controls or the included remote control.
4.1 Controls Overview
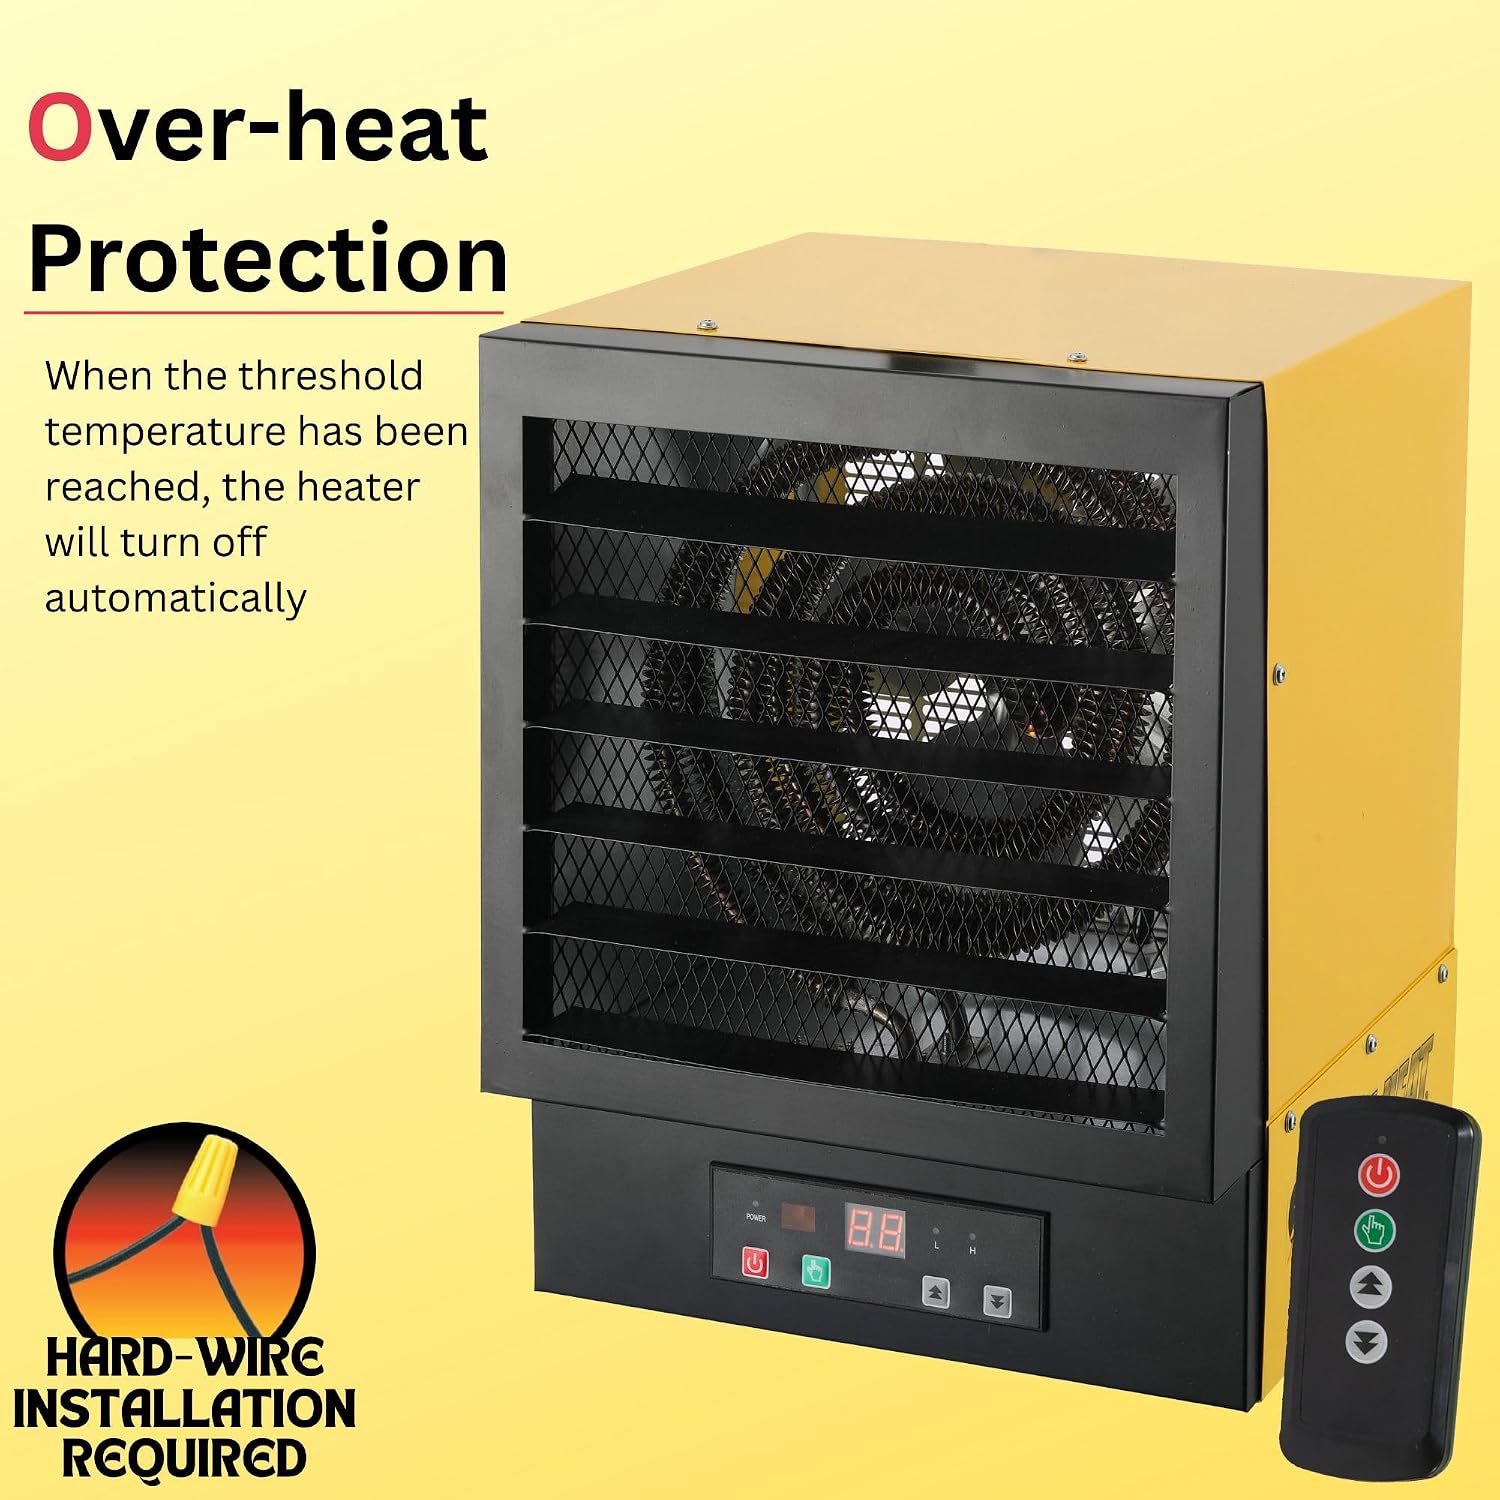
Figure 4.1: Front control panel with LED display and remote control.
- Power Button: Turns the heater ON or OFF.
- LED Display: Shows the current temperature setting.
- Temperature Adjustment Buttons (Up/Down Arrows): Adjust the desired temperature from 45°F to 99°F.
- Mode Button (if applicable): Cycles through different fan/heat settings.
- Timer Button (on remote): Activates the 12-hour timer function.
4.2 Setting the Temperature
Use the Up/Down arrow buttons on the control panel or remote control to set your desired temperature. The LED display will show the selected temperature. The heater will automatically cycle ON and OFF to maintain the set temperature.
4.3 Using the Remote Control
The remote control provides convenient access to all heater functions from a distance. Ensure the remote has working batteries (requires 2x AAA batteries, not included) and is pointed towards the heater's control panel for optimal response.
4.4 Adjustable Grills
The heater features adjustable louvers on the front grill. These can be manually adjusted to direct the airflow and heat precisely where needed, allowing for focused or widespread heating.
5. Maintenance
Regular maintenance ensures the longevity and efficient operation of your heater. Always disconnect power at the circuit breaker before performing any maintenance.
5.1 Cleaning
- Exterior: Wipe the exterior surfaces with a soft, damp cloth. Do not use abrasive cleaners or solvents.
- Air Intake/Exhaust: Periodically clean dust and debris from the air intake and exhaust grilles using a vacuum cleaner with a brush attachment. Ensure these areas remain unobstructed.
5.2 Inspection
Annually, or as needed, inspect the heating element and internal components for any signs of damage or wear. If any issues are found, contact a qualified technician for repair. Do not attempt to repair the unit yourself.

Figure 5.1: View of the spiral wrapped steel coil heating element.
6. Troubleshooting
Before contacting customer support, please refer to the following common issues and solutions:
| Problem | Possible Cause | Solution |
|---|---|---|
| Heater does not turn on. | No power, circuit breaker tripped, incorrect wiring. | Check power supply. Reset circuit breaker. Verify wiring connections (professional assistance recommended). |
| Heater turns off unexpectedly. | Overheat protection activated, blocked airflow. | Turn off heater, disconnect power, allow to cool. Clear any obstructions from air intakes/exhaust. |
| Insufficient heat output. | Temperature setting too low, room size too large, poor insulation. | Increase temperature setting. Ensure heater is appropriate for room size. Improve room insulation. |
| Remote control not working. | Dead batteries, obstruction, out of range. | Replace batteries. Ensure no obstructions between remote and heater. Move closer to the heater. |
7. Specifications
Key technical specifications for the Dura Heat EWH5510 Electric Forced Air Heater:
- Model Number: EWH5510
- Brand: Dura Heat
- Heat Output: 17,060 BTUs
- Heating Coverage: Up to 600 sq. ft.
- Power: 5,000 Watts
- Voltage: 240 Volts
- Amperage: 30 Amps
- Fuel Type: Electric
- Mounting Type: Ceiling/Wall Mount
- Product Dimensions: 12"D x 12"W x 15.5"H
- Item Weight: 22.8 pounds
- Special Features: Adjustable Grills, Electronic Thermostat, Hard-Wired, Overheat Protection, Remote Control
- Included Components: Heater and Ceiling/Wall mount

Figure 7.1: Key features and specifications of the Dura Heat EWH5510 heater.

Figure 7.2: Approximate dimensions of the Dura Heat EWH5510 heater.
8. Warranty and Support
8.1 Warranty Information
This Dura Heat EWH5510 heater comes with a 1-year warranty from the date of purchase, covering manufacturer's defects only. Please retain your proof of purchase for warranty claims.
8.2 Customer Support
For technical assistance, warranty claims, or to inquire about replacement parts, please contact Dura Heat customer support. Refer to the product packaging or the official Dura Heat website for the most current contact information.
Online Resources: Visit the Dura Heat Store on Amazon for additional product information and support.