Introduction
This manual provides essential information for the proper installation, operation, and maintenance of your Tysonir 18W Bug Zapper Replacement Bulb. This H-shaped, four-pin bulb (Model 2G11-18W) is designed to fit specific bug zapper models, including NLZQ-2 and JY-688. It emits a 365nm UV light wavelength, which is highly effective in attracting flying insects to your bug zapper for efficient pest control.
Please read these instructions carefully before installing or replacing the bulb to ensure safe and effective use.
Specifications
| Feature | Detail |
|---|---|
| Model Number | 2G11-18W |
| Wattage | 18W |
| Dimensions (H x W) | 8.9 inches x 1.7 inches |
| Base Type | H-shaped, Four-pin (2G11) |
| Light Wavelength | 365nm UV light |
| Estimated Lifespan | Up to 5,000 hours |
| Compatibility | Tysonir NLZQ-2, JY-688, and other compatible 15W bug zappers with 4-pin base |

Image: The Tysonir 18W Bug Zapper Replacement Bulb, illustrating its dimensions of 8.9 inches in length and 1.7 inches in width, with a 0.9-inch base. This H-shaped, four-pin bulb is designed for specific bug zapper models.
Setup and Installation
Before attempting to install or replace the bulb, ensure the bug zapper is completely unplugged from the power source to prevent electrical shock.
- Power Disconnection: Always unplug your bug zapper from the electrical outlet before beginning any installation or maintenance.
- Access Bulb Compartment: Refer to your bug zapper's original instruction manual to locate and open the bulb compartment. This usually involves removing a protective cage or cover.
- Remove Old Bulb: Carefully grasp the old bulb and gently pull it straight out from its four-pin base. Avoid twisting or bending the bulb, as this may damage the pins or the socket.
- Insert New Bulb: Align the four pins of the new Tysonir 18W replacement bulb with the corresponding slots in the bug zapper's socket. Gently push the bulb straight into the socket until it is firmly seated. Do not force the bulb.
- Secure Compartment: Close and secure the bulb compartment or protective cage according to your bug zapper's design.
- Test Operation: Plug the bug zapper back into the power outlet. The bulb should illuminate with a blue UV light, indicating proper installation.
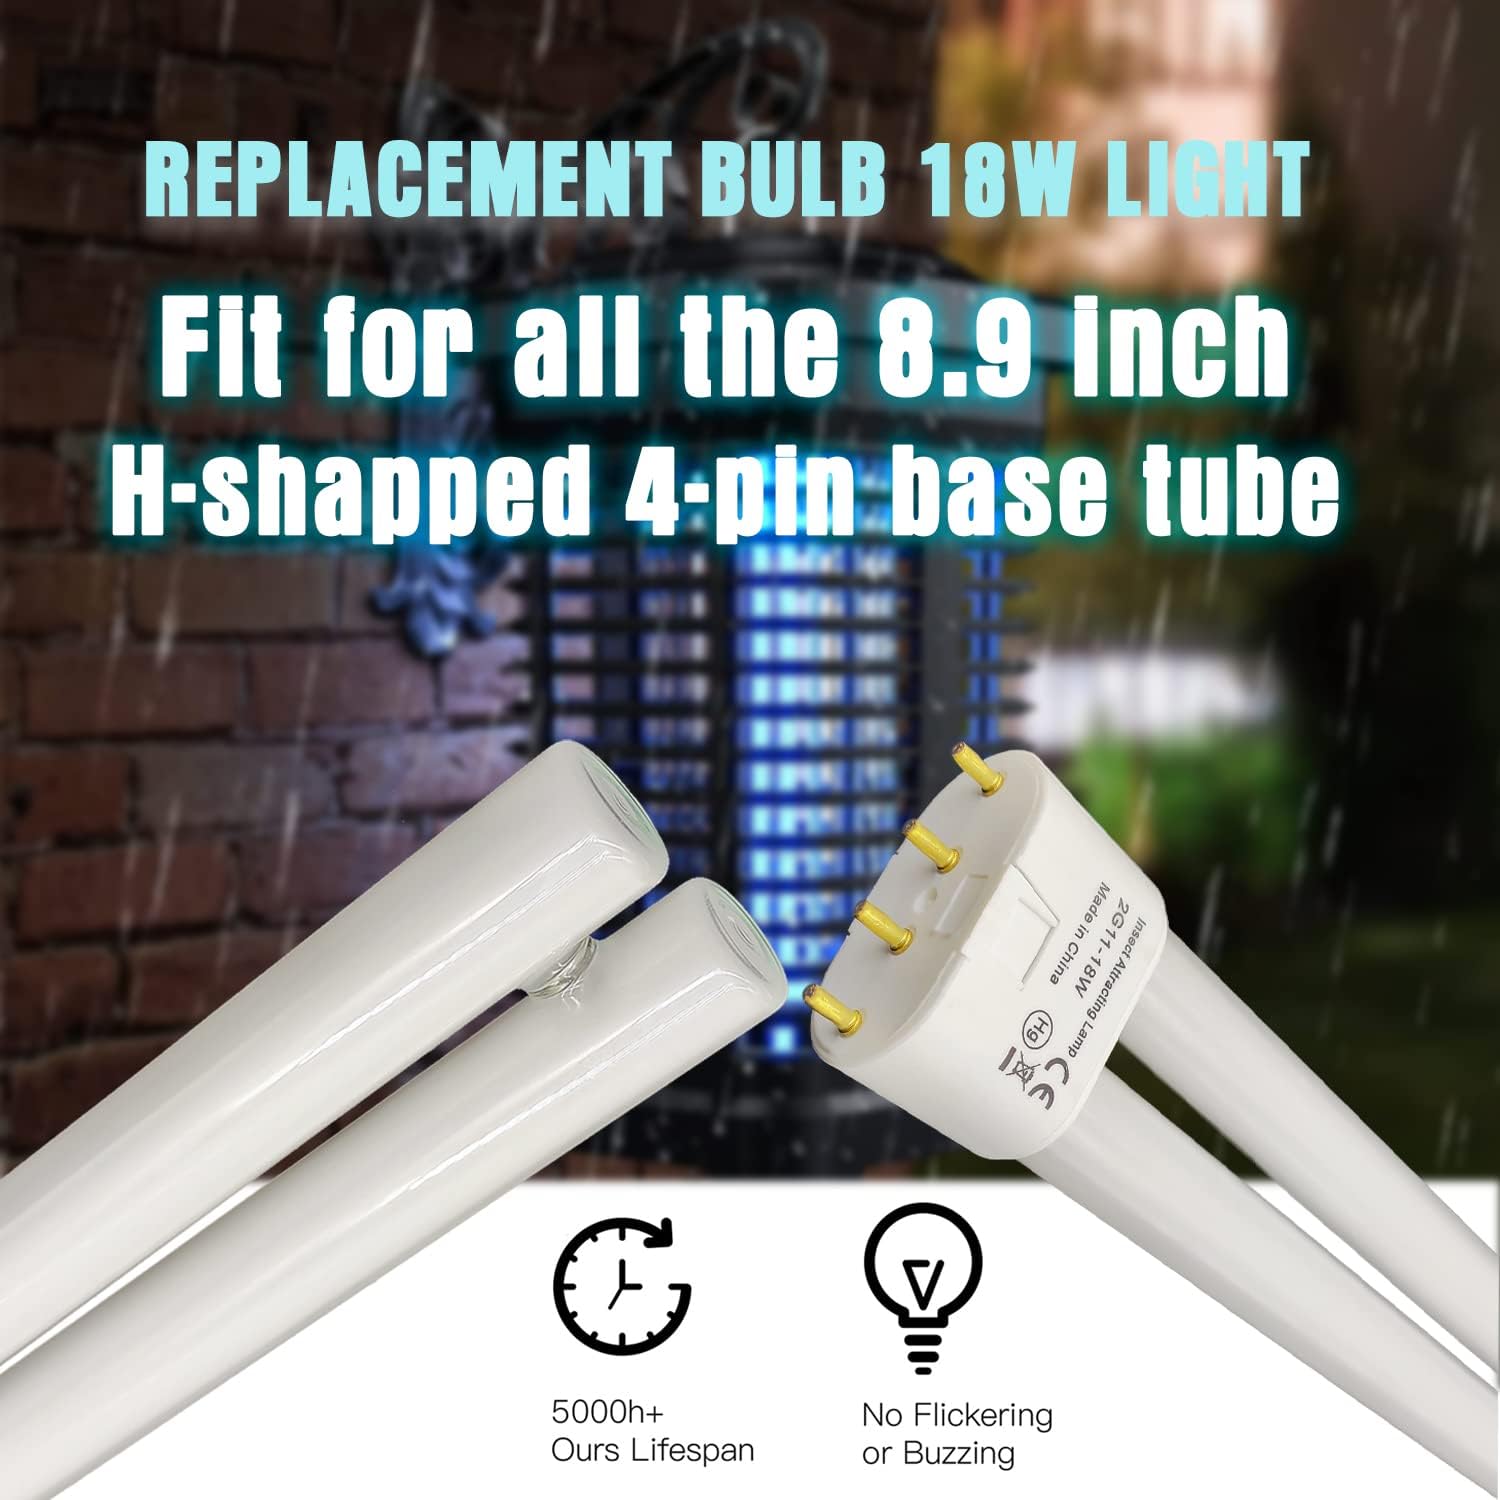
Image: A close-up view of the Tysonir 18W H-shaped, four-pin replacement bulb being inserted into a bug zapper, demonstrating the correct alignment and insertion process for installation.
Operating Instructions
Once the Tysonir 18W Replacement Bulb is correctly installed in a compatible bug zapper and the device is powered on, the bulb will emit a specific 365nm UV light wavelength. This light is designed to attract flying insects such as mosquitoes, flies, and gnats towards the bug zapper's electrified grid.
The bulb operates continuously when the bug zapper is plugged in and switched on. For optimal performance, position your bug zapper in an area where insect activity is high, away from competing light sources.
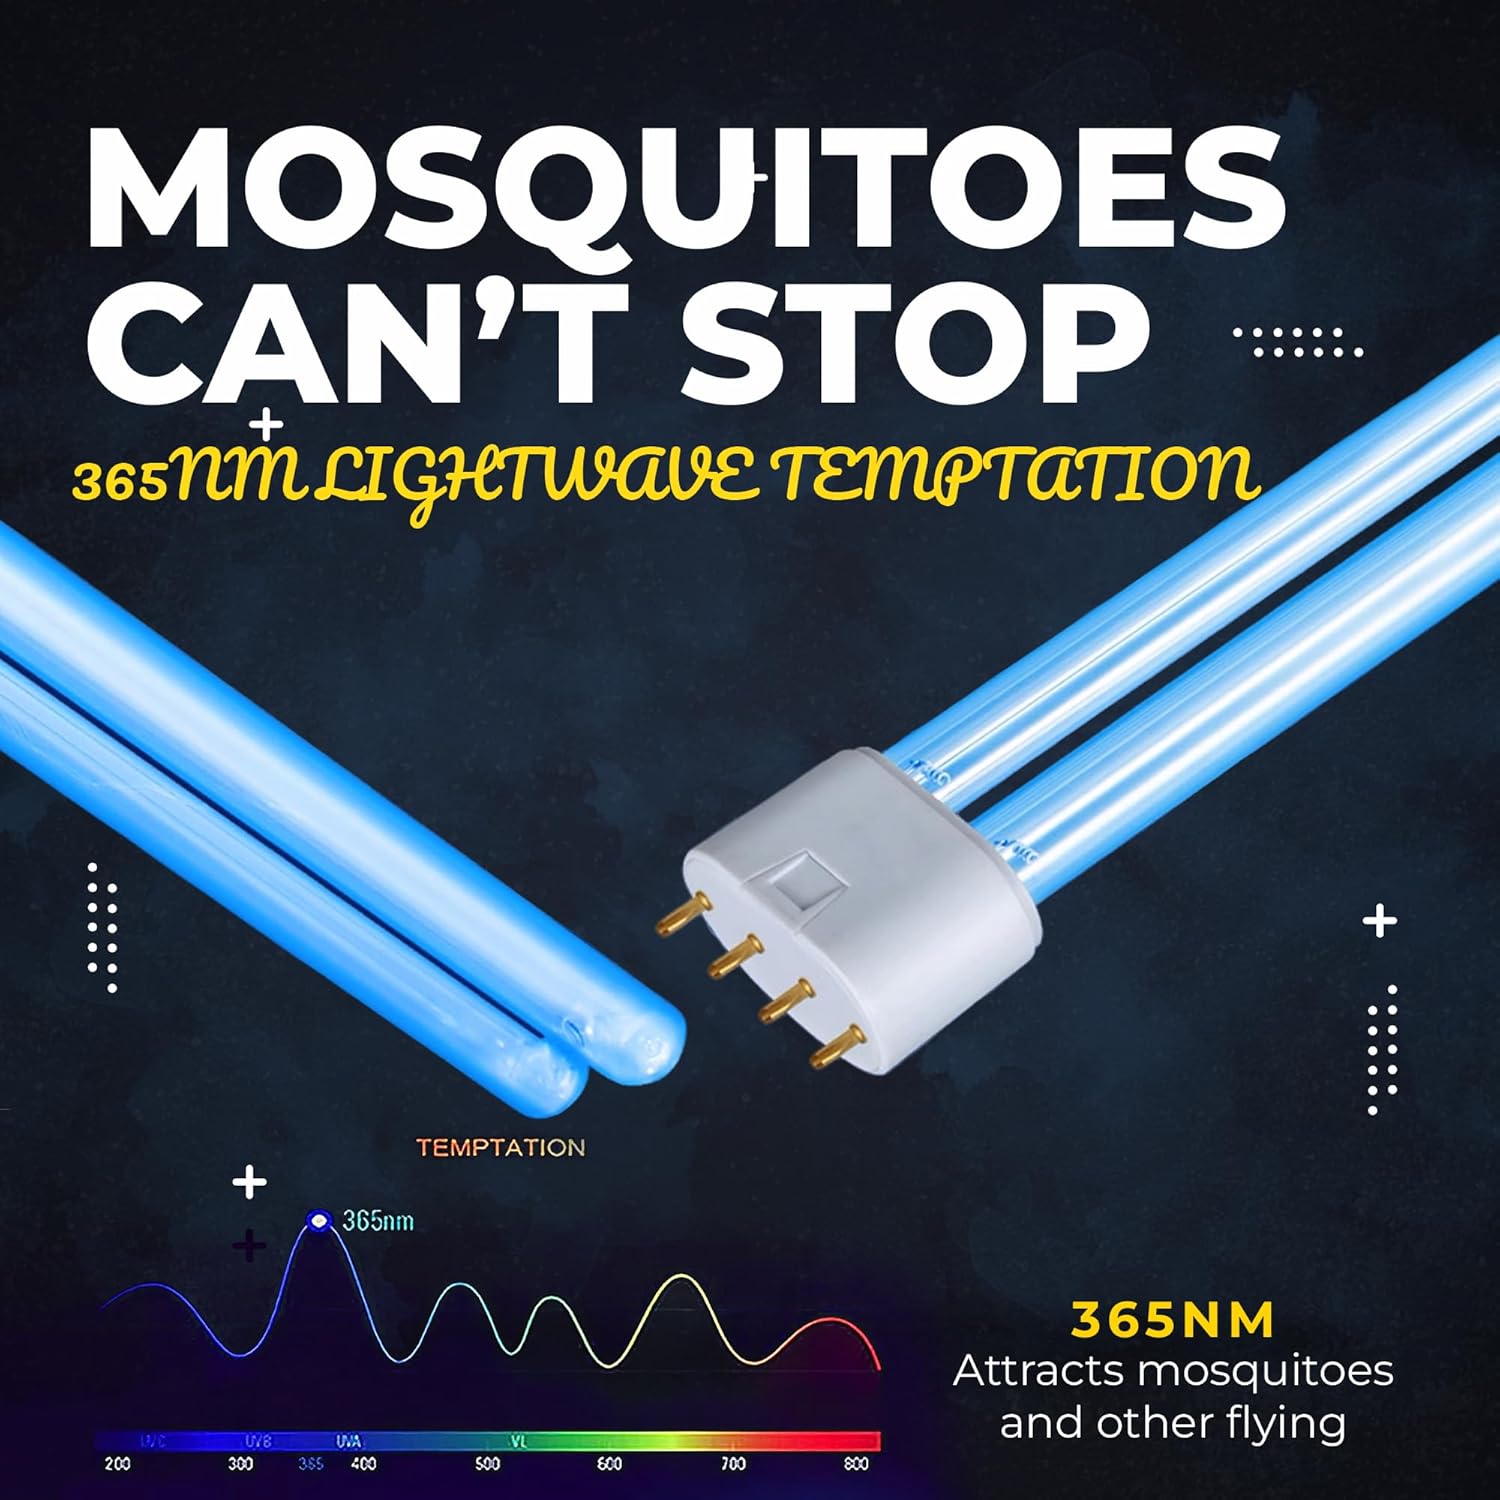
Image: An illustration demonstrating how the 365nm UV light emitted by the bulb attracts mosquitoes and other flying insects, highlighting the effective wavelength for insect temptation.
Maintenance
- Bulb Replacement Frequency: For maximum effectiveness in attracting flying insects, it is recommended to replace the bug zapper bulb every season, or approximately every 5,000 hours of use. Over time, the UV output of the bulb may diminish, even if it still appears to be lit.
- Cleaning: Regularly clean the bug zapper's grid and collection tray to remove dead insects. Always unplug the device before cleaning. Use a brush or compressed air to clear the grid.
- Handling: When handling the bulb, avoid touching the glass directly with bare hands. Oils from your skin can create hot spots that may reduce the bulb's lifespan. Use gloves or a clean cloth if necessary.
Troubleshooting
Bulb Does Not Light Up
- Check Power Connection: Ensure the bug zapper is securely plugged into a working electrical outlet. Test the outlet with another device if unsure.
- Verify Zapper Switch: Confirm that the bug zapper's power switch is in the "ON" position.
- Inspect Bulb Installation: Unplug the zapper and re-check that the replacement bulb is fully and correctly seated in its socket. Ensure all four pins are properly inserted.
- Bulb Lifespan: If the bulb has been in use for an extended period (e.g., over a season or 5,000 hours), its lifespan may have ended. Replace with a new bulb.
- Zapper Malfunction: If the above steps do not resolve the issue, the problem may lie with the bug zapper unit itself (e.g., faulty ballast or wiring). Consult the bug zapper's original manual or contact its manufacturer for further assistance.
Warranty and Support
This replacement bulb is manufactured by Tysonir. Specific warranty information for this replacement bulb is typically provided with your purchase or can be found on the manufacturer's official website. Please retain your proof of purchase for any warranty claims.
For product support, technical assistance, or warranty inquiries, please visit the official Tysonir store or contact their customer service directly. You can often find contact details on the product packaging or through the retailer where you purchased the bulb.
Tysonir Store: Visit Tysonir Store on Amazon


