1. Product Overview
The Phomemo M220 is a portable Bluetooth thermal label printer designed for various labeling needs in home, office, and small business environments. It supports a range of label widths and offers versatile printing options through its dedicated mobile and desktop applications.
Key Features:
- Supports label widths from 0.78'' to 3.14'' (not compatible with 4x6 shipping labels).
- Compact and lightweight design for portability.
- Prints barcodes, QR codes, addresses, text, images, and various icons.
- Built-in 2200 mAh rechargeable battery with up to 4 hours of continuous use and 2 months standby.
- Thermal printing technology eliminates the need for ink or toner.
- Compatible with Android, iOS, Chrome OS, Linux, Windows, and macOS devices.
- Connects via Bluetooth (for mobile) or USB (for computers).
What's in the Box:
- Phomemo M220 Label Maker
- USB Charging Cable
- 3 Rolls of Labels (1.97'' x 1.18'', 1.97'' x 3.14'', 2.76'' x 3.14'')
- User Manual

Image: Phomemo M220 Label Maker with various label rolls and sample labels.
2. Setup Guide
2.1. Loading Labels
- Press the side button to open the label compartment.
- Remove any existing label roll and its holder.
- Insert a new label roll onto the holder, ensuring the labels face upwards.
- Place the loaded holder back into the compartment.
- Pull a small portion of the label paper out through the printer slot.
- Close the compartment lid firmly until it clicks. The printer will automatically adjust the label.

Image: Phomemo M220 Label Maker demonstrating different label sizes it supports.
2.2. Powering On/Off
- To power on: Long press the power button for 3 seconds until the display lights up.
- To power off: Long press the power button again until the display turns off.
2.3. Connecting to the App (Phone/Tablet)
- Download the 'Print Master' app from your device's app store (Android/iOS).
- Ensure your M220 label maker is powered on and your phone/tablet's Bluetooth is enabled.
- Open the 'Print Master' app. The app will automatically search for and connect to the M220 printer.
- Once connected, select the desired label size within the app to begin editing.

Image: Phomemo M220 Label Maker demonstrating Bluetooth wireless connectivity with a smartphone.
Video: Official Phomemo guide on how to use the M220 Label Maker, including app connection steps.
2.4. Connecting to a Computer (Laptop/PC)
- Check your computer's operating system (OS) and download the correct M220 driver and the 'Labelife' app from the official Phomemo website.
- Use the provided USB data cable to connect the M220 label maker to your computer.
- Open the 'Labelife' app, select the label size, edit your content, and choose M220 from the printer list to print.

Image: Phomemo M220 Label Maker connected to a laptop via USB cable for printing.
3. Operating Instructions
3.1. Creating Labels with the App
The 'Print Master' app offers a wide range of customization options for your labels:
- Text: Add custom text, choose from over 30 fonts, and adjust size, alignment, and style.
- Barcodes & QR Codes: Generate and print various barcode and QR code formats.
- Icons & Templates: Access over 400 icons and pre-designed templates for quick label creation.
- Images: Insert your own images or photos onto labels.
- Borders & Shapes: Add decorative borders and shapes to enhance your labels.
- Languages: The app supports 15 languages for diverse user needs.

Image: The Print Master app showcasing its powerful multi-function editing capabilities.
3.2. Printing Labels
- After designing your label in the app, click the 'Print' button.
- Review the print preview to ensure the layout is correct.
- Confirm the number of copies and initiate printing.
- Once printed, gently tear off the label from the printer's output slot.
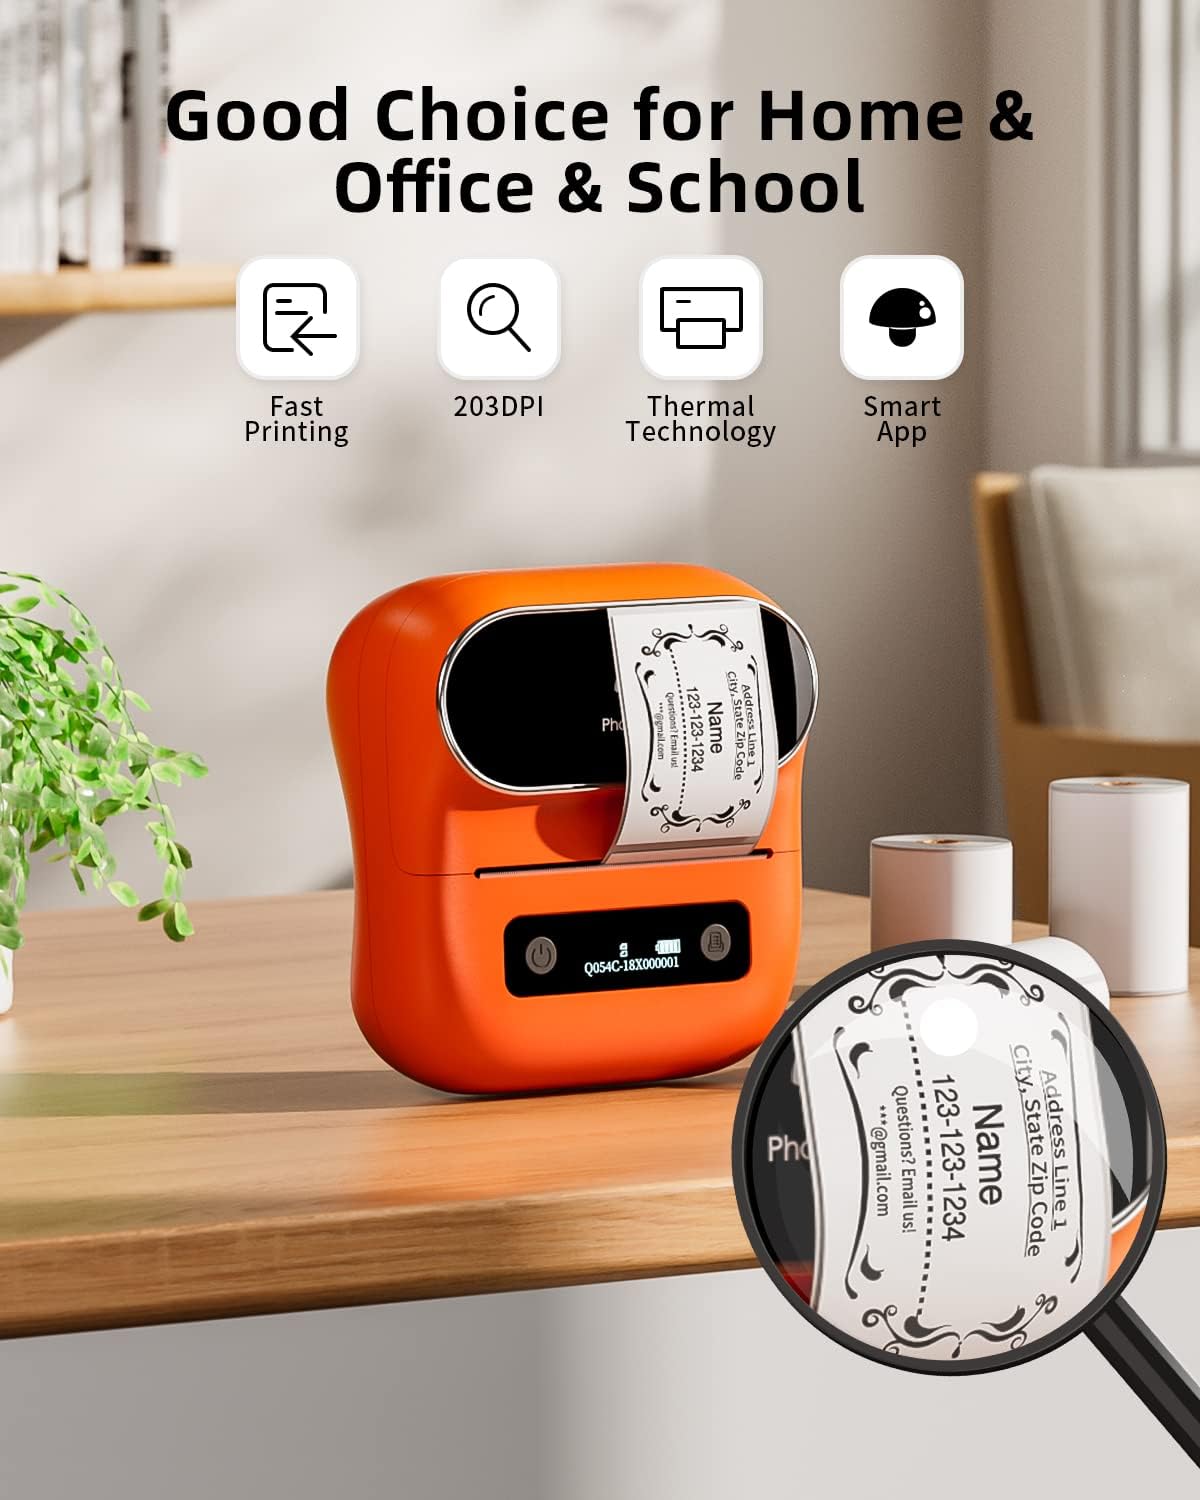
Image: Phomemo M220 Label Maker in operation, printing a customized label.
4. Maintenance
4.1. Battery and Charging
- The M220 features a built-in 2200 mAh rechargeable battery.
- A full charge provides approximately 4 hours of continuous printing.
- The printer can remain on standby for at least 2 months.
- Charge the device using the provided USB-C cable. The display will indicate charging status.
4.2. Thermal Printing Technology
- The M220 uses thermal printing, meaning no ink, toner, or ribbon is required.
- Ensure you use compatible thermal labels for optimal print quality.

Image: Advanced thermal printing technology of the Phomemo M220, emphasizing no ink requirement.
5. Troubleshooting
- Printer not connecting: Ensure Bluetooth is enabled on your device and the printer is powered on. Restart both the app and the printer if issues persist.
- Poor print quality: Check if the label roll is inserted correctly and the labels are thermal compatible. Ensure the printer head is clean (refer to the full manual for cleaning instructions).
- Labels not feeding: Open the label compartment and ensure the label roll is properly seated and a portion of the label is extended through the slot.
- App issues: Try restarting the app or reinstalling it. Check for app updates.
6. Specifications
| Feature | Detail |
|---|---|
| Product Dimensions | 7.9"D x 5.9"W x 2.9"H |
| Connectivity Technology | Bluetooth, USB-Type-C |
| Printing Technology | Thermal |
| Maximum Media Size | 80mm (3.14'') |
| Maximum Print Resolution | 203 DPI |
| Battery Capacity | 2200 mAh Lithium Polymer |
| Item Weight | 14.1 ounces (400 Grams) |
| Compatible Devices | Android & iOS Phone/Tablet, Chrome OS, Linux, Windows, macOS |
7. Warranty & Support
The Phomemo M220 Label Maker comes with a Lifetime Warranty.
For further assistance, please visit the official Phomemo website or contact customer support:
- Website: www.phomemo.com
- Seller: Phomemo-YQ


